

Learning how to connect Geeni to WiFi is essential for anyone looking to create a smart, convenient, and efficient home. Geeni smart devices, ranging from smart bulbs to security cameras, allow you to automate household tasks and control your appliances effortlessly through an app. All you need is a stable WiFi network and a straightforward setup process to get started.

To begin, ensure your Geeni device is powered on and within range of your WiFi network. Download the Geeni app on your smartphone or tablet and create an account if you haven’t already. Open the app and follow the on-screen instructions to add a new device. During the setup, you will be prompted to connect your Geeni device to your WiFi network. Enter your WiFi credentials carefully, making sure to use a 2.4 GHz network as Geeni devices are typically not compatible with 5 GHz networks. Once connected, your device will sync with the app, allowing you to control it remotely and customize its settings to suit your preferences.
Connecting a Geeni device to WiFi for the first time might feel daunting, especially if you’re unfamiliar with smart home technology. However, the process is designed to be user-friendly and accessible to beginners. By following clear steps and understanding how the app works, you’ll be able to enjoy the benefits of your Geeni devices in just a few minutes. This guide will help you unlock the full potential of your smart devices by ensuring they are securely connected to your WiFi network.
Why Is It Important to Learn How to Connect Geeni to WiFi?
Connecting Geeni devices to WiFi is the backbone of using their smart features efficiently. Without a proper connection, you won’t be able to control the devices or access their functionalities via the Geeni app, which defeats the purpose of owning smart technology. A stable connection ensures real-time control over appliances, such as adjusting a smart bulb’s brightness or viewing live footage from a security camera.
WiFi connectivity also enables you to integrate Geeni devices with voice assistants like Amazon Alexa or Google Assistant. This integration elevates convenience, allowing you to control multiple devices using simple voice commands. Beyond convenience, understanding how to establish a foolproof connection prevents potential issues, like errors during device setup or intermittent connectivity disruptions.
Additionally, troubleshooting connection issues becomes easier when you know the correct steps and prerequisites for successful device pairing. This helps you save time and avoid frustration in the future. Ultimately, ensuring that your Geeni devices are connected to WiFi enhances your smart home’s functionality, security, and user experience.
Step-by-Step Guide: How to Connect Geeni to WiFi
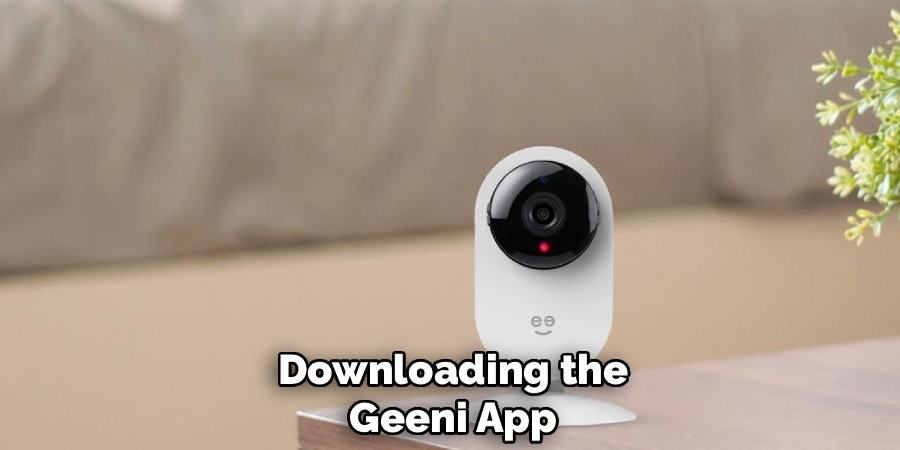
Step 1: Download the Geeni App
The first step to connecting your Geeni device to WiFi is downloading the Geeni app onto your smartphone. The app is available for free on both the Apple App Store and Google Play Store, making it accessible to iOS and Android users. Once downloaded, open the app and create an account if you’re a new user. Existing users can simply log in.
Make sure your smartphone is connected to the same WiFi network you intend to use for the Geeni device. Most Geeni devices only support 2.4GHz WiFi networks, so confirm your router settings beforehand. A successfully installed and configured app serves as the main control hub for your smart devices, enabling seamless interaction.
Step 2: Power on Your Geeni Device
After setting up the app, power on your Geeni device to begin the pairing process. For light bulbs, simply screw the bulb into a compatible socket and switch it on. For devices like cameras or plugs, connect them to a power source and wait for the indicator light to blink.
The blinking light indicates that the device is in pairing mode and ready to connect to your WiFi network. If the light doesn’t blink initially, follow the device manual instructions for resetting or activating pairing mode. Ensuring that the device is properly powered and ready for setup is a crucial step in avoiding connection issues later.
Step 3: Open the Geeni App and Add a Device
With your Geeni device powered on and in pairing mode, open the Geeni app on your smartphone. Navigate to the home screen and look for the “+” or “Add Device” button, typically located at the top corner of the interface. This option allows you to begin the process of adding a new device to your network.
Follow the app prompts to select the type of device you’re setting up—for instance, a smart bulb or security camera. The app will guide you through connecting the specified device to your WiFi network. This user-friendly interface simplifies the process and ensures that even first-time users can proceed with confidence.
Step 4: Select the WiFi Network
Once you’ve chosen your device type, the app will request you to select a WiFi network. Ensure your phone is connected to a 2.4GHz WiFi network, as many Geeni devices are not compatible with 5GHz networks. Enter your network name and password into the app when prompted.
It’s important to double-check the WiFi credentials you input to avoid setup errors. A secure and accurate connection ensures smooth communication between your Geeni device and the app. By selecting the correct network at this stage, you lay the foundation for uninterrupted device control.

Step 5: Pair the Geeni Device
After selecting the WiFi network, the app will initiate the pairing process with your device. This step typically takes a few seconds to a minute. You’ll notice progress indicators on your phone as the app attempts to connect to the Geeni device wirelessly.
During this phase, ensure there’s no physical obstruction or significant distance between your phone, the device, and the router. A strong signal is vital for successful pairing. Once connected, the app will notify you that the pairing process is complete. Paired devices appear on the app’s home screen, ready for customization.
Step 6: Test Device Functionality
With the device successfully connected to WiFi, test its functionality to confirm proper installation. For example, if you’ve set up a smart bulb, adjust its brightness or switch it on and off via the app. For a camera, verify the live feed and motion detection features.
Testing ensures that your device is responsive and fully integrated into the app. If any features aren’t working as expected, revisit earlier steps to identify potential issues in the setup. Testing at this stage allows you to troubleshoot and resolve problems early, ensuring a smooth user experience.
Step 7: Customize Device Settings
Once your Geeni device is operational, take time to customize its settings to suit your preferences. The app provides options such as naming the device, setting schedules, and creating automation routines. For example, you can schedule a smart plug to switch on at sunset or adjust camera sensitivity for motion alerts.
Customization enhances functionality, allowing your Geeni devices to blend seamlessly with your lifestyle. It also ensures optimal performance, maximizing the benefits of your smart home investment. Calibration during the initial setup streamlines day-to-day use and contributes to an enhanced experience.
Step 8: Integrate with Voice Assistants
If you want to add voice control to your Geeni devices, integrate them with popular assistants like Amazon Alexa or Google Assistant. Navigate to the settings menu within the Geeni app and follow instructions for linking accounts. The integration process typically involves enabling Geeni skills or services within your preferred voice assistant app.
Once integrated, practice using voice commands to control your devices. For instance, you can say “Alexa, turn off the living room light,” to operate a smart bulb. Voice integration enhances convenience and offers hands-free control for a truly connected home experience.
Step 9: Troubleshoot Connection Issues
Occasionally, you might encounter challenges like failed pairings or intermittent connectivity. Resolving these issues involves basic troubleshooting steps such as restarting the device, resetting the router, or checking network strength. The Geeni app also includes helpful diagnostic tools to assist users during such scenarios.
Troubleshooting ensures your devices remain functional and responsive under various conditions. By addressing issues promptly, you sustain an uninterrupted connection and benefit from reliable performance over time. A proactive approach to troubleshooting minimizes frustration and optimizes your smart home system.
Common Troubleshooting Tips
- Restart Devices: Often, simply restarting your device can resolve unexpected glitches. Turn the device off, wait a few seconds, and power it back on. This refreshes the system and clears temporary issues.
- Check for Software Updates: Outdated software can lead to performance issues. Ensure that both your smart devices and the app you are using are running the latest versions for optimal functionality.
- Verify Wi-Fi Connection: A stable network is crucial for smart devices. Check that your router is functioning correctly, and ensure your device is connected to the appropriate Wi-Fi network. Avoid using guest networks, as they may have limited access.
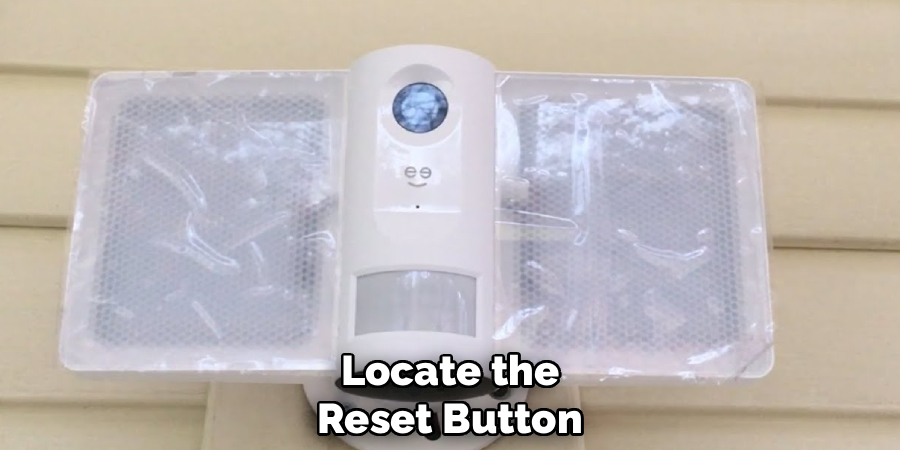
- Reset to Factory Settings: If issues persist, performing a factory reset can be an effective solution. Refer to the device manual for instructions and remember to reconfigure the settings afterward.
- Consult the User Manual: Most devices come with detailed user manuals that provide targeted instructions for troubleshooting. This can guide you through resolving specific problems step by step.
By following these common troubleshooting tips, you can address issues effectively and maintain the seamless performance of your smart home devices.
Frequently Asked Questions
What should I do if my Geeni device doesn’t connect to WiFi?
Start by ensuring your phone and Geeni device are on a 2.4GHz network, as most devices don’t support 5GHz. Restart the device and router before retrying, and double-check your WiFi password entered in the app.
Can I connect Geeni devices if I don’t have 2.4GHz WiFi?
Most Geeni devices require a 2.4GHz network. If your router combines both 2.4GHz and 5GHz bands, temporarily disable the 5GHz option during setup. Re-enable it after pairing.

What should I check if my device frequently disconnects?
Verify that the device is within range of the router, with no obstructions or signal interference. Updating router firmware and app settings can also improve connectivity.
Conclusion
Understanding how to connect Geeni to WiFi is essential for unlocking the full potential of your smart home devices. This quick and simple process ensures seamless integration and reliable performance, whether controlling lights, plugs, or cameras.
Avoid connecting to public or unsecured networks, as they may cause interruptions or security risks. If you encounter any issues during setup, resetting the device and following the instructions again can often resolve common problems effortlessly.
By following the outlined steps, you can confidently set up your devices and enjoy the convenience of a truly connected home. Start your smart home journey today by connecting Geeni to your WiFi network—effortless automation is just a few taps away!