
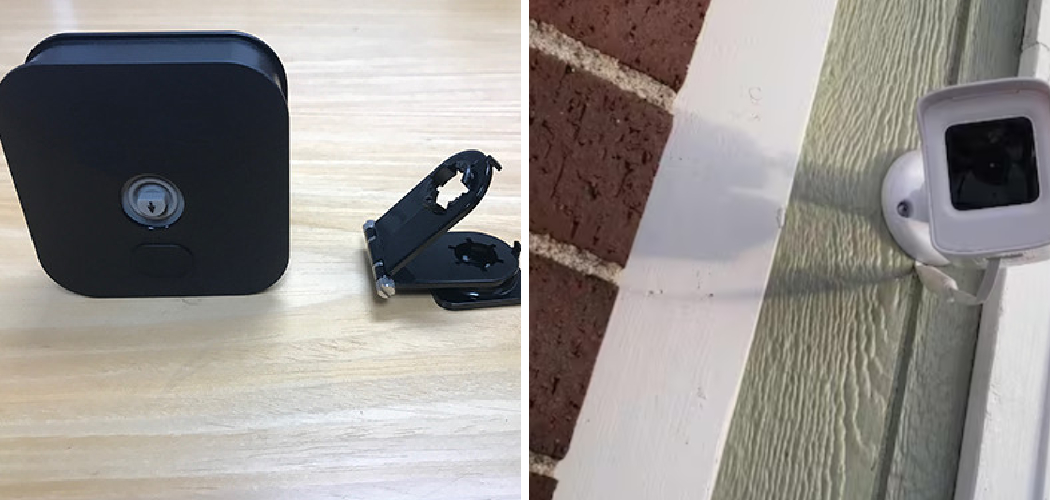
Learning how to mount Blink camera without screws allows you to install your security system without damaging walls, making it perfect for renters or homeowners who want flexibility. Blink cameras are known for their sleek design and effective surveillance features, but traditional installations often involve drilling holes. By opting for screw-free methods, you can enjoy a damage-free setup while ensuring your camera is securely in place.

One popular method to mount a Blink camera without screws is by using adhesive strips or mounting tape. Heavy-duty adhesive strips are designed to hold lightweight devices securely to various surfaces, including walls and glass. Make sure to clean the surface thoroughly before attaching the adhesive to ensure a strong bond. Additionally, position the camera carefully, as adhesive options may have limited repositioning capability. This approach is simple, effective, and leaves no permanent marks once removed.
Mounting a Blink camera without screws is simpler than you might think. Solutions like adhesive mounts and magnetic holders provide excellent alternatives that are easy to install, repositionable, and just as reliable as drilled mounts. Whether you’re concerned about rental restrictions or just prefer a less invasive installation, this guide will walk you through the entire process from choosing the right method to ensuring optimal camera placement.
Why You Should Consider Mounting a Blink Camera Without Screws
Screw-free mounting methods are becoming increasingly popular due to their convenience and adaptability. For renters, drilling into walls or ceilings often violates lease agreements, making damage-free options an absolute necessity. Adhesive or magnetic mounts eliminate this concern, allowing you to install and remove your camera effortlessly without leaving marks.
Another reason to go screw-free is flexibility. Unlike traditional mounts, these alternatives make it easy to reposition your Blink camera as needed. For example, you may want to move your camera indoors temporarily or adjust its angle to improve coverage. A screw-free setup accommodates these changes seamlessly while ensuring your camera remains stable.
These mounting options also save time and reduce the need for special tools. With no drilling or power tools required, you can achieve a professional-looking installation in minutes. Whether you’re a first-time camera user or a tech-savvy homeowner, screw-free mounting simplifies the entire process, making it accessible to everyone.
Step-by-Step Guide: How to Mount Blink Camera Without Screws
Step 1: Choose the Right Mounting Location
Begin your installation by selecting the optimal location for your Blink camera. Decide whether you want to mount it indoors or outdoors and evaluate areas that provide a clear view of entry points, driveways, or other critical zones. Consider environmental factors such as lighting and weather exposure if mounting outdoors.
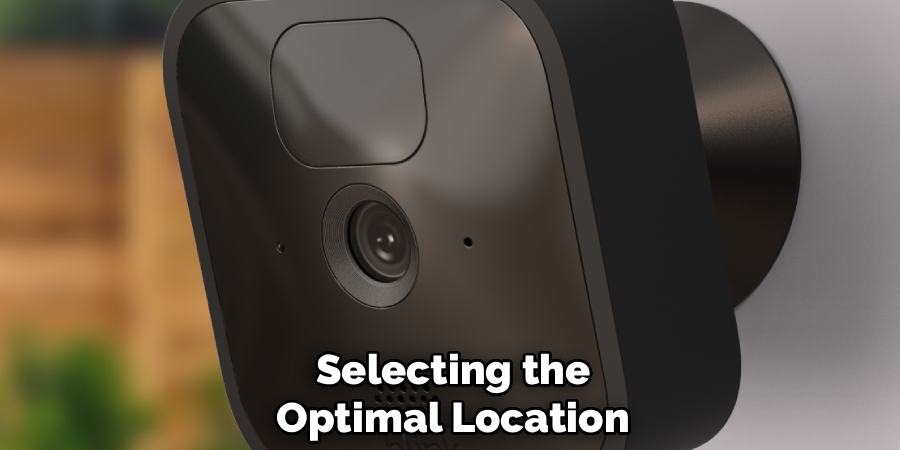
Look for stable surfaces like walls, windows, or furniture edges that can securely hold adhesive mounts or magnetic holders. Ensure the chosen area is within range of your Wi-Fi network and has a convenient power source or space for batteries. Choosing the right spot is essential for achieving both effective surveillance and a secure installation.
Step 2: Prepare the Surface
Once you’ve selected a location, clean the surface thoroughly to ensure proper adhesion. Use a damp cloth or mild cleaning solution to remove dirt, grease, or dust from walls, glass, or other mounting surfaces. A clean surface enhances the strength of adhesive mounts, reducing the risk of the camera falling.
Allow the surface to dry completely before proceeding. Any moisture can weaken the adhesive, compromising the longevity and stability of the mount. Taking the time to clean and prepare the area ensures strong adhesion and provides peace of mind for long-term use.
Step 3: Select the Appropriate Mount
There are several mounting options available for screw-free installations, each tailored to different surfaces and environments. Adhesive mounts work well on flat, smooth surfaces like walls and windows. Magnetic holders are ideal for metal surfaces, such as door frames or appliances, where they can secure the camera with minimal effort.
Choose a mount specifically designed for Blink cameras to ensure compatibility and a snug fit. Evaluate weight limits and ensure the mount can support the Blink camera without strain. Selecting the appropriate mount guarantees stability and prevents potential accidents.
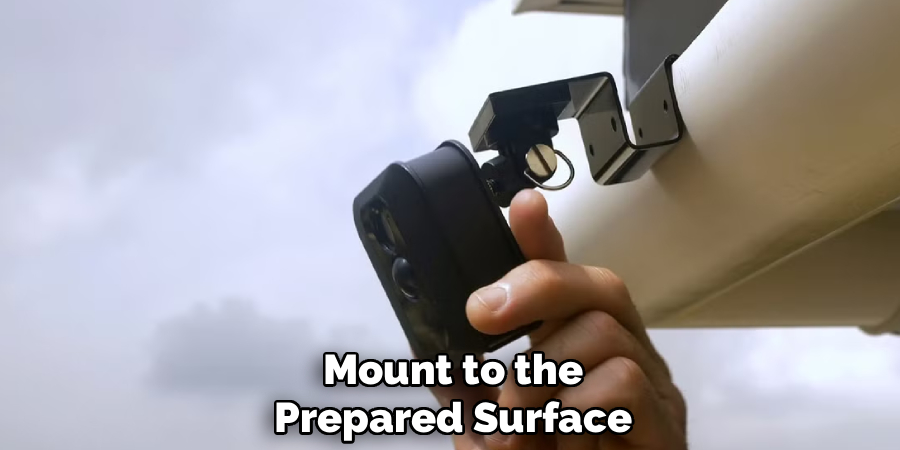
Step 4: Secure the Mount to the Surface
Adhere or attach your chosen mount to the prepared surface. For adhesive mounts, peel off the backing and carefully press the mount onto the wall or window. Apply firm, even pressure for about 30 seconds to activate the adhesive fully. For magnetic holders, position the mount on the desired metal surface and check its grip by giving it a slight test pull.
Ensure the mount is level and aligned correctly before proceeding. Misalignment can impact the camera’s angle, reducing its effectiveness. A secure and properly positioned mount provides a solid foundation for the camera.
Step 5: Attach the Blink Camera
Now that the mount is in place, attach the Blink camera to it. For adhesive mounts, slide the camera onto the holder until it clicks securely. With magnetic mounts, align the camera’s magnetic base with the holder and allow them to connect.
Check that the camera is firmly attached and won’t shift when adjusted. You may make small angle adjustments to optimize the field of view and ensure key areas are visible. Attaching the camera properly ensures reliable surveillance and user satisfaction.
Step 6: Adjust the Camera Angle
Fine-tune the positioning of your Blink camera to achieve the best possible coverage. Use the live view feature in your Blink app to preview what the camera sees in real-time. Make small, precise adjustments to capture entryways, paths, or specific zones that require monitoring.
Keep in mind the importance of balance between security and privacy. Avoid angling the camera excessively to capture unnecessary areas or adjacent properties. Adjusting the camera angle appropriately maximizes functionality and adherence to ethical practices.
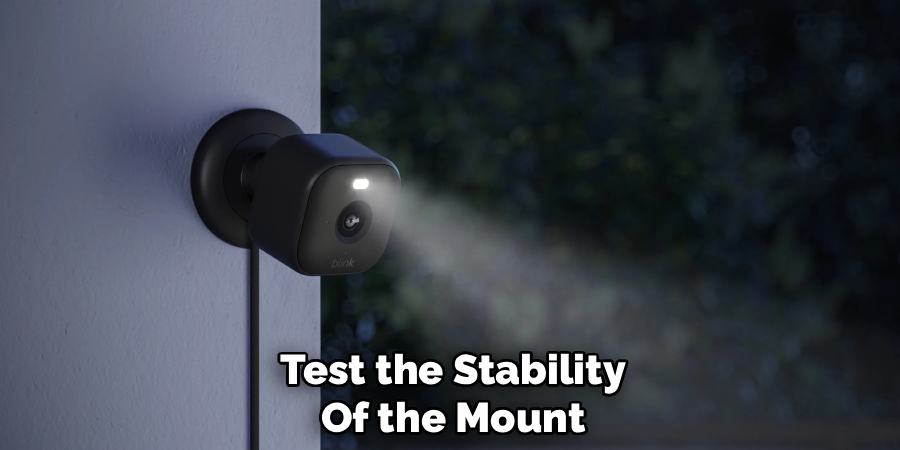
Step 7: Test the Stability of the Setup
Before considering the installation complete, test the stability of the mount and camera. Lightly shake or tap the surface to ensure the adhesive or magnetic holder remains firmly attached. Check that the camera doesn’t wobble or fall under mild surface vibrations or external forces.
Inspect all connections between the mount and camera, making adjustments if necessary. A stable setup supports long-term effectiveness and reduces the potential for damage caused by falls or dislodgment.
Step 8: Monitor the Camera’s Performance
After mounting, monitor the camera’s performance for at least 24 hours. Observe its stability and check for any issues such as adhesive loosening or loss of magnetic grip. Use the Blink app to verify consistent connectivity, clear footage, and proper motion detection functionality.
Pay attention to environmental factors like changes in temperature or humidity, as these can impact some mounting methods. Monitoring performance during the initial phase ensures a smooth and trouble-free experience.
Step 9: Maintain Your Mount and Camera
Regular maintenance is essential for the longevity of both the mount and camera. Clean the surface around the mount periodically, especially for adhesive-based installations, to prevent dust buildup that could weaken the grip. Inspect the camera’s alignment occasionally to ensure it remains focused on desired zones.
If you need to relocate the camera, remove the mount gently and follow the same installation steps at the new location. Proper maintenance ensures long-lasting security and allows for flexibility without compromising safety or stability.
Benefits of Screwless Mounting
- Ease of Installation – Screwless mounts are quick and simple to install, requiring minimal tools and expertise.
- No Wall Damage – These mounts eliminate the need for drilling, preserving the integrity of walls and surfaces.
- Flexibility in Placement – Screwless mounts allow for easy repositioning, making it convenient to adjust the location as needed.
- Time-Saving – With no screws or anchors to deal with, installation and relocation take significantly less time.
- Aesthetic Appeal – Screwless mounts provide a clean, seamless look without unsightly holes or hardware.
- Compatibility with Various Surfaces – They can often be used on a variety of materials, such as glass, tile, and metal, broadening placement options.
- Reduced Risk of Errors – Without the need for precise drilling, there is less chance of damaging the surface or misaligning the mount.
Frequently Asked Questions
What tools are needed to mount a Blink camera without screws?
No heavy tools are required for screw-free mounting. Common items like adhesive mounts or magnetic holders are all you need. Most come with simple peel-and-stick applications, removing the need for drills or hammers.
Will adhesive mounts damage my walls or surfaces?
Adhesive mounts are designed to be damage-free and removable. When removed carefully, they generally don’t leave marks or residue. However, it’s important to follow the manufacturer’s instructions for best results.
Can I use magnetic mounts outdoors?
While magnetic mounts can be used outdoors, their effectiveness depends on the surface they’re attached to and weather conditions. Ensure you select a mount rated for outdoor use and secure it to a clean, stable metal surface.
How do I ensure my Blink camera stays secure on an adhesive mount?
Preparing the surface is key to ensuring the camera stays secure. Cleaning and drying the area thoroughly enhances adhesion. Regular checks to ensure the mount hasn’t loosened further improve reliability.
What surfaces are suitable for mounting a Blink camera without screws?
Smooth and flat surfaces such as walls, windows, and furniture are ideal for adhesive mounts. Magnetic holders work best on metal surfaces like doors, appliances, and frames. Each mounting method is versatile enough to adapt to most situations.
Conclusion
Learning how to mount Blink camera without screws is a simple and effective way to install your device without causing any damage to surfaces. By following these easy steps, you’ll be able to securely position your camera and maintain flexibility for repositioning.
Additionally, these screw-free mounting solutions not only offer convenience but also ensure that your home retains its original condition, free from unnecessary drill holes or permanent alterations. This makes them particularly suitable for renters or homeowners who prioritize preserving their property’s aesthetics while ensuring optimal security coverage.
With options like adhesive mounts and magnetic holders, you can enjoy a versatile, damage-free setup that meets your surveillance needs. Start exploring these innovative mounting solutions today and protect your home effortlessly!