

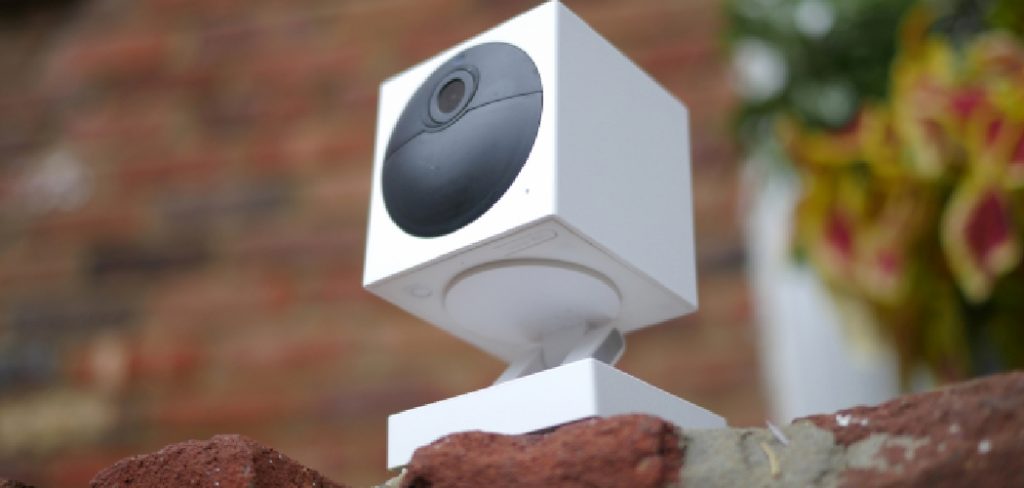
Learning how to reset Wyze Outdoor Camera can be incredibly helpful for troubleshooting issues, restoring factory settings, or reconnecting your device to a new Wi-Fi network. This process ensures that your camera operates efficiently, offering reliable security and monitoring for your home or office space.
Whether you’re dealing with connectivity problems, outdated firmware, or a frozen device, a reset can resolve common issues that interfere with performance. Thankfully, resetting a Wyze Outdoor Camera is straightforward, even for beginners. This step-by-step guide is designed to make the process easy and stress-free, allowing you to get your device back to peak operation quickly.
By understanding this important skill, you’ll be prepared to handle any technical hiccups with confidence. Keep reading to discover how resetting your Wyze Outdoor Camera ensures a smooth surveillance experience.
Why Resetting Your Wyze Outdoor Camera Matters
Resetting your Wyze Outdoor Camera is an important part of maintaining its functionality and addressing various issues. Over time, technical glitches—such as connectivity disruptions, unresponsive features, or firmware errors—may impact your device’s performance. These problems often stem from corrupted settings or incomplete updates, both of which are resolved by performing a reset.
This process is especially important when troubleshooting major issues like a frozen camera, the inability to connect to Wi-Fi, or recurring network disconnections. Resetting your camera clears any lingering settings that may block its proper operation, essentially giving it a fresh start.
Additionally, resets are essential when transferring ownership of the device or setting it up in a new location. By returning the camera to its factory defaults, you eliminate any residual configuration that might interfere with its new setup. Knowing how to reset Wyze Outdoor Camera empowers you to proactively manage and optimize your security system.
Step-by-Step Guide: How to Reset Wyze Outdoor Camera
Step 1: Locate the Reset Button
The first step in learning how to reset Wyze Outdoor Camera is identifying the reset button on the device. The reset button is usually located on the bottom or back panel of the camera, beneath a protective cover. You may need a small tool, such as a paperclip or pin, to access this button.
Take a moment to examine the camera closely, referring to the device manual if necessary. Ensuring you locate the correct button is crucial for starting the reset process effectively. This step sets the stage for resolving any issues by initializing the proper reset mechanism on your Wyze Outdoor Camera.
Step 2: Prepare the Camera for Reset
Before initiating the reset, ensure the camera is powered on and operating. Check that the battery is charged, or connect the camera to its power source. A device without adequate power won’t complete the reset process successfully.
Position the camera on a stable surface to prevent accidental drops during the reset. Double-check that you have the necessary tools and clear lighting to see the reset button. Proper preparation guarantees that the reset can proceed smoothly without interruptions caused by power or visibility issues.
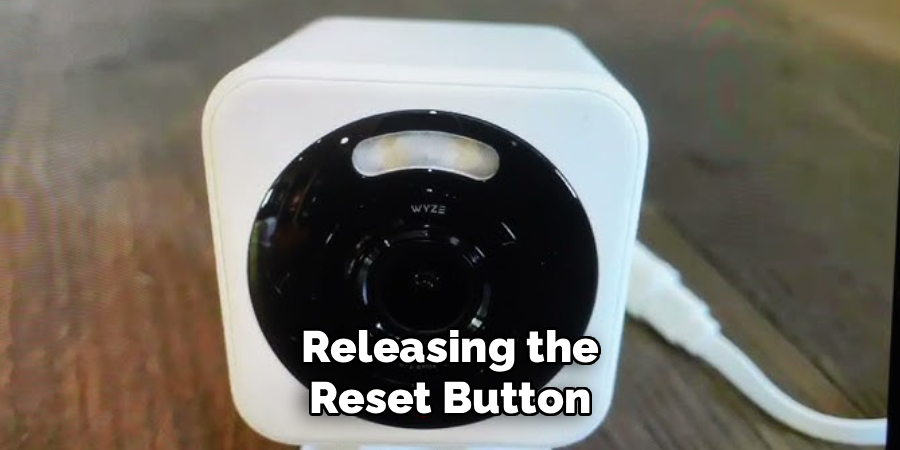
Step 3: Press and Hold the Reset Button
Using your tool, press and hold the reset button for approximately 10–20 seconds. You may need to apply firm pressure to engage the button fully. During this time, you may notice specific LED indicators, such as blinking yellow or solid red lights, which confirm that the reset process has started.
Release the button once these indicators illuminate, signaling that the device is now reverting to its factory settings. Completing this action initiates the process of clearing existing configurations, setting the Wyze Outdoor Camera back to its default state.
Step 4: Wait for Factory Reset Completion
After releasing the reset button, give the device a few minutes to complete the factory reset. You may see the LED light indicate changes, such as alternating colors or a blinking pattern, signaling that internal settings are being cleared.
During this phase, avoid unplugging or moving the camera to ensure the reset isn’t interrupted. Once the LED stabilizes, typically changing to a solid yellow or blinking blue light, the reset process is complete. This waiting period ensures that all data is erased and the camera is ready for its next configuration.
Step 5: Reconnect the Camera to Your Wyze Account
Following the reset, the camera will operate as if it’s being set up for the first time. Open the Wyze app on your smartphone or tablet and log in to your account. Select the option to add a new device, specifically a Wyze Outdoor Camera, from the setup menu.
Follow the on-screen prompts to connect the camera to your Wi-Fi network and pair it with your account. During this step, ensure you have your Wi-Fi credentials ready to avoid delays. Reconnecting your camera restores its functionality and updates its configuration for active use.
Step 6: Adjust Camera Settings
Once your Wyze Outdoor Camera is reconnected, it’s time to configure its settings. Open the settings menu in the Wyze app to customize features such as motion detection sensitivity, recording schedules, and firmware updates.
Take the opportunity to optimize settings for your preferred usage. For example, adjust motion zones for targeted surveillance or enable push notifications for real-time alerts. Modifying these configurations ensures the camera operates according to your specific security requirements.
Step 7: Test the Camera’s Functionality
Before concluding the process, test the camera to ensure its proper functionality. Use the Wyze app to access the live view and verify key features such as audio, video clarity, and motion detection. Observe how the camera responds to movements or adjustments in its field of view.
Keep an eye on Wi-Fi connection stability during this test, ensuring the camera maintains consistent performance. This validation step confirms that the reset was successful and that the camera is operating as expected.
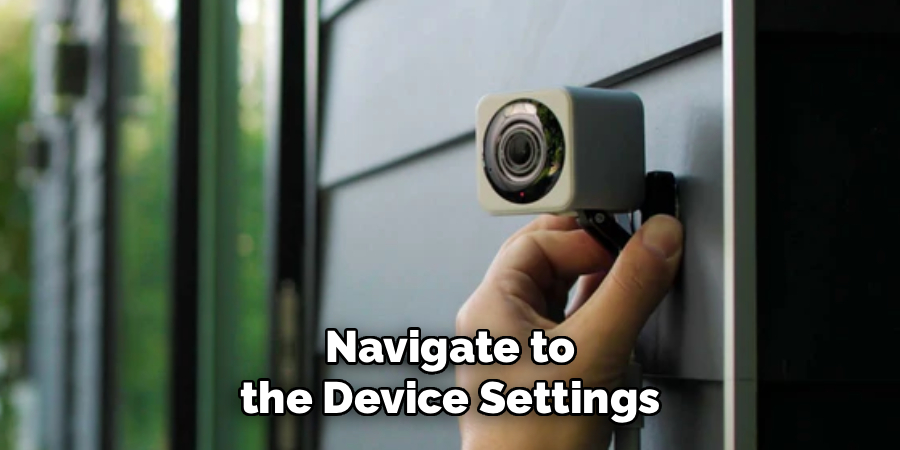
Step 8: Update Firmware for Optimal Performance
Even after a reset, keeping your Wyze Outdoor Camera’s firmware up to date is crucial. Navigate to the device settings in the Wyze app and check for any available firmware updates. Updating the firmware resolves known issues, enhances features, and reinforces security protocols.
Follow the app’s instructions to download and apply updates promptly. Avoid disrupting the process by ensuring the camera remains powered and connected to the network throughout. Firmware updates contribute to the camera’s overall reliability and effectiveness.
Step 9: Regular Maintenance and Monitoring
To avoid future issues that may require additional resets, make it a habit to regularly monitor and maintain the camera. Clean the device periodically to ensure clear video quality and check for obstructions in its field of view.
Additionally, review camera activity in the Wyze app to identify and address any unusual patterns, such as connectivity drops or frequent motion alerts. Proactive maintenance supports long-term performance and reduces the need for troubleshooting.
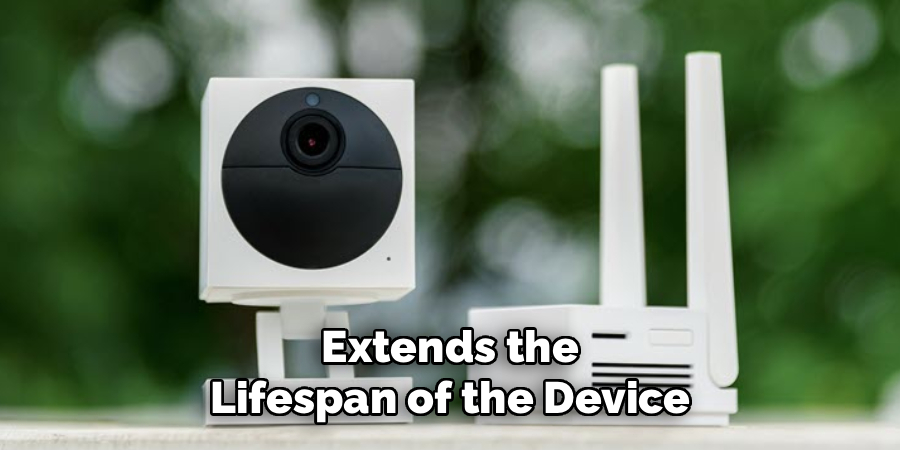
Benefits of Regular Maintenance
Improved Performance: Ensures the camera operates at its optimal level, providing clear video quality and reliable connectivity.
Longevity: Extends the lifespan of the device by preventing hardware and software deterioration caused by neglect or environmental factors.
Enhanced Security: Reduces the likelihood of vulnerabilities by keeping the camera and its firmware up to date.
Cost Savings: Minimizes the need for repairs or replacements, saving money in the long run.
Consistent Reliability: Prevents unexpected downtime, ensuring the camera is ready when needed most.
Frequently Asked Questions
How do I know if my Wyze Outdoor Camera needs a reset?
You may need to reset your Wyze Outdoor Camera if it struggles with connectivity, shows erratic behavior, or fails to respond to commands. Resetting resolves software glitches, incorrect settings, and other common issues that affect its performance.
Will resetting my Wyze Outdoor Camera delete recorded videos?
Yes, a factory reset will erase all local settings and footage stored on the device. However, videos saved to the cloud through your Wyze subscription plan will remain accessible and secure.
Can I reset the Wyze Outdoor Camera without using the app?
Yes, the camera can be reset using the physical reset button on the device, independent of the Wyze app. Press and hold the button as described in the steps above to initiate a factory reset.
Do I need to update the firmware after a reset?
It’s highly recommended to update the firmware after resetting the camera to ensure it has the latest features and security patches. Firmware updates can be completed through the Wyze app, providing improved functionality and bug fixes.
What should I do if the reset doesn’t resolve the issue?
If resetting the Wyze Outdoor Camera doesn’t fix the problem, consider contacting Wyze customer support. They can provide additional troubleshooting tips or arrange for a replacement if hardware defects are identified.
Conclusion
Understanding how to reset Wyze Outdoor Camera is a must for maintaining its performance and troubleshooting common issues. By following these straightforward steps, you can restore the device to factory settings and address challenges like connectivity errors or firmware glitches.
If issues persist after attempting all troubleshooting methods, ensure your camera’s firmware is up to date. Regular firmware updates often include fixes for known bugs and improvements to functionality. Additionally, verify that your Wi-Fi network is stable and provides adequate signal strength in the area where the camera is installed. Proper placement and network reliability play a critical role in optimizing the device’s performance.
Resetting your camera not only resolves many technical issues but also prepares it for seamless integration into your security system. Take the initiative today to reset and optimize your Wyze Outdoor Camera, ensuring reliable monitoring and peace of mind!