
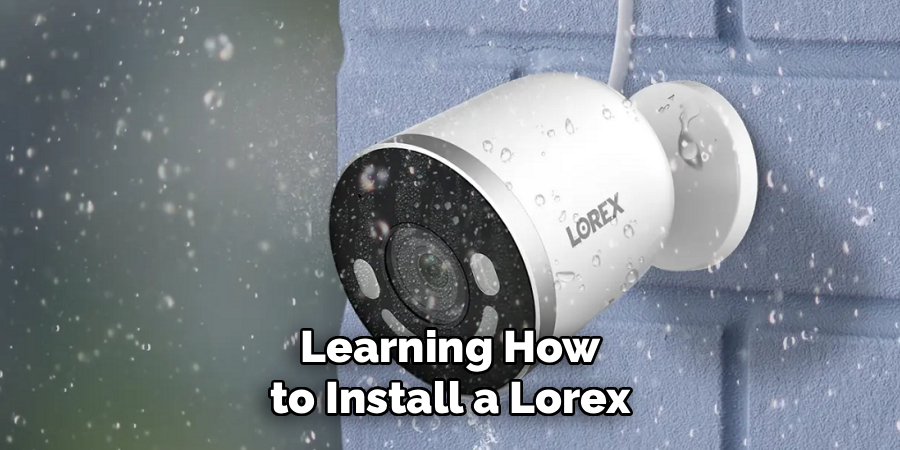
Knowing how to install a Lorex camera system can transform your home or business into a well-monitored, secure environment. Lorex is a trusted name in the security industry, offering systems that are user-friendly yet packed with advanced features like motion detection and high-resolution footage.
While professional installation is an option, tackling it as a DIY project can save you a significant amount of money and provide a rewarding learning experience.
Before starting the installation, ensure you have all the necessary components, including cameras, cables, a DVR or NVR, and the required tools. Begin by identifying the best locations for your cameras, prioritizing areas like entry points, driveways, or other vulnerable spots.
Mount the cameras securely and angle them for optimal coverage. Next, connect the cameras to the recording device, ensuring all cables are routed safely and discreetly to avoid tampering. Finally, power on the system and configure the settings, such as motion detection zones and recording schedules, through the software interface to tailor the system to your needs.
Setting up a Lorex security camera system doesn’t require advanced technical expertise. With the right components, foundational knowledge, and a bit of patience, you can achieve a seamless installation. This guide will walk you through the entire process, from unboxing the system to finalizing camera placement and connectivity, ensuring you enjoy the peace of mind that a functional security system brings.
Why Installing a Lorex Camera System Is Important
Installing a Lorex camera system helps enhance the safety and security of your property. Whether you’re protecting your home, workplace, or valuable belongings, having a reliable surveillance setup deters crime and provides clear footage in case of an incident.
One key advantage is Lorex’s high-quality camera options, which offer features like 4K resolution, night vision, and weather-resistant materials. These allow you to monitor your property regardless of lighting or environmental conditions. Integrating these cameras with digital video recorders (DVRs) enables you to store hours of continuous footage, providing 24/7 coverage.
Additionally, with growing accessibility to remote viewing through mobile apps, Lorex systems make it easy to check in on your property from anywhere. Their advanced motion detection reduces unnecessary alerts and focuses on real security threats. Choosing to install the system yourself ensures that it’s tailored to your unique needs while saving costs on hiring a professional.
Step-by-Step Guide: How to Install a Lorex Camera System
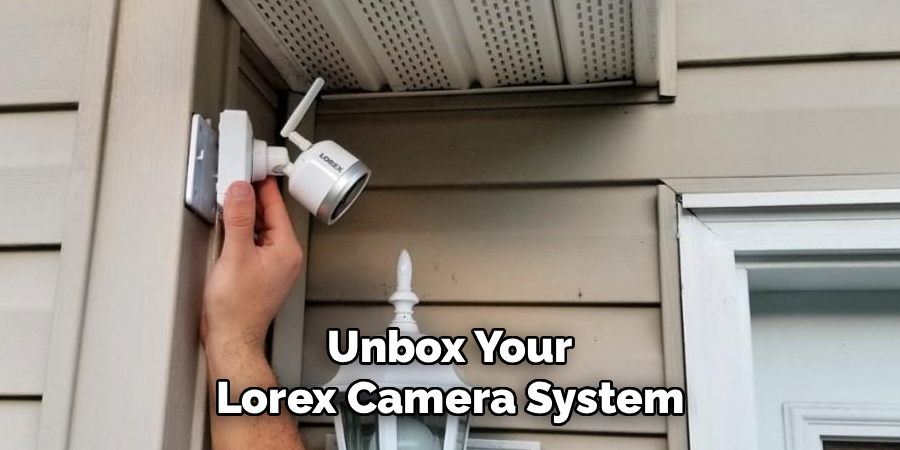
Step 1: Unbox and Inspect the Components
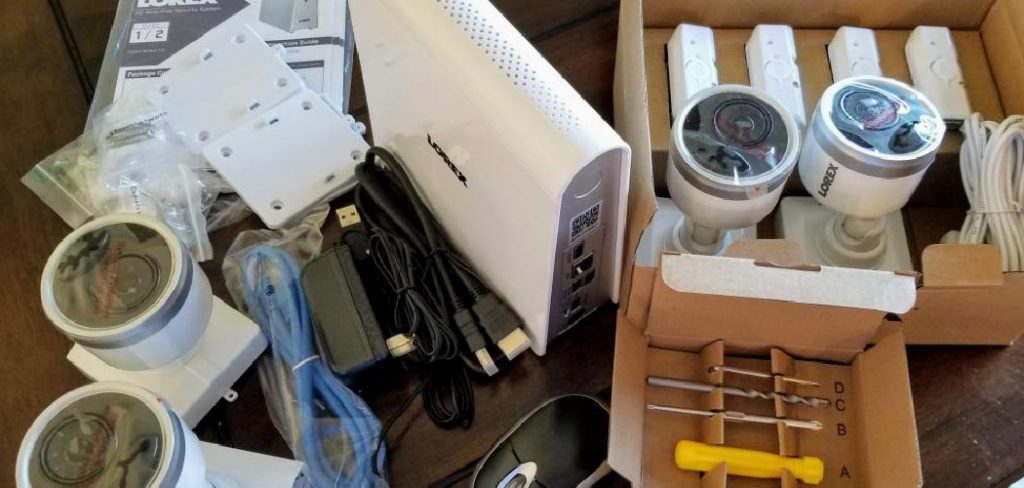
When you first unbox your Lorex camera system, take time to verify that all components are included. Typically, your box should contain the cameras, a DVR unit (if applicable), power adapters, connection cables, mounting kits, and a user manual. Inspect everything to ensure there’s no visible damage from shipping, especially on the cameras or connectors.

Lay the components on a flat, clean surface for visibility and organization. Familiarize yourself with each item, noting the labeling on cables and ports. This step is crucial for avoiding confusion during installation. A well-organized system setup ensures you can proceed efficiently, reducing the risk of missing critical connectors or improperly arranging components.
Step 2: Plan the Camera Placement
Camera placement is one of the most critical considerations when learning how to install a Lorex camera system. Walk around your property to identify areas you want to monitor, such as entry points, garages, and driveways. For maximum coverage, position cameras at elevated angles that provide a clear view of the area, minimizing blind spots.
Keep in mind environmental factors like sunlight and weather exposure when selecting outdoor locations. Avoid placing cameras directly under eaves or in locations prone to glare. Plan the placement locations carefully to ensure both security coverage and ease of cable routing. Strategic planning guarantees you get the best performance and usability from your Lorex system.
Step 3: Mount the Cameras
Once you’ve identified the ideal locations, begin mounting the cameras. Use the mounting kits provided in your Lorex system to secure each camera against the desired surface, such as walls or ceilings. Drill holes as needed for screws and anchors, ensuring a sturdy fit to prevent movement or shifting.
While positioning the cameras, check the angles through the Lorex app or DVR interface to confirm that they capture the intended field of view. Adjust the camera swivels if necessary to cover important areas. Properly mounted cameras result in long-term stability and ensure the footage meets your monitoring needs.
Step 4: Connect the Cameras to the DVR
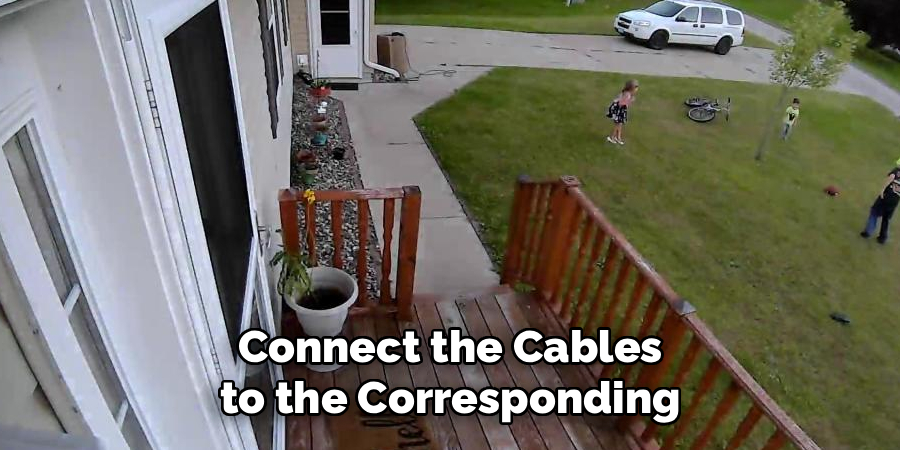
After mounting, it’s time to connect the cameras to the DVR unit. Attach the provided cables to each camera’s output port and run them along the designated paths to the DVR. Use clips or cable ties to keep wires organized and secure, especially in areas prone to foot traffic or outdoor exposure.
Connect the cables to the corresponding ports on the DVR, ensuring each camera is properly labeled for referencing different zones or viewpoints. Check the DVR system’s interface to verify that all cameras are transmitting footage correctly. A seamless connection between the cameras and DVR is essential for maintaining functionality and access to recorded video.
Step 5: Manage the Power Supply
Powering your Lorex system is a straightforward but important step. Plug the cameras into their respective power adapters, ensuring the cables are securely connected to the power source. Make sure the DVR is also connected and receiving power. Test each component to avoid interruptions.
If any cameras fail to turn on, double-check the connections and consider whether the outlet is functional. Ensuring a stable power supply for all components guarantees uninterrupted surveillance, particularly during crucial moments when the cameras are actively needed.
Step 6: Configure the DVR Settings
Once all components are powered and connected, access the DVR settings to configure the system. Use the included manual or on-screen instructions to set up device settings like date, time, camera labeling, and motion detection preferences. These configurations help tailor the system to your monitoring needs.
Define the recording modes, such as continuous recording, motion-triggered capture, or specific schedules, to optimize storage space. Configuring the DVR ensures the cameras operate efficiently while aligning with your security preferences. A customized system setup allows for reliable and relevant footage when you need it most.
Step 7: Test Camera Views and Adjustments
Before finalizing the installation, test each camera view through the DVR or Lorex mobile app. Check the live feed to ensure no obstructions or technical issues are present. Adjust angles, zoom levels, or mounting heights as needed to improve clarity and coverage.
This step also allows you to confirm that motion detection and night vision features are functioning correctly. Testing each component provides an opportunity to make minor corrections, preparing the system for flawless operation once fully installed.
Step 8: Secure the Wiring and Finish Installation
Properly securing each cable ensures the longevity of your Lorex camera system. Use hooks, cables ties, or conduits to keep wiring organized and hidden wherever possible. Securing the cables reduces the risk of damage from wear or tampering.
Finish the installation by double-checking screws, bolts, and mounts to ensure every component is securely in place. Take a moment to power cycle the entire system, confirming all cameras are transmitting effectively to the DVR or app. A tidy, completed installation reinforces longevity and maintains a professional appearance.
Step 9: Enable Remote Access via the Lorex App
To maximize the functionality of your Lorex camera system, activate remote access through the dedicated Lorex app. Follow the on-screen prompts to connect your DVR to the app using a stable internet connection. Perform a live-view test to verify remote access functionality.
Once set up, you’ll be able to monitor your system in real time from your smartphone or tablet. Remote access enhances convenience and ensures you stay connected to your property’s security, no matter where you are.
Common Installation Challenges
While setting up your Lorex camera system, you might encounter a few common installation challenges. One frequent issue is ensuring proper placement of cameras for optimal coverage. Obstacles like walls, trees, or furniture may interfere with the camera’s field of view or network signal strength.
Additionally, wiring complications can arise, particularly in large properties or when routing cables through walls and ceilings.
Another challenge is configuring the system to connect to your network correctly. Problems such as incompatible router settings, weak Wi-Fi signals, or incorrect login credentials can hinder the connection process.
Finally, some users may struggle with adjusting camera angles or fine-tuning settings to achieve the best video quality, which might require experimenting with different placements and configurations. Addressing these challenges with careful planning and reference to the provided installation guides will help ensure a smooth setup process.
Frequently Asked Questions
Can I install a Lorex camera system myself, or should I hire a professional?
Installing a Lorex system is manageable for most DIY enthusiasts. The process is straightforward with proper planning and tools, though professionals are always an option for complex setups.
What tools do I need for installing a Lorex camera system?
Tools commonly needed include a drill, screwdriver, cable ties, and a ladder. Refer to your system’s instructions for any model-specific requirements.
How do I hide the cables during installation?
Use conduits, cable clips, or wall inserts to run wires discreetly along walls or ceilings. Keeping wires organized prevents tangling and enhances the system’s appearance.
Can Lorex cameras work without a DVR?
Some Lorex systems offer wireless options that don’t require a DVR, but older models or wired setups typically need one for full functionality and storage.
How do I set up motion detection on Lorex cameras?
Through the DVR or mobile app, access the motion detection settings to define sensitivity levels and zones. Adjust settings to prevent false alerts while ensuring comprehensive coverage.
Conclusion
Learning how to install a Lorex camera system is a rewarding process that combines DIY problem-solving with enhanced security for your home or business. By following this comprehensive guide, you’ll set up a reliable and user-friendly system tailored to your needs.
From unboxing and placement to testing and app integration, each step contributes to creating a fully functional surveillance network. Take charge of your security today and enjoy the peace of mind that comes with a professionally installed Lorex camera system!