

If you’re wondering how to lock Nest thermostat, you’re likely looking for ways to prevent unauthorized changes to your home’s temperature settings. A locked thermostat can safeguard your preferred temperatures, save energy, and discourage tampering from curious kids or guests. The good news? Locking a Nest thermostat is straightforward and hassle-free.

This feature is particularly valuable for ensuring optimal energy efficiency in a smart home setup. Whether you’re managing temperature control remotely or directly via the thermostat, adding an extra layer of security is something every homeowner or renter can benefit from. This guide will explain why locking the Nest thermostat is important and provide an easy-to-follow, step-by-step process to help you get started.
Why Locking Your Nest Thermostat Is Important
The Nest thermostat is not just a home gadget—it’s a gateway to smarter energy management. However, its functionality can be disrupted if people tamper with the settings. Locking your Nest ensures that temperature adjustments are limited to authorized users, helping to maintain a consistent and efficient environment.
Preventing tampering is particularly valuable in homes with kids, who might change settings out of curiosity, or shared living spaces, where disagreements over the thermostat are common. Additionally, in rental properties or vacation homes, locking limits unauthorized changes, ensuring the heating or cooling system works optimally without drifting away from energy-efficient presets.
This functionality also supports long-term savings by preventing constant fluctuations in temperature. With the Nest’s smart learning features, locking it guarantees it can perform at full capacity without disruptions caused by unnecessary manual adjustments. Beyond security, this feature promotes energy efficiency and peace of mind.
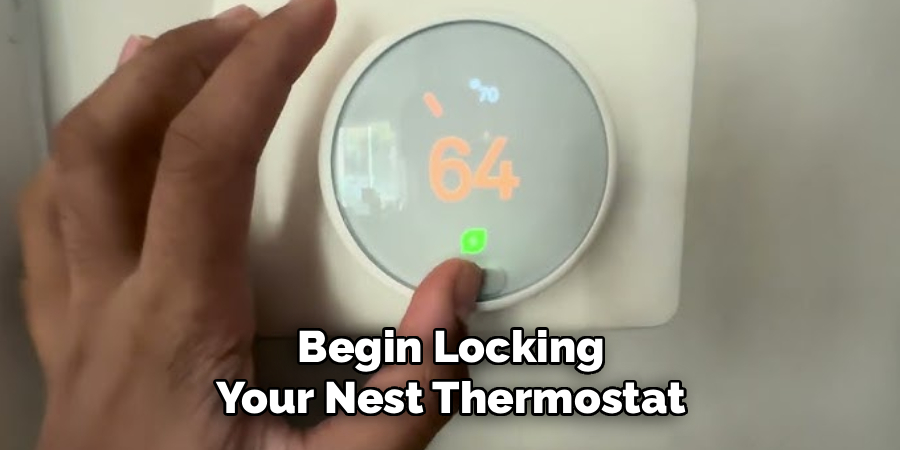
Step-by-Step Guide: How to Lock Nest Thermostat
Step 1: Access the Settings Menu
To begin locking your Nest thermostat, start by navigating to its main settings menu. Tap the thermostat’s control ring to wake up the device, and then turn the ring clockwise or counterclockwise to select the gear icon, which represents the settings.
Once inside the settings menu, scroll through the options until you find “Lock.” This menu functions as the central hub for all thermostat security adjustments. By understanding the settings interface, you’ll be better prepared to manage everything from temperature limits to PIN preferences. Ensure your thermostat remains responsive as you scroll, as quick rotations might skip over the key options.
Step 2: Select the Lock Option
After locating the “Lock” setting, press down on the thermostat ring to select it. The screen will prompt you to confirm that you want to enable the locking feature. At this stage, you’ll see prompts that guide you step by step on implementing additional security through a PIN code.
The locking option is designed to safeguard your temperature control setup. Before proceeding, decide whether you prefer full locking or partial restrictions on temperature adjustments, giving you flexibility depending on your household needs. Selecting this option initiates the process for confirming your security preferences.
Step 3: Set a Secure PIN
The Nest thermostat requires a unique PIN to be set during the locking process. Rotate the ring to select each digit of your chosen PIN, and click to confirm each one individually. Ensure the PIN is something easy for you to remember but complex enough to be secure against unauthorized guesses.
Once your PIN is set, the device will prompt you to re-enter it for confirmation. This ensures accuracy and prevents lockout scenarios due to typos. A unique PIN locks out unauthorized users while keeping temperature management entirely under your control.
Step 4: Define Temperature Ranges
After your PIN is confirmed, you’ll be prompted to define temperature limits. These minimum and maximum temperatures ensure that your HVAC system operates within your desired range, even if someone attempts unauthorized adjustments.
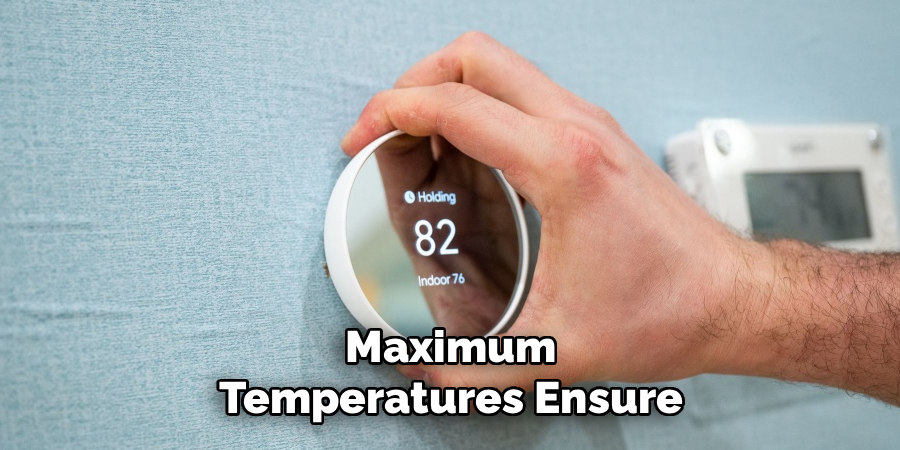
For example, you might set a range of 68°F to 74°F for heating or cooling, guaranteeing comfort while still optimizing energy efficiency. Rotate the ring to adjust each limit, and press to confirm. Setting temperature boundaries ensures a balance between comfort and savings, even when your thermostat is locked.
Step 5: Confirm the Lock Activation
Once everything—PIN and temperature range—is set, the device will ask you to confirm activation of the lock. This final step involves selecting “Yes” or “Activate” on the screen, which officially enables the security settings.
The confirmation step is critical, as it locks both the device and the predefined settings. Any attempt to adjust the temperature will now require the PIN, making the thermostat secure against unauthorized interference. Following through ensures your Nest thermostat is locked and fully operational.
Step 6: Test the Lock
After enabling the lock, it’s wise to test its functionality. Attempt to adjust the temperature or access locked features to verify that the PIN is required. Testing ensures your settings were applied correctly and provides an opportunity to make adjustments if you encounter issues.
This step is also an excellent time to share the PIN with any trusted household members who may need access. Confirming the lock helps you feel confident knowing the device is secured against accidental or unwanted changes.
Step 7: Use the Nest App for Remote Adjustments
The Nest app provides a convenient way to lock or unlock your thermostat remotely. Open the app on your smartphone, go to thermostat settings, and locate the “Lock” option. From there, you can enable or disable the lock and adjust settings as needed.
The app ensures that you remain in control, even when you’re away from home. Whether locking or unlocking, the ability to manage your device remotely adds an extra layer of flexibility to your thermostat security system.
Step 8: Unlocking the Thermostat
Should you need to unlock your thermostat, the process is as simple as accessing the settings again. Follow the same steps to locate the lock setting, and enter your PIN when prompted.
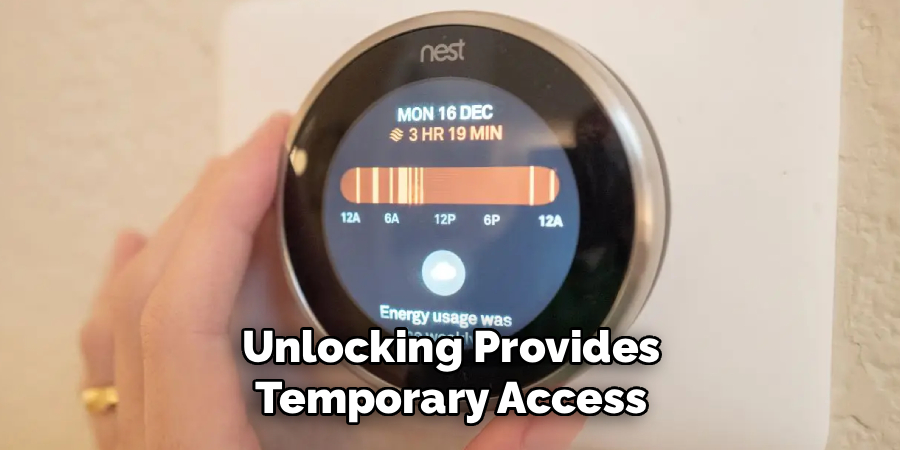
Unlocking provides temporary access for making manual adjustments or upgrading its firmware. Once you’re done, you can re-lock the device to maintain security. Knowing how to unlock ensures you can retain full control when necessary without compromising overall protection.
Step 9: Maintain Your Security Settings
Lastly, periodically review your security settings to ensure they align with your household’s needs. For example, if someone leaves the home or new users are added, consider updating the PIN code or reevaluating temperature limits.
Regularly maintaining the lock ensures optimal functionality and reinforces the benefits of this feature. Staying proactive about your settings guarantees that your Nest thermostat remains secure and user-friendly.
Troubleshooting Tips and Advice
If you encounter issues with your Nest thermostat, here are some common problems and their solutions to help you quickly resolve them:
Thermostat Not Connecting to Wi-Fi
- Verify your Wi-Fi network is working properly by checking if other devices are connected.
- Restart your router and try reconnecting your thermostat.
- Ensure your thermostat is within range of the Wi-Fi signal.
Heating or Cooling Not Responding
- Check if your thermostat is set to the correct mode (heating, cooling, or off).
- Inspect the wiring connections to ensure everything is properly secured.
- Ensure your HVAC system is powered on and functioning properly.
Thermostat Screen is Blank
- Confirm the thermostat is receiving power by inspecting the power source or checking the battery.
- If using batteries, try replacing them with fresh ones.
- Reset the thermostat by following the manufacturer’s instructions.
Temperature Seems Incorrect
- Make sure there are no drafts, direct sunlight, or obstructions affecting the thermostat’s sensor.
- Calibrate the thermostat if readings consistently seem inaccurate.

Error Codes
- Refer to the Nest app or support documentation for guidance on specific error codes.
- Many codes provide straightforward troubleshooting steps or indicate when professional assistance may be needed.
If problems persist, consult the help section on the Nest app or contact Nest support to address more advanced issues. Regular maintenance, such as software updates and cleaning the thermostat, can help prevent common problems from occurring.
Frequently Asked Questions
Can I lock my Nest thermostat remotely?
Yes, you can lock your Nest thermostat remotely using the Nest app. Navigate to the settings section, locate the “Lock” option, and enable it by following the prompts.
What should I do if I forget my thermostat PIN?
If you forget your PIN, use the Nest app to unlock your thermostat or reset the PIN. You can also consult the device settings via the app to regain access.
Does locking the Nest thermostat affect scheduled temperature settings?
No, locking the thermostat does not interfere with pre-programmed schedules. Scheduled temperatures will continue to adjust automatically even when the device is locked.
How can I allow limited access to my thermostat?
By setting temperature ranges during the locking process, you can restrict manual adjustments to specific values. This provides some flexibility while maintaining overall control.
Why is locking my Nest thermostat beneficial in shared living spaces?
Locking prevents unauthorized changes to temperature settings, ensuring consistent comfort and energy efficiency. This is particularly useful in shared homes or rental properties.
Conclusion
Learning how to lock Nest thermostat is a practical way to secure your home’s temperature settings while maximizing energy efficiency. By following simple steps like setting a PIN and defining temperature ranges, you can protect your thermostat from tampering and ensure optimal performance.
Whether you’re maintaining comfort at home or managing multiple users, locking the thermostat offers peace of mind and convenience. Start locking your Nest thermostat today to take control of your smart temperature management system!