

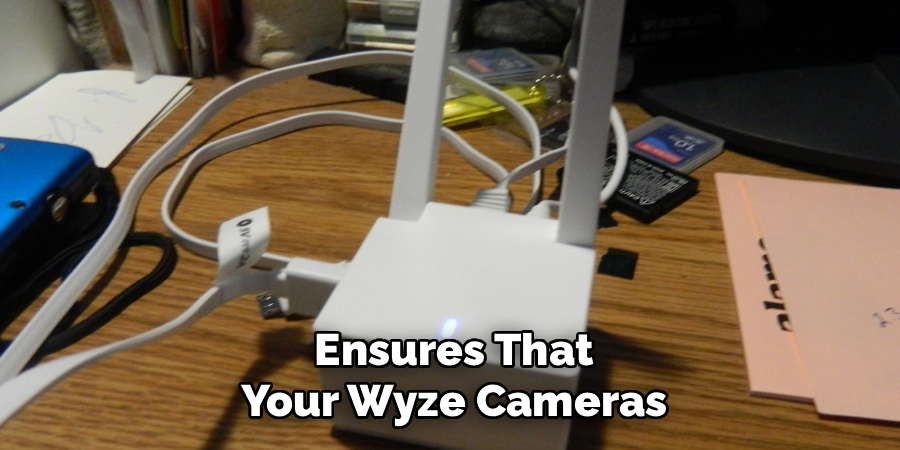
Understanding how to connect Wyze Base Station to Wifi is a vital step in setting up your Wyze smart home ecosystem. The Wyze Base Station acts as the central hub for connecting your Wyze devices, ensuring seamless communication between your cameras, sensors, and the Wyze app. Without an active and reliable Wi-Fi connection, your devices wouldn’t be able to perform essential tasks like recording, live streaming, or sending notifications.
Fortunately, connecting a Wyze Base Station to Wi-Fi is a straightforward process—even if you don’t consider yourself particularly tech-savvy. All it takes is the right preparation, a stable network, and a few simple steps. This guide is designed to walk you through the process, making it easy to complete the setup and begin enjoying the conveniences of a fully connected smart home.
Whether you’re troubleshooting an existing setup or connecting your Wyze Base Station for the first time, these step-by-step instructions will help you get everything up and running with confidence.
Why Is Connecting Your Wyze Base Station to WiFi Important?
Connecting your Wyze Base Station to Wi-Fi is essential because the base station serves as the backbone of your Wyze smart home setup. It’s the intermediary between your Wyze devices—like cameras and sensors—and your Wi-Fi network, enabling these devices to communicate efficiently.
A reliable wireless connection ensures that your Wyze cameras provide real-time updates, stream live video, and send timely notifications to your smartphone. It also allows the system to store event footage securely, synchronize device settings, and receive firmware updates that enhance performance and security.
Additionally, wireless connectivity allows for more flexible placement of your Wyze Base Station. You can position it away from your router or in a spot that optimizes its reach to other devices. For homeowners looking to create a seamless and efficient smart home, establishing a secure connection between the Wyze Base Station and your Wi-Fi network is the first critical step.
Step-by-Step Guide: How to Connect Wyze Base Station to Wifi
Step 1: Prepare Your Wyze Base Station
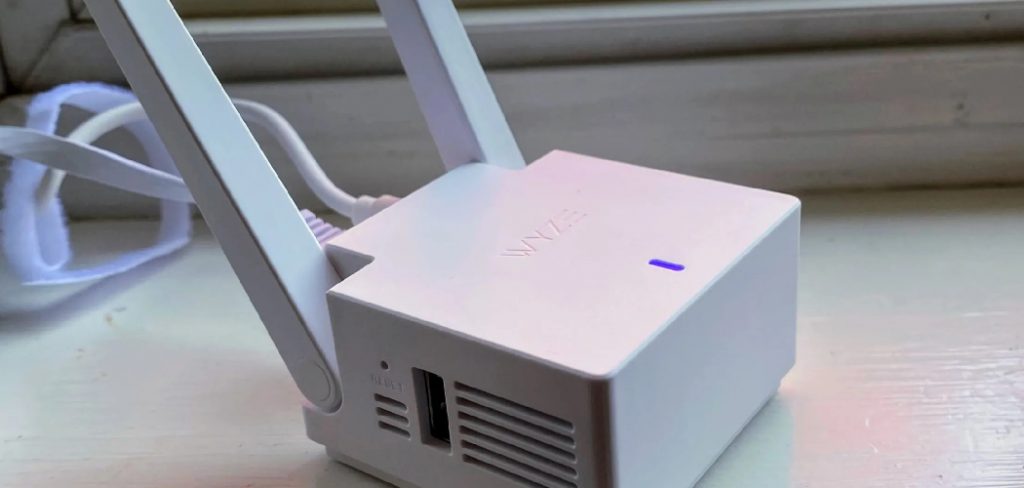
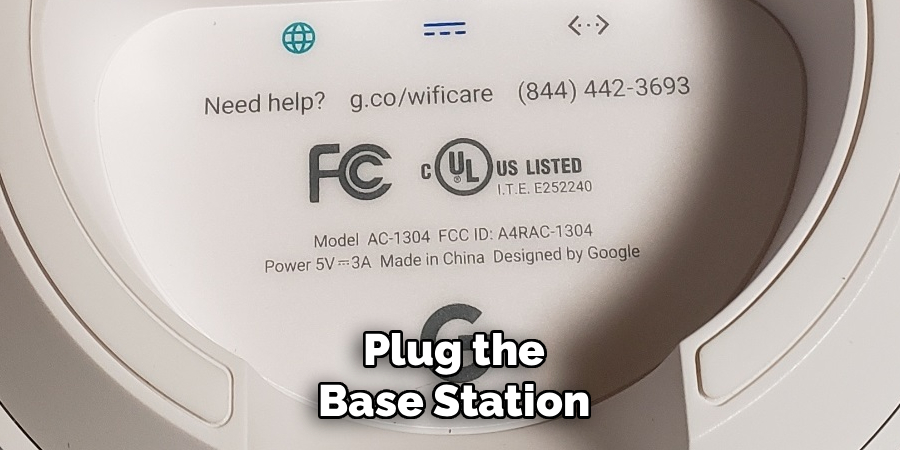
Before starting, ensure your Wyze Base Station is ready for connection. Unbox the device and check that you have all the necessary components, including the power adapter, Ethernet cable, and Quick Start guide. Place the base station near your Wi-Fi router for initial setup, as proximity will ensure a stronger connection during the configuration process.
Plug the base station into a power outlet using the included adapter. You’ll notice the LED light on the front of the base station begin to flash, indicating that it’s powered on and ready for setup. A fully prepared Wyze Base Station is the starting point for a hassle-free Wi-Fi connection.
Step 2: Connect the Base Station to Your Router
Using the provided Ethernet cable, connect the Wyze Base Station directly to your router. This wired connection ensures that the router recognizes the base station and establishes the initial link needed for wireless setup.
Wait for the LED indicator on the base station to turn solid blue, signaling a successful connection with the router. This step allows the base station to synchronize with your network, ensuring a smooth transition to the wireless connection phase. A stable initial connection is critical for the next steps.
Step 3: Download and Open the Wyze App
If you haven’t already, download the official Wyze app on your smartphone from the Apple App Store or Google Play Store. Open the app and sign in using your Wyze account credentials. If you’re new to Wyze, create an account by following the on-screen prompts.
Once logged in, tap on the “+” icon in the top corner of the app to start adding a new device. Select “Wyze Base Station” from the list of available devices to begin the setup process. The Wyze app serves as your central hub for managing the base station and other connected devices.
Step 4: Update the Base Station Firmware
Before proceeding with the wireless setup, check for any firmware updates for your Wyze Base Station. On the Wyze app, follow the prompts to update the firmware if necessary. Firmware updates often contain performance improvements, bug fixes, and security enhancements, ensuring your base station operates smoothly.
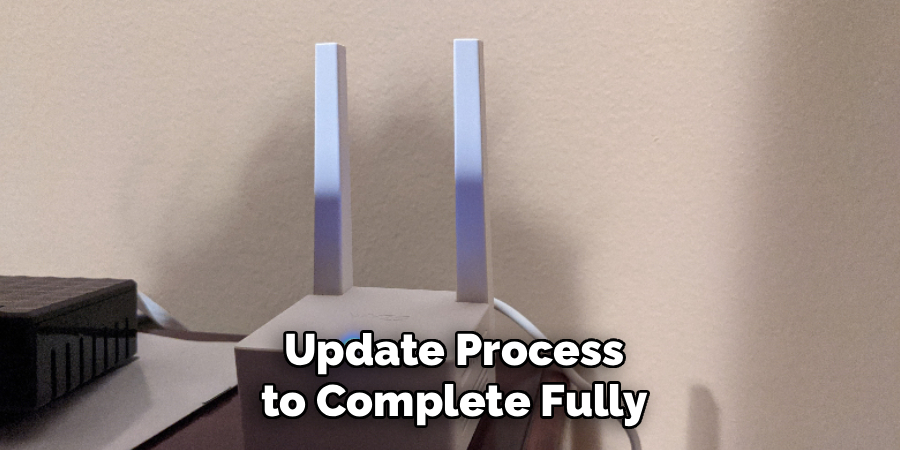
Allow the firmware update process to complete fully before proceeding. Interrupting the update could cause temporary connection issues or incomplete setup. Keeping your base station updated ensures compatibility with new devices and features, making this step particularly important.
Step 5: Switch to Wi-Fi Mode
Once the base station is connected and updated, it’s time to transition to wireless mode. Open the Wyze app and access the advanced settings for the base station. Select the “Set up Wi-Fi” option to begin configuring the wireless connection.
The app will prompt you to disconnect the Ethernet cable once you’re ready to switch to Wi-Fi. Follow the prompts carefully, ensuring that the base station remains powered on throughout the process. Transitioning to Wi-Fi mode gives you the flexibility to place the base station anywhere in your home.
Step 6: Connect to Your Wi-Fi Network
Select your home Wi-Fi network from the list displayed in the Wyze app. Use a network that operates on the 2.4 GHz frequency, as Wyze Base Stations typically don’t support 5 GHz networks. Enter your Wi-Fi password carefully to avoid connection errors.
Once you’ve entered the correct credentials, the app will initiate the connection process. Watch for the LED indicator on the base station to turn solid blue again, confirming that it’s successfully connected to your Wi-Fi network. Establishing a secure wireless connection ensures your devices can communicate without interruptions.
Step 7: Test the Connectivity
To ensure the setup is complete, test the connection by checking the status of the base station in the Wyze app. You should be able to access all settings and view connected devices seamlessly. If any issues arise, consult the troubleshooting section of the app or perform a reset to start the process again.
Consider testing the connection from different locations in your home to confirm the range and reliability of the base station’s signal. A successful test confirms that your Wyze Base Station is fully operational and integrated into your smart home network.
Step 8: Add Wyze Devices to the Base Station
Once your Wyze Base Station is connected to Wi-Fi, you can start pairing other Wyze devices, such as cameras or motion sensors. Using the Wyze app, follow the prompts for each device to sync it with the base station.
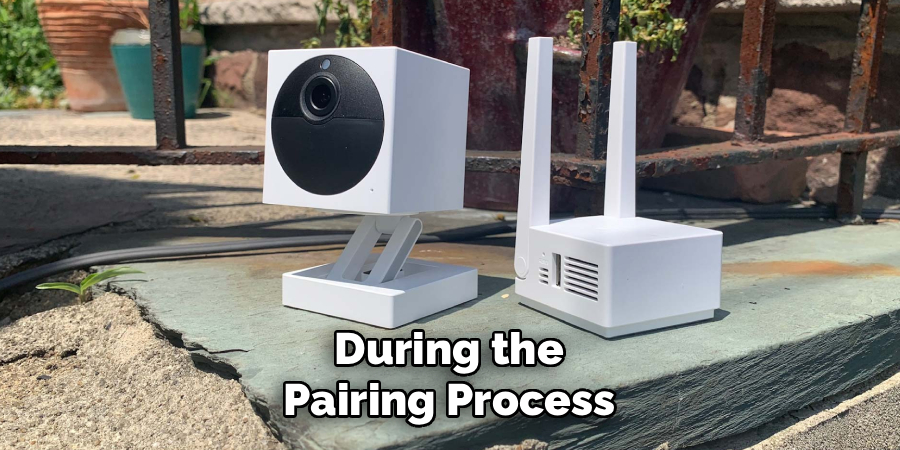
During the pairing process, ensure all devices are within range of the base station for smooth communication. Adding devices one at a time ensures the system registers each component without delays or errors. Proper integration enhances the overall efficiency of your Wyze smart home setup.
Step 9: Optimize the Base Station Placement
With your base station connected and functional, focus on finding the ideal location for optimal performance. Place it centrally in your home, avoiding physical obstructions like walls or metal appliances that can weaken the signal.
A well-positioned base station ensures that all paired devices maintain strong connectivity, minimizing lag or downtime. Adjust the placement as needed based on signal strength and the configuration of your smart home. Perfecting the placement enhances the overall user experience.
Connectivity Issues
One of the most common issues with smart home systems is connectivity problems. This can manifest as devices dropping off the network, slow response times, or complete unresponsiveness of the system. Here are some steps you can take to troubleshoot and resolve these issues:
- Check your internet connection: Make sure your router is properly connected and there are no outages in your area that could be affecting your internet service. Also, check if other devices on the network are experiencing similar connectivity problems.
- Restart your hub/base station: Sometimes a simple restart of the main control unit can solve connectivity issues. Unplug it from power for a few minutes and then plug it back in.
- Power cycle your camera: If the issue is with a specific camera, try power cycling it by unplugging it from power for a few seconds and then plugging it back in. This can help reset the connection between the camera and base station.
- Check for firmware updates: Make sure your cameras and hub are running on the latest firmware versions. Manufacturers often release updates to fix bugs and improve performance, so keeping your devices up to date can prevent connectivity issues.
- Reboot your computer or phone: If you’re using a computer or phone to access your security system, try restarting the device as well. Sometimes a simple reboot can solve software-related connectivity problems.
Frequently Asked Questions
What do I do if the Wyze Base Station won’t connect to Wi-Fi?
If your base station isn’t connecting, verify that you’re using a 2.4 GHz network and have entered the correct Wi-Fi password. Additionally, check for interference from other devices or reboot your router to strengthen the signal.
Can I connect multiple devices to one Wyze Base Station?
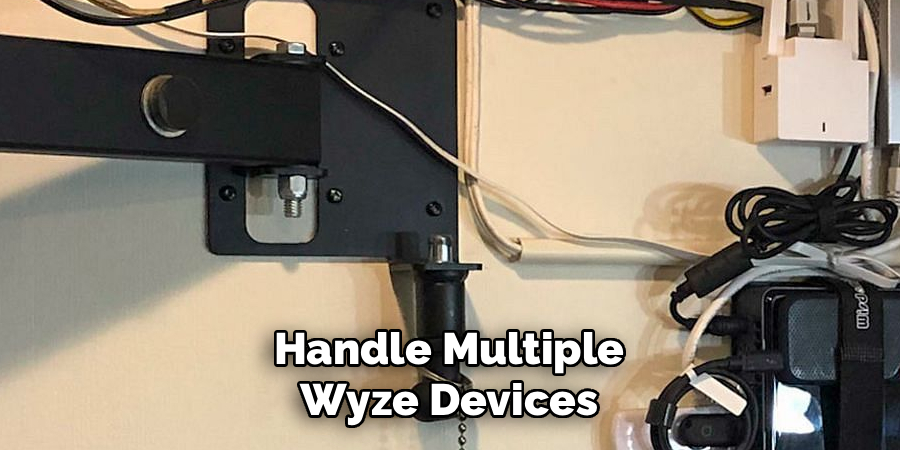
Yes, a single Wyze Base Station can handle multiple Wyze devices, such as cameras and sensors, as long as they’re within range and the network signal is strong.
Does the Wyze Base Station need to stay connected to Ethernet?
No, after the initial setup, you can switch the base station to Wi-Fi mode, allowing for a more flexible and wireless placement anywhere in your home.
How do I reset the Wyze Base Station if it stops working?
To reset the base station, hold the reset button on the back of the device for about 10 seconds. This will restore factory settings and allow you to start the setup process again.
Is the Wyze Base Station compatible with 5 GHz networks?
No, the Wyze Base Station typically supports only 2.4 GHz networks, as this frequency provides better compatibility and range for connected devices.
Conclusion
Understanding how to connect Wyze Base Station to Wifi is essential for creating an efficient smart home setup. By following these detailed steps, you can ensure that your base station operates seamlessly and supports a range of connected Wyze devices.
With your base station ready and operational, you’re well on your way to enjoying the benefits of a smart, connected home. Take the first step today and set up your Wyze Base Station with confidence!