

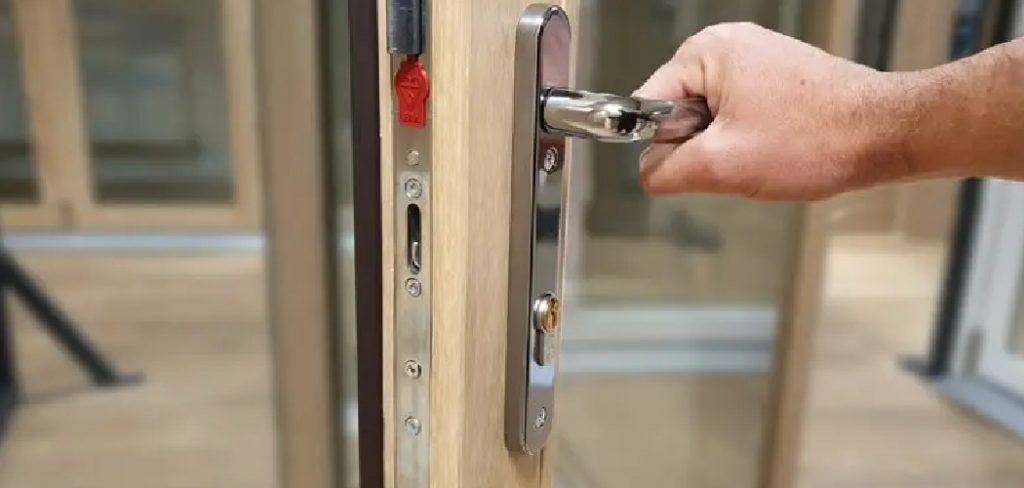
Knowing how to install patio door lock systems is a simple yet essential skill for enhancing home security. Patio doors, especially sliding glass ones, are common entry points for unauthorized access due to their design. Installing a secure lock isn’t just about safety; it also provides peace of mind. Whether you’re responding to a previous break-in or improving your home’s defenses, the installation process is manageable for beginners and DIY enthusiasts alike.
This guide will walk you through the complete process of installing a patio door lock, from selecting the right lock system to ensuring it functions correctly. With the right tools and tips, you’ll gain the confidence to complete this task efficiently and effectively. By the end, you’ll have a reinforced patio door, making your living space safer and more secure.
Why Is Installing a Patio Door Lock Important?
Patio doors have unique challenges when it comes to security. Their large glass panels and sliding mechanisms make them more vulnerable compared to traditional entry doors. By installing a quality patio door lock, you significantly reduce the risk of unauthorized entry, giving your family and belongings added protection.
A secure patio door lock offers secondary benefits, too. For homeowners with small children or pets, the lock prevents accidental sliding or openings that could lead to safety risks. Additionally, a high-quality lock can help with energy efficiency by keeping glass panels snugly sealed, preventing drafts or heat loss.
Regularly maintaining or upgrading your patio door security is essential for staying ahead of potential threats. Whether you’re living in a bustling urban area or a quiet suburb, ensuring robust security features on sliding doors is a proactive step in protecting your home. With ease of installation and instant benefits, adding a lock to your patio door is a worthwhile investment.
Step-by-Step Guide: How to Install Patio Door Lock
Step 1: Choose the Right Lock
The first step is selecting the best lock for your patio door. Locks designed specifically for sliding doors come in various types, such as bar-style locks, latch locks, or key-operated locks. Consider the level of security you want, as well as usability for household members.
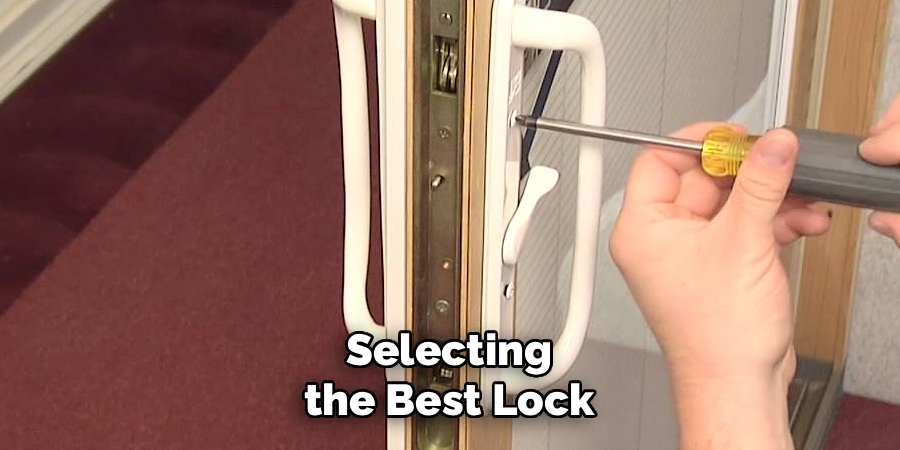
Match the lock with the material of your door—aluminum, wood, or vinyl—since compatibility ensures ease during installation and long-term durability. Check for certifications like quality ratings or burglary resistance standards. Picking the right lock sets the foundation for a secure and efficient installation process.
Step 2: Gather Essential Tools
Before beginning, ensure you have all necessary tools on hand. Common items include a cordless drill, screwdriver, measuring tape, pencil, and safety glasses. Having the lock’s installation instructions nearby will also assist in avoiding mistakes.
Organize your tools within easy reach, creating a clean workspace to prevent misplacing screws or small components. Accuracy during this stage ensures you proceed smoothly, minimizing any potential disruptions once the installation process begins.
Step 3: Mark the Lock Position
Next, position the lock on the sliding door to identify where it will be installed. Hold the lock firmly against the door frame to evaluate placement and ensure it aligns properly. Mark the areas where screws will go using a pencil, ensuring clear and accurate guides for drilling.
Standard lock placements vary depending on design, but make sure the height is user-friendly while still secure. Double-check that the patio door can still slide open and shut freely without interference. Correct markings lead to precision, which is essential for a successful installation.
Step 4: Drill Pilot Holes
After marking the points, drill pilot holes into the patio door and frame carefully. Pilot holes allow screws to go in straight and prevent splitting or cracking of the material. Use a drill bit that matches the diameter specified in the lock’s directions.
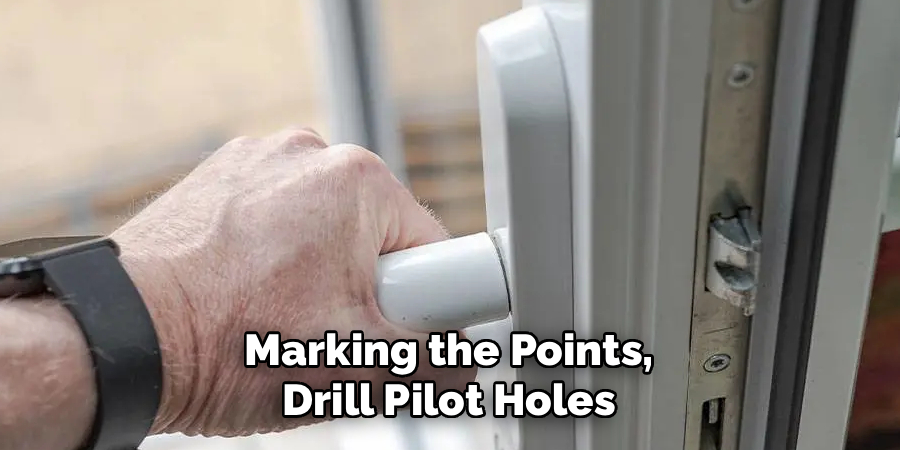
Wear safety glasses to protect your eyes from debris while drilling. Keep the drill steady to avoid enlarging the pilot holes. Consistently precise drilling minimizes errors, ensuring the lock is properly secured.
Step 5: Attach the Lock Mechanism
Once the pilot holes are ready, secure the lock mechanism onto the door using screws. Insert screws into the pre-drilled holes, tightening them securely but not overtightening to avoid stripping or damaging the screws.
Ensure the main locking mechanism sits flush against the surface and does not wobble. Test its stability by applying light pressure to ensure it remains firm. A properly attached mechanism guarantees that the lock will function without any issues.
Step 6: Align the Catch Plate
The catch plate is a vital part of the lock system that ensures the door stays securely closed when locked. Position it on the door frame where the lock will engage. Use the locking mechanism to align it accurately, making sure the two parts connect seamlessly when closed.
Mark the catch plate’s location with a pencil, taking care to match its alignment with the lock. A correctly positioned catch plate ensures the door latches firmly, preventing accidental openings or forced entry attempts.
Step 7: Secure the Catch Plate
Drill additional pilot holes for the catch plate and attach it to the frame with screws. Secure it tightly using the same techniques as the main lock mechanism. Once installed, test the alignment by closing the door and engaging the lock to ensure the parts connect smoothly.
Any misalignment, even slight, can hinder the lock’s functionality, so observe closely and make adjustments if needed. The catch plate’s role is crucial for completing the secure setup reliably.
Step 8: Test the Lock
With both the lock and catch plate in place, test the lock’s performance to ensure it works flawlessly. Slide the patio door open and closed while engaging and disengaging the lock to identify any sticking or misaligned issues.
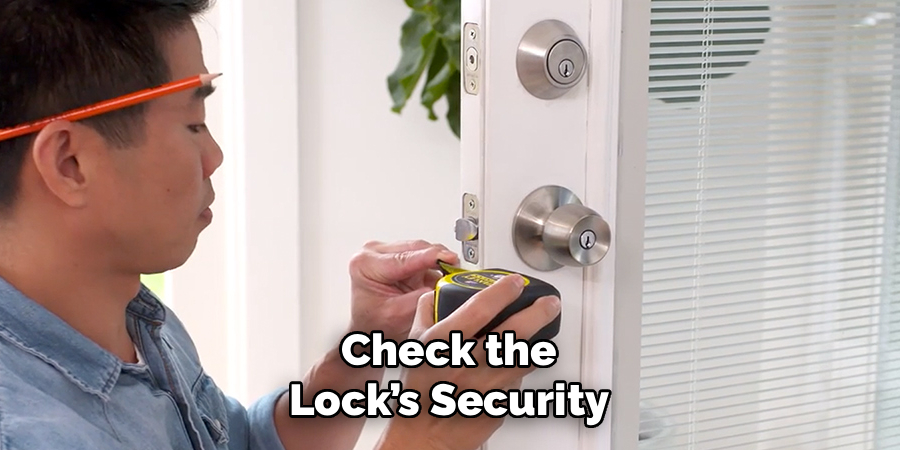
Check the lock’s security by gently applying pressure to the door while it’s locked to confirm its resistance against forced entry. Testing ensures the entire system works as intended and reinforces confidence in the installation quality.
Step 9: Final Adjustments and Maintenance
Inspect the installation to ensure there are no loose screws or damaged components. Tighten anything that feels slightly unstable and reinforce alignment as needed. Use a lubricant like silicone spray on moving parts to keep the lock operating smoothly over time.
Set a reminder to periodically check the lock’s condition and tighten screws if they loosen due to regular use. Final adjustments extend the lock’s lifespan and maintain its security continuously.
Common Installation Mistakes
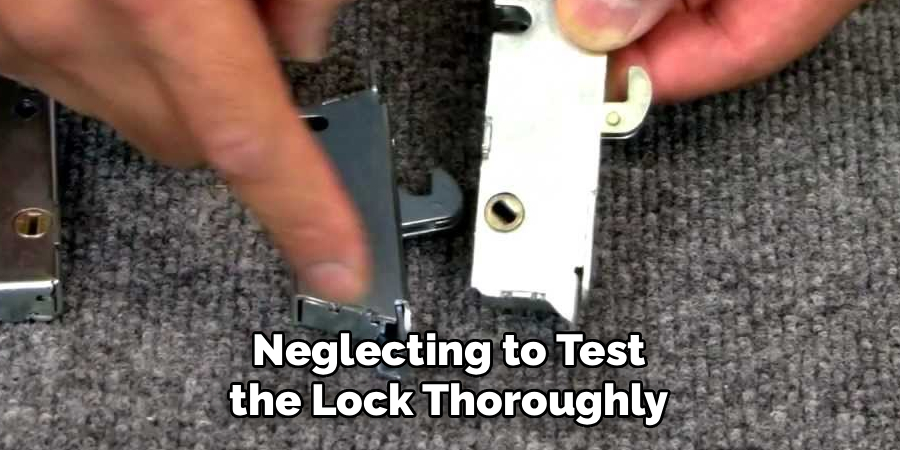
While installing a lock may seem straightforward, there are several common mistakes that can compromise its functionality and security. One frequent error is misaligning the lock components, which can lead to improper latching or difficulty in turning the key. Others fail to measure accurately, causing holes to be drilled in the wrong position or at an incorrect size.
Over-tightening screws is another common issue, as it can damage the lock mechanism or reduce its effectiveness. Neglecting to test the lock thoroughly after installation often leads to unnoticed issues that may arise later. To avoid these mistakes, carefully follow installation instructions and double-check measurements and alignment throughout the process.
Frequently Asked Questions
What type of lock is best for sliding patio doors?
Bar-style locks, latch locks, and key-operated locks are excellent options for sliding patio doors. Bar-style locks are ideal for added security, while latch locks offer convenience. Choose a type compatible with your door material for optimal results.
Can I install a patio door lock without professional help?
Yes, installing a patio door lock is a task most DIY enthusiasts can handle with basic tools and clear instructions. By following step-by-step guides, even beginners can complete the installation confidently.
How do I ensure the lock is secure?
To ensure the lock’s security, align its components correctly and test it after installation. Tight screws, flush alignment, and proper engagement between the lock and catch plate prevent unauthorized access.
What tools are necessary for installing a patio door lock?
You’ll need a cordless drill, screwdriver, measuring tape, safety glasses, and a pencil. Quality installation instructions from the lock’s manufacturer are also essential for success.
Do I need to lubricate my patio door lock?
Yes, occasional lubrication with a silicone-based spray keeps the lock’s moving parts working smoothly. Regular maintenance prevents wear and ensures a long-lasting, reliable lock.
Conclusion
Proper installation and maintenance of your patio door lock are crucial for ensuring the safety and functionality of your home. By using the correct tools, following the manufacturer’s guidelines, and performing regular upkeep, you can enjoy a secure and hassle-free experience. Don’t overlook the importance of routine checks to address any signs of wear or potential issues before they become significant problems. Taking these steps will give you peace of mind and help protect your property effectively.
Installing a patio door lock provides both security and peace of mind. By following this step-by-step guide, you’ll be equipped to secure your patio door effectively and confidently.
Learning how to install patio door lock systems is not just practical—it’s empowering. Start this simple yet impactful project today to protect your home and enjoy lasting benefits!