
Learning how to remove level lock is an essential skill for homeowners, renters, or DIY enthusiasts who need to repair, replace, or upgrade their smart lock systems. Level locks are designed to be both sleek and secure, integrating seamlessly into modern doors without visible hardware. However, when the time comes to remove the lock, the process can seem intimidating for those unfamiliar with the steps.

To begin the removal process, ensure you have the necessary tools on hand, such as a flathead screwdriver and a Phillips-head screwdriver. Start by opening the door and locating the screws that secure the lock assembly in place. These screws are typically found on the interior side of the door. Carefully unscrew them, making sure to keep the screws in a safe place for future use or disposal. Once the screws are removed, gently pull the lock assembly away from the door to reveal the internal components. Be cautious during this step to avoid any damage to the door or the lock itself.
Fortunately, removing a level lock is a straightforward task with the right tools and guidance. Whether you’re upgrading to a newer model or troubleshooting an issue, this guide walks you through the removal process step by step. By the end, you’ll feel confident tackling the project and keeping the integrity of your door and hardware intact.
Why Is It Important to Know How to Remove Level Lock?
Understanding how to remove level lock is valuable for multiple scenarios, from troubleshooting to upgrading your smart home security. These locks feature a sleek, in-door design, which makes the removal process slightly unique compared to traditional locks. Knowing the correct steps ensures you can remove the hardware without damaging your door or the lock mechanisms.
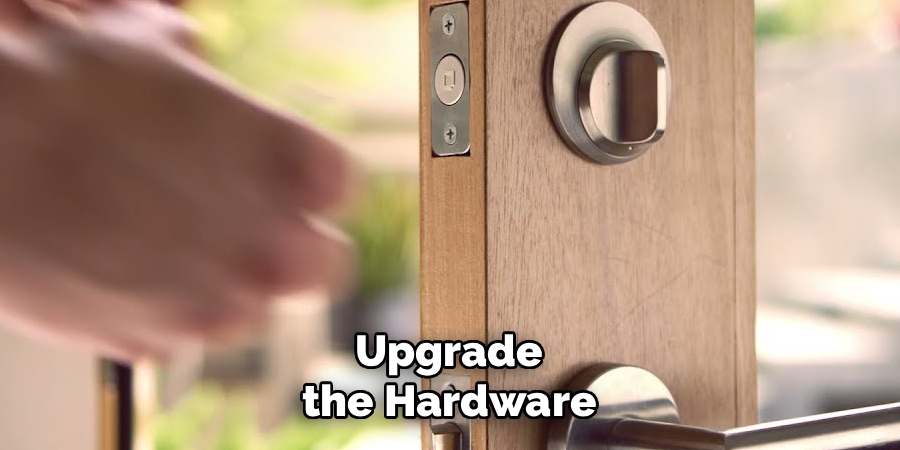
There are also practical considerations. You may need to remove a level lock to inspect the batteries, upgrade the hardware, or make room for a new device entirely. Regular lock maintenance, including removal and reinstallation, is an integral part of keeping your home’s security features in top condition.
Additionally, smart lock troubleshooting often involves disassembling parts to reset the device or address specific malfunctions. Having a clear understanding of how to safely remove the lock prevents unnecessary stress and costly repairs. By being equipped with this skill, you can take control of your home security while avoiding common pitfalls that less-prepared users face.
Step-by-Step Guide: How to Remove Level Lock
Step 1: Gather the Necessary Tools
Before you begin, gather the tools needed for the job. Typically, removing a level lock requires a precision screwdriver set, a flathead screwdriver, and possibly a hex key or Allen wrench. Gather a clean, flat surface where you can safely set aside the lock components as you work through the removal process.
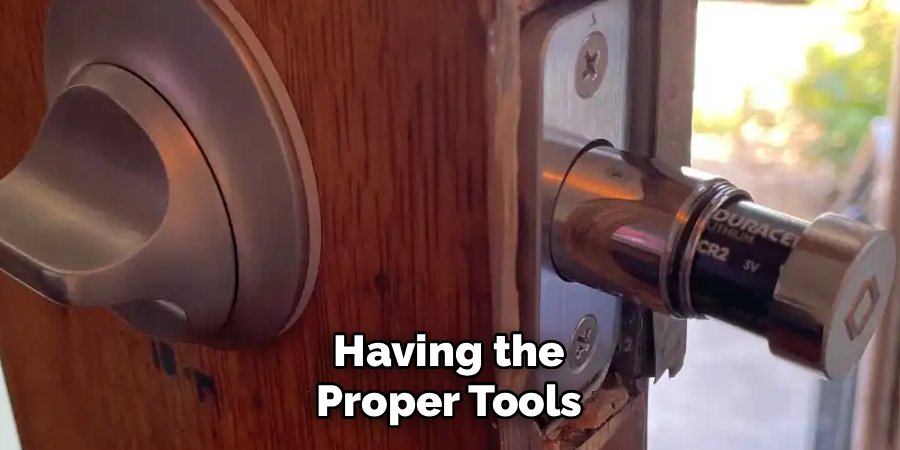
Having the proper tools on hand minimizes the risk of accidentally damaging the lock or door while dismantling the hardware. Ensuring that you work on a stable surface with good lighting creates a safe space for completing the task. Proper preparation sets the stage for a smooth and efficient removal.
Step 2: Unlock and Disarm the Lock
Start by ensuring the level lock is disarmed. Use the Level app to unlock the device and remove any security settings or automations that may engage during the process. If the lock is battery-powered and has removable batteries, take them out to prevent unintended activation while you’re working.
Double-check the lock’s status using the app to confirm it’s ready for removal. This step is essential for maintaining safety and ensuring the lock does not engage unexpectedly as you proceed. Taking precautions at the beginning reduces complications later in the process.
Step 3: Locate the Hidden Screws
Level locks are known for their minimalist design, meaning the screws and fasteners are often concealed beneath the cover plate. Carefully inspect the lock’s surface to identify where the screws are hidden. Typically, you’ll find a hidden access point that requires a flathead screwdriver or similar tool to gently lift and expose the screws.
Work slowly to avoid scratching the surface of the lock. Once the fasteners are exposed, you can safely proceed to remove the cover plate. Ensuring that this is done carefully preserves the lock’s appearance and functionality in case it needs to be reused.
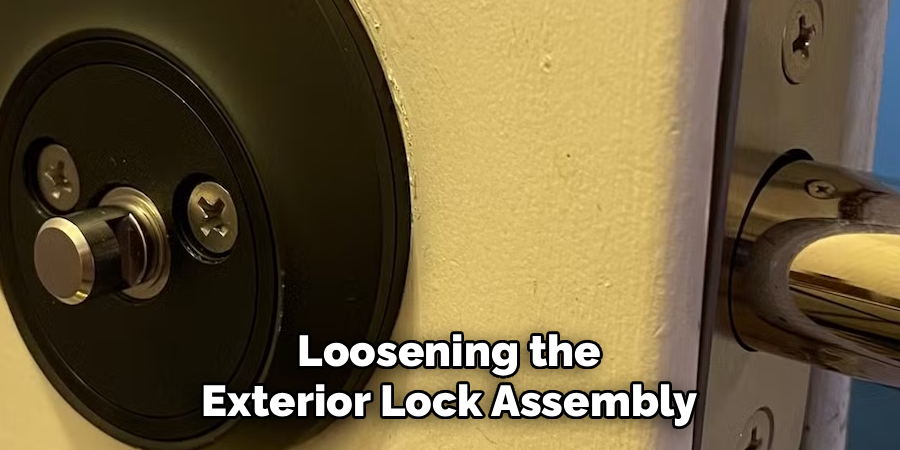
Step 4: Loosen the Exterior Lock Assembly
With the screws now visible, begin loosening the exterior lock assembly, which includes the outer components attached to the face of the door. Use a suitable screwdriver to unscrew the fasteners, ensuring even pressure to avoid stripping the screws. Work methodically and set the removed screws aside in a safe location.
Once the screws are fully removed, gently pull the lock housing away from the door. This step involves handling delicate hardware with care to avoid exerting unnecessary force. Removing the exterior assembly reveals the internal mechanisms that connect it to the lock core.
Step 5: Detach the Interior Mechanism
After removing the exterior assembly, turn your attention to the interior lock mechanism. Locate the mounting bracket or frame that holds the interior piece in place. Identify the screws or clips securing this component to the door and carefully loosen or detach them using the appropriate tool.
Depending on the model, you may also need to unplug or disconnect wiring from the lock’s internal components. Take time to observe how each piece is connected to ensure smooth reassembly if needed. Safely detaching the interior mechanism is key to fully exposing the lock cylinder.
Step 6: Remove the Lock Cylinder
The lock cylinder is the heart of the level lock system, and removing it often involves extra care. Locate the screws or fasteners that anchor the cylinder to the door’s interior. Use a precision screwdriver if needed and proceed to unscrew the hardware.
Gently pull out the lock cylinder, ensuring no wires or additional connectors are holding it in place. If met with resistance, double-check for hidden fasteners or alignments that may need adjustment. Removing the cylinder completes the detachment process, leaving the door free of the level lock.
Step 7: Inspect the Door and Lock Components
Once the level lock is removed, inspect both the door and the hardware components for any signs of wear or damage. Look for scratches, loose material, or issues that may have been caused during installation or everyday use. This inspection provides an opportunity to address problems before reinstallation or replacing the lock altogether.
If necessary, clean the door’s surface and hardware using a soft cloth and an appropriate cleaner. Ensure the workspace is clear and organized with all screws and pieces accounted for. Inspecting and maintaining the components helps ensure all elements are in good condition for their next use.
Step 8: Store or Dispose of the Lock Safely
If you plan to reuse the level lock, organize the screws, mechanisms, and assemblies in labeled bags or containers for easy identification during reinstallation. For those replacing the lock, safely dispose of the components in accordance with local recycling guidelines for electronic devices and metal materials.
Keeping your workspace tidy and secure during this step guarantees the lock or its replacement is handled responsibly. Proper storage or disposal makes the transition seamless while aligning with smart home maintenance practices.
Step 9: Test the Door Functionality
After the level lock is removed, test the door to ensure it opens, closes, and latches properly. Check for any misaligned hinges that may have been unnoticed before. If you’re preparing the door for another lock installation, ensure all holes or openings are clean and debris-free.
Verifying the door’s functionality ensures the removal process was performed correctly and sets the foundation for future lock installations. Completing this check confirms your work and ensures you’re ready for the next steps.
Common Mistakes During Lock Removal
When removing a lock, several common mistakes may occur that can complicate the process or cause unintended damage. One frequent issue is using the wrong tools, which can strip screws or damage the lock mechanism.
Always ensure you have the correct screwdriver, pliers, and other necessary tools before starting. Another error is neglecting to label components or keep track of small parts like screws or internal pins, which can lead to confusion during reassembly or further installations.
Additionally, applying excessive force can damage the door or its finish, leaving unsightly marks or impairing the door’s alignment. Finally, failing to verify the door’s alignment or troubleshoot hinge issues beforehand can result in an incomplete or poorly executed removal. Taking the time to approach this process carefully, with the right tools and attention to detail, can prevent these mistakes and streamline your work.
Frequently Asked Questions
Do I need professional tools to remove a level lock?
No, the tools required for removing a level lock are generally common, including screwdrivers or a hex key. Precision tools may be useful but are not typically necessary for standard removal.
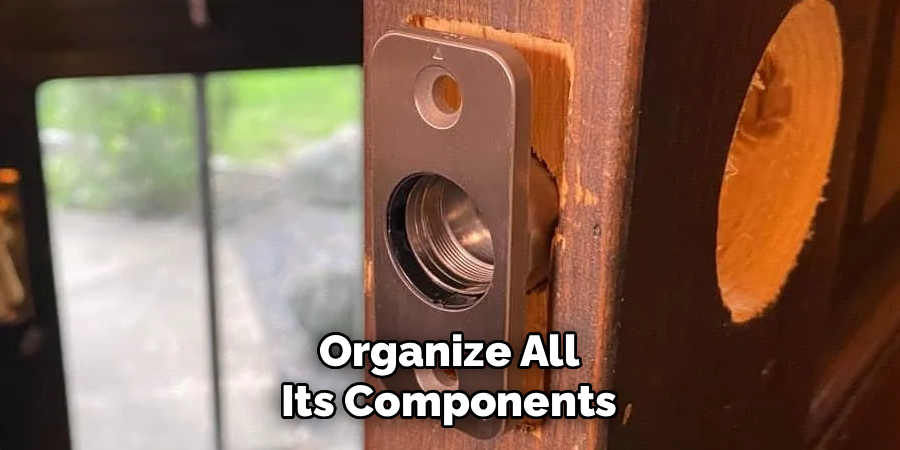
Can I reuse a level lock after removing it?
Yes, a level lock can be reused if it is in good condition. Make sure to organize all its components for reassembly and store them safely until you need the lock again.
Do I need to disable the lock before removing it?
Yes, it’s crucial to disarm the lock using its app or any manual override option. This prevents accidental activation and ensures safe handling during removal.
What should I do if I encounter resistance during removal?
If the lock resists removal, check for missed screws or hidden fasteners. Apply gentle, even pressure to parts, and never force components as this could cause damage to the lock or door.
How long does it take to remove a level lock?
With basic tools and preparation, removing a level lock typically takes between 20–30 minutes. Factors like experience and model variations may influence the overall time.
Conclusion
Knowing how to remove level lock ensures a smooth and damage-free process that allows you to maintain, replace, or upgrade your security system. By following careful steps for disarming, detaching components, and inspecting parts, you’ll handle the task efficiently and with confidence.
Whether you’re preparing for an upgrade or troubleshooting issues, tackling the removal of a level lock can be straightforward and rewarding. Start today and take control of your smart home maintenance with ease!