
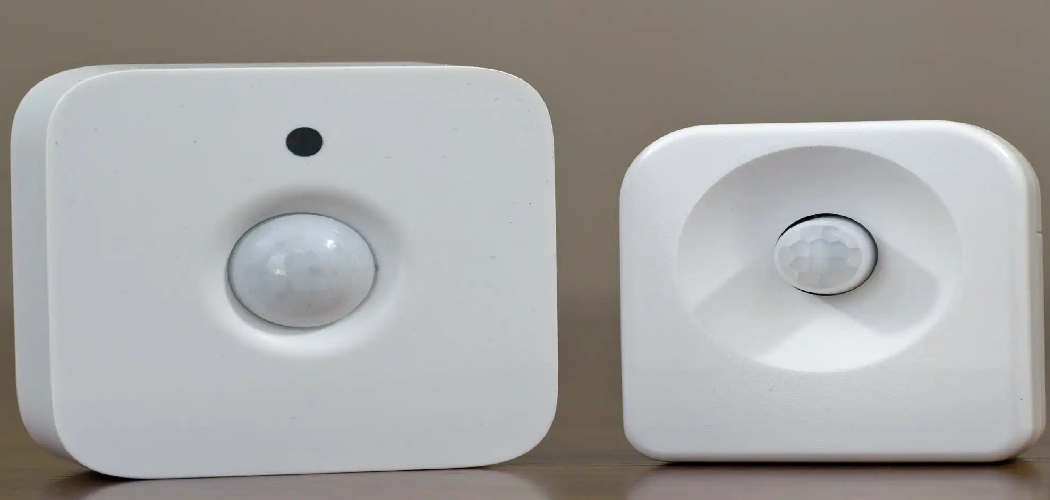
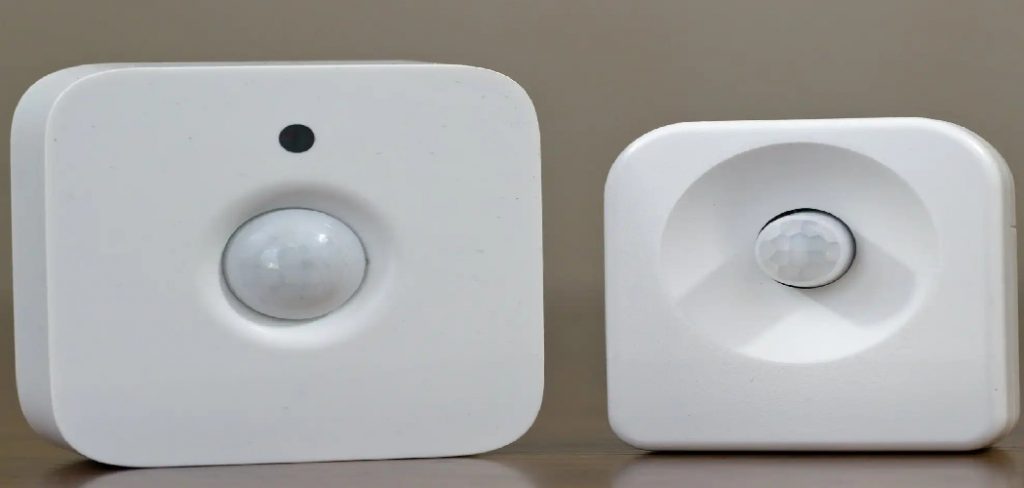
How to program lutron motion sensor might seem intimidating at first, but it’s a straightforward process that can significantly enhance the functionality of your home or workspace. These motion sensors are designed to improve energy efficiency, enhance convenience, and adapt to various lighting needs. Whether you want the lights to turn on automatically when someone enters a room or to conserve power by ensuring they switch off when the space is unoccupied, learning how to program one is essential.
To begin programming your Lutron motion sensor, ensure that it is properly installed and functioning. Start by accessing the settings, which may involve using a dedicated remote or a control panel depending on the model. Adjust the sensitivity level to suit the specific environment—higher sensitivity is ideal for spaces with more frequent movement, while lower sensitivity works well for minimizing false triggers. Next, set the time delay for how long the lights should remain on after detecting motion. Many models allow customization, so experiment with different settings to find what works best for your needs. Make sure to test the motion sensor in various conditions to verify its responsiveness and accuracy.
This guide will walk you through each step, making it easy for beginners and tech-savvy homeowners alike to grasp the process. By the end, you’ll feel confident in setting up and customizing your motion sensor to fit your needs perfectly. Let’s explore how to program a Lutron motion sensor and unlock its full potential for your space.
Why Programming Lutron Motion Sensors Matters
Programming a Lutron motion sensor isn’t just about setting up a gadget—it’s about increasing the functionality and efficiency of your space. These sensors are designed to streamline your lighting control, saving you time, energy, and money in the long run. For instance, if you’re tired of reminding the kids to turn off the lights or you want to avoid fumbling for a switch in the dark, this technology can handle it all seamlessly.
These devices also contribute to environmental sustainability. By automating when lights turn on or off, you reduce unnecessary energy consumption. Furthermore, programming them allows you to tailor their operation to meet your lifestyle. Whether you need the sensor to be ultra-sensitive for high-traffic areas or prefer it less active in quieter spaces, personalization makes all the difference.
Understanding why programming matters can inspire you to take full advantage of this technology. It’s not just about convenience—it’s about creating a smart, efficient system that works for you.
7 Steps on How to Program Lutron Motion Sensor
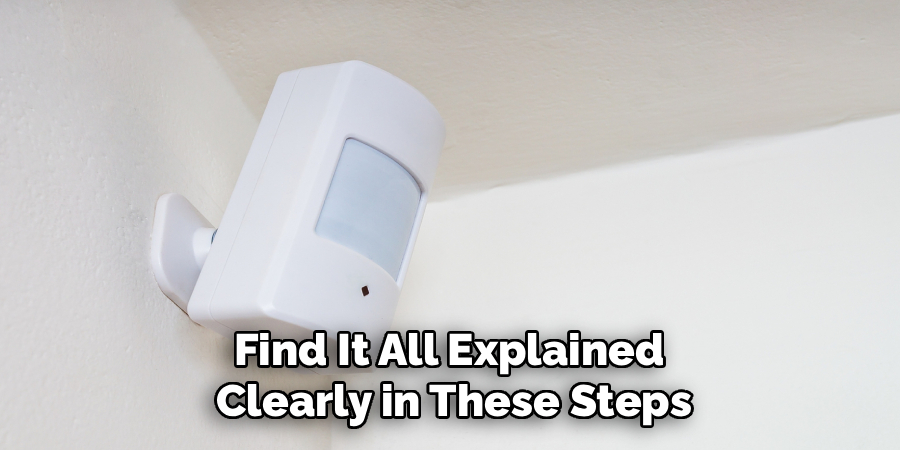
Below is a step-by-step guide on how to program a Lutron motion sensor. From unpackaging the sensor to fine-tuning its settings, you’ll find it all explained clearly in these steps. Follow along to master this useful skill.
Step 1: Prepare the Sensor and Space
Before programming, it’s essential to prepare both the motion sensor and the space where it will be installed. Start by identifying the room or area the sensor will cover. This might be a kitchen, hallway, or office—spaces that benefit most from automated lighting.
Unbox the sensor and check that all components, such as screws, mounting brackets, or manuals, are included. It’s also important to ensure the area is clean, free of obstructions, and appropriate for sensor placement. For example, avoid positioning the sensor where it might face direct sunlight or moveable objects like ceiling fans, as they can trigger false activations.
Finally, confirm that the area has active power and compatible light fixtures for the unit. Good preparation will save you time and effort as you continue with the setup.
Step 2: Mount the Sensor in the Desired Location
The next step involves mounting the Lutron motion sensor in its designated spot. Begin by determining the ideal location based on the manufacturer’s recommendations. Commonly, motion sensors are installed on walls or ceilings to maximize coverage.
Using the provided screws or adhesives, securely affix the sensor to the surface. Always follow the specific mounting instructions to avoid improper installation, which could lead to inaccurate sensor operation. For example, when mounting on a wall, ensure the sensor is at an appropriate height—usually around six to eight feet from the floor—to accurately detect motion without being too high or low.
Test the stability of the sensor mount before proceeding; a secure and properly aligned sensor ensures reliable performance. Address any issues like crooked placement or loose fittings immediately to avoid malfunctions.
Step 3: Power On the Sensor
With the sensor installed, you’ll now need to power it on. Most Lutron motion sensors use batteries, so insert them correctly as indicated in the manual. Battery quality matters—use reliable, long-lasting types to avoid frequent replacements.
Once powered, the sensor’s indicator light should flash or remain steady, signaling that it’s ready for the programming phase. If the light doesn’t activate, double-check the battery installation and ensure they’re fresh. For wired variants, you’ll need to connect the sensor’s wiring to the home’s electrical system, following safety procedures and consulting an electrician if needed.
After confirming the unit is powered, proceed with the programming.
Step 4: Enter Programming Mode
To start programming your Lutron motion sensor, locate and press the control button. The exact method varies depending on the model, but most devices require pressing and holding a specific button for a few seconds until the indicator light changes—often flashing or changing color to signal programming mode.
This mode allows you to configure settings such as activation sensitivity and delay times. Carefully consult your sensor’s user guide during this process, as entering programming mode improperly can reset or disrupt the device. Once you’ve accessed programming mode, you’ll be able to customize the sensor’s performance to meet your needs.
Step 5: Adjust Sensitivity Settings
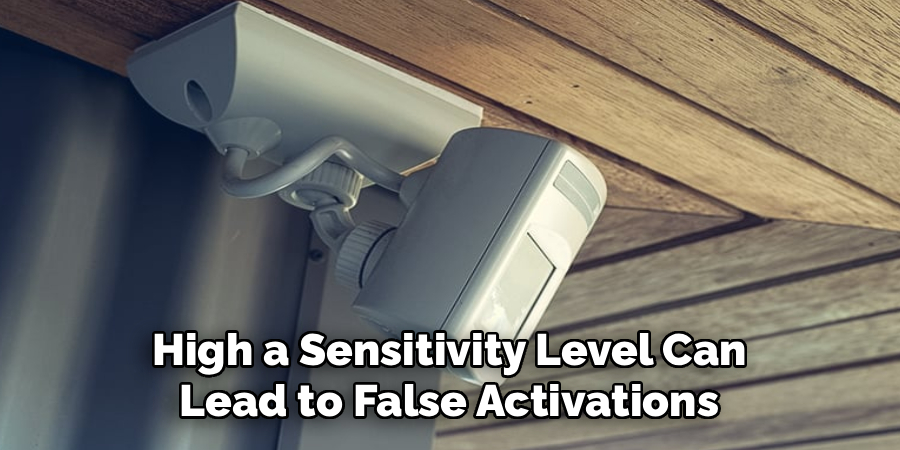
Customizing the sensitivity of your motion sensor is crucial for ensuring that it detects motion accurately. Too high a sensitivity level can lead to false activations from minor motions like ceiling fan blades, while too low a setting may cause the lights to miss human activity entirely.
Using either physical controls on the device or through an app interface (depending on the model), adjust the sensitivity settings. Test the adjustments by moving within the sensor’s range to strike the right balance. This ensures the sensor activates when needed without reacting to irrelevant movements.
Step 6: Set the Timer Duration
The timer duration determines how long the lights will stay on after motion is detected. Common options range from 1 minute to 30 minutes. Consider the room’s function when selecting a duration. For example, shorter timers work well in hallway areas, while extended durations are better for places like kitchens or offices.
Locate the timer setting on the device and use the adjustment knobs or app settings to set your preferred time. Test the setup to confirm the lights turn off correctly after the specified time.
Step 7: Test the Sensor Functionality
Testing the programmed settings is vital before declaring the process complete. Walk into the sensor’s range to trigger the device and monitor its response. Evaluate whether the lights activate as expected, stay on for the programmed duration, and deactivate correctly.
If any issues arise during testing—such as lights flickering or failing to turn off—double-check the programming and consider revisiting earlier steps. Testing ensures the sensor is fully operational and optimized for your space.
Advanced Programming Features
Advanced programming features can significantly enhance the functionality and efficiency of motion sensors. Features like sensitivity adjustment allow you to fine-tune the sensor’s range, ensuring it detects movement only within the desired area. Additionally, some sensors offer ambient light detection, which can prevent activation during daylight hours, thereby conserving energy.
Timers and scheduling options are also available on more sophisticated models, enabling users to set specific activation and deactivation times to match their routines. For security-oriented applications, features like multi-zone detection and integration with smart home systems further expand the sensor’s capabilities, allowing for seamless automation and remote monitoring. Understanding and utilizing these advanced features can help tailor the sensor precisely to your needs.

Frequently Asked Question
How do I know if my Lutron motion sensor is working correctly?
You can test the motion sensor by moving within its detection range. If the lights activate and follow the programmed timer settings, the sensor is functioning properly. Check the indicator light for additional confirmation.
Can a Lutron motion sensor be used outdoors?
Yes, but ensure the sensor model is rated for outdoor use. Some sensors are built to withstand weather conditions, while indoor-only models may malfunction if exposed to moisture or extreme temperatures.
How do I reset my Lutron motion sensor?
To reset, hold the designated reset button (or control button) until the indicator light changes. This typically takes 5–10 seconds. Refer to the user manual for specific directions.
What kind of batteries do Lutron motion sensors use?
Most Lutron sensors use AA or AAA batteries, but some may require specialty types. Always use high-quality batteries to avoid frequent replacements and ensure consistent performance.
Will my sensor work in a large room?
Yes, but placement is key. For large spaces, install the sensor centrally or consider multiple units to cover the entire area without blind spots. Consult the motion sensor’s coverage specifications to ensure proper performance.

Conclusion
Learning how to program a Lutron motion sensor can transform the way you manage lighting in your home. From mounting the sensor to perfecting its sensitivity and timer settings, each step in the process ensures your sensor is tailored to your needs. These devices save energy, offer unparalleled convenience, and add a touch of modern functionality to your space.
Take the time to program your sensor thoroughly and enjoy the benefits it brings. With this knowledge, you’re now ready to experience the enhanced comfort and efficiency of an automated lighting system.