

Installing safety film on your car is a practical way to enhance its durability and protect the windows from potential damage.
Safety films are designed to reinforce the glass, reducing the risk of shattering during accidents, break-ins, or extreme weather conditions. This guide will walk you through the steps of how to install safety film on car, helping you achieve a professional finish while ensuring your car’s security.
What is Safety Film and Its Benefits?
Safety film is a transparent or tinted layer of polyester material that is applied directly to your car’s windows. It is specifically designed to strengthen glass and hold it together in the event of an impact, reducing the risk of dangerous shards flying. Available in various thicknesses, safety films can be tailored to meet different levels of protection, from basic reinforcement to advanced security against extreme forces.
The benefits of safety film extend beyond just reinforcement. It enhances your vehicle’s security by deterring potential break-ins, as the film makes it harder for thieves to break the glass quickly. Additionally, safety film can block harmful UV rays, protecting the interior of your car and reducing glare that can cause driver fatigue. Some types of safety film also offer heat reduction, keeping the cabin cooler during hot weather. Overall, safety film provides peace of mind, knowing your car is safer and more secure in various situations.
Tools and Materials Needed
To properly install safety film on your vehicle, you will need the following tools and materials:
- Safety Film: Choose a high-quality safety film that suits your specific needs, whether for UV protection, glare reduction, or heat control.
- Squeegee: A rubber-edged squeegee helps to smooth out the film and remove air bubbles during application.
- Utility Knife: Use a sharp utility knife to trim the film to the precise size and shape of your car windows.
- Spray Bottle with Application Solution: A solution of water and a few drops of soap allows for easy positioning and adherence of the film.
- Lint-Free Cloth: Helpful for cleaning the windows and wiping away excess moisture during the installation process.
- Straight Edge or Ruler: Assists in making accurate cuts and measurements.
- Heat Gun (Optional): Useful for properly contouring the film to curved windows and ensuring a seamless finish.
Having these tools and materials ready will ensure a smooth and efficient safety film installation process.
10 Methods How to Install Safety Film on Car
Method 1: Gather Tools and Materials
Before starting, collect all necessary tools and materials to ensure a smooth installation process. You will need the safety film, a utility knife, spray bottle with water and a few drops of mild soap, a squeegee or plastic card, a lint-free cloth, a heat gun or hairdryer, and a microfiber towel.
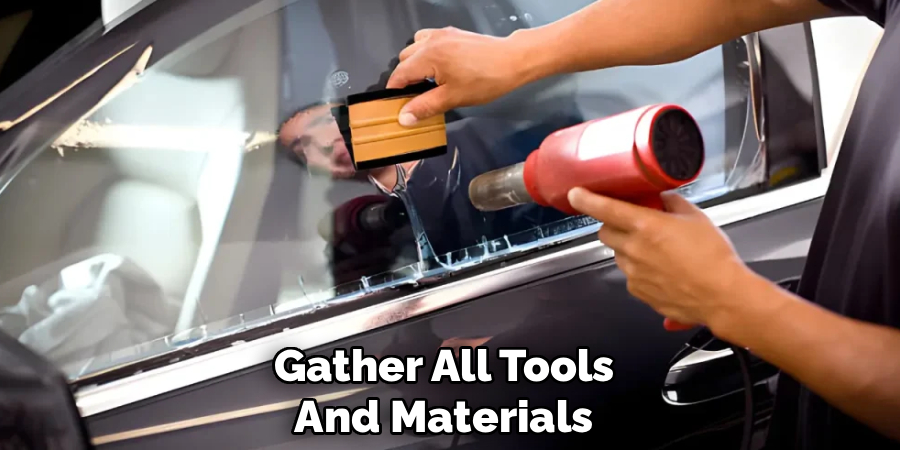
Having all tools ready prevents interruptions and ensures a professional-quality installation. Choosing high-quality film and cleaning solutions is essential to achieve a long-lasting, clear finish.
Method 2: Clean the Windows Thoroughly
The first and most crucial step is to clean the car windows thoroughly. Use a glass cleaner or a solution of water and mild soap to remove dirt, dust, grease, or fingerprints. A lint-free cloth ensures no debris remains on the surface. Any dust particles or residue left on the window can create bubbles or prevent the film from adhering properly. Taking the time to clean the glass meticulously sets the foundation for a flawless installation.
Method 3: Measure and Cut the Safety Film
Carefully measure the dimensions of each car window before cutting the safety film. Leave a slight margin of about 1–2 centimeters on all sides to ensure full coverage. Use a sharp utility knife or a precision cutting tool to trim the film according to your measurements. Cutting the film accurately before installation reduces errors and ensures that the edges fit snugly against the window frame. Proper measurement and cutting are vital for a neat and professional appearance.
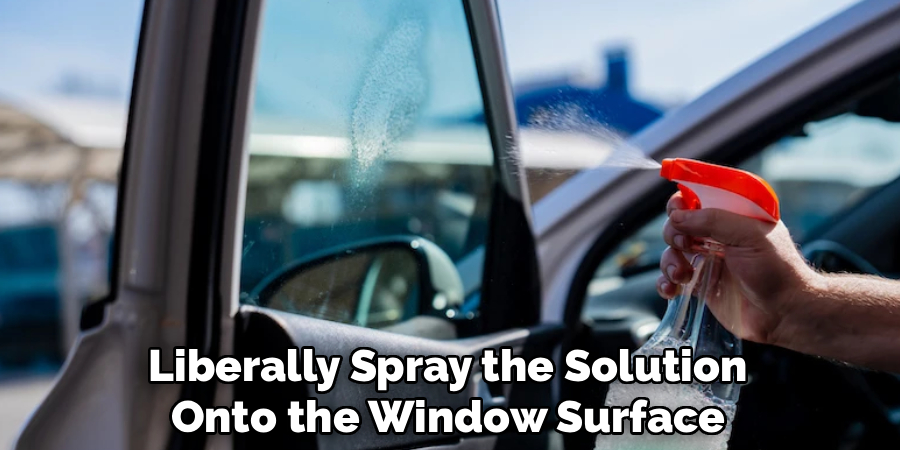
Method 4: Spray the Window with Solution
Fill a spray bottle with water and a few drops of mild dish soap. Liberally spray the solution onto the window surface. The soapy water acts as a lubricant, allowing you to position and adjust the film on the glass before it adheres. This step prevents the film from sticking immediately, giving you time to align it correctly and reduce the likelihood of wrinkles or bubbles. Spraying the window thoroughly ensures smooth and precise placement.
Method 5: Peel Off the Protective Backing
Carefully peel the protective backing from the safety film, exposing the adhesive side. Avoid touching the adhesive with your fingers, as oils and dirt can create bubbles or uneven adhesion. Spray the exposed adhesive lightly with the soapy water solution to maintain flexibility during positioning. Handling the film with care and keeping the adhesive clean ensures a smooth application and prevents imperfections.
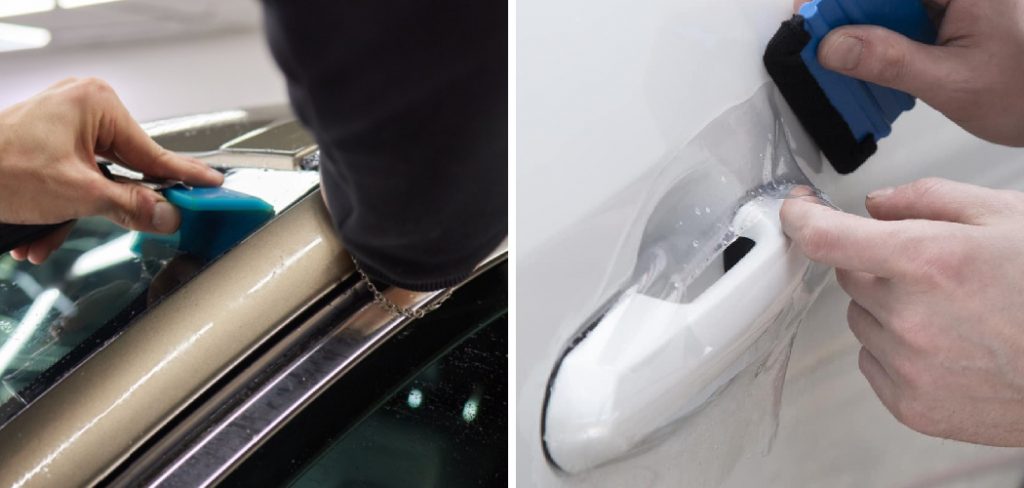
Method 6: Apply the Film to the Window
Position the adhesive side of the film against the sprayed window surface. Start from one edge and gradually lay it down, ensuring that it aligns with the edges of the window. The lubricated surface allows you to slide the film into the correct position before it adheres completely. Take your time to avoid creases and ensure that the film covers the entire glass area uniformly. Proper alignment at this stage is critical for a professional finish and maximum protective coverage.
Method 7: Remove Air Bubbles and Excess Solution
Use a squeegee or a plastic card to remove air bubbles and excess water from underneath the film. Start from the center and work outward toward the edges. Apply gentle, even pressure to push out trapped air and liquid. Wipe the edges with a microfiber cloth to remove residual solution. This step ensures that the film adheres smoothly and prevents the formation of permanent bubbles that can distort visibility.
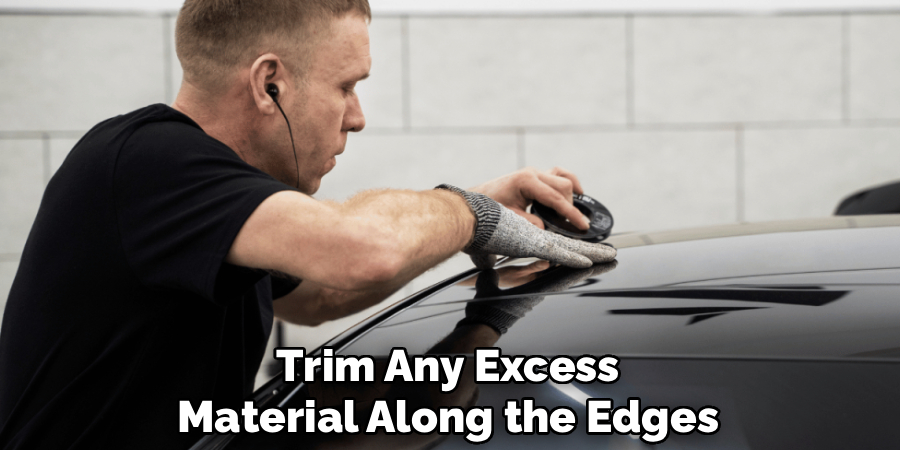
Method 8: Trim Excess Film
Once the film is properly positioned and all air bubbles are removed, trim any excess material along the edges using a sharp utility knife. Be careful not to scratch the glass or cut into the rubber seals around the window. Neatly trimming the edges ensures a seamless fit and enhances the overall appearance of the installation. Precise trimming gives a professional, factory-finished look to the film.
Method 9: Heat the Film for Better Adhesion
Use a heat gun or hairdryer on a low setting to carefully warm the film. Heating softens the adhesive, allowing it to bond more firmly to the glass. Move the heat source evenly across the surface without lingering too long in one spot, as excessive heat can damage the film. After heating, use the squeegee again to smooth the film and eliminate any remaining bubbles. Proper heat application ensures long-lasting adhesion and a smooth, wrinkle-free finish.
Method 10: Allow Proper Curing Time
After installation, allow the film to cure and fully adhere to the window. Most safety films require at least 24–48 hours to bond completely. During this period, avoid rolling down the windows or cleaning the film surface aggressively. Follow the manufacturer’s instructions for curing, as this ensures the adhesive sets firmly and the film maintains its clarity and protective properties. Patience during the curing phase guarantees durability and a flawless, professional finish.
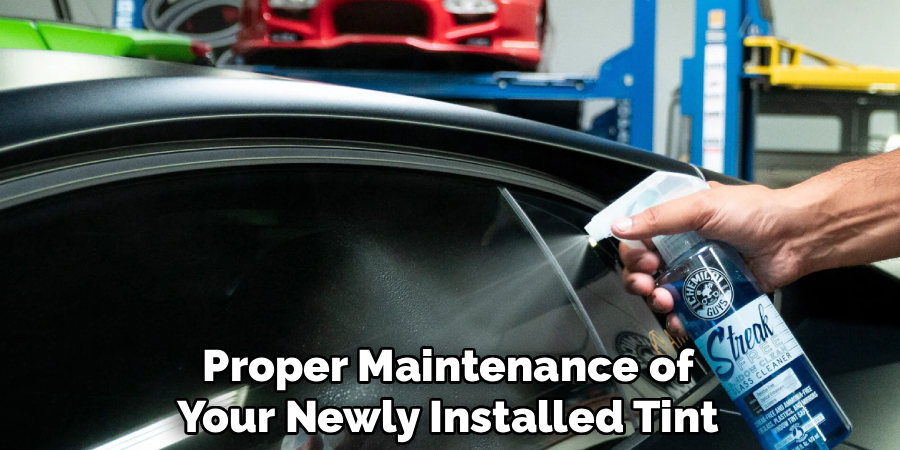
Maintenance and Upkeep
Proper care is essential to ensure the longevity and effectiveness of your window film. Once the curing period is complete, clean the film using a soft cloth or sponge and a mild, non-abrasive cleaning solution. Avoid using ammonia-based cleaners, as they can damage the film’s surface and reduce its protective qualities.
Inspect the film periodically for any signs of wear, such as peeling or bubbling, and address issues promptly to prevent further damage. With regular maintenance, your window film will continue to provide clarity, safety, and UV protection for years to come.
Safety Considerations
When installing or maintaining window film, it is important to prioritize safety to avoid potential injuries or damage. Always wear appropriate safety gear, such as gloves and safety glasses, to protect your hands and eyes from sharp tools or chemicals. Ensure the workspace is well-ventilated, especially when using cleaning solutions or adhesives, to avoid inhaling harmful fumes.
If working on elevated surfaces, use a sturdy ladder or platform and ensure it is stable before beginning any tasks. When cutting the film, handle sharp tools carefully and store them securely when not in use to prevent accidental injuries. By taking these precautions, you can ensure a safe and efficient process for handling window film.
Conclusion
Installing safety film on car windows enhances both security and comfort, reducing glare, blocking UV rays, and protecting passengers from broken glass. By following these ten methods—from gathering tools and cleaning the windows to precise measurement, careful application, bubble removal, trimming, and curing—you can achieve a professional-quality installation.
Proper technique ensures long-lasting adhesion, clarity, and effectiveness, transforming your car windows into a safer, more protective surface. Follow these simple instructions outlined in this blog post about how to install safety film on car, and you’ll be able to get the job done with ease.
About
Safety Fic is a distinguished figure in the world of Diy design, with a decade of expertise creating innovative and sustainable Diy solutions. His professional focus lies in merging traditional craftsmanship with modern manufacturing techniques, fostering designs that are both practical and environmentally conscious. As the author of diy, Safety Fic delves into the art and science of Safety Fic-making, inspiring artisans and industry professionals alike.
Education RMIT University
(Melbourne, Australia) Associate Degree in Design (Safety Fic) Focus on sustainable design, industry-driven projects, and practical craftsmanship. Gained hands-on experience with traditional and digital manufacturing tools, such as CAD and CNC software.
Nottingham Trent University
(United Kingdom) Bachelor’s in diyfastly.com and Product Design (Honors) Specialized in product design with a focus on blending creativity with production techniques. Participated in industry projects, working with companies like John Lewis and Vitsoe to gain real-world insights.
Publications and Impact
In diy, Safety Fic his insights on indoor design processes, materials, and strategies for efficient production. His writing bridges the gap between artisan knowledge and modern industry needs, making it a must-read for both budding designers and seasoned professionals.