

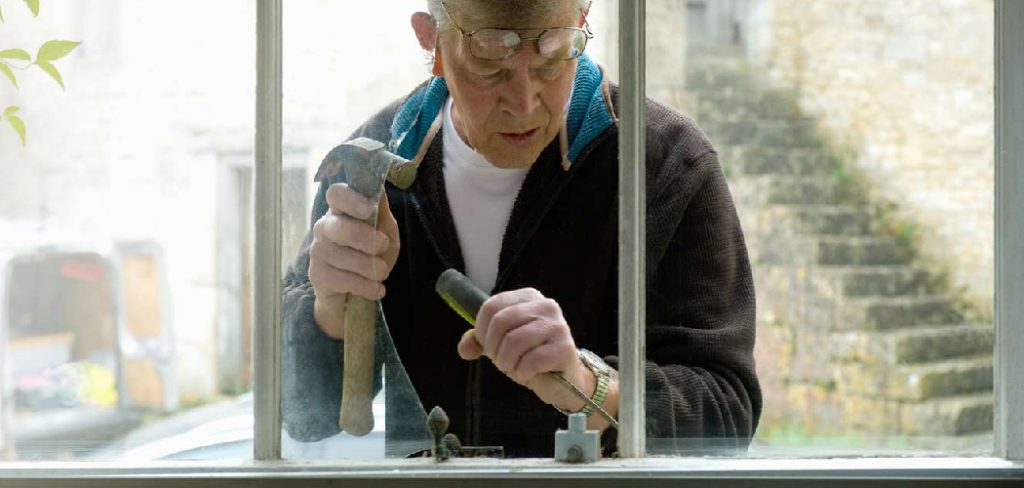
Replacing broken window glass might seem like a daunting task, but with the right tools and careful preparation, it can be a straightforward process. Whether it’s a cracked pane in your home or a shattered window in your workshop, addressing the issue promptly is essential for maintaining safety, energy efficiency, and aesthetic appeal. This guide will walk you through the steps of how to replace broken window glass effectively and safely.
Why Replacing Broken Window Glass is Necessary
Promptly replacing broken window glass is crucial for several reasons. First and foremost, damaged glass poses significant safety risks, as sharp edges can lead to injuries. Additionally, broken windows can compromise your home’s security, making it easier for intruders or pests to enter.
From an energy efficiency standpoint, a broken window disrupts insulation, leading to drafts and higher energy bills as your heating or cooling system works harder to maintain a comfortable indoor temperature. Finally, replacing broken glass restores the aesthetic appeal of your home, ensuring it remains welcoming and well-maintained. Addressing the issue sooner rather than later helps prevent larger problems down the line.
What You’ll Need Before You Start
Before replacing broken glass, gather the necessary tools and materials to ensure a smooth and safe process. Here’s what you’ll need:
- Protective Gear: Gloves and safety goggles to protect your hands and eyes from sharp edges and debris.
- Replacement Glass: Measured to the correct size for your window frame.
- Glazing Points or Clips: To secure the glass in place.
- Glazing Putty or Silicone Sealant: For sealing and finishing the edges of the glass.
- Putty Knife: To apply and smooth out the glazing putty.
- Measuring Tape: To ensure accuracy when cutting or fitting the replacement glass.
- Glass Cutter (if cutting the glass yourself): For precise sizing.
- Hammer and Small Pry Bar: To remove old fasteners or pieces of the broken frame.
- Cleaning Supplies: A brush or vacuum to clear away debris and a cloth to clean the frame.
Having these items ready before you begin will make the repair process more efficient and help you avoid unnecessary delays.
10 Methods How to Replace Broken Window Glass
Method 1: Assess the Damage and Type of Glass
The first step in replacing broken window glass is carefully assessing the extent of the damage and identifying the type of glass. Some windows use single-pane glass, which is relatively easy to replace, while others feature double-pane or tempered glass, which require specialized replacement techniques. By inspecting the breakage, you can determine if the entire pane must be replaced or if minor repairs might temporarily suffice.
Knowing the glass type is essential because certain materials, such as tempered or laminated glass, must be purchased pre-cut rather than cut on-site. A thorough assessment ensures that you select the right approach and materials for the job.
Method 2: Gather All Necessary Tools and Safety Gear
Preparation is crucial before starting the replacement process. Collect all necessary tools, such as a glass cutter, glazing putty, putty knife, measuring tape, utility knife, glazing points, pliers, screwdriver, and safety gloves. Safety goggles are essential to protect your eyes from sharp shards.
Having a suction cup lifter can make handling large panes safer and easier. It is also important to have a thick, puncture-resistant container for disposing of broken glass. Preparing these tools and protective items ahead of time allows the process to flow smoothly and minimizes the risk of accidents.
Method 3: Remove Loose and Broken Glass Pieces
Removing the broken glass is one of the most delicate parts of the job. Always wear heavy-duty gloves and protective eyewear. Start by gently taking out the larger pieces and placing them directly into your safety container. For smaller shards, use pliers or carefully scrape them out with a putty knife.
If the glass is still partially intact, tape the surface with painter’s tape before removal to reduce the risk of shards falling unpredictably. Ensuring that all glass fragments are safely removed not only protects you during the process but also creates a clean foundation for the replacement.
Method 4: Remove Old Putty, Glazing, and Fasteners
Once the glass is cleared, the next step is removing old glazing putty or caulk that held the glass in place. Use a putty knife or utility knife to scrape away hardened putty. In older windows, you may also find glazing points or small metal clips that secure the glass—remove these with pliers.
This step requires patience, as rushing can damage the wooden or metal frame. A clean, smooth frame ensures that the new glass sits properly and bonds securely with fresh putty or sealant, eliminating drafts and leaks later.
Method 5: Measure the Window Opening Accurately
Accurate measurement is the key to a successful window glass replacement. Use a tape measure to determine the height, width, and thickness of the opening. Always measure in multiple spots, as frames may not be perfectly square. Record the smallest measurement to avoid ordering glass that is too large.
For single-pane windows, leave a slight clearance to allow for thermal expansion. If you are working with double-pane or specialty glass, provide exact measurements to the supplier, as such panes cannot be trimmed on-site. Precision at this stage prevents costly mistakes and ensures a proper fit.
Method 6: Cut or Order the Replacement Glass
If you are replacing single-pane glass, you can cut it yourself using a glass cutter and a straight edge. Score the glass firmly but not excessively, then snap it gently along the scored line. Always wear gloves and goggles during cutting. For tempered or double-pane glass, cutting is not possible at home, and you will need to order a custom piece from a supplier.
Choosing the right replacement glass ensures durability and a seamless match with the existing window structure. Taking the time to get the right size avoids forcing the glass into place, which could lead to cracking.
Method 7: Prepare the Frame for Installation
Before placing the new glass, clean the window frame thoroughly. Remove dust, old adhesive residues, and debris with a brush or damp cloth. Inspect the frame for damage, such as rot in wood or corrosion in metal, and repair as needed. Apply a thin layer of fresh glazing compound or putty along the inside edges of the frame to cushion the glass and create a tight seal. A properly prepared frame ensures that the new pane adheres securely and functions effectively against drafts and moisture.
Method 8: Install the New Glass Pane
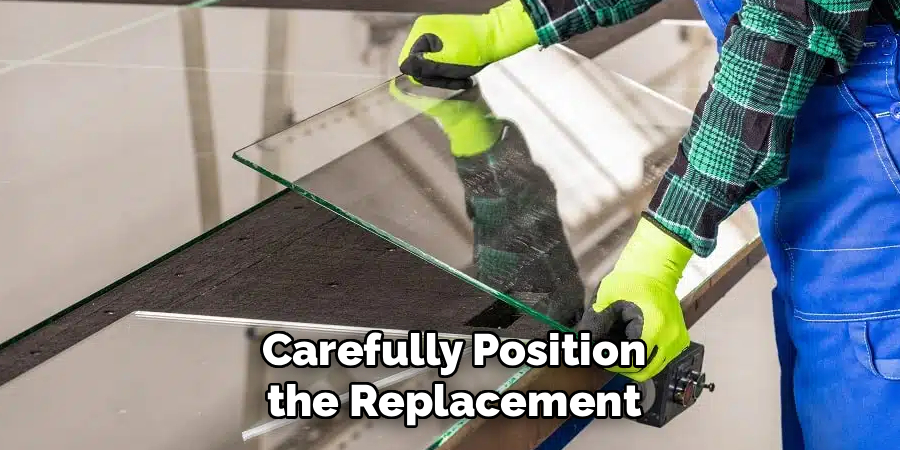
Carefully position the replacement glass into the prepared frame. For larger panes, use a suction cup lifter for better grip and control. Once the glass is aligned, gently press it against the fresh putty bed. Secure it with glazing points, clips, or the manufacturer’s recommended fasteners.
Double-check that the pane is centered and flush against the frame without forcing it into place. A properly installed pane not only looks professional but also reduces the risk of stress cracks and enhances long-term durability.
Method 9: Apply Glazing Putty or Sealant
After the glass is secured, apply glazing putty or silicone sealant around the edges to hold the pane firmly and create a weather-tight barrier. Use a putty knife to smooth the compound at a slight angle, ensuring both neatness and effectiveness.
Allow the putty to cure for the recommended time before painting or exposing the window to moisture. Proper sealing is essential to prevent air infiltration, water leaks, and rattling. A clean, professional finish also enhances the window’s aesthetic appeal while ensuring functionality.
Method 10: Inspect, Clean, and Maintain
The final step is to inspect the window for proper installation and functionality. Check for gaps, ensure the putty is smooth, and confirm that the window opens and closes without obstruction. Clean the glass with a non-abrasive cleaner and a lint-free cloth to remove fingerprints, dust, and smudges.
Regular maintenance, such as checking seals and repainting putty when necessary, prolongs the lifespan of both the glass and the frame. This ensures that your replacement not only restores safety and comfort but also maintains long-term reliability.
Maintenance and Upkeep

Proper maintenance and upkeep are essential to Ensuring the Longevity and performance of your windows. Regularly inspect the frames and seals for any signs of wear, such as cracks, gaps, or peeling paint, and address issues promptly to prevent further damage. Keep the tracks and hinges clean and free of dust or debris to ensure smooth operation.
Additionally, lubricate any moving parts, like locks or handles, to avoid stiffness over time. During seasonal changes, check for drafts or condensation, as these could indicate potential problems with insulation. By staying proactive with maintenance, you can preserve the appearance, efficiency, and functionality of your windows for years to come.
Conclusion
Replacing broken window glass requires patience, precision, and attention to detail. By following these ten methods—assessing the damage, preparing the tools, removing broken glass, clearing old putty, measuring accurately, cutting or ordering new glass, preparing the frame, installing the pane, applying sealant, and finally inspecting the work—you can achieve a professional-quality result without relying solely on costly services.
Now that you know how to replace broken window glass, try it yourself today and feel good about completing such a big DIY job!