

A seat belt is a critical safety feature in any vehicle, but it’s only effective if it works correctly. When a seat belt buckle fails, it can be more than just an annoyance; it’s a serious safety risk. Understanding how to address a faulty buckle is essential for ensuring you and your passengers are protected on the road.
This guide on how to fix a seat belt buckle will walk you through identifying the problem and provide a step-by-step process for fixing it. With the right tools and a little patience, you can often resolve common buckle issues yourself, restoring this vital safety component to proper working order and giving you peace of mind.
Tools and Materials You’ll Need
- Flathead Screwdriver
- Pliers or Needlenose Pliers
- Compressed Air Can or Vacuum Cleaner With a Narrow Attachment
- Silicone-based Lubricant Spray
- Replacement Buckle (if Necessary)
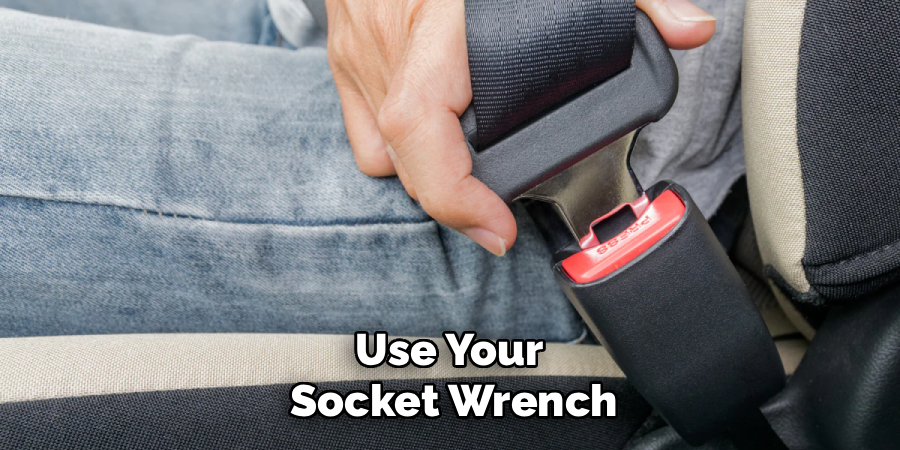
- Socket Wrench Set (if Removing the Seat)
- Flashlight
- Safety Glasses
7 Simple Step-By-Step Guidelines on How to Fix a Seat Belt Buckle
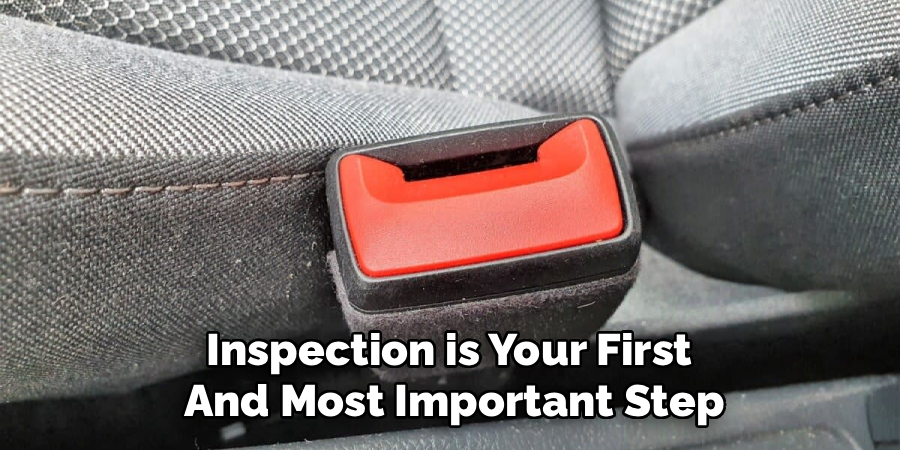
Step 1: Inspect the Buckle Thoroughly
Before you start dismantling anything, a thorough inspection is your first and most important step. Look closely at the seat belt buckle for any obvious signs of damage or obstruction. Check for cracks in the plastic casing, which could indicate internal damage. Use a flashlight to peer inside the buckle’s slot to see if any foreign objects like coins, food crumbs, or small toy parts have become lodged inside. These small items are common culprits and can prevent the latch mechanism from engaging properly.
Also, examine the seat belt tongue—the metal part you insert into the buckle. Ensure it is not bent, warped, or covered in sticky residue. Sometimes the problem isn’t with the buckle at all, but with the tongue itself. Test the buckle’s release button. Does it feel sticky, loose, or stuck? A button that doesn’t move freely points toward an internal mechanism issue. This initial diagnosis will help you determine whether the problem is a simple blockage or a more complex mechanical failure.
Step 2: Clean the Buckle Mechanism
Debris is the most frequent cause of seat belt buckle failure. Over time, dust, dirt, and other small particles can accumulate inside the buckle, jamming the delicate spring-loaded latching mechanism. To clean it, take a can of compressed air and insert the straw into the buckle’s opening. Deliver several short, powerful bursts of air to dislodge any loose debris. This can often clear out obstructions that are not visible from the outside.
For more stubborn grime, a small vacuum cleaner with a crevice tool can be highly effective. After blowing out the debris, use the vacuum to suck out any remaining particles. If the release button feels sticky, you might have a buildup of sugary residue from spilled drinks. In this case, you can use a small amount of electrical contact cleaner or isopropyl alcohol on a cotton swab to carefully clean the internal components. Be sure to let it dry completely before testing the buckle again.
Step 3: Test the Buckle with Lubricant
If cleaning the buckle doesn’t solve the problem, the internal mechanism may be stiff or starting to seize up. A lack of lubrication can cause the metal and plastic parts to grind against each other instead of moving smoothly. To fix this, you can apply a small amount of silicone-based lubricant spray directly into the buckle’s slot. Silicone is ideal because it does not attract dust and dirt like oil-based lubricants can, and it is safe for plastic components.
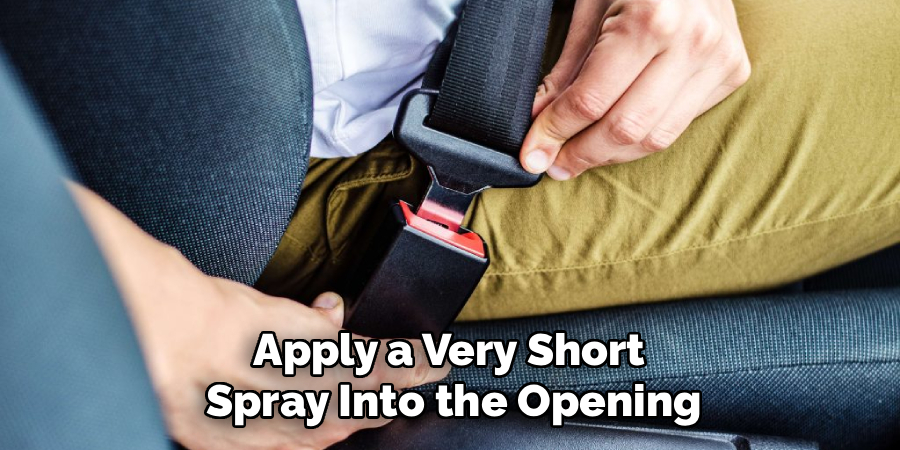
Apply a very short spray into the opening and then insert and release the seat belt tongue several times. This action will help distribute the lubricant throughout the internal mechanism, freeing up any stiff parts. You should feel the action of the buckle becoming smoother. Wipe away any excess lubricant from the exterior of the buckle and the seat belt tongue to avoid staining your clothes or the vehicle’s upholstery. Avoid over-lubricating, as too much can create a sticky mess.
Step 4: Access the Buckle Assembly
If the buckle is still not working, you may need to access the assembly for a closer look or replacement. In many vehicles, the buckle is bolted directly to the seat frame or the vehicle floor. First, check if you can access the bolt without removing the seat. It is often located at the base of the buckle, sometimes hidden under a plastic cover. You can usually pry this cover off with a flathead screwdriver to expose the mounting bolt.
If the bolt is hard to reach, you may need to remove the seat. Disconnect the negative terminal of your car battery first if your seats have electronic adjustments or airbags. Locate the bolts that secure the seat to the floor of the car—there are typically four of them. Use a socket wrench to remove these bolts, and then carefully tilt the seat back to get clear access to the buckle’s mounting point. This will give you the space you need to work comfortably and safely.
Step 5: Check for Internal Blockages
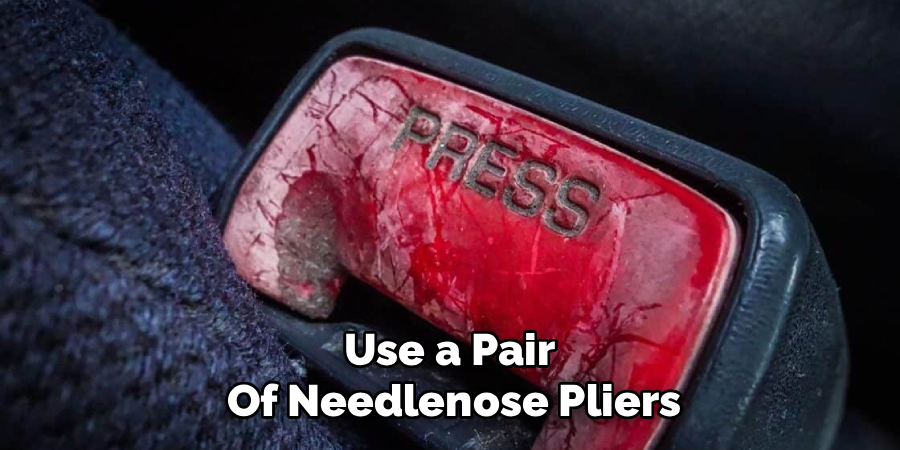
With better access to the buckle, you can perform a more detailed inspection for internal blockages. If the buckle has a simple plastic casing, you might be able to carefully pry it open using a flathead screwdriver. Be gentle to avoid breaking the plastic clips that hold it together. Once open, you will see the inner workings, including the springs and latching mechanism. This is your chance to spot any small object that wasn’t visible from the outside.
Use a pair of needlenose pliers to carefully remove any foreign objects you find. Inspect the springs to ensure they are intact and properly seated. A dislodged or broken spring is a common reason for a buckle to fail, as it provides the tension needed for the latch to engage and disengage. If you see any broken plastic or metal parts, the buckle is likely beyond repair and will need to be replaced. Attempting to glue or patch broken internal components is not a safe or reliable solution.
Step 6: Test the Electrical Connections (If Applicable)
Modern vehicles often have seat belt sensors integrated into the buckle assembly. These sensors detect whether the seat belt is fastened and trigger the warning light or chime on your dashboard. If your car has this feature, you will see wires coming from the base of the buckle. A faulty electrical connection can sometimes be mistaken for a mechanical problem, especially if the warning light behaves erratically.
Carefully inspect the wires for any signs of fraying, damage, or loose connections. The connector plug can sometimes become disconnected or corroded, interrupting the signal. Unplug the connector and check the pins for any corrosion or dirt. Clean them with an electrical contact cleaner if necessary. After ensuring the connection is clean and secure, plug it back in firmly. A simple electrical issue can often be resolved this way, saving you the cost of a full buckle replacement.
Step 7: Replace the Buckle if Necessary
If you have tried all the previous steps and the buckle still doesn’t work, or if you found broken components during your inspection, replacement is the only safe option. You can purchase a new buckle assembly from your vehicle’s dealership or a reputable auto parts store. Make sure you get the exact model for your car’s year and make, as buckle designs are not universal. Using an incompatible part is a major safety hazard.
To replace the unit, use your socket wrench to remove the main bolt holding the old buckle in place. Install the new buckle by securing it with the same bolt, making sure to tighten it to the manufacturer’s specified torque. If there are electrical connections, plug the new buckle’s wiring harness into the vehicle’s connector. Once installed, test the new buckle multiple times with the seat belt tongue to ensure it latches and releases smoothly and securely. Finally, reinstall the seat if you removed it and reconnect the car battery.
Following these steps on how to fix a seat belt buckle will ensure the safety and functionality of your vehicle’s seat belt system.
Do You Need To Use Professionals?
For simple issues like a blockage from debris or a need for lubrication, a DIY fix is often sufficient and safe. However, seat belts are a critical safety system, and any uncertainty should be taken seriously. If you are not comfortable working on your vehicle, if the problem involves the seat belt retractor mechanism, or if you suspect an issue with the pretensioner system (the explosive charge that tightens the belt in a crash), you should always seek professional help.
A certified mechanic has the expertise to diagnose the problem correctly and ensure the repair is done to safety standards. Your safety is not worth the risk of an improper repair.
How Much Will It Cost?
The cost of fixing a seat belt buckle can vary widely. A DIY fix for a simple blockage might cost you nothing more than a can of compressed air, which is around $5-$10. If you need to replace the buckle assembly yourself, the part can cost anywhere from $50 to over $200, depending on the make and model of your vehicle and whether it includes complex sensors.
If you take your car to a professional mechanic or a dealership, you will also have to pay for labor. Labor costs can range from $100 to $300 or more, bringing the total professional repair cost to between $150 and $500+.
Frequently Asked Questions
Q1: Can a Seat Belt Buckle Be Repaired?
A1: Yes, a seat belt buckle can often be repaired, especially if the issue is minor. Common problems like debris lodged inside the mechanism or stiffness due to lack of lubrication can typically be fixed at home with simple cleaning and lubrication. However, if internal components like springs or latches are broken, or if the buckle’s plastic casing is cracked, replacement is the only safe option.
Q2: Is It Safe To Drive With a Broken Seat Belt Buckle?
A2: No, it is never safe to drive with a broken seat belt buckle. A seat belt can only protect you in an accident if it is properly latched. A faulty buckle may fail to lock or could unlatch during an impact, leaving you completely unprotected. Additionally, driving without a functional seat belt is illegal in most places and can result in fines.
Conclusion
A malfunctioning seat belt buckle is a safety issue that should be addressed immediately. By following these steps, you can diagnose the problem and often perform a simple repair yourself.
From a thorough cleaning to a full replacement, maintaining your seat belt system is a straightforward process that ensures your vehicle’s most important safety feature is always ready to protect you. Don’t delay—your safety on the road depends on it. Thanks for reading this article on how to fix a seat belt buckle.