

A functioning seat belt is arguably the most critical safety feature in your vehicle, and its importance cannot be overstated. Over time, seat belts can become frayed or worn, or the retraction mechanism can fail, compromising your safety. Learning to replace a seat belt is a valuable skill that can save you money and give you peace of mind on the road.

This guide provides a comprehensive walkthrough of the entire process, ensuring you can tackle this project with confidence. By following these instructions on how to replace a seat belt carefully, you can restore this essential safety component to perfect working order. This project requires attention to detail, but it is well within the reach of a DIY enthusiast with the right tools and patience.
Tools and Materials You’ll Need
- New Seat Belt Assembly (Specific to Your Vehicle’s Make, Model, and Year)
- Socket and Ratchet Set
- Torque Wrench
- Trim Removal Tool Kit
- Screwdrivers (Phillips and Flathead)
- Pliers
- Safety Glasses
- Work Gloves
8 Step-by-step Guidelines on How to Replace a Seat Belt
Step 1: Disconnect the Battery and Locate the Seat Belt Assembly
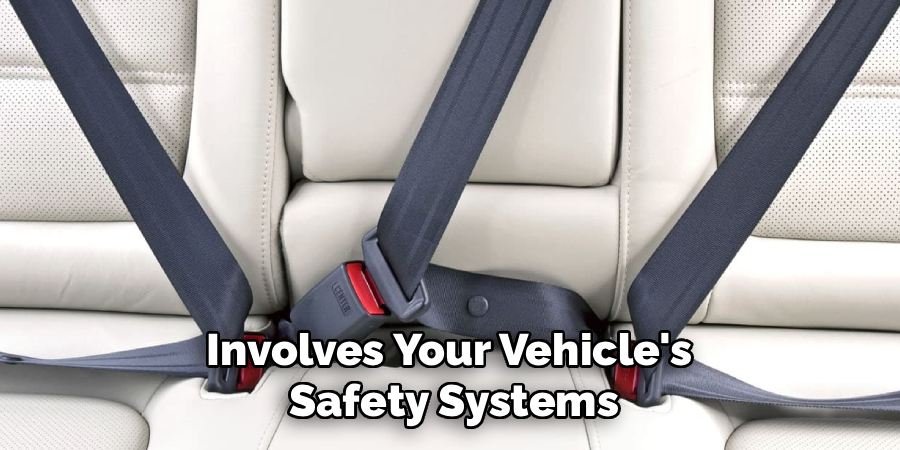
Before beginning any work that involves your vehicle’s safety systems, it is absolutely essential to disconnect the negative terminal of your car battery. This step prevents any accidental deployment of airbags and deactivates the electrical system, creating a safe working environment for you. After disconnecting the terminal, you might want to wait for about 15-30 minutes to ensure any residual power in the system’s capacitors has fully discharged. This simple precaution is a non-negotiable part of the process and protects both you and your vehicle’s sensitive electronic components from potential damage or injury.
Once the battery is safely disconnected, you need to identify all the mounting points for the seat belt you are replacing. A typical seat belt assembly has three main connection points: the retractor mechanism, which is usually hidden behind the interior trim panels near the floor or on the B-pillar; the upper shoulder loop anchor, located on the pillar above your shoulder; and the buckle anchor point, bolted to the floor or the side of the seat. Carefully examine these areas to understand how the belt is routed and secured, which will make the removal process much smoother.
Step 2: Remove Interior Trim Panels
With the connection points identified, the next phase involves carefully removing the plastic interior trim panels that cover the seat belt retractor and anchor bolts. Using a plastic trim removal tool is highly recommended to avoid scratching or cracking these components. Start by gently prying at the edges of the panels to release the clips holding them in place. You may also encounter screws hidden beneath small covers, which will need to be removed with the appropriate screwdriver. Be patient and methodical during this step, as rushing can lead to broken clips, which are difficult to replace and can cause annoying rattles later on.
It is a good practice to keep track of all the clips and screws you remove by placing them in a labeled container or a magnetic tray. Some panels may overlap, requiring you to remove them in a specific order. For example, you might need to remove a lower door sill plate before you can access the B-pillar trim. Consult your vehicle’s service manual if you are unsure about the correct sequence. Taking photos with your phone at each stage of disassembly can also serve as a helpful visual guide when it’s time to put everything back together.
Step 3: Unbolt the Upper and Lower Anchor Points
Now that the mounting hardware is exposed, you can begin to unbolt the seat belt from the vehicle’s frame. Start with the upper shoulder anchor, which is typically a single large bolt located on the door pillar. Use the correct size socket from your set to loosen and remove this bolt. These bolts are often installed with a thread-locking compound, so you may need to apply significant, steady force to break them loose. Once the bolt is out, the upper part of the seat belt will be free. Keep the bolt in a safe place, as you will need to reuse it for the new installation.

Next, move to the lower anchor point, which secures the end of the seat belt webbing near the floor. Similar to the upper anchor, this is usually a single, high-strength bolt. Use your ratchet and socket to remove it completely. This bolt is also critical and must be kept for reuse. At this stage, the only remaining connection should be the retractor mechanism itself. The old seat belt webbing should now be mostly free, making it easier to access and remove the final component in the next step.
Step 4: Remove the Retractor Mechanism
The retractor is the largest and most complex part of the seat belt assembly and is usually secured with one or two bolts. Before you unbolt it, take a close look to see if there are any electrical connectors attached to it, as many modern vehicles have sensors linked to the airbag system. If you see a wiring harness, carefully disconnect it by pressing the release tab on the connector and gently pulling it apart. Avoid pulling on the wires themselves to prevent damage. Disconnecting this electrical plug is a crucial step that you must not overlook.
With any electrical connections severed, you can now proceed to unbolt the retractor mechanism from the vehicle’s chassis. Use your socket wrench to remove the bolts holding it in place. These bolts are also torqued tightly, so firm pressure will be required. Once the bolts are out, you should be able to carefully maneuver the entire old seat belt assembly out of the vehicle. Pay attention to its orientation as you remove it, as this will help you position the new unit correctly during installation. Congratulations, the removal process is now complete.
Step 5: Install the New Retractor Mechanism
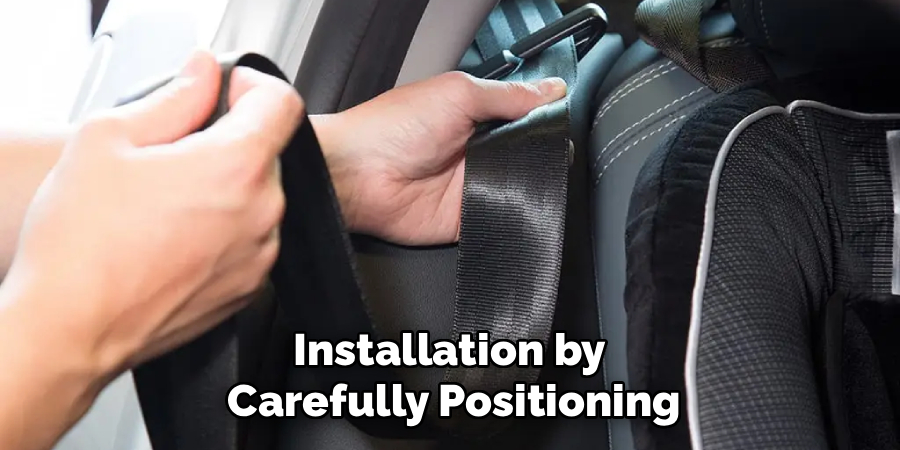
Begin the installation by carefully positioning the new seat belt retractor in the exact same location and orientation as the old one. There are often guide pins or specific mounting holes that ensure it is aligned correctly, so double-check that it sits flush against the vehicle’s frame. Hand-thread the mounting bolts first to ensure they are not cross-threaded, which could damage the threads in the chassis. Once you have confirmed the threads are properly engaged, use your ratchet to tighten the bolts until they are snug.
After the bolts are snug, it’s time to use your torque wrench. This is a critical step for safety. Consult your vehicle’s service manual or search online for the specific torque specifications for the retractor bolts. Set your torque wrench to the recommended value and tighten the bolts until the wrench clicks, indicating you have reached the correct tightness. Do not overtighten, as this can strip the threads or damage the bolt. If you disconnected an electrical connector earlier, now is the time to securely plug it back into the new retractor.
Step 6: Secure the Upper and Lower Anchor Points
With the new retractor in place, the next task is to re-secure the anchor points for the webbing. Start by routing the new seat belt webbing up the pillar and attaching the upper shoulder anchor. Make sure the belt is not twisted and that it passes through any guide loops correctly. Hand-thread the original anchor bolt back into its hole to ensure it is aligned properly. Once you are sure it is not cross-threaded, tighten it with your ratchet until it is snug.
Next, attach the lower anchor point near the floor. Again, ensure the webbing is straight and not twisted before bolting it down. Use the original bolt and hand-thread it into place before using your ratchet. As with the retractor bolts, both the upper and lower anchor bolts have specific torque requirements for safety. Refer to your service manual for these values, set your torque wrench accordingly, and tighten both bolts until you hear the click. This ensures they are secure enough to withstand the forces of a collision.
Step 7: Test the New Seat Belt
Before you reinstall any of the interior trim panels, it is absolutely essential to thoroughly test the new seat belt’s functionality. First, pull the belt webbing out slowly and smoothly from the retractor. It should extend without any catching or resistance. Then, allow it to retract. It should spool back into the housing completely and without hesitation. If the retraction is slow or incomplete, it could indicate that the retractor is not mounted correctly or is defective. Check that the webbing is not twisted or caught on anything.
Next, perform a critical safety check by giving the seat belt a sharp, quick tug. This action should cause the locking mechanism inside the retractor to engage immediately, preventing the belt from extending any further. This mimics the conditions of a sudden stop or collision. Test this several times to confirm the lock is engaging reliably. Also, buckle the seat belt and release it a few times to ensure the latch plate and buckle mechanism work correctly. Only after you are completely satisfied with its performance should you proceed.
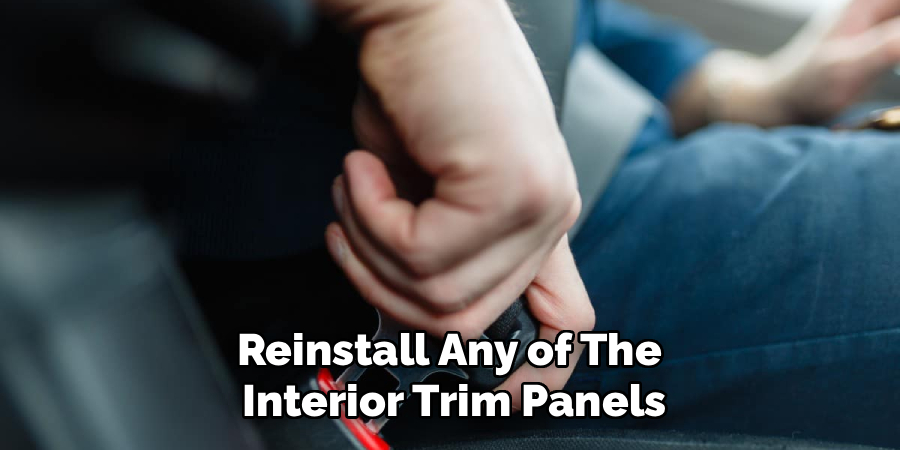
Step 8: Reinstall Trim Panels and Reconnect the Battery
Once you have confirmed that the new seat belt is working perfectly, you can begin the final step of reassembling your vehicle’s interior. Carefully reinstall the plastic trim panels in the reverse order of how you removed them. Align the panels and gently press them into place, ensuring all the clips snap back into their corresponding holes. Take your time to ensure a flush and secure fit to prevent any future rattles or squeaks. Reinstall any screws that you removed earlier.
With all the interior components back in their rightful place, you can now reconnect the negative terminal to your car battery. Tighten the clamp securely onto the battery post. After reconnecting the power, your vehicle’s electronic systems will reset. You may need to reset your clock and radio presets. Turn the ignition on and check your dashboard for any warning lights, such as the airbag or SRS light. If a light stays on, it may indicate a loose connection, and you should re-check your work, particularly the electrical connector on the retractor.
Following these steps on how to replace a seat belt can ensure the safety and proper functioning of your vehicle’s seat belt system. It is important to check and replace any damaged or faulty seat belts as soon as possible to avoid potential accidents and injuries.
Additional Tips
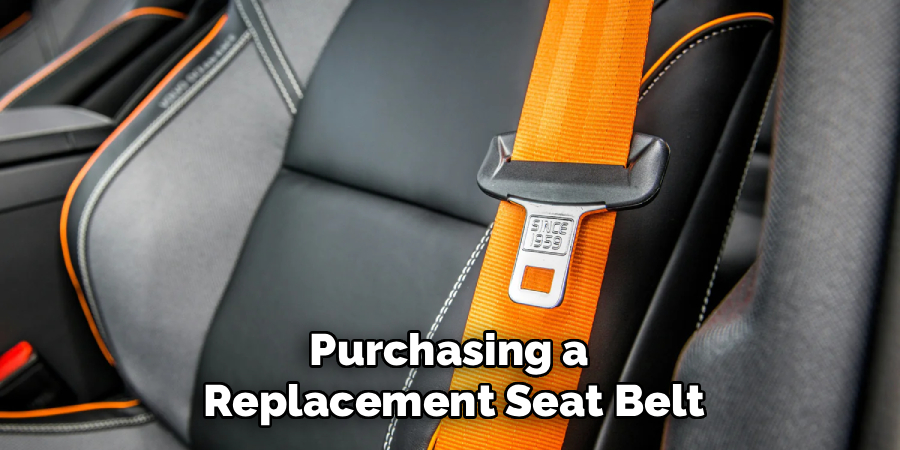
When purchasing a replacement seat belt, always opt for an OEM (Original Equipment Manufacturer) part or a high-quality aftermarket unit from a reputable supplier. Avoid used seat belts from salvage yards, as you have no way of knowing their history; they could have been compromised in a previous accident.
Before you begin, it’s a good idea to thoroughly clean the area where the seat belt assembly is located. This will prevent dirt and debris from interfering with the new mechanism. If your vehicle’s service manual is not readily available, many auto parts stores or online forums can provide the necessary torque specifications for your specific model.
Common Mistakes to Avoid
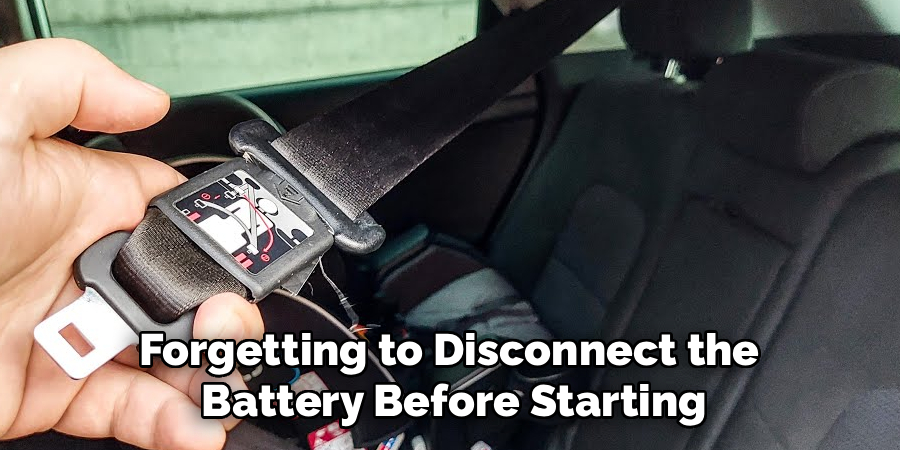
- Forgetting to disconnect the battery before starting, risking airbag deployment.
- Failing to use a torque wrench can lead to improperly tightened safety bolts.
- Installing the seat belt with a twist in the webbing can compromise its effectiveness.
- Purchasing a used or low-quality replacement part that may not meet safety standards.
- Rushing the reinstallation of trim panels resulted in broken clips and rattles.
Conclusion
Replacing a seat belt is a manageable task that significantly enhances your vehicle’s safety. By following these eight steps on how to replace a seat belt with precision and care, you can ensure the job is done correctly.
Remember to use the right tools, adhere to torque specifications, and thoroughly test the new belt’s functionality before finishing the job. Your safety on the road is paramount, and a properly installed, fully functional seat belt is your first line of defense.