
Having a Reolink camera is an excellent way to enhance home security and stay connected with what matters most. But did you know you can share the camera’s feed with family, friends, or colleagues? Sharing your Reolink camera ensures that others can monitor important spaces, collaborate on keeping an eye on a property, or simply enjoy a real-time view of your surroundings.

If you’re new to this process, don’t worry—it’s easier than you think. Whether you’re sharing access temporarily or providing long-term monitoring privileges, Reolink makes the process convenient and secure. This guide will walk you through exactly how to share Reolink camera access step by step. You’ll also find answers to common questions and tips to effectively manage permissions, keeping you in complete control.
Why Sharing Your Reolink Camera Matters
The ability to share your Reolink camera is not just about convenience—it’s about collaboration and safety. There are several scenarios where this feature proves invaluable.
For starters, imagine you’re away on vacation and need a trusted friend or neighbor to keep an eye on your property. Sharing your camera access allows them to act as an extended security partner. Similarly, if you use a Reolink camera to monitor elderly family members or young children, sharing the live feed with other family members ensures collective caregiving responsibilities.
Then there are practical everyday uses, like letting a housemate track package deliveries or monitoring a shared garage or driveway. Businesses can also benefit by granting selected employees access to specific camera feeds.
By sharing your Reolink camera, you multiply its usefulness without compromising security. Reolink’s robust access control features allow you to dictate who can view and manage the camera, ensuring your feed is shared on your terms.
10 Step-by-Step Guide on How to Share Reolink Camera
Step 1: Install and Open the Reolink App
The first step in sharing your Reolink camera is to ensure the Reolink app is installed and functional on your device. This app serves as the control hub for all your Reolink devices. Log into your account if you haven’t done so already. Proper setup in the app is critical to successfully share Reolink camera access.
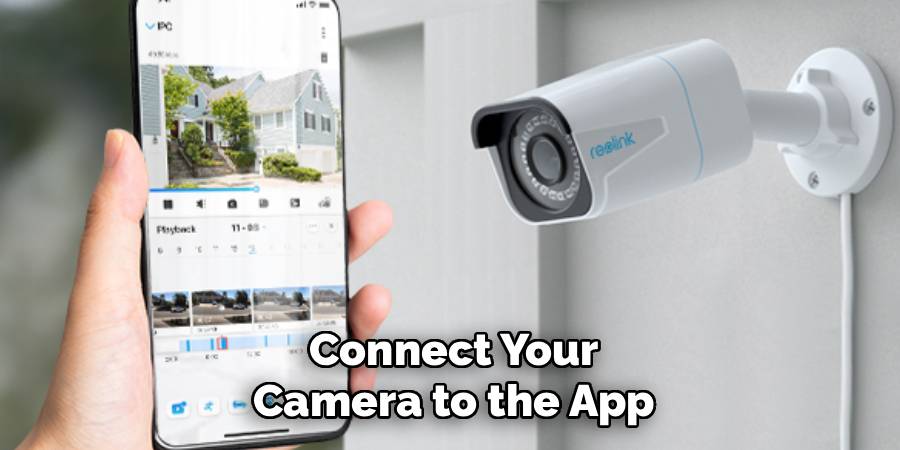
Step 2: Connect Your Camera to the App
If this is your initial setup, make sure your Reolink camera is properly connected to the app. To do so, add your camera by scanning its QR code, or follow the on-screen instructions to integrate the device with your Reolink account. Once synced, you’ll see your camera listed in the device menu. Verification of this connection ensures smooth sharing functionality.
Step 3: Access the Camera Settings
After confirming the camera is online, tap on its name in the app’s interface to access the settings menu. Look for the option that allows you to manage sharing and third-party access permissions. Ensuring easy access to this section enables you to tailor specific sharing preferences.
Step 4: Decide Who to Share With
Whether sharing with a family member or co-worker, decide beforehand who will receive access. Reolink allows you to invite multiple users, but only you, as the owner, can control their permissions. Prepare the recipient’s email address or Reolink account credentials to streamline the process of setting up their access permissions.
Step 5: Set Permissions
Reolink provides a detailed permissions framework, letting you specify what shared users can do. For example, you can permit viewing only, which is ideal for someone monitoring the camera without altering its configuration. Alternatively, full administrative access allows users to modify camera settings. Tailoring these permissions ensures the camera is shared securely and responsibly.
Step 6: Send the Access Invitation
Navigate to the sharing section within your camera settings. Enter the details of the person you’re sharing with, typically their email address, and select the desired permission level. Reolink will send an invite to the recipient. This invitation contains all necessary details for setting up access to your camera feed.
Step 7: Guide the Recipient
Once the invite is sent, make sure the recipient knows how to accept it. They’ll need to install the Reolink app and log in using the email address provided in the invitation. Prompt assistance ensures that the process of sharing your Reolink camera remains seamless.
Step 8: Test the Connection
After the recipient has accepted the invitation, verify that their access works as intended. Ask them to confirm they can view the live feed or perform any other permissions you enabled. Testing the setup immediately rules out potential access issues while ensuring the system operates smoothly.
Step 9: Adjust and Manage Shared Access
Revisit the sharing menu periodically to review who has access to your camera and their permission levels. You can revoke or alter permissions at any time. This capability allows you to maintain full control over the sharing feature while addressing evolving needs or concerns.
Step 10: Update Your App and Firmware Regularly
Regular updates to the Reolink app and camera system ensure the sharing feature works without glitches. Update notifications will typically appear in the app. Keeping your system up to date also improves security, ensuring shared access remains protected against unauthorized activities.
To maximize the functionality and security of your Reolink system, always monitor shared access activities and promptly address any unusual behavior. Regularly reviewing your shared user list can help ensure only trusted individuals retain access. Additionally, consider enabling two-factor authentication for enhanced account protection, providing an extra layer of security for your system.
Privacy and Security Measures
Protecting the privacy and security of your Reolink system is paramount for maintaining your peace of mind. Always use strong, unique passwords that combine letters, numbers, and special characters to prevent unauthorized access to your account. Regularly updating your passwords is another essential measure to enhance security. Additionally, ensure that your system’s firmware is kept up to date to guard against any vulnerabilities and benefit from the latest protective features.
When sharing access to your camera system, limit it to trusted individuals and adjust permissions based on their needs. For greater control, manage shared user permissions carefully and remove access for individuals when it’s no longer required. Implementing two-factor authentication provides an added level of security, requiring an extra verification step to access your system and deterring potential breaches.
Finally, always practice vigilance by monitoring account activity and being cautious of phishing attempts that might target your credentials. By adhering to these privacy and security measures, you can enjoy a safe and reliable experience with your Reolink system.
Frequently Asked Questions
Can I share my Reolink camera with more than one person?
Yes, Reolink allows camera feeds to be shared with multiple users simultaneously. However, each person must have a Reolink account, and they must accept an invitation from the camera owner. You can assign different permission levels to each user, such as restricting some to viewing-only while granting full administrative access to others.
Is it safe to share my Reolink camera with others?
Reolink is designed with secure sharing in mind. The app utilizes encrypted communication to keep both the live feed and user details protected. On top of this, your ability to customize permission levels ensures you stay in control of what others can see or do with the camera. Following best practices, such as regularly reviewing permissions, helps maintain safe sharing.
Do shared users need to download the Reolink app?
Yes, anyone you share your camera with will need to download and install the Reolink app on their device. The app is available for both Android and iOS platforms and serves as the portal for accessing the shared camera. Users must log in with their credentials to view the feed or perform other actions authorized by the owner.
Can I remove someone’s access to my Reolink camera?
Absolutely. You can withdraw someone’s access at any time through the sharing settings in the app. Simply locate the user’s profile, and choose the option to revoke their permissions. This action immediately removes their ability to view or manage the camera, restoring exclusive control to you.
What should I do if the recipient isn’t receiving my invitation?
If your sharing invitation isn’t being received, double-check the email address entered in the app. Ensure the recipient isn’t marking your invite as spam in their inbox. If issues persist, ask them to check their internet connection or manually search for Reolink’s invitation in their email.
Conclusion
Sharing your Reolink camera adds a whole new dimension of utility to your security setup. Whether for collaborative monitoring, family caregiving, or workplace coordination, granting access ensures important spaces are always under vigilant watch. The process is simple, secure, and fully customizable, giving you complete control over who has access and for what purpose.
To ensure a seamless experience when sharing your Reolink camera, always verify that the recipient has downloaded the Reolink app and created an account. Clear communication is key—provide step-by-step instructions to guide them through the access process. By taking these precautions, you can maximize the efficiency and security of your shared camera setup while maintaining peace of mind.
Now that you know how to share Reolink camera access, it’s time to explore the benefits firsthand. Extend the reach of your security system, involve trusted individuals, and enjoy the peace of mind that comes with collaboration. Take the first step and start sharing today!