

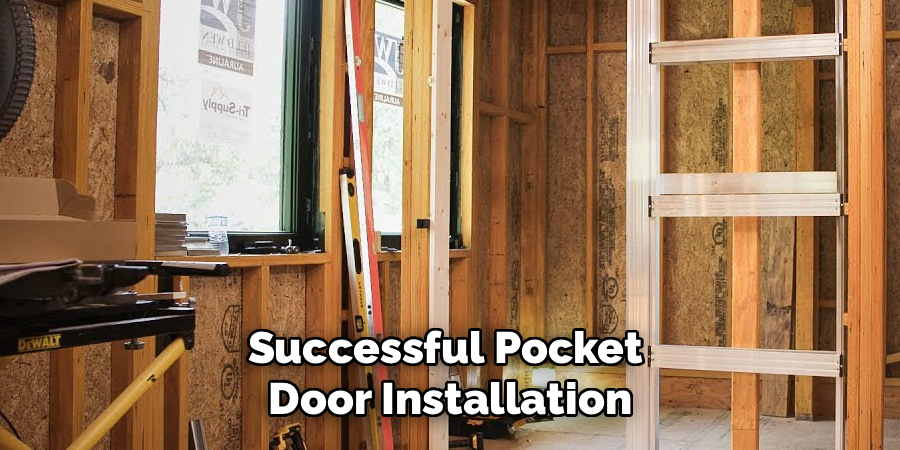
Learning how to frame a pocket door is actually more straightforward than most people imagine, requiring basic carpentry skills and careful attention to detail. The key lies in proper planning, accurate measurements, and understanding the structural requirements that support the sliding mechanism. With the right approach, you can successfully install a pocket door frame that operates smoothly for years.

This comprehensive guide breaks down the entire framing process into manageable steps, from initial planning through final adjustments. You’ll discover essential techniques for creating a sturdy, properly aligned frame that accommodates the door’s sliding hardware while maintaining structural integrity. Whether you’re renovating an existing space or building new construction, these proven methods ensure professional-quality results.
Why Mastering Pocket Door Framing Is Essential
Understanding proper pocket door framing techniques is crucial for creating functional, long-lasting installations that enhance your home’s value and livability. Poorly framed pocket doors often experience operational problems like sticking, misalignment, or complete failure, requiring costly repairs and replacements. The framing phase determines whether your door will glide effortlessly or become a constant source of frustration.
Additionally, pocket doors require precise structural considerations that differ significantly from standard door installations. The wall cavity must accommodate the door’s full width while maintaining adequate support for the track system and surrounding drywall. Mastering these techniques allows you to tackle this valuable home improvement project with confidence.
7 Step-by-Step Guide: How to Frame a Pocket Door
Step 1: Plan Your Layout and Measure the Opening
Successful pocket door installation begins with careful planning and precise measurements of your intended door opening and the adjacent wall cavity. Measure the width and height of your door, then add the manufacturer’s recommended clearances for the frame kit. Most standard doors require a rough opening that’s approximately 2 inches wider and 1 inch taller than the actual door dimensions.
Examine the wall where the door will slide to ensure there are no obstacles like electrical wiring, plumbing, or ductwork that would interfere with the pocket. Mark the locations of existing wall studs using a stud finder, as you’ll need to work around or relocate some framing members to create the necessary cavity space.
Step 2: Remove Existing Wall Materials and Framing
Carefully remove drywall or other wall coverings from the area where you’ll install the pocket door frame, extending the removal area to provide adequate working space. Use a reciprocating saw or utility knife to cut through wall materials, taking care to avoid damaging electrical wires or plumbing that may be hidden within the walls.
Remove any wall studs that occupy the space where the door will slide, but first ensure these studs aren’t load-bearing elements that require special reinforcement or professional consultation. Save any reusable lumber for later use in the framing process. Work methodically and wear appropriate safety equipment, including dust masks and safety glasses, to protect yourself from debris and dust during the demolition phase.
Step 3: Install the Header Beam and Supporting Structure
The header beam provides critical structural support for the pocket door track system and distributes the weight load across the surrounding frame members. Cut a header beam from appropriately sized lumber, typically a double 2×8 or 2×10 depending on your door’s width and local building codes.
Position the header beam across the top of the door opening, ensuring it extends far enough to span the pocket cavity and rest on solid framing on both sides. Secure the header with appropriate fasteners, such as 3-inch screws or framing nails, driving them into the adjacent wall studs or top plate. Check that the header is level using a spirit level, as any deviation will affect the door’s operation and appearance once installation is complete.
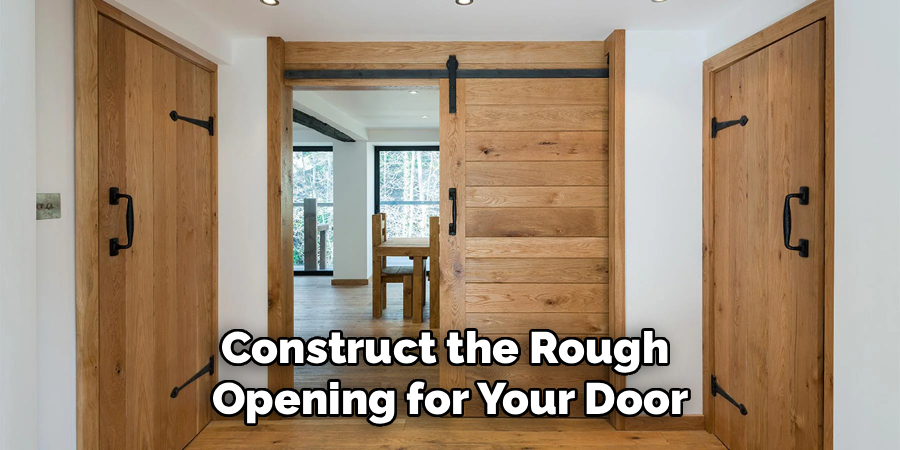
Step 4: Frame the Door Opening and Pocket Cavity
Construct the rough opening for your door by installing king studs and jack studs that define the door’s width and provide attachment points for the door jamb. The king studs run from floor to ceiling, while jack studs run from floor to header, creating a sturdy framework that supports the entire installation. How to frame a pocket door properly requires ensuring these vertical members are perfectly plumb and square to prevent operational issues later.
Frame the pocket cavity by installing additional studs that create the enclosed space where the door will slide when opened. Space these pocket studs according to your door’s width, typically creating a cavity that’s slightly wider than the door itself to allow smooth sliding operation without binding against the sides.
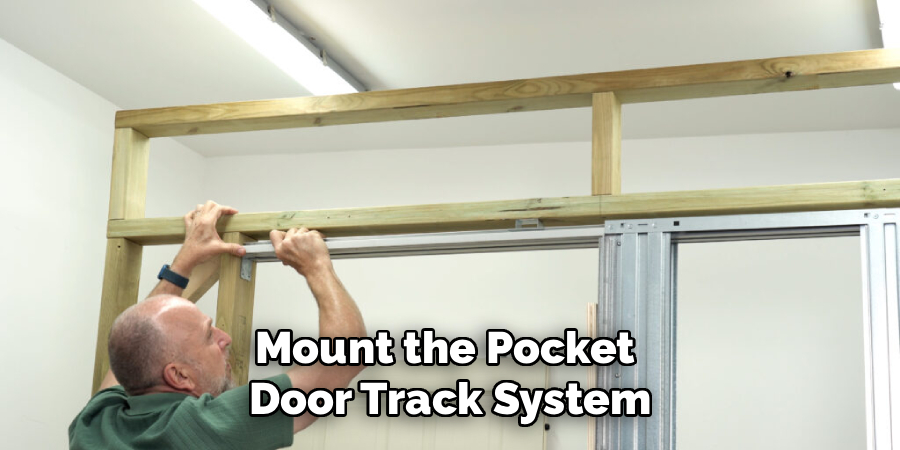
Step 5: Install the Pocket Door Track System
Mount the pocket door track system according to the manufacturer’s instructions, ensuring proper alignment and secure attachment to the header beam. Most track systems include adjustable mounting hardware that allows for fine-tuning during installation, but initial placement must be accurate to achieve optimal performance.
Position the track so it’s level and parallel to the door opening, using shims if necessary to compensate for any irregularities in the header beam. Secure all mounting brackets with appropriate fasteners, typically heavy-duty screws designed for the specific track system you’re installing. Test the track’s smoothness by running the door hardware along its length, checking for any binding or rough spots that could affect door operation.
Step 6: Create the Pocket Door Frame Structure
Build the pocket door frame using the dimensions specified in your door kit’s instructions, typically involving both horizontal and vertical framing members that create a rigid box structure. Cut all lumber to precise lengths using a miter saw or circular saw, ensuring square cuts that fit together properly without gaps. Assemble the frame components using wood screws or nails, checking for square alignment using a framing square at each corner.
The frame must be perfectly rectangular to ensure the door slides smoothly without binding against the sides or top of the pocket. How to frame a pocket door successfully depends on this precision, as even small deviations can cause significant operational problems that are difficult to correct once the installation is complete.
Step 7: Install Blocking and Reinforcement Elements
Add blocking and reinforcement elements throughout the pocket door frame to provide solid attachment points for door hardware and prevent flex that could cause operational issues. Install horizontal blocking between studs at the height where door hardware will attach, ensuring these blocks are level and securely fastened to the surrounding framing.
Add vertical blocking or furring strips inside the pocket cavity to provide smooth surfaces for the door to slide against, preventing the door from catching on exposed framing edges. These reinforcement elements also provide additional structural integrity that helps the entire installation maintain its alignment over time. Use construction adhesive in addition to mechanical fasteners where appropriate to create the strongest possible connections between all frame components.

Common Installation Challenges
Installing pocket doors can present several challenges, even for experienced professionals. One of the most common issues is ensuring the wall framing is perfectly plumb and level, as even minor discrepancies can cause the door to stick or not slide smoothly. Additionally, insufficient space within the wall cavity can create obstacles, especially in older homes where walls may not have been built with modern pocket door systems in mind.
Another challenge involves routing electrical wiring or plumbing that may already exist within the wall where the pocket door is to be installed. Careful planning and relocation of these utilities are often required to accommodate the door frame. Lastly, improper alignment during the installation of the track and rollers can lead to operational problems, such as the door not aligning with the jamb or moving unevenly. To address these challenges, attention to detail, precise measurements, and adherence to the manufacturer’s installation guidelines are crucial.
Frequently Asked Questions (FAQs)
What Size Lumber Should I Use for Pocket Door Framing?
The lumber size depends on your door’s dimensions and local building codes, but most residential pocket doors require a double 2×8 or 2×10 header beam. For the frame itself, standard 2×4 lumber works well for most applications, though 2×6 lumber provides extra strength for heavier doors. Wall studs should match your existing framing, typically 2×4 or 2×6 depending on your home’s construction. Always consult local building codes and manufacturer specifications for your specific door system.
Can I Install a Pocket Door in a Load-Bearing Wall?
Installing pocket doors in load-bearing walls requires special consideration and often professional structural engineering consultation. You’ll need to provide alternative load paths, typically through engineered headers or beam systems that transfer the structural load around the pocket cavity. Never remove load-bearing elements without proper analysis and reinforcement. Consult a structural engineer or experienced contractor to ensure your installation meets building codes and maintains structural integrity.
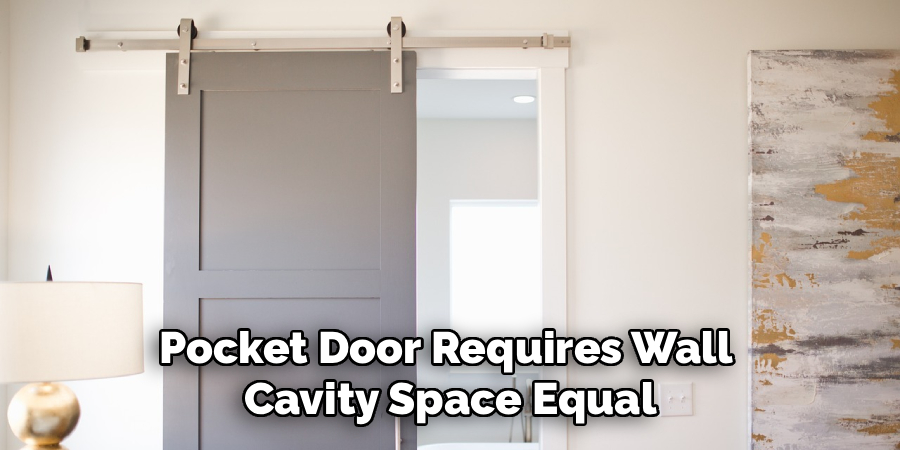
How Much Wall Space Do I Need for a Pocket Door?
A pocket door requires wall cavity space equal to the door’s full width plus additional clearance for the frame system. For a standard 32-inch door, you’ll need approximately 34-36 inches of wall cavity depth. The wall thickness should be at least 6 inches to accommodate the door and hardware. Measure your available space carefully before purchasing a pocket door system to ensure adequate room for proper installation.
What Tools Are Essential for Pocket Door Framing?
Essential tools include a circular saw or miter saw for cutting lumber, a drill with various bits, a level for ensuring proper alignment, and a stud finder for locating existing framing. You’ll also need a framing square, measuring tape, pencil for marking, and appropriate safety equipment like safety glasses and dust masks. A reciprocating saw helps with demolition work, while a router can create smooth edges on frame components.
How Do I Handle Electrical or Plumbing in the Pocket Wall?
Electrical wiring and plumbing must be relocated before installing a pocket door, as these utilities cannot occupy the same space as the sliding door. Plan utility routes carefully, often running them through adjacent walls or above/below the pocket area. For electrical work, consider surface-mounted conduit or rerouting through other wall cavities. Plumbing typically requires more extensive rerouting. Always consult qualified electricians or plumbers for utility relocations to ensure code compliance and safety.
Conclusion
Successfully learning how to frame a pocket door opens up exciting possibilities for maximizing space and improving functionality in your home renovation projects. This comprehensive process requires careful planning, precise measurements, and attention to structural details, but the results justify the effort invested. The key lies in understanding that proper framing creates the foundation for smooth, reliable door operation that will serve your home for decades.
The satisfaction of completing a successful pocket door installation extends far beyond the immediate space-saving benefits. You’ll have mastered valuable carpentry skills while adding functionality and value to your home. With patience, proper preparation, and attention to detail, your pocket door frame will provide years of smooth, reliable service that enhances your living space’s functionality and appeal.