

A faulty hood latch sensor can be the source of some of the most annoying issues a car owner can face, from a persistent “hood open” warning light on your dashboard to a car alarm that goes off at random. This small sensor is part of your vehicle’s security system, designed to detect if the hood is properly closed. When it malfunctions, it can send incorrect signals to the car’s computer, leading to these frustrating problems. While replacing the sensor is the long-term solution, knowing how to disable hood latch sensor temporarily can provide immediate relief.
This guide is designed for car owners who are experiencing these issues and need a temporary fix. You will learn how to safely locate and bypass the sensor, stopping the false alarms and warning lights. This process is straightforward for many vehicles and requires only basic tools, making it an accessible task for those with little to no automotive repair experience.
Why You Might Need to Disable Your Hood Latch Sensor
A malfunctioning hood latch sensor can trigger a range of frustrating electrical issues. The most common problem is a relentless “hood ajar” warning on the dashboard, even when the hood is securely closed. This can also lead to the vehicle’s alarm system triggering unexpectedly, as the car believes someone is trying to force open the hood. In some vehicles, a faulty sensor can even prevent the remote start feature from working as a safety precaution. Disabling the sensor provides a quick, temporary solution to stop these annoyances until a permanent repair or replacement can be performed.
8 Step-by-Step Guide: How to Disable Hood Latch Sensor
Step 1: Gather Necessary Safety Gear and Basic Tools
Before you begin any work under the hood of your vehicle, safety should be your top priority. Make sure your car is parked on a level surface, the engine is off, and the parking brake is engaged. It’s also wise to let the engine cool down completely to avoid burns. You will need some basic tools for this job, including a flashlight to help you see, a socket set or pliers to potentially remove bolts, and electrical tape to secure any disconnected wires. Wearing a pair of work gloves can protect your hands from grease and sharp edges within the engine bay.
Step 2: Open the Hood and Locate the Hood Latch Mechanism
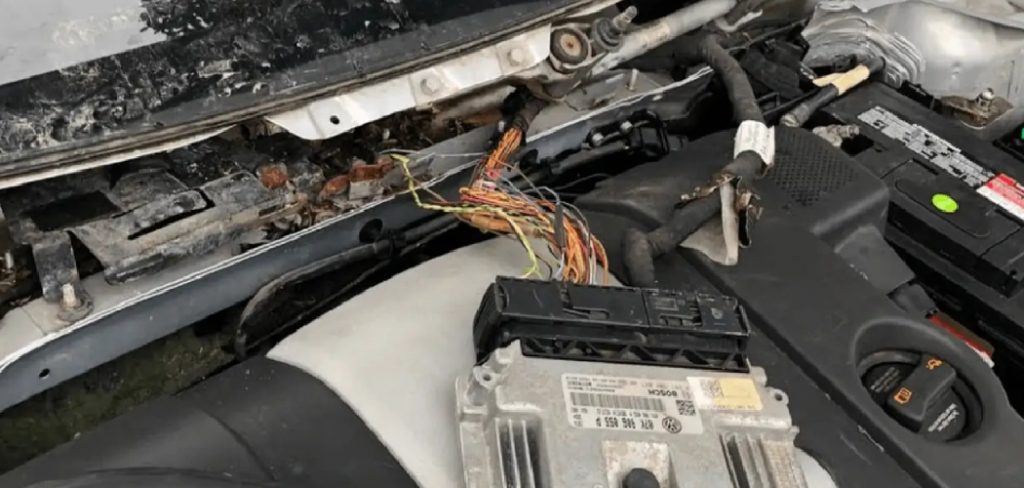
With your vehicle safely parked and cool, open the hood and secure it with the prop rod. The hood latch mechanism is typically located at the front and center of the engine bay, right behind the grille. It’s the metal assembly that the hood hook latches onto when you close it. The hood latch sensor is almost always integrated into or attached directly to this main latch assembly. Use your flashlight to get a clear view of the mechanism and the surrounding area. You are looking for a small plastic component with wires coming out of it.
Step 3: Identify the Hood Latch Sensor and Its Wiring
Now, look closely at the hood latch mechanism you have located. The sensor itself is a small switch, often housed in a black plastic casing, attached to the metal latch assembly. You should see an electrical connector with two or three wires leading away from it. This is the sensor wiring harness. Following these wires will confirm you have found the correct component. In some vehicles, the sensor might be slightly hidden, so take your time to inspect the entire latch from all angles. Tracing the electrical connections is the surest way to identify the sensor.
Step 4: Disconnect the Sensor’s Electrical Connector
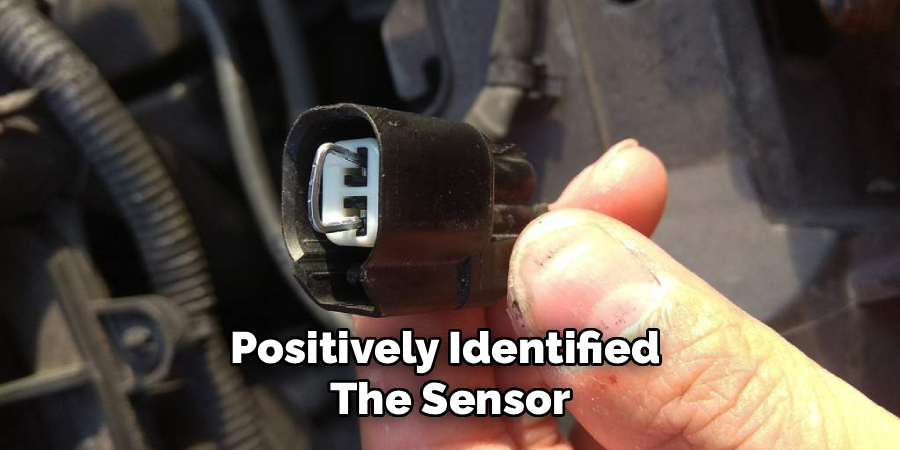
Once you have positively identified the sensor and its electrical connector, the next step is to disconnect it. Most automotive electrical connectors have a small plastic tab that you need to press down or pull up to release the lock. Squeeze this tab firmly and gently pull the two halves of the connector apart. Do not use excessive force, as this can damage the plastic connector or the sensor wiring. If the connector is stuck due to dirt or debris, you can try gently wiggling it back and forth as you pull. Disconnecting this plug is the simplest part of learning how to disable hood latch sensor.
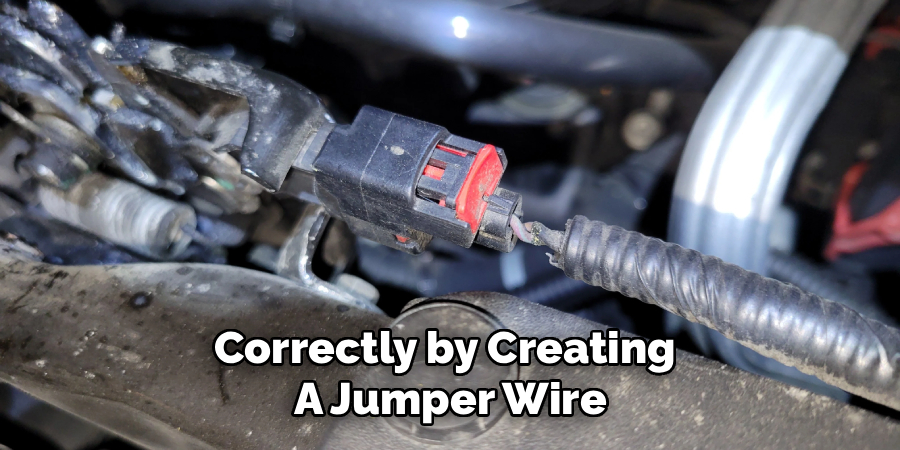
Step 5: Create a Jumper Wire to Bypass the Sensor
With the sensor unplugged, you now have an open electrical circuit. Your vehicle’s computer is likely designed to interpret this open circuit as the hood being open, so you must “close” the circuit to trick the computer into thinking the hood is closed. To do this, you will create a simple bypass. Take a small piece of wire (a paperclip can work in a pinch) and insert it into the two pin slots on the vehicle-side of the connector you just unplugged. This creates a direct connection, or “jumps” the circuit, effectively bypassing the faulty sensor.
Step 6: Secure the Bypass and Tidy Up the Wiring
After inserting the jumper wire, it’s crucial to secure it to prevent it from falling out due to engine vibrations. Wrap the connector and the jumper wire securely with electrical tape. This not only holds the jumper in place but also protects the electrical connections from moisture and dirt. Neatly tuck the original sensor-side connector out of the way, securing it with a zip tie if necessary to keep it from dangling near moving parts like belts or fans. This keeps your engine bay tidy and ensures the disconnected wiring remains safe. This completes the essential steps for how to disable hood latch sensor safely.
Step 7: Test the System to Confirm the Fix
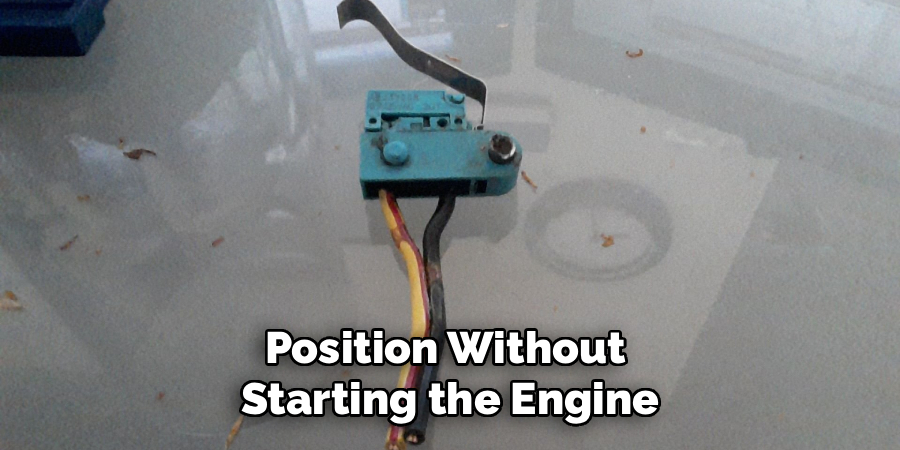
Before closing the hood, get back into your car and turn the key to the “ON” position without starting the engine. Check your dashboard to see if the “hood open” warning light has turned off. If the light is gone, the bypass was successful. You should also test your remote start feature, if your vehicle has one, to ensure it is now functioning correctly. This confirmation step is important to ensure your troubleshooting has resolved the initial problem. If the light remains on, double-check your jumper wire connection.
Step 8: Reassemble and Perform a Final Check
Once you have confirmed that the dashboard warning is gone and the system is functioning as expected, you can close the hood. Make sure it latches securely. Take the car for a short test drive to ensure that no new warning lights appear and that the fix holds up under normal driving conditions. Remember that this is a temporary solution. While it effectively solves the annoying symptoms, it also means your vehicle’s security system will no longer detect if the hood is genuinely opened, so a permanent repair should be planned for the future.
Frequently Asked Questions (FAQs)
Is It Safe to Drive with the Hood Latch Sensor Disabled?
Yes, it is generally safe to drive with the sensor disabled. The sensor is part of the vehicle’s convenience and security system; it does not affect the mechanical function of the hood latch itself. Your hood will remain physically secure. However, be aware that your car’s alarm will no longer be triggered if someone forces the hood open, which is a minor security trade-off for a temporary fix.
Will Disabling the Sensor Cause Any Other Warning Lights?
No, if done correctly by creating a jumper wire to close the circuit, disabling the hood latch sensor should not trigger any other warning lights like the check engine light. The purpose of the bypass is to send a “normal” signal to the car’s computer, making it think the hood is securely closed. If other warning lights appear, there may be another underlying issue unrelated to this process.
What Is the Long-Term Solution for a Faulty Hood Sensor?
The correct long-term solution is to replace the faulty hood latch sensor. In many vehicles, the sensor is integrated into the entire hood latch assembly, meaning you will need to replace the whole unit. This is a relatively inexpensive part and a straightforward repair for a mechanic or an experienced DIYer. Disabling the sensor should only be considered a temporary measure to stop the annoying false alarms.
Can This Process Damage My Car’s Electrical System?
When performed carefully, this process has a very low risk of causing damage. The hood latch sensor operates on a low-voltage circuit. The main risk comes from improper handling of the wiring. Ensure you only jump the correct two pins on the connector and use electrical tape to insulate your connection properly. Never cut into the main wiring harness; simply unplug the connector.
Why Is My Car Alarm Still Going Off After Disabling the Sensor?
If your alarm continues to go off after you have successfully bypassed the hood latch sensor (and the “hood open” light is off), then the faulty sensor was not the cause of your problem. Car alarms can be triggered by other faulty sensors, such as those on the doors or trunk, or by issues with the vehicle’s battery or the alarm module itself. You will need to continue troubleshooting to find the true source of the issue.
Conclusion
Successfully learning how to disable hood latch sensor can provide immediate relief from the persistent warning lights and false alarms caused by a faulty unit. This guide demonstrates that with a few basic tools and a clear, step-by-step approach, you can temporarily bypass the sensor and restore your car’s normal function without an expensive trip to the mechanic. It’s a practical and empowering fix for a common and frustrating problem.
Remember, this should be considered a temporary solution. While it effectively silences the false warnings, it also deactivates a part of your vehicle’s security system. Plan to have the sensor or latch assembly replaced for a permanent, long-term repair. For now, you can enjoy the peace and quiet of a car that no longer cries wolf.