

Rekeying your Kwikset deadbolt is a smart way to improve home security without replacing your entire lock. Whether you’ve moved into a new home or lost track of who has spare keys, mastering this process can save you both time and money.
This guide on how to rekey kwikset deadbolt will walk you step-by-step through the rekeying procedure. With careful attention and the right tools, you’ll find it’s a manageable DIY project for most homeowners. Before you start, make sure you read through all the instructions to familiarize yourself with the process.
Why Rekeying Your Deadbolt is Important?
Rekeying your deadbolt is essential for maintaining the security and privacy of your home. When you move into a new residence, you have no way of knowing how many copies of your old keys are in circulation or whose hands they might be in. Rekeying ensures that only you and those you trust have access to your home.
Additionally, this process can provide peace of mind if you’ve recently lost a key or experienced a security concern. By rekeying, you eliminate the risk of unauthorized entry without the expense of replacing the entire lock system, making it a practical and cost-effective security measure.
If you have recently moved into a new home or apartment, it’s important to prioritize the safety and security of your living space. One of the first steps you should take is rekeying the locks on all doors. This process involves changing the internal pins and springs of a lock so that it can only be operated by a new key.
Tools and Materials You’ll Need
- Kwikset SmartKey rekeying kit (compatible with your lock)
- Current key for your deadbolt
- New key you wish to use
- Flathead screwdriver
- Phillips screwdriver
- Needle-nose pliers
- Tweezers
- Clean cloth
- Small bowl or tray for holding screws and small parts
- Work gloves (optional)
10 Step-by-step Guidelines on How to Rekey Kwikset Deadbolt
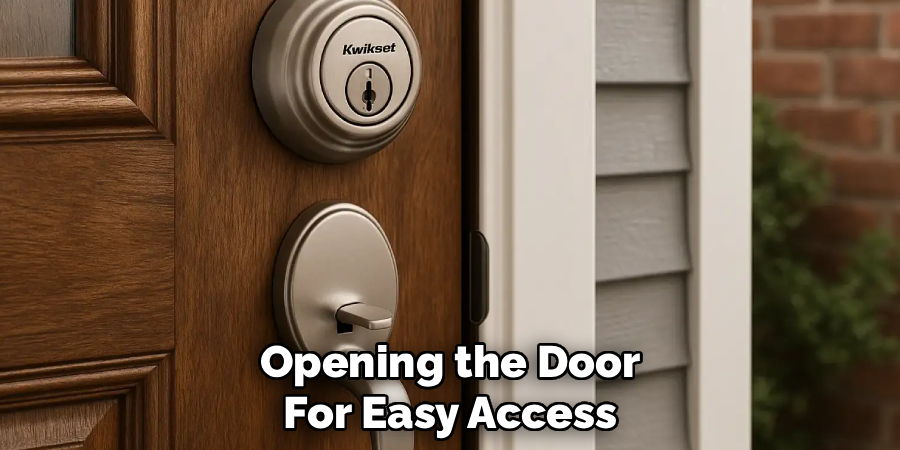
Step 1: Remove the Deadbolt from the Door
Begin by unlocking the deadbolt and opening the door for easy access. Using a Phillips screwdriver, remove the screws on the interior side of the lock.
After removing the screws, gently pull apart both sides of the deadbolt, being careful not to force the pieces apart. Place all screws and lock parts in your tray to avoid losing them as you continue.
Step 2: Disassemble the Lock Cylinder
Once the deadbolt is off, locate the cylinder within the lock. Using a flathead screwdriver or pliers, carefully remove any retaining clips or screws securing the cylinder.
Gently slide the cylinder out. Take your time during this step, as forcing the cylinder can damage the internal mechanisms and make reassembling difficult.
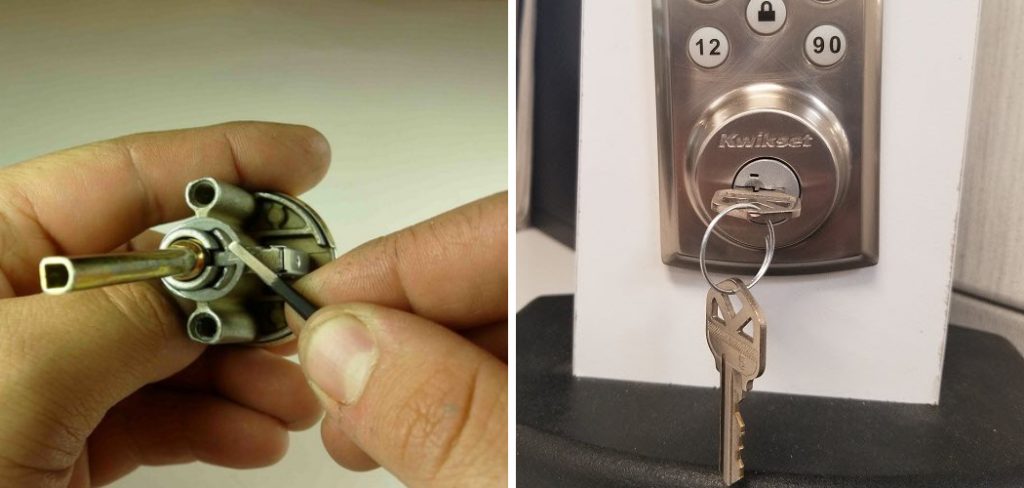
Step 3: Insert the Current Key and the SmartKey Tool
Insert the existing key into the lock cylinder and turn it a quarter turn clockwise. Then, insert the SmartKey tool into the designated slot on the cylinder.
You should feel a slight click or resistance, letting you know the lock is ready for rekeying. Don’t remove the key at this stage, as it keeps the pins in proper alignment.
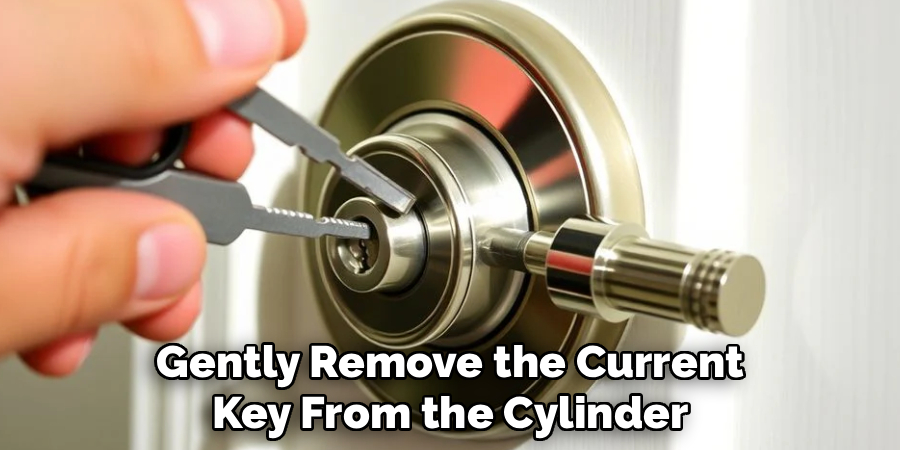
Step 4: Remove the Existing Key
While holding the SmartKey tool in place, gently remove the current key from the cylinder. The lock should remain in the quarter-turn position you’ve set.
This step is crucial, as shifting the cylinder or removing the key incorrectly could disturb the rekeying process. Take care and move slowly to avoid errors.
Step 5: Insert the New Key
Now take your new key and insert it into the cylinder without turning it further. With the SmartKey tool still engaged, gently push the new key into place.
You should feel the new key slide in smoothly. This step enables the new key to be programmed into the lock’s internal mechanism.
Step 6: Complete the Rekeying Process
Once the new key is fully inserted, remove the SmartKey tool. The lock should automatically realign itself to accept the new key, completing the rekeying function.
Turn the new key back to the starting position and carefully remove it from the cylinder. At this point, only the new key should operate the lock.
Step 7: Test the New Key Before Reassembly
Before putting everything back together, insert the new key and test the lock’s operation. Make sure it turns smoothly in both directions without sticking.
Try locking and unlocking the cylinder a few times. If you feel resistance or the lock does not turn, repeat the rekeying process to ensure proper alignment.
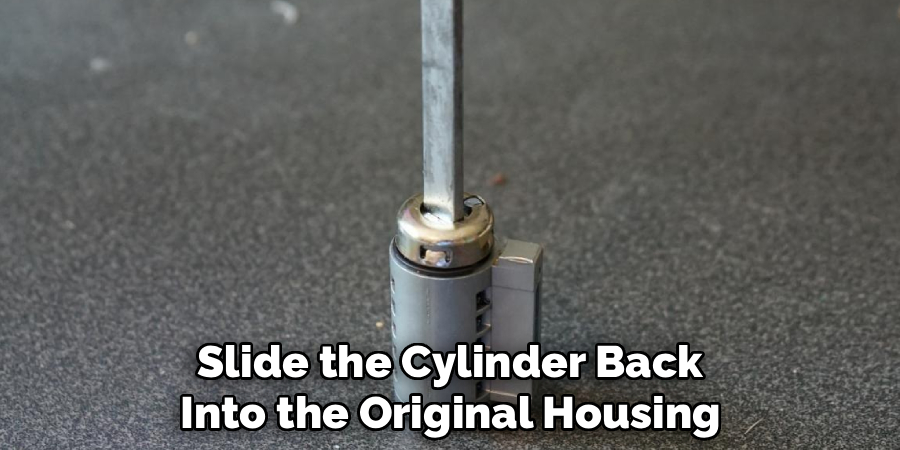
Step 8: Reassemble the Lock Cylinder
If the new key works correctly, slide the cylinder back into the original housing. Reattach any retaining clips or screws you removed earlier to secure the cylinder in place.
Double-check that everything is snug, but don’t overtighten as this could damage the threads or internal components.
Step 9: Reinstall the Deadbolt on the Door
With the cylinder reassembled, fit both sides of the deadbolt back onto your door. Be mindful of alignment—parts should fit together without force.
Secure the lock with the screws you previously set aside. Tighten them evenly for a stable installation and test the deadbolt action before moving on.
Step 10: Final Testing and Clean-Up
Insert the new key one last time and test the lock with the door open to ensure smooth operation. Lock and unlock several times to confirm consistent performance.
Clean up your work area, collect your tools, and place any remaining parts or keys in a safe spot. Congratulations, your lock is now rekeyed!
Following these steps on how to rekey kwikset deadbolt locks can save you time and money by avoiding the need to hire a locksmith. Remember, practice makes perfect, so don’t worry if it takes a few tries to get the hang of it. With a little patience and effort, you’ll become a pro at rekeying your own locks in no time!
Additional Tips
- If you encounter any difficulties with removing or installing parts, refer to the manufacturer’s instructions for assistance.
- Keep all small parts and screws in a secure container while working on your lock to avoid losing them.
- It is recommended to use gloves while handling small parts to prevent injury or damage.
- If you are uncomfortable completing this task on your own, do not hesitate to seek professional help.
- Rekeying locks is a great way to improve the security of your home or business without having to replace all of your locks.
- It is also a cost-effective alternative to hiring a locksmith every time you need to change the keys for your property.
- Remember to always test your new key before fully reassembling the lock to ensure it works properly.
- Regularly cleaning and lubricating your locks can help extend their lifespan and prevent them from getting stuck or malfunctioning.
- Consider investing in a key extractor tool if you frequently find yourself needing to remove broken keys from locks. This handy tool can save you time and frustration in the future.
Frequently Asked Questions
Q1: How Secure Is the Kwikset Rekeying Process?
The Kwikset SmartKey system is engineered to provide a high level of security when properly used. It uses a unique mechanism that is resistant to lock bumping and picking. However, like all locks, regular maintenance and correct installation are essential. For maximum security, always use official Kwikset tools.
Q2: Can I Rekey a Kwikset Deadbolt Without the Current Key?
Unfortunately, you need the current key to rekey a Kwikset SmartKey deadbolt. Without it, the mechanism cannot be set to accept a new key, as the cylinder cannot be properly aligned. In such cases, you may need to contact a locksmith for assistance or consider replacing the lock.
Q3: What Should I Do If the New Key Doesn’t Turn Smoothly?
If you find the new key isn’t operating smoothly, double-check that each step was completed as described. Make sure the cylinder and key are both properly inserted during the rekeying process. If resistance persists, repeat the process and consult the manufacturer’s troubleshooting guide. Avoid forcing the key, as this could cause permanent damage to the lock.
Q4: Is It Cheaper to Rekey or Replace a Deadbolt?
Rekeying a deadbolt is usually more cost-effective than replacing the entire lock. The process allows you to change your keys without purchasing a new lockset. It’s particularly beneficial for homeowners wanting improved security after moving in or after losing a key. Always weigh the cost savings against the security needs of your home.
Conclusion
Rekeying a Kwikset deadbolt is a practical project that enhances home security with minimal cost and effort. By following detailed steps on how to rekey kwikset deadbolt and keeping organized, most homeowners can successfully complete this DIY task.
Remember, patience is key, and it’s important to seek help if you encounter problems. With your rekeyed deadbolt, you can enjoy greater peace of mind knowing only authorized keys will work for your home.
About
Safety Fic is a distinguished figure in the world of Diy design, with a decade of expertise creating innovative and sustainable Diy solutions. His professional focus lies in merging traditional craftsmanship with modern manufacturing techniques, fostering designs that are both practical and environmentally conscious. As the author of diy, Safety Fic delves into the art and science of Safety Fic-making, inspiring artisans and industry professionals alike.
Education RMIT University
(Melbourne, Australia) Associate Degree in Design (Safety Fic) Focus on sustainable design, industry-driven projects, and practical craftsmanship. Gained hands-on experience with traditional and digital manufacturing tools, such as CAD and CNC software.
Nottingham Trent University
(United Kingdom) Bachelor’s in diyfastly.com and Product Design (Honors) Specialized in product design with a focus on blending creativity with production techniques. Participated in industry projects, working with companies like John Lewis and Vitsoe to gain real-world insights.
Publications and Impact
In diy, Safety Fic his insights on indoor design processes, materials, and strategies for efficient production. His writing bridges the gap between artisan knowledge and modern industry needs, making it a must-read for both budding designers and seasoned professionals.