

Outdoor motion sensor lights are an excellent security feature, providing illumination when movement is detected. They help deter intruders, increase visibility, and save energy by only turning on when needed. However, there are times when you may need to disable the motion sensor, such as during parties, maintenance, or if the sensor is malfunctioning.
Disabling the motion sensor can be straightforward if you understand the wiring and settings of your light. This guide on how to disable motion sensor on outdoor light provides step-by-step instructions, tips, and common mistakes to avoid, ensuring you can safely and effectively disable the motion sensor on your outdoor light while maintaining functionality and safety.
Why Disable a Motion Sensor on an Outdoor Light?
1. Continuous Illumination
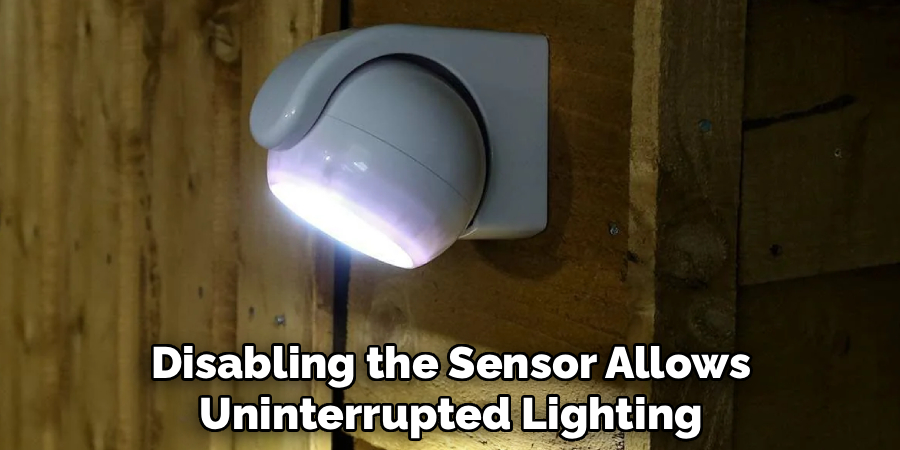
Some situations require a light to remain on continuously rather than turning on only when motion is detected. For example, during outdoor gatherings, parties, or work at night, a constantly lit area is safer and more convenient. Disabling the sensor allows uninterrupted lighting.
2. Sensor Malfunction
Over time, motion sensors can become overly sensitive or fail to detect movement properly. This may cause the light to flicker, turn on and off randomly, or not activate at all. Disabling the sensor can restore reliable lighting until the sensor can be repaired or replaced.
3. Pets or Frequent Movement
Motion sensors often trigger lights repeatedly due to pets, small animals, or frequent movement near the sensor. This can be annoying, waste energy, and reduce the lifespan of the bulb. Disabling the sensor eliminates unnecessary activation while keeping the area illuminated.
4. Maintenance and Repairs
When performing maintenance, repairs, or rewiring the light fixture, disabling the motion sensor ensures that the light does not turn on unexpectedly. This makes working safely easier and prevents accidental shocks or interference during installation.
5. Customization and Convenience
Some homeowners prefer more control over outdoor lighting, such as turning lights on manually or setting timers. Disabling the sensor allows customization of how and when lights operate, offering convenience and flexibility.
Tools and Materials You’ll Need
- Screwdriver Set (Flathead and Phillips)
- Voltage Tester or Multimeter
- Wire Nuts or Connectors
- Electrical Tape
- Wire Stripper and Cutter
- Ladder or Step Stool (for High-mounted Lights)
- Gloves and Safety Goggles
- Adjustable Wrench or Pliers
- Electrical Junction Box (Optional, if Rewiring)
- Flashlight or Temporary Work Light
10 Step-By-Step Guidelines on How to Disable Motion Sensor on Outdoor Light
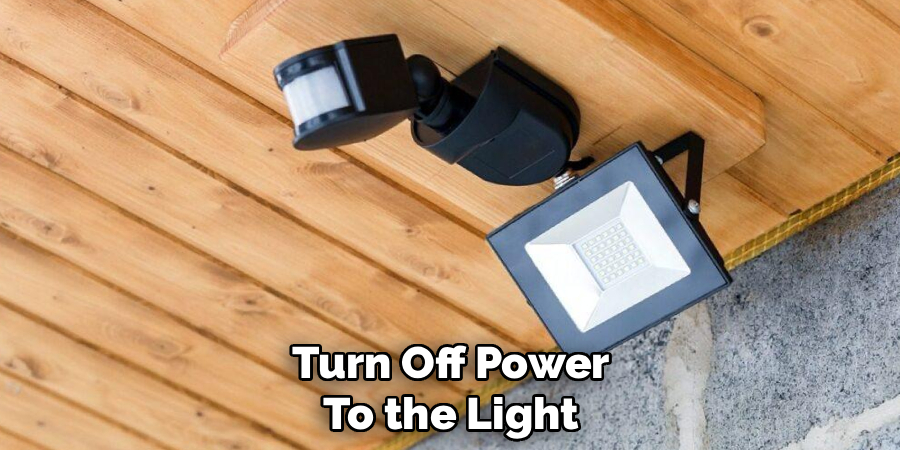
Step 1: Turn Off Power to the Light
Before touching any electrical components, turn off the circuit breaker that powers the outdoor light. Using a voltage tester, verify that no electricity is running to the fixture.
Safety is the most critical step. Working with live wires can cause severe injury or electrocution. Always double-check that power is completely off before proceeding to remove or adjust the light fixture.
Step 2: Remove the Light Fixture Cover
Use a screwdriver or wrench to remove the screws or bolts holding the light fixture cover in place. Carefully take off the cover to expose the wiring and motion sensor components.
Handle the glass or plastic cover gently to avoid cracking or breaking it. Keep all screws and small parts in a safe place to make reassembly easier later.
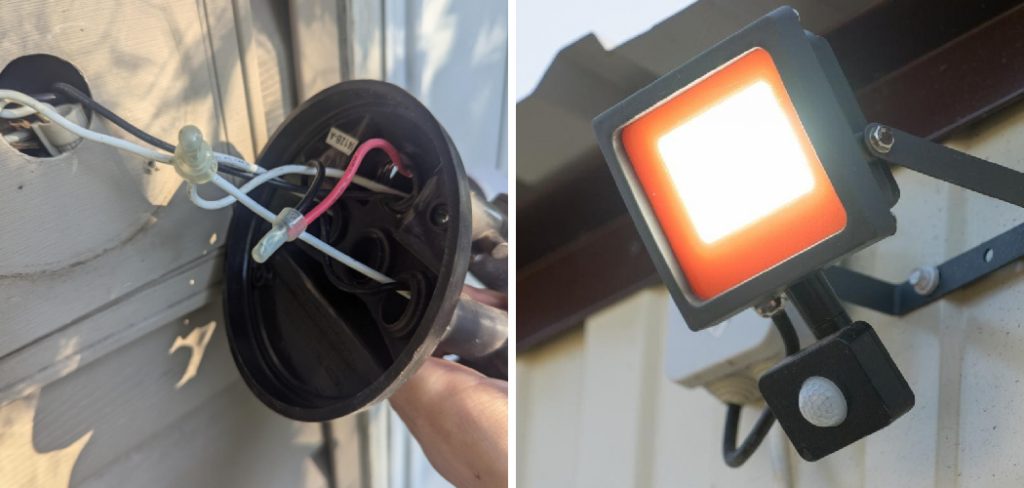
Step 3: Locate the Motion Sensor Wires
Most motion sensor lights have three wires: a black (hot), white (neutral), and a red or blue wire for the sensor. The motion sensor wire usually connects to the hot wire and controls when the light turns on.
Refer to the manufacturer’s wiring diagram if available. Identifying the sensor wire correctly ensures you disable only the motion function without affecting the light’s overall operation.
Step 4: Disconnect the Sensor Wire
Carefully disconnect the wire that links the motion sensor to the light fixture. Use wire nuts or electrical tape to secure the exposed ends. Ensure there is no contact between wires that could cause a short circuit.
Disconnecting the sensor wire effectively disables the motion detection while allowing the light to function continuously if connected directly to the power source.
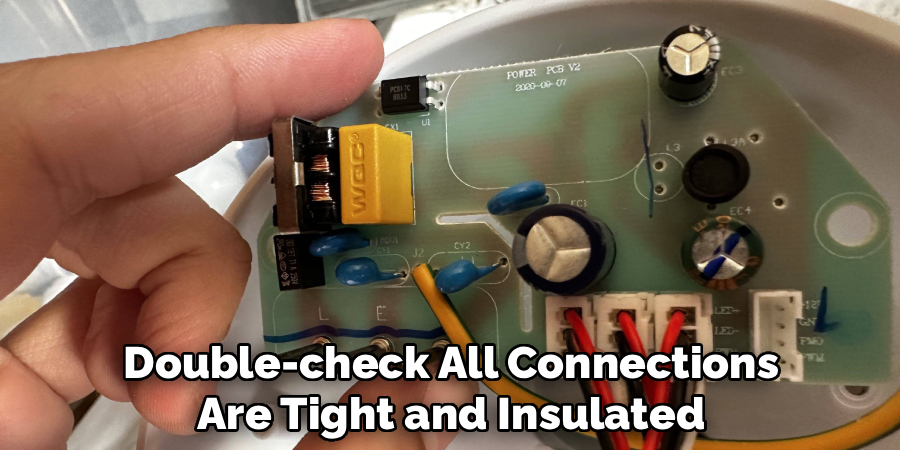
Step 5: Bypass the Motion Sensor
Connect the sensor wire directly to the hot wire or follow the manufacturer’s instructions for bypassing. This allows electricity to flow to the light without being interrupted by the sensor.
Double-check all connections are tight and insulated. Loose or exposed wires can pose fire or shock hazards. Ensure the wires are neatly tucked into the junction box before reassembling the fixture.
Step 6: Test the Light Fixture
Turn the circuit breaker back on and test the light. If wired correctly, the light should remain on continuously, unaffected by motion. Use a voltage tester to verify that power is flowing correctly to the fixture.
Observe the light for several minutes to ensure it does not flicker or behave erratically. Proper testing confirms that the sensor has been successfully disabled and that the wiring is safe.
Step 7: Secure All Wires
Once the light functions as desired, ensure all wires are safely connected and insulated. Use wire nuts or electrical tape to cover exposed wires and prevent accidental contact.
Proper wire management not only ensures safety but also maintains the fixture’s longevity. Make sure wires are not pinched when closing the cover, as this could cause damage over time.
Step 8: Reattach the Light Cover
Replace the fixture cover and secure it with screws or bolts. Make sure it is firmly attached and weatherproof to protect the wiring and internal components from rain, wind, or insects.
Inspect the cover to ensure it sits evenly and does not obstruct the light. A properly secured cover improves durability and prevents moisture from entering the fixture.
Step 9: Adjust or Remove the Motion Sensor (Optional)
If you wish to keep the option of reactivating the sensor later, you can leave it in place but disconnected. Otherwise, you may remove the sensor entirely for aesthetic or maintenance reasons.
Label any disconnected wires or document your changes so that reinstallation is straightforward if needed in the future. Removing the sensor can also reduce clutter inside the fixture.
Step 10: Final Safety Check
Double-check all connections, ensure screws and bolts are tight, and verify the light operates continuously as intended. Confirm that there are no exposed wires and that the fixture is securely mounted.
This final check ensures that the project is complete and that the light is safe for long-term use. Safety verification prevents future electrical hazards and provides peace of mind.
Following these steps on how to disable motion sensor on outdoor light, you can successfully convert your motion sensor light into a standard light fixture.
Additional Tips
- Always wear gloves and goggles when working with electricity.
- Keep a flashlight or temporary light source handy if the area is dark.
- Follow the manufacturer’s manual for wiring color codes and instructions.
- Use a voltage tester to double-check power is off before handling wires.
- Document the original wiring before making changes for easy restoration.
- If unsure about any wiring, consult an electrician for guidance.
- Work during daylight for better visibility and safer conditions.
Common Mistakes to Avoid
- Attempting to disable the sensor while the power is on.
- Confusing sensor wires with hot or neutral wires.
- Leaving exposed wires that could cause shorts or shocks.
- Failing to secure the fixture cover after rewiring.
- Not testing the light after bypassing the sensor.
Do You Need To Use Professionals?
Hiring a professional electrician is not always necessary, but it is recommended if you are unfamiliar with electrical wiring. Professionals ensure safety and prevent damage to the fixture or home wiring.
Complex wiring or integrated smart systems may require advanced knowledge that DIYers may not have. If your light is part of a larger security system or has complicated settings, professional help ensures proper functionality and safety.
Even for experienced DIYers, consulting an electrician can save time and prevent potential hazards. Professionals also provide peace of mind and may offer guarantees on their work.
Frequently Asked Questions
Q1: Can I Disable the Motion Sensor Without Turning Off Power?
A1: No, it is unsafe to handle electrical wires while the circuit is live. Always turn off the breaker and verify with a voltage tester before attempting to disable the sensor. Working on live wires can lead to severe injury or death.

Q2: Will Disabling the Motion Sensor Affect the Light’s Lifespan?
A2: Disabling the motion sensor typically does not affect the bulb’s lifespan. In fact, some LED lights may last longer if used continuously instead of cycling on and off frequently. Ensure proper wiring and ventilation to avoid overheating.
Q3: Can I Reconnect the Motion Sensor Later?
A3: Yes, if you document the original wiring before bypassing, you can reconnect the sensor at any time. Label wires and keep the sensor in a safe place for future use. Reinstallation usually involves reversing the bypass process.
Q4: Are There Alternatives to Disabling the Sensor?
A4: Yes, many motion sensors have settings to adjust sensitivity, range, or operation mode. Some lights allow you to set them to “always on” without rewiring, which may be safer and reversible. Check the manufacturer’s instructions for these options before making permanent changes.
Conclusion
Disabling the motion sensor on an outdoor light can be done safely and effectively with proper planning, tools, and attention to detail. This process allows the light to operate continuously for convenience or special situations while maintaining safety.
By following the step-by-step guide on how to disable motion sensor on outdoor light, avoiding common mistakes, and using appropriate tools, you can complete the project with confidence. Understanding the wiring, securing connections, and testing the fixture are critical for a successful outcome.
Whether you are a DIY enthusiast or seeking a temporary adjustment, disabling the motion sensor provides flexibility while keeping your outdoor lighting functional and reliable.
About
Safety Fic is a distinguished figure in the world of Diy design, with a decade of expertise creating innovative and sustainable Diy solutions. His professional focus lies in merging traditional craftsmanship with modern manufacturing techniques, fostering designs that are both practical and environmentally conscious. As the author of diy, Safety Fic delves into the art and science of Safety Fic-making, inspiring artisans and industry professionals alike.
Education RMIT University
(Melbourne, Australia) Associate Degree in Design (Safety Fic) Focus on sustainable design, industry-driven projects, and practical craftsmanship. Gained hands-on experience with traditional and digital manufacturing tools, such as CAD and CNC software.
Nottingham Trent University
(United Kingdom) Bachelor’s in diyfastly.com and Product Design (Honors) Specialized in product design with a focus on blending creativity with production techniques. Participated in industry projects, working with companies like John Lewis and Vitsoe to gain real-world insights.
Publications and Impact
In diy, Safety Fic his insights on indoor design processes, materials, and strategies for efficient production. His writing bridges the gap between artisan knowledge and modern industry needs, making it a must-read for both budding designers and seasoned professionals.