

Getting a flat tire is inconvenient, but discovering you can’t remove the wheel because of a special locking lug nut can turn a minor hassle into a major problem.
Wheel locks are a great theft deterrent, but they can be a significant obstacle if you don’t know how to handle them. Learning how to remove a wheel lock with its key is a fundamental skill for any vehicle owner. It empowers you to manage roadside emergencies like a pro, ensuring a flat tire doesn’t leave you stranded and waiting for expensive assistance.
This guide on how to remove wheel lock with key will walk you through the entire process, making you self-sufficient and prepared for the unexpected.
What are the Benefits?
Knowing how to remove your wheel locks offers several practical advantages that go beyond simple convenience.
- Saves Time and Money: The most immediate benefit is avoiding a long wait for a tow truck or roadside assistance. A simple tire change can take hours if you have to call for help. By doing it yourself, you save on costly service fees and get back on the road much faster.
- Increases Self-Reliance: Being able to handle your own basic vehicle maintenance builds confidence. You won’t be dependent on others for a task you can easily manage, which is an empowering feeling for any driver.
- Enhances Safety: If you get a flat tire in a remote area, at night, or on a busy highway, waiting for help can be risky. The ability to quickly change your tire and move to a safer location is a critical safety skill that reduces your time spent in a vulnerable situation.
What Will You Need?
Before you start, gather the necessary tools to make the job smooth and efficient. Having everything ready will prevent interruptions and frustration.
- The Wheel Lock Key: This is the most crucial tool. It’s a special socket with a unique pattern that matches the locking lug nuts on your wheels.
- Lug Wrench or Breaker Bar: You’ll need this to turn the wheel lock key and loosen the lug nuts. Your vehicle’s standard toolkit usually includes a lug wrench.
- Jack and Jack Stands: To safely lift the vehicle and secure it in place.
- Wheel Chocks: To prevent the vehicle from rolling while it’s lifted.
- Gloves: To keep your hands clean and protected.
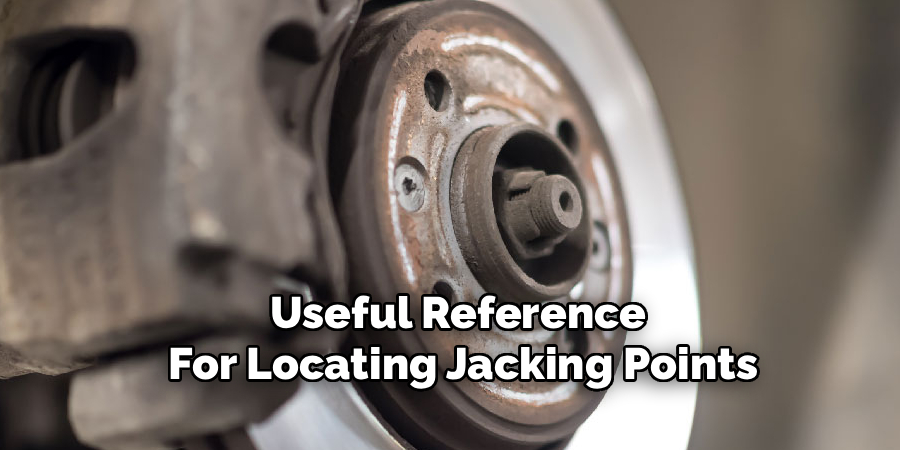
- Owner’s Manual: A useful reference for locating jacking points and other vehicle-specific information.
10 Easy Steps on How to Remove Wheel Lock With Key
Follow these steps carefully to remove your wheel lock safely and without damaging your wheel or the lock itself.
Step 1: Park on a Safe, Level Surface
Your safety is the top priority. Before you do anything else, pull your vehicle over to a location that is flat, stable, and away from traffic. A level surface prevents the car from rolling or slipping off the jack. Engage the parking brake and put the car in “Park” (for automatics) or in gear (for manuals).
Step 2: Secure the Vehicle with Wheel Chocks
Place wheel chocks behind the tires on the opposite end of the car from the one you’ll be lifting. For example, if you are changing a front tire, chock the rear wheels. This provides an extra layer of security to ensure the vehicle remains stationary.
Step 3: Locate the Wheel Lock Key
The wheel lock key is often stored in the glove compartment, center console, or trunk with the spare tire and jack. It might be in a small plastic case. If you can’t find it, check these common spots thoroughly before proceeding. Without this key, you cannot remove the locking lug nut.

Step 4: Loosen the Regular Lug Nuts Slightly
Before lifting the vehicle, use your lug wrench to slightly loosen the regular (non-locking) lug nuts on the wheel. Don’t remove them completely. You just want to break the initial tension while the wheel is still firmly on the ground. This requires less effort and is safer than trying to loosen them when the wheel is in the air.
Step 5: Attach the Wheel Lock Key
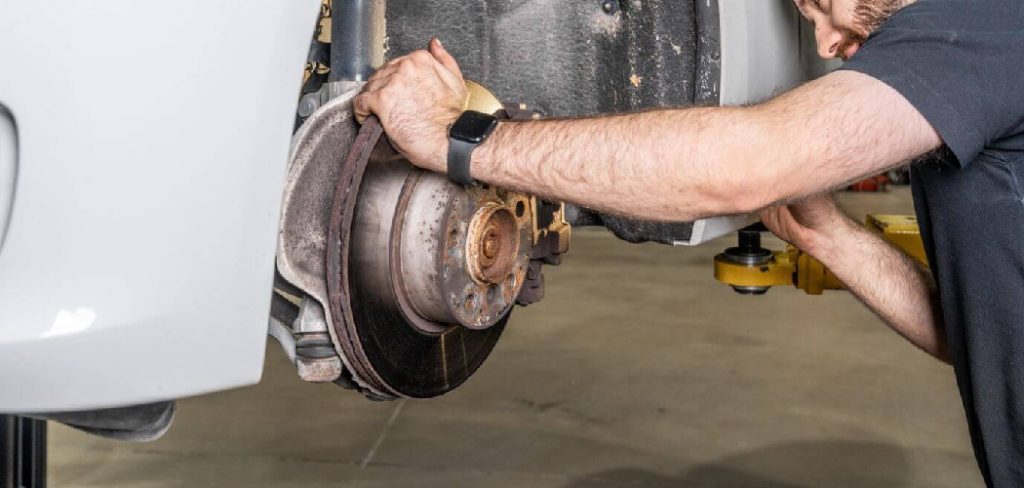
Firmly press the wheel lock key onto the locking lug nut. Ensure it is seated completely and the patterns are fully engaged. A loose fit can cause the key or the lock to strip, creating a much bigger problem. You should feel it click or settle securely into place.
Step 6: Loosen the Locking Lug Nut
Attach the lug wrench to the end of the wheel lock key. Apply steady, firm pressure counter-clockwise to loosen the locking lug nut. Avoid using jerky motions, as this can damage the key. Just like the other lug nuts, loosen them about a quarter to a half-turn. Do not remove it yet.
Step 7: Safely Jack Up the Vehicle
Consult your owner’s manual to find the correct jacking point on the vehicle’s frame near the tire you are changing. Position the jack correctly and raise the vehicle until the tire is completely off the ground. For added safety, place a jack stand under the frame near the jack.
Step 8: Remove All Lug Nuts
Now that the wheel is in the air, you can finish removing all the lug nuts by hand, including the locking one. Unscrew them in a star or crisscross pattern to ensure the wheel comes off evenly. Place them in a secure spot, like a hubcap or a small container, so you don’t lose them.
Step 9: Remove the Wheel
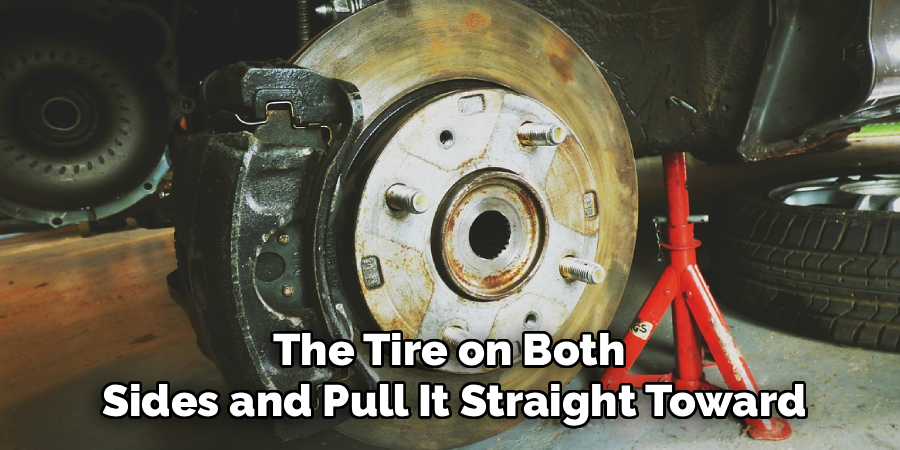
With all the lug nuts removed, grip the tire on both sides and pull it straight toward you. It should slide off the wheel studs. If it’s stuck due to rust or corrosion, you might need to give it a firm tap on the rubber with the heel of your hand to break it free.
Step 10: Reinstall the Wheel and Secure the Lug Nuts
Mount the spare or new tire onto the wheel studs. Hand-tighten all the lug nuts, including the locking one, in a star pattern. Lower the vehicle until the tire just touches the ground, then use the wrench to tighten the nuts firmly. Finally, lower the vehicle completely and give the lug nuts one final tightening to ensure they are secure. Store your tools and the removed wheel properly.
5 Things You Should Avoid
- Using an Impact Wrench: The high torque and rapid action of an impact wrench can easily strip or break the wheel lock key and the nut. Always use a manual lug wrench or breaker bar.
- Applying Excessive Force: If a nut won’t budge, don’t just apply more force. This can damage the tool or the wheel. Instead, ensure the key is seated correctly and apply steady, even pressure.
- Misplacing the Key: After using the wheel lock key, immediately return it to its designated storage spot. Losing the key can be a major headache, often requiring a costly visit to a dealership or specialist.
- Forgetting to Retighten: After driving a short distance (around 25-50 miles) on a newly installed wheel, it’s crucial to re-check and tighten the lug nuts to ensure they haven’t loosened.
- Ignoring a Damaged Key: If you notice your wheel lock key is cracked, worn, or stripped, replace it immediately. Using a damaged key is a recipe for getting it stuck or breaking it inside the lug nut.
Frequently Asked Questions
- What Do I Do if I Lose My Wheel Lock Key?
If you’ve lost your key, your best option is to contact your vehicle’s dealership with your VIN. They can often order a replacement for you. Alternatively, a tire shop or mechanic may have a master key set or specialized tools to remove the lock without the original key, though this will come at a cost. - Can I Leave the Wheel Locks Off Permanently?
Yes, you can replace the locking lug nuts with standard ones. Many people do this for convenience, especially if they live in a low-risk area for wheel theft. However, this removes the security feature, so weigh the convenience against the risk of theft for your situation. - Will Roadside Assistance Be Able to Remove a Wheel Lock Without the Key?
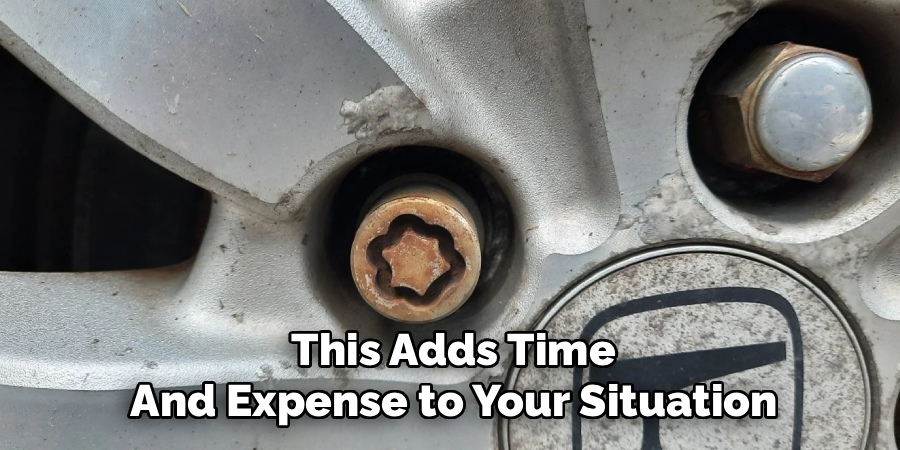
Most basic roadside assistance services are not equipped to remove locking lug nuts without the key. They can tow you to a service center that can, but this adds time and expense to your situation. It’s always best to be prepared with your own key.
Conclusion
Knowing how to remove wheel lock with key is a simple yet vital skill that prepares you for one of the most common roadside issues.
By following these steps and keeping your tools organized, you can transform a potential crisis into a manageable task. This knowledge not only saves you time and money but also gives you the confidence to handle unexpected situations safely and independently.
Take a few moments to locate your wheel lock key and review this process—your future self will thank you for it.
About
Safety Fic is a distinguished figure in the world of Diy design, with a decade of expertise creating innovative and sustainable Diy solutions. His professional focus lies in merging traditional craftsmanship with modern manufacturing techniques, fostering designs that are both practical and environmentally conscious. As the author of diy, Safety Fic delves into the art and science of Safety Fic-making, inspiring artisans and industry professionals alike.
Education RMIT University
(Melbourne, Australia) Associate Degree in Design (Safety Fic) Focus on sustainable design, industry-driven projects, and practical craftsmanship. Gained hands-on experience with traditional and digital manufacturing tools, such as CAD and CNC software.
Nottingham Trent University
(United Kingdom) Bachelor’s in diyfastly.com and Product Design (Honors) Specialized in product design with a focus on blending creativity with production techniques. Participated in industry projects, working with companies like John Lewis and Vitsoe to gain real-world insights.
Publications and Impact
In diy, Safety Fic his insights on indoor design processes, materials, and strategies for efficient production. His writing bridges the gap between artisan knowledge and modern industry needs, making it a must-read for both budding designers and seasoned professionals.