

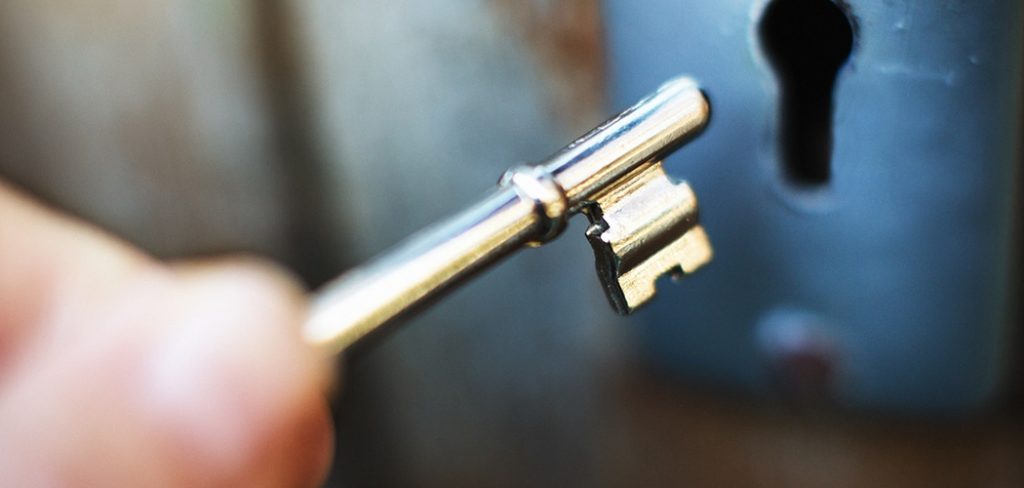
Changing the locks on your doors is a great way to enhance your home’s security.
Whether you’ve just moved into a new place, lost a key, or want to upgrade to a more advanced system, knowing how to remove the existing cylinder lock is a valuable skill. While it might sound like a job reserved for a professional locksmith, it’s a surprisingly straightforward task that most homeowners can handle with a few basic tools.
This guide on how to remove a cylinder lock will walk you through the entire process, empowering you to take control of your home’s security.
What Will You Need?
Before you begin, gathering the right tools will make the job much smoother. You won’t need anything too specialized, and you likely have most of these items already.
- A Phillips head screwdriver
- A flathead screwdriver
- Pliers or an adjustable wrench
- A new cylinder lock (if you are replacing it)
- A measuring tape
- The key for the lock you are removing
10 Easy Steps on How to Remove a Cylinder Lock
Follow these detailed steps to remove your cylinder lock safely and efficiently. Take your time, stay organized, and you’ll find that the process is both manageable and empowering—even if you’ve never tackled lock hardware before.
Step 1: Prepare the Door
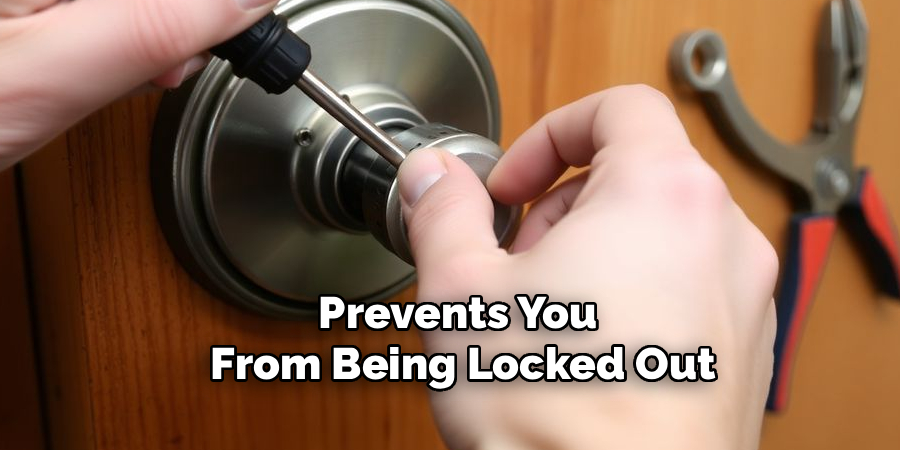
To begin, ensure you are working in a safe and comfortable environment. Open the door so you have clear access to both the interior and exterior faces, as well as the edge where the latch sits. This position not only makes your work easier but also prevents the risk of accidentally locking yourself out during the process. Secure the door with a doorstop or wedge to prevent it from moving while you work.
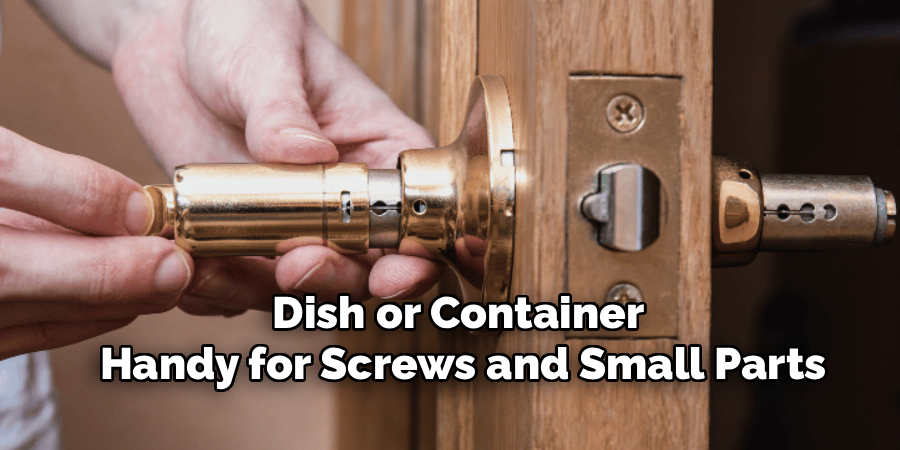
Good lighting is essential, so consider bringing in a lamp or flashlight if you’re working in a dim hallway or at night. Lay out all your tools within easy reach, and have a small dish or container handy for screws and small parts.
Step 2: Remove the Interior Handle or Thumb-Turn
Most cylinder locks are part of a door handle assembly, which needs to be removed first. Start by examining the inside handle. If you see visible screws, use your Phillips head screwdriver to remove them. Sometimes, the screws are hidden by a decorative cap or are located underneath or on the side of the handle.
Look for a small slot or a tiny set screw (sometimes called a grub screw), which might require a flathead screwdriver or an Allen key to loosen. Carefully pull the handle or thumb-turn straight off the spindle once the screws are out. Take your time—forcing it can damage the mechanism. Place the removed handle and screws in your container to keep them safe for reinstallation or replacement.
Step 3: Take Off the Interior Cover Plate
With the handle removed, you’ll see a cover plate or a “rose” (the round plate behind the handle) against the door. This piece protects the internal workings of the lock. Depending on your lock, it may be held on by screws, or it may be a “snap-on” design that can be gently pried off. If stuck, avoid scratching your door by wrapping a thin cloth around the tip of your flathead screwdriver before levering. Work your way around the perimeter gently to loosen it. Sometimes, the cover is screwed on from the inside; if so, these screws should be visible once the handle is gone. Set the plate and any screws aside with your other parts.
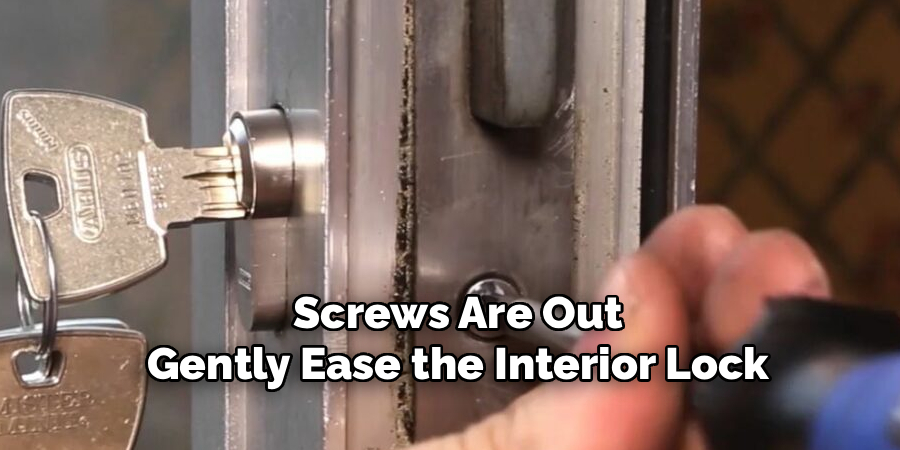
Step 4: Unscrew the Mounting Bolts
Now that you have access to the lock’s mounting hardware, look for two long bolts anchoring the lock body to the door. These run from the inside of the door all the way through to the lock on the outside. Use your Phillips head screwdriver to remove them, working carefully and keeping a hand on the outside lock assembly so it doesn’t fall. It’s a good idea to alternate between the screws as you loosen them to keep the tension even, which helps prevent warping the door or damaging the lock housing. Once both screws are out, gently ease the interior lock mechanism away from the door.
Step 5: Remove the Exterior Lock Assembly
The exterior half of the lock—the part containing the keyhole and sometimes the outer handle—should now be loose. Hold it steadily and slide it out of the door. If there’s resistance, rock it back and forth gently; sometimes, paint or dirt can make it stick. Never use excessive force, as it could bend or crack the lock housing, especially if you plan to reuse it. Place the removed exterior component aside with your other parts in a safe location.
Step 6: Locate the Cylinder Retaining Screw
With the handles and covers off, turn your attention to the edge of the door, where the latch mechanism is visible. Here, you’ll find a metal faceplate, often with two or more screws. The cylinder retaining screw is the large one located directly in line with the lock cylinder itself. Its purpose is to secure the cylinder within the body of the door. Identify this screw before moving to the next step. Having your measuring tape handy can help confirm you’re focusing on the correct spot, especially if you’re not familiar with lock hardware.
Step 7: Loosen the Retaining Screw
Use your Phillips head screwdriver to work the retaining screw loose by turning it counterclockwise. In some locks, it doesn’t need to be completely removed, but if you’re not sure, take it all the way out—just be careful not to drop it down the side of the door or onto the floor. Removing this screw releases the cylinder from its housing, but the cylinder itself may still be held in place by the way the cam (the rotating bar inside the lock) is positioned.
Step 8: Insert the Key and Turn
This is a crucial step in removing the cylinder itself. Insert the key into the lock cylinder from the exterior side of the door—whichever direction the cylinder is accessible. Gently turn the key a small distance (usually about 10 to 15 degrees) left or right. This rotates the cam inside to the “neutral” or removal position, which allows the cylinder to clear the locking mechanism. You may need to try turning a little in one direction and then the other; with some practice, you’ll feel the point when the cylinder is ready to slide out.

Step 9: Push the Cylinder Out
While holding the key in this slightly turned position, push or pull the cylinder with firm, even pressure. Sometimes, it will slide out with very little effort; other times, you may need to wiggle the key slightly, always maintaining the slight turn so the cam stays in the correct alignment. If you encounter significant resistance and you’re sure all screws have been removed, double-check that the key is turned correctly or revisit earlier steps to confirm nothing is holding it back. Eventually, the cylinder should slide out cleanly into your hand.
Step 10: Remove the Latch Mechanism
To finish the removal process, focus back on the edge of the door where the latch is installed. The latch assembly is usually attached with two screws on its faceplate, holding it securely in the cutout edge. Use your screwdriver to remove these final screws. Once they’re out, grip the latch with your fingers or pliers and pull the entire mechanism out of the door. Be patient; if it sticks, a gentle rocking motion should free it. At this stage, your door should be free of all major lock hardware, and you’re ready to install a new system or complete repairs as needed.
5 Things You Should Avoid
- Forcing Components: Never use excessive force. If a part is stuck, there is likely a screw or clip you’ve missed. Forcing it can damage the lock or your door.
- Losing Small Parts: Screws and small fittings are easy to lose. Keep them organized in a small container as you remove them.
- Using the Wrong Tools: Using a screwdriver that is too big or too small can strip the screw heads, making them very difficult to remove.
- Not Turning the Key: Trying to remove the cylinder without turning the key is a common mistake. The internal cam must be aligned for the cylinder to come out.
- Working with the Door Closed: Always keep the door open while you work. This gives you better access and prevents you from being locked out.
Frequently Asked Questions
- Do I Need a Special Key to Remove a Cylinder Lock?
No, you do not need a special key. You simply need the correct key that operates the lock. The key’s purpose is to turn the internal cam into the correct position, which allows the cylinder to be removed from the door. - What if I Don’t Have the Key for the Lock?
If you don’t have the key, removing the cylinder becomes much more difficult and may require a locksmith. A professional can pick the lock to turn the cam or may need to drill the cylinder out, which destroys the lock in the process. - Can I Replace Just the Cylinder and Not the Whole Lockset?
Yes, in many cases, you can replace just the cylinder. This is a great option if you want to rekey the door without changing the handles or hardware. Just make sure the new cylinder is compatible with your existing lock housing.
Conclusion
How to remove a cylinder lock is a manageable DIY project that can save you time and money.
By following these steps and preparing your tools beforehand, you can confidently tackle this task. The process gives you a better understanding of how your door’s security system works. Whether you’re upgrading for better security or replacing a faulty mechanism, you are now equipped with the knowledge to do it yourself.
If you encounter any issues or don’t feel comfortable, don’t hesitate to call a professional locksmith.
About
Safety Fic is a distinguished figure in the world of Diy design, with a decade of expertise creating innovative and sustainable Diy solutions. His professional focus lies in merging traditional craftsmanship with modern manufacturing techniques, fostering designs that are both practical and environmentally conscious. As the author of diy, Safety Fic delves into the art and science of Safety Fic-making, inspiring artisans and industry professionals alike.
Education RMIT University
(Melbourne, Australia) Associate Degree in Design (Safety Fic) Focus on sustainable design, industry-driven projects, and practical craftsmanship. Gained hands-on experience with traditional and digital manufacturing tools, such as CAD and CNC software.
Nottingham Trent University
(United Kingdom) Bachelor’s in diyfastly.com and Product Design (Honors) Specialized in product design with a focus on blending creativity with production techniques. Participated in industry projects, working with companies like John Lewis and Vitsoe to gain real-world insights.
Publications and Impact
In diy, Safety Fic his insights on indoor design processes, materials, and strategies for efficient production. His writing bridges the gap between artisan knowledge and modern industry needs, making it a must-read for both budding designers and seasoned professionals.