

Are you finding your Kwikset door handle becoming loose? A shaky door handle can be quite a nuisance, not to mention a security risk. While calling a professional might be the first thing that comes to mind, you’d be surprised how easy it is to tighten a Kwikset door handle yourself!
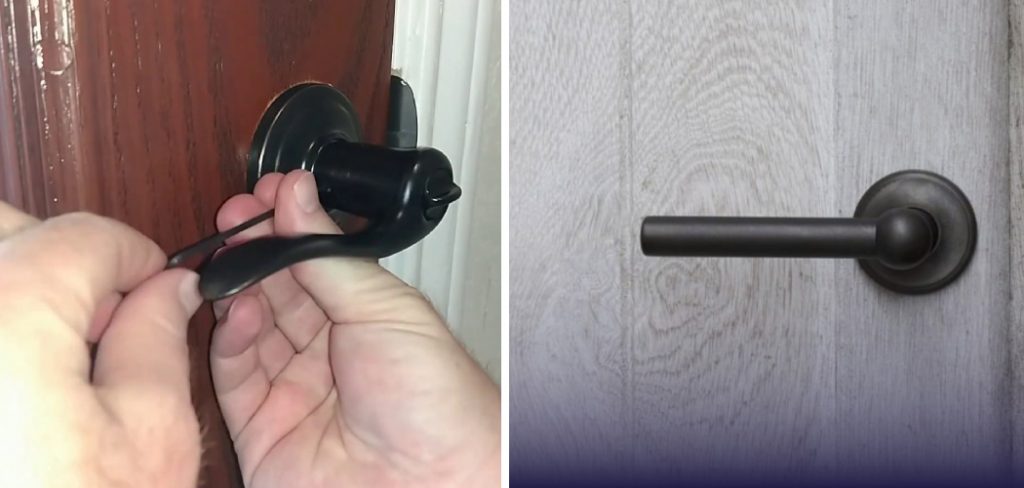
If you have ever had difficulty getting your Kwikset door handle to stay tight, you understand the frustration. Loose doorknobs can cause enough annoyance that it seems like something goes wrong every time you try to open or close the door. Thankfully, there is a solution—one that’s simpler than it appears.
In this blog post, we will discuss how to tighten a Kwikset Door Handle and make your life a bit easier! Keep reading to learn more!
What Will You Need?
The tools you will need for this task are readily available:
- A Phillips screwdriver
- A flat head screwdriver (optional)
Once you have these items, you’re ready to get started!
9 Easy Steps on How to Tighten a Kwikset Door Handle
Step 1: Locate the Set Screws
The first step in tightening your Kwikset door handle is to locate the set screws. These are usually hidden under a decorative cap or on the door’s interior side. The set screws hold the door handle in place. Take note of their position; you’ll need to tighten these screws to secure the handle.
Step 2: Remove the Decorative Cap
If your Kwikset door handle has a decorative cap hiding the screws, you’ll need to remove it. You can do this with a flathead screwdriver. Gently pry the cap off, ensuring not to damage the handle or the door. Once the cap has been removed, you can see the set screws.
Step 3: Tighten the Set Screws
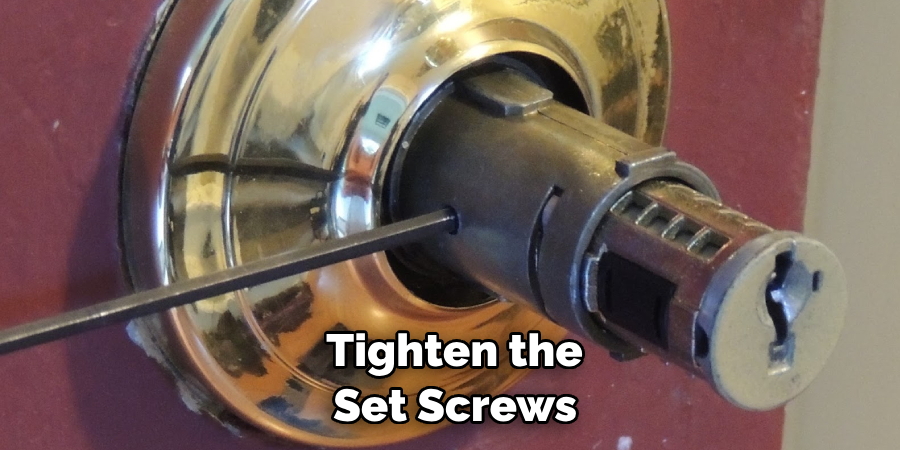
Next, use your Phillips screwdriver to tighten the set screws. Turn the screwdriver clockwise to tighten the screws. Be sure not to over-tighten, as you could strip the screws, making them difficult to remove in the future. It’s generally best to tighten until the screw feels snug but not forced. Once the set screws are tight, your Kwikset door handle should feel much more secure.
Step 4: Test the Door Handle
After you’ve tightened the set screws, it’s time to test your Kwikset door handle. Gently open and close the door a few times to ensure the handle is securely attached and operating smoothly. If the door handle is still loose, repeat the earlier steps to ensure all screws have been properly tightened.
Step 5: Reassemble the Door Handle
After you have tested the Kwikset door handle and are satisfied it is securely tightened, it is time to put everything back into its place. If you had to remove a decorative cap to access the set screws, now is the time to replace it.
Align it with the handle and gently press it back into place. Ensure it fits securely and does not obstruct the smooth operation of the handle. Congratulations! You have successfully tightened your Kwikset door handle!
Step 6: Regular Maintenance
Establish a routine of regular maintenance to keep your Kwikset door handle functioning optimally. Check the handle periodically to see if it feels loose, and if so, repeat the above steps to tighten it. Regular maintenance will prolong the life of your door handle and keep it functioning smoothly.
Step 7: Clean the Door Handle
Cleaning your Kwikset door handle is also an integral part of maintenance. Using a mild cleaning solution and a soft cloth, gently wipe down the handle to remove any dirt or grease that may have accumulated over time. This not only keeps your handle looking good, but also prevents buildup that could affect the operation of the handle.
Step 8: Check Other Door Handles
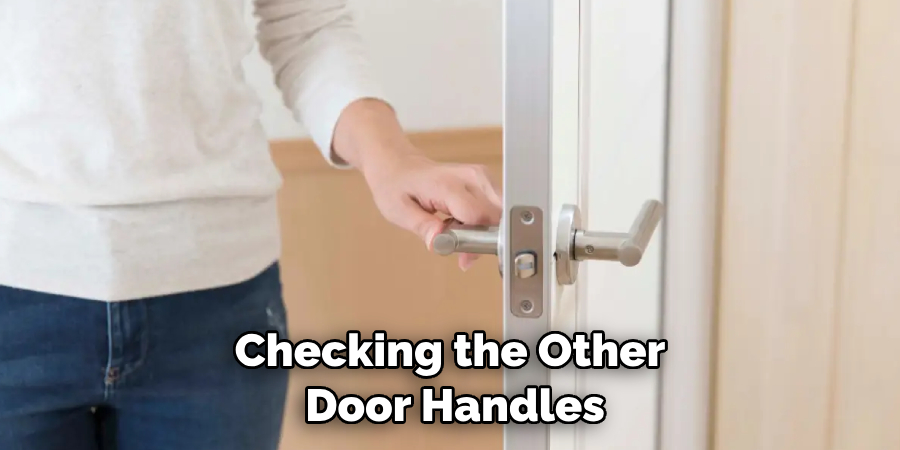
Once you’ve successfully tightened and cleaned one Kwikset door handle, checking the other door handles in your home is a good practice. Door handles can loosen over time due to regular use.
Applying the same steps as detailed above ensures all your door handles are secure, functional, and well-maintained. This not only enhances the overall security of your home but also maintains the aesthetic uniformity of the door hardware.
Step 9: Consider Professional Assistance
If the above steps fail to tighten your Kwikset door handle, consider seeking the help of a professional. While fixing a loose handle is typically easy, sometimes the problem might be more complex than it initially appears.
It could involve issues with the internal mechanism that require a professional’s expertise. Feel free to call a locksmith if you’re still determining. Remember, it’s not just about fixing a loose handle—it’s about ensuring your home’s safety and security.
Following the steps outlined above, you can confidently take care of any loose Kwikset door handle situation in your home. Empower yourself with these skills, save money on professional services, and ensure your home’s safety by properly maintaining your Kwikset door handles.
5 Additional Tips and Tricks
- Keep a Screwdriver Handy: Always ensure you have the appropriate screwdriver – typically a Philips head for Kwikset door handles – to tighten the set screws effectively.
- Regular Maintenance: Inspect and tighten your Kwikset door handle occasionally as part of your home maintenance routine to avoid loose handles over time.
- Don’t Over-Tighten: Be careful not to over-tighten screws, as this could potentially strip the screw holes, making it harder to secure the handle.
- Use of Thread locker: Consider using a thread locker, an adhesive, on the screws to prevent them from loosening due to frequent use.
- Professional Help: If you notice the problem persists after tightening, it might be due to a more serious issue. Don’t hesitate to reach out to a professional locksmith for assistance.
By following these tips, you will ensure the smooth operation of your Kwikset door handle and extend its lifespan.
5 Things You Should Avoid
- Ignoring Loose Handles: Never ignore a loose Kwikset door handle. It might seem like a minor issue initially, but it can escalate into a major problem, even causing the handle to fall off completely if not addressed promptly.
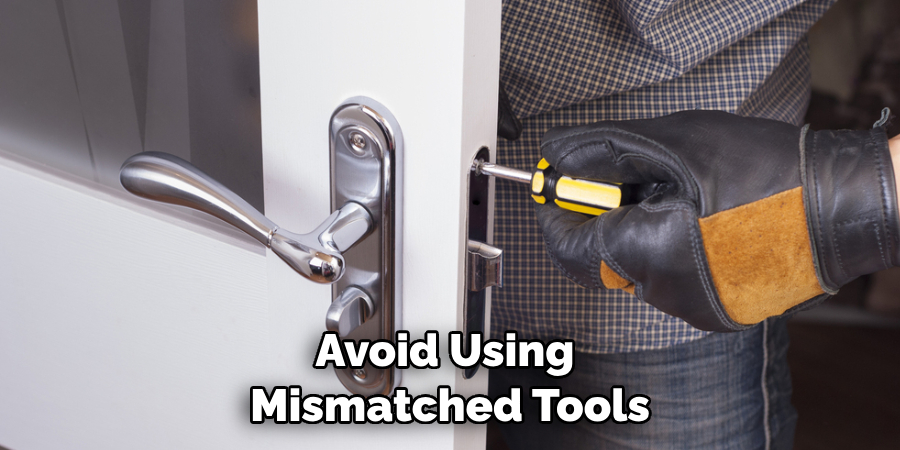
- Using Mismatched Tools: Avoid using mismatched tools to tighten your Kwikset door handle. Using the wrong tool, such as a flat-head screwdriver for a Philips-head screw, can damage the screw head, making it more difficult to tighten or remove in the future.
- Forgetting to Check Other Hardware: Don’t just focus on the handle; other hardware, like the lockset and deadbolt, needs regular inspection and maintenance. These parts should be revised to avoid security vulnerabilities.
- Applying Excessive Force: Refrain from applying excessive force while tightening the handle. It could damage both the handle and the door, leading to costly repairs or replacements.
- Skipping Professional Advice: Not seeking professional advice when needed is a common mistake. If you need clarification on any part of the process or if the handle remains loose despite your efforts, it’s best to consult a professional locksmith.
With these tips in mind, you can keep your Kwikset door handle working optimally for years to come. So, don’t hesitate to give them a try!
How Do You Remove a Kwikset Door Handle?
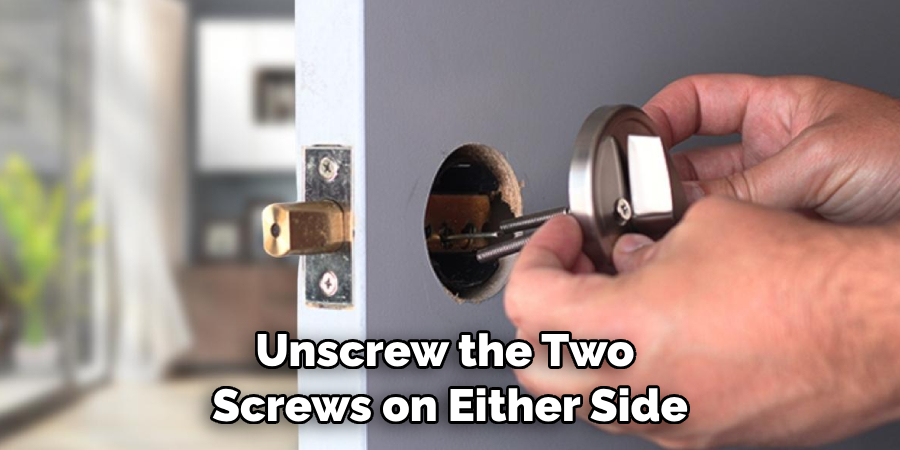
Removing a Kwikset door handle is relatively straightforward. You’ll need to unscrew the two screws on either side of the handle using the appropriate screwdriver – usually Philips-head for Kwikset handles. Once the screws are removed, carefully pull off the handle and set it aside. Unscrew any additional fasteners that keep the lock in place, such as the door strike or latch plate, and then slide out the lockset.
Now you’re ready to install a new Kwikset handle! It’s important to note that installation procedures may vary slightly depending on the model of your handle. Read the manufacturer’s instructions carefully before beginning to avoid damaging the door handle or lockset. After completing the installation, don’t forget to test the new handle to ensure it’s securely in place and fits snugly against the door.
These tips should help you tighten or replace your Kwikset door handle quickly and easily.
Conclusion
With this simple step by step process, you now have the tools necessary to tighten a Kwikset door handle with ease. Saying goodbye to a wiggly Kwikset door handle doesn’t need to be arduous when armed with the right knowledge.
Taking steps to maintain your doorknobs can increase longevity and prevent costly repairs or replacements. It’s well worth investing some time in understanding how these simple mechanisms operate and keeping them clean and well-maintained.
Who would have thought such a small task could make such a big difference in the functionality of your home? Knowledge is power, so remember: If you experience difficulty with a Kwikset door handle, don’t fret! Now we’ve established that you’ve got the power to take control, it’s time for you to get tightening.
Hopefully, the article on how to tighten a kwikset door handlehas helped give you the confidence and knowledge to fix up your door handle. Have fun, experiment, and get creative with your Kwikset door handle!
About
Safety Fic is a distinguished figure in the world of Diy design, with a decade of expertise creating innovative and sustainable Diy solutions. His professional focus lies in merging traditional craftsmanship with modern manufacturing techniques, fostering designs that are both practical and environmentally conscious. As the author of diy, Safety Fic delves into the art and science of Safety Fic-making, inspiring artisans and industry professionals alike.
Education RMIT University
(Melbourne, Australia) Associate Degree in Design (Safety Fic) Focus on sustainable design, industry-driven projects, and practical craftsmanship. Gained hands-on experience with traditional and digital manufacturing tools, such as CAD and CNC software.
Nottingham Trent University
(United Kingdom) Bachelor’s in diyfastly.com and Product Design (Honors) Specialized in product design with a focus on blending creativity with production techniques. Participated in industry projects, working with companies like John Lewis and Vitsoe to gain real-world insights.
Publications and Impact
In diy, Safety Fic his insights on indoor design processes, materials, and strategies for efficient production. His writing bridges the gap between artisan knowledge and modern industry needs, making it a must-read for both budding designers and seasoned professionals.