

Changing your locks can be an effective way to boost your security and peace of mind at home. But what do you do when one of those locks needs some extra attention? When it comes to Lockly, a popular smart lock system, the trouble itself may be hard to identify—and fixing it can be even more challenging.

Don’t worry: We’re here with everything you need to know about how to remove Lockly lock hardware so that you can enhance the security of your space without any stress or delay. Read on for all our helpful tips and troubleshooting advice!
Step-by-step Guidelines on How to Remove Lockly Lock
Step 1: Identify the Problem
Before you dive into any lock removal process, it’s important to first identify the specific issue with your Lockly lock. It could be as simple as a dead battery or a more complex technical malfunction. Make sure you understand the problem before proceeding. This will save you time and effort in the long run.
Step 2: Gather Your Tools
To successfully remove a Lockly lock, you’ll need some basic tools on hand. These may include a screwdriver, pliers, and a hex key or Allen wrench. It’s always good to have these tools ready so that you don’t have to stop in the middle of the process to locate them. So before going any further, make sure you have everything you need.
Step 3: Disconnect Power Source
If your Lockly lock is connected to a power source, such as a battery or electrical outlet, make sure to disconnect it before proceeding with removing the lock. This will ensure your safety and prevent any damage to the lock or surrounding areas. This step is especially important if you are dealing with an electrical malfunction.

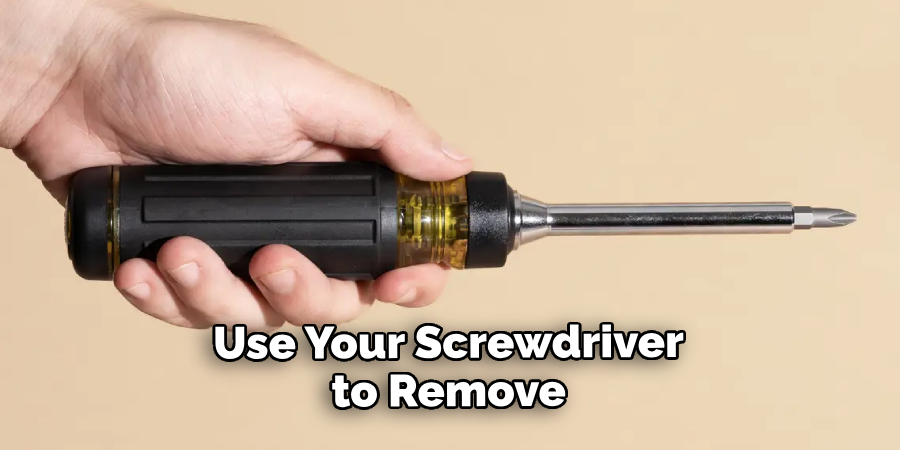
Step 4: Locate Lock Screws
Using your screwdriver, locate and remove any screws holding the lock in place. Depending on the model of your Lockly lock, there may be multiple screws to remove. Make sure to keep track of them so that you can easily reassemble the lock later. Mostly, the screws are located on the interior side of the lock.
Step 5: Remove Lock Body
Once all screws have been removed, you should be able to simply pull out the lock body. If it feels stuck, try using pliers to gently wiggle it out. Be patient and take your time to avoid damaging any parts of the lock or door during this step. While removing the lock body, be careful not to touch any of the internal components or wiring.
Step 6: Detach Mounting Plate
After removing the lock body, you may still have a mounting plate attached to your door. Most Lockly locks come with an adhesive mounting plate that can be easily pulled off. If yours is secured with screws, use your screwdriver to remove them and take off the mounting plate. Make sure to keep track of any screws or attachments as they will be needed when reassembling the lock.
Step 7: Remove Batteries (if applicable)
If your Lockly locks run on batteries, make sure to remove them before proceeding with any further steps. This is essential for your safety and also protects the lock from any potential damage. This will also allow you to replace the batteries if needed.
Following these simple steps, you should be able to successfully remove your Lockly lock from your door. Make sure to keep track of any parts and screws so that you can easily reassemble the lock if necessary. If you encounter any issues or complications during the process, don’t hesitate to refer back to the Lockly user manual or contact customer support for further assistance.
Additional Tips and Tricks to Remove Lockly Lock
1. If the lock is not responding to any of your attempts, it might be due to a dead battery. Try replacing the batteries and see if that helps.
2. Sometimes, dirt or debris can get trapped in the locking mechanism, preventing it from working properly. Use a can of compressed air to blow out any dust or particles that may be causing the issue.
3. If you have tried all the troubleshooting techniques and still cannot remove the lock, it might be time to contact Lockly customer support for further assistance. They will be able to guide you through any additional steps or send a technician if needed.
4. If you are removing the lock because you are moving to a new home, make sure to reset the code before uninstalling it. This will ensure that the next owner will not be able to access your home using the old code.
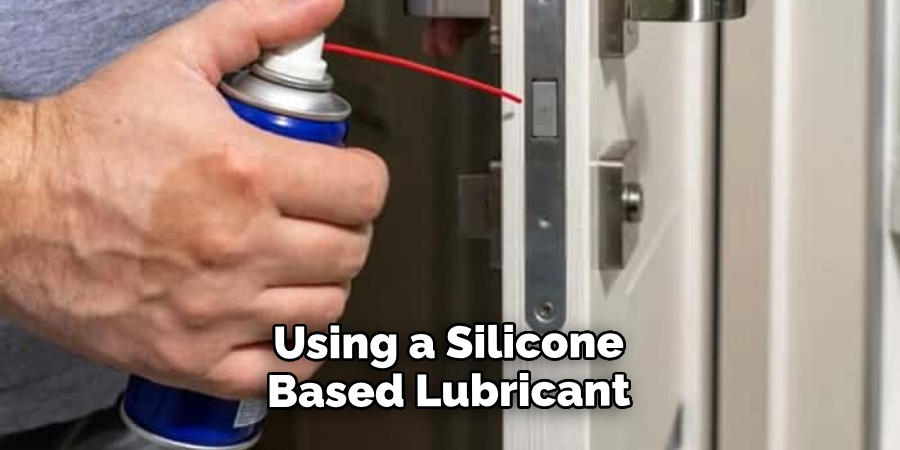
5. Consider using a silicone-based lubricant on the locking mechanism every few months to keep it functioning smoothly and prevent any future issues.
6. If you are planning to replace the lock with a different brand or model, make sure to check for compatibility beforehand. This will save you from any installation headaches or potential issues down the line.
7. It is always a good idea to have a spare set of keys or a backup battery pack in case of emergencies. This will prevent any stressful situations if you are unable to access your home due to a dead battery or forgotten code.
8. Make sure to read the user manual and follow all safety precautions when removing the lock. This will ensure that you do not damage the lock or harm yourself in the process.
9. Lastly, always keep your lock clean and free of dust or debris to maintain its functionality. Regularly wiping it down with a clean, damp cloth will help prolong its lifespan and prevent any potential issues.
Following these tips and tricks will help you effectively remove your Lockly lock and keep it functioning smoothly for years to come. Remember, troubleshooting and maintenance are key in ensuring the longevity of any electronic device, including smart locks. With these additional pointers, you can confidently tackle any issues that may arise with your Lockly lock and maintain a secure home. Happy unlocking!
Things You Should Consider to Remove Lockly Lock
1. Before attempting to remove your Lockly lock, make sure you have a good understanding of how it works. This will ensure that you do not accidentally damage the lock or cause any malfunctions.
2. Gather all necessary materials before starting, such as a screwdriver, pliers, and replacement parts if needed. It is also helpful to have the instruction manual on hand in case you encounter any difficulties.
3. Have a clear plan of action before beginning. Take note of where each screw and part should go, as this will make reassembling the lock much easier.
4. Make sure the lock is not currently engaged or in use by anyone. This could lead to unexpected movement or damage while removing it.
5. If your Lockly lock is connected to a smart home system, make sure to disconnect it before attempting to remove the lock. This will prevent any potential malfunctions or damage.
6. Be careful when handling the lock as it may still have sharp edges or small parts that could cause injury. Use protective gear if necessary.
7. Follow all safety precautions outlined in the instruction manual and use caution at all times during the removal process.
8. If you encounter any difficulties or are unsure of how to proceed, seek professional help. Attempting to remove the lock without proper knowledge and experience could result in further damage or injury.
9. Once the lock has been successfully removed, dispose of it properly according to your local regulations. This may include recycling or proper disposal at a designated facility.
10. If you plan on installing a new lock, make sure to follow all instructions and guidelines carefully to ensure proper functioning. Consider consulting a professional for locksmith if needed.

Following these considerations will help ensure a safe and successful removal of your Lockly lock. Always prioritize caution and proper understanding before attempting any DIY projects involving locks or other household items. So, it is always better to seek professional help if you are unsure or inexperienced in these matters.
Safety Precautions Need to Follow for Removing Lockly Lock
1. The first safety precaution you need to follow before removing a Lockly Lock is to disconnect the power supply. This will prevent any accidental electrical shocks and keep you safe.
2. Make sure to wear protective gear like gloves and safety glasses as some parts of the lock may have sharp edges.
3. If you are removing a digital smart lock, make sure to disable any remote access or other features before proceeding with removal. This will prevent any unauthorized access to your home while the lock is being removed.
4. Always use proper tools for removal as using incorrect tools can damage the lock or cause injury. Refer to the manufacturer’s manual for recommended tools.
5. If you are removing a mechanical lock, make sure to secure the door in place with a door stopper before starting removal. This will prevent the door from swinging open and causing any accidents.
6. Before starting removal, take note of how the lock is currently installed so you can easily reinstall it later on. Take pictures or make a diagram if needed.
7. If the lock is connected to a home security system, make sure to disconnect it before removing the lock. This will prevent any false alarms or complications during removal.
8. Always work in a well-lit area and have someone nearby who can assist you if needed.

Following these precautions will ensure a safe and successful removal of your Lockly Lock. Remember to also refer to the manufacturer’s manual for specific instructions on how to remove your particular model of lock. So, stay safe and proceed with confidence in removing your Lockly Lock! Good luck!
Conclusion
All in all, knowing how to remove lockly lock is important for homeowners to have a sense of security and peace of mind. Whether you are upgrading your current lock or need to remove it due to malfunctioning, knowing the proper steps and tools needed will save you time and frustration.
Aside from the actual process of removing the lock, it is also important to keep in mind some safety precautions. Always make sure that there are no obstructions or potential hazards around the lock before beginning the removal process. It is also recommended to have someone assist you, especially if the lock is heavy or difficult to handle.
About
Safety Fic is a distinguished figure in the world of Diy design, with a decade of expertise creating innovative and sustainable Diy solutions. His professional focus lies in merging traditional craftsmanship with modern manufacturing techniques, fostering designs that are both practical and environmentally conscious. As the author of diy, Safety Fic delves into the art and science of Safety Fic-making, inspiring artisans and industry professionals alike.
Education RMIT University
(Melbourne, Australia) Associate Degree in Design (Safety Fic) Focus on sustainable design, industry-driven projects, and practical craftsmanship. Gained hands-on experience with traditional and digital manufacturing tools, such as CAD and CNC software.
Nottingham Trent University
(United Kingdom) Bachelor’s in diyfastly.com and Product Design (Honors) Specialized in product design with a focus on blending creativity with production techniques. Participated in industry projects, working with companies like John Lewis and Vitsoe to gain real-world insights.
Publications and Impact
In diy, Safety Fic his insights on indoor design processes, materials, and strategies for efficient production. His writing bridges the gap between artisan knowledge and modern industry needs, making it a must-read for both budding designers and seasoned professionals.