

Do you want to learn how to drill a deadbolt safely and securely? Whether you’re an experienced do-it-yourselfer or a beginner, drilling a deadbolt correctly can be tricky. We know that it can seem daunting, but with the right level of patience and precision, you’ll soon find yourself learning the ropes of deadbolting in no time!
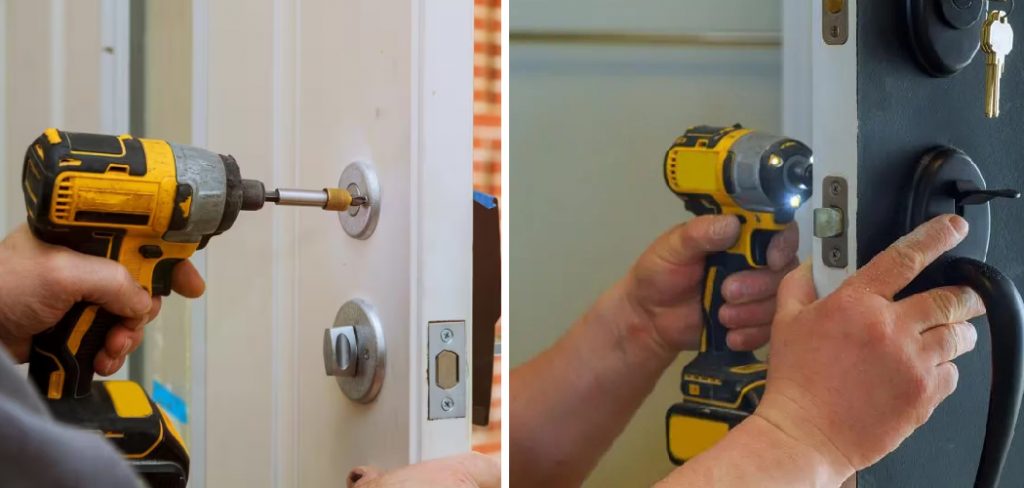
In this blog post on how to drill deadbolt, we will provide you with all the tips and tricks you need to tackle this task without any problems. So grab your tools and join us as we guide you through the process step by step!
Needed Tools
Before you begin drilling, it’s important to have the right tools on hand. Here are the essential tools you’ll need to successfully drill a deadbolt:
Drill:
A high-speed drill is recommended for this task, with a minimum speed of 1500 RPM.
Drill Bits:
You’ll need at least two different sizes of drill bits – one for creating a pilot hole and another for the final hole.
Measuring Tape:
To ensure precise drilling, you’ll need a measuring tape to measure the distance from the edge of the door to the center of the lock.
Pencil:
A pencil will be used to mark where you’ll drill on both sides of the door.
Safety Goggles:
Safety should always come first! Protect your eyes by wearing safety goggles while drilling.
Protective Gloves:
To avoid any potential injuries, it is recommended to wear protective gloves during the drilling process.
10 Simple Step-by-step Guidelines on How to Drill Deadbolt
Step 1: Measure the Distance

Use your measuring tape to measure the distance from the edge of the door to the center of the lock. This will help you determine where to drill. If the distance is not specified in the deadbolt instructions, a standard distance of 2-3/8 inches from the edge is recommended. This may vary for different types of deadbolts, so always consult the instructions. It’s important to measure accurately to avoid any errors during the drilling process.
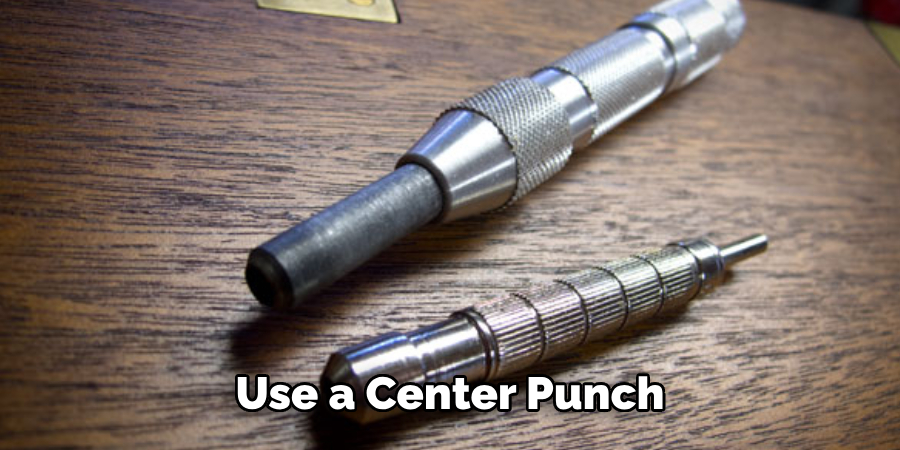
Step 2: Mark the Drill Points
Using your pencil, mark the drill points on both sides of the door. These marks will serve as a guide for drilling and ensure that you drill in the correct location. It’s crucial to make sure the marks are aligned perfectly on both sides. But don’t worry, if you make a mistake, simply use sandpaper to remove the mark and try again. If you’re drilling into a metal door, use a center punch to create an indentation for the drill bit to sit in.
Step 3: Choose the Right Drill Bit
Select the appropriate drill bit size for creating the pilot hole. It should be slightly smaller than the final hole size. Make sure the drill bit is securely attached to your drill. You can test the size by drilling into a scrap piece of wood first before moving onto the door. It’s always better to be safe than sorry! It’s also recommended to use cobalt drill bits for metal doors as they are stronger and can withstand higher speeds.
Step 4: Put on Safety Gear
Before you begin drilling, make sure to put on your safety goggles and gloves. This will prevent any potential injuries from occurring during the drilling process. But remember, always exercise caution and safety while handling the drill.
You don’t want to end up with any accidental injuries. If you’re not comfortable using a drill, it’s best to ask for help from someone more experienced. They can guide you through the process and ensure your safety.
Step 5: Drill Pilot Hole

With your drill set at low speed, drill a pilot hole at the marked spot on one side of the door. This will serve as a guide for the final hole and prevent the wood from splintering. If you’re drilling into a metal door, use cutting oil to lubricate the drill bit and reduce friction. Keep the drill at a right angle and apply light pressure while drilling. However, avoid using too much force as it can cause the drill bit to break.
Step 6: Create Final Hole
Switch to the appropriate size drill bit for creating the final hole. Make sure that your drill is set at high speed before drilling into the pilot hole. Apply steady pressure and drill until you reach the other side of the door.
You can also use a lubricant for easier drilling and to prevent overheating. The final hole should be smooth and clean. If you’re drilling into a metal door, use a metal file to remove any sharp edges.
Step 7: Repeat on the Other Side
Repeat steps 5 and 6 on the other side of the door, making sure that both holes are aligned perfectly. It’s important to take your time and drill slowly to avoid any mistakes. Although it may seem like a tedious process, precision is key when drilling a deadbolt. You don’t want to end up with a crooked or misaligned lock!
Step 8: Install Deadbolt
With both holes drilled, it’s time to install the deadbolt according to the manufacturer’s instructions. This will typically involve using a screwdriver to secure the deadbolt in place.
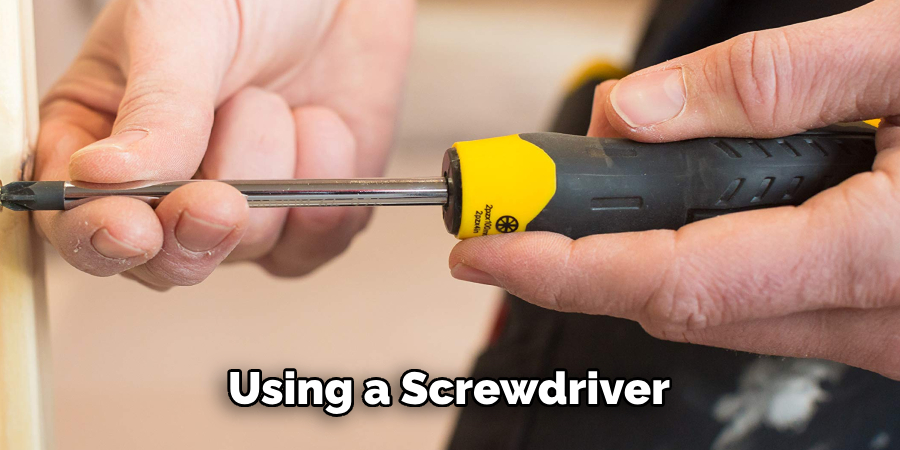
But make sure to follow the instructions carefully and double-check that everything is aligned correctly before tightening any screws. It’s better to take your time and do it right the first time. The final result will be a securely installed deadbolt!
Step 9: Test Deadbolt
After installation, test the deadbolt by locking and unlocking it multiple times to ensure it is functioning properly. You can also test it with a key to make sure there are no issues.
If you encounter any problems, double-check the alignment of the holes and readjust if necessary. It’s better to address any problems early on rather than down the line. But if everything is working smoothly, congratulations, you have successfully drilled a deadbolt!
Step 10: Finish Up
Lastly, use sandpaper or a file to smooth out any rough edges around the holes. You can also touch up any areas with paint or stain to blend it in with the rest of the door.
Always make sure to clean up after yourself and dispose of any debris properly. And there you have it, 10 simple steps on how to drill a deadbolt. With these guidelines, you can easily install a deadbolt on any door in your home. Just remember to always prioritize safety, take your time, and measure accurately for the best results!
With these simple step-by-step guidelines, you should now have a clear understanding of how to drill deadbolt correctly. Remember to always take your time and follow all safety precautions for a successful and safe drilling experience.
And just like that, you’re now ready to tackle any deadbolt installation with confidence! So go ahead and show off your newly acquired skills to friends and family, or simply enjoy the satisfaction of a job well done. Happy drilling!
Frequently Asked Questions
Q1: Can I Use Any Drill Bit for Drilling a Deadbolt?
A: It’s recommended to use a high-speed steel or cobalt drill bit, depending on the type of door you are drilling into. Always consult the manufacturer’s instructions for the correct drill bit size. It’s also important to ensure that the drill bit is securely attached and in good condition before drilling.
Q2: Do I Need Special Tools for Drilling into a Metal Door?
A: No, you do not necessarily need special tools, but it is recommended to use a center punch to create an indentation for the drill bit to sit in. You can also use cutting oil to lubricate the drill bit and reduce friction.
Q3: Is it Possible to Drill into a Deadbolt Without Marking the Door?
A: It’s highly recommended to mark the door before drilling, as it serves as a guide for creating an accurate hole. However, if you are experienced and confident in your abilities, you may be able to drill without marking the door. But remember to always exercise caution and safety while handling the drill.
Conclusion
It’s essential to ensure you have the right materials and tools prior to drilling into a door for deadbolt installation. Do your research to make sure you won’t damage other important parts of the door before drilling. If done correctly, your new deadbolt should be sturdy enough to protect your home or business from potential break-ins.
Always remember that extra security is always a great idea and properly installed locks and deadbolts are always worth the extra effort taken to risk-proof your valuable investments.
So don’t worry if you’re not sure how to drill a deadbolt—with our comprehensive guide on how to drill deadbolt, we’ve got you covered! Now, take control of your security needs by perfecting your knowledge in deadbolt drills and making sure that your family and investments stay safe.
About
Safety Fic is a distinguished figure in the world of Diy design, with a decade of expertise creating innovative and sustainable Diy solutions. His professional focus lies in merging traditional craftsmanship with modern manufacturing techniques, fostering designs that are both practical and environmentally conscious. As the author of diy, Safety Fic delves into the art and science of Safety Fic-making, inspiring artisans and industry professionals alike.
Education RMIT University
(Melbourne, Australia) Associate Degree in Design (Safety Fic) Focus on sustainable design, industry-driven projects, and practical craftsmanship. Gained hands-on experience with traditional and digital manufacturing tools, such as CAD and CNC software.
Nottingham Trent University
(United Kingdom) Bachelor’s in diyfastly.com and Product Design (Honors) Specialized in product design with a focus on blending creativity with production techniques. Participated in industry projects, working with companies like John Lewis and Vitsoe to gain real-world insights.
Publications and Impact
In diy, Safety Fic his insights on indoor design processes, materials, and strategies for efficient production. His writing bridges the gap between artisan knowledge and modern industry needs, making it a must-read for both budding designers and seasoned professionals.