

Do you have an indoor home security camera, such as a Blink Camera? Are you looking for ways to open its casing without using tools? You’re in luck—there are ways to do this.
Blink Cameras are popular home security systems because they are easy to install, have good video quality, and provide reliable monitoring. However, there may come a time when you need to access the inside of your camera without having any tools on hand.
In this post, we will teach you how to open blink camera without tool or disrupting the operation of other components inside the unit. With this simple approach, you’ll be able to quickly and effortlessly gain access to all of your camera’s components and replace them with ease.
What Will You Need?
Before we start, we have to stress that this method will only work if your Blink Camera is mounted on a magnetic surface. You shouldn’t try this if you have placed your camera in its stand. Here’s what you need:
- Magnetic Surface (such as a refrigerator or metal door)
- Magnet (preferably strong and rectangular shaped)
Once you’ve gathered all the materials, let’s proceed to the next step.
10 Easy Steps on How to Open Blink Camera Without Tool
Step 1. Secure Your Camera:
The first step is to ensure your Blink Camera is securely attached to a magnetic surface. This will provide stability during the process. If your camera moves or falls, it could disrupt the operation of other components inside.
Step 2. Position the Magnet
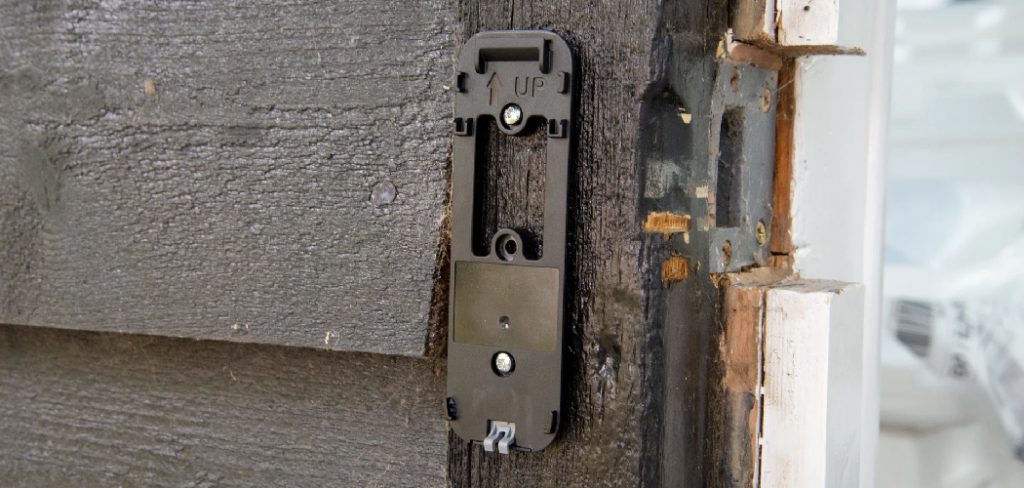
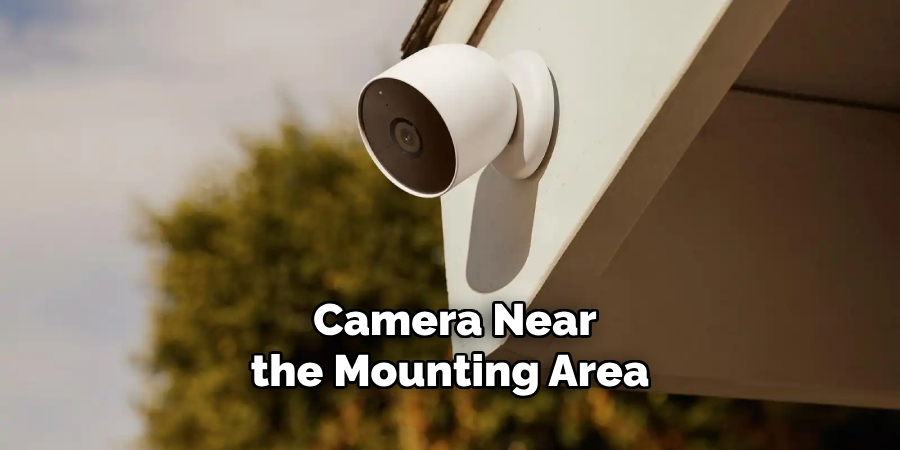
Now, take your magnet and slowly approach the Blink Camera with it. Position the magnet towards the lower part of the camera, near the mounting area, as this is usually where the latches holding the casing are located. Be careful not to touch the lens or the infrared sensor with the magnet. This step requires patience and precision to prevent any damage to the camera.
Step 3. Release the Casing
While holding the magnet near the lower part of the camera, gently move the magnet around this area. The magnet’s strength will interact with the latches, causing them to release. If you don’t feel the casing loosen, slowly move the magnet towards the edges of the camera. Remember, this process requires patience. Do not force or pull the casing to prevent damaging your Blink Camera. Once the latches are released, the casing will slightly separate from the camera body.
Step 4. Remove the Casing
After successfully releasing the latches, you can now remove the casing. Gently lift the casing away from the camera body. Remember to handle this part with care, as the inside components of the camera are now exposed. If you experience resistance while removing the casing, reposition your magnet and try rereleasing the latches. Do not force the casing off to avoid damaging any components.
Step 5. Conduct Your Inspection or Replacement
Now, with the casing removed, you should have clear access to the internal components of your Blink Camera. At this point, you can conduct your inspection or replace any parts as necessary.
Remember to handle the internal components gently to avoid causing any damage. If you’re unsure about any steps in this process, consider seeking professional assistance to avoid causing irreversible damage to your camera.
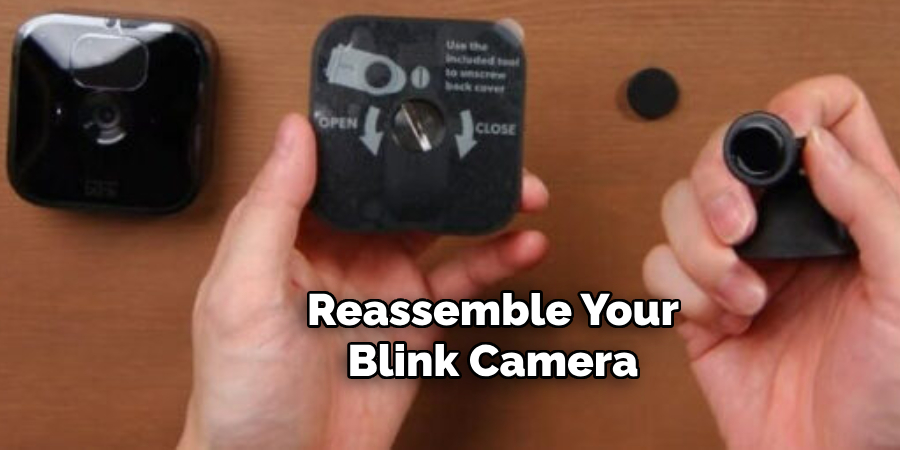
Step 6. Reassemble the Camera
After concluding your inspection or replacing any necessary parts, it’s time to reassemble your Blink Camera. Start by placing the casing back onto the camera body and aligning the latches with their corresponding slots. Ensure the casing fits snugly and doesn’t show any signs of resistance.
If properly aligned, the casing should easily snap back into place. If not, adjust the casing and try again. Patience and careful handling are key in this step to prevent any damage to your camera.
Step 7. Secure the Casing
After you’ve successfully reassembled your Blink Camera, it’s essential to secure the casing. To do this, hold the magnet near the lower part of the camera, where the latches are located, just like you did when releasing the casing.
Move the magnet around gently until the latches snap back into place. This step might require patience and precision, but ensuring that the casing is securely fastened is crucial for the continued functionality and safety of your Blink Camera.
Step 8. Check for Proper Functionality
Once you’ve secured the casing, it’s time to check if your Blink Camera is functioning correctly. Turn on the camera and view its feed through your connected device or app. Ensure the video quality is clear and there are no signs of disruption in the feed. Test the other features like motion detection and night vision to ensure they work correctly. If you notice any issues, it may be necessary to reopen the camera and recheck your work.
Step 9. Cleanup and Re-positioning:
After confirming the functionality of your Blink Camera, it’s time to clean up. Use a soft cloth to wipe any dust or fingerprints off the camera. Then, re-position the camera to its original location. Make sure it’s adequately secured and has a clear view of the area you want it to monitor. Test it one more time to ensure it’s capturing the correct field of view and the motion detection is triggered correctly.
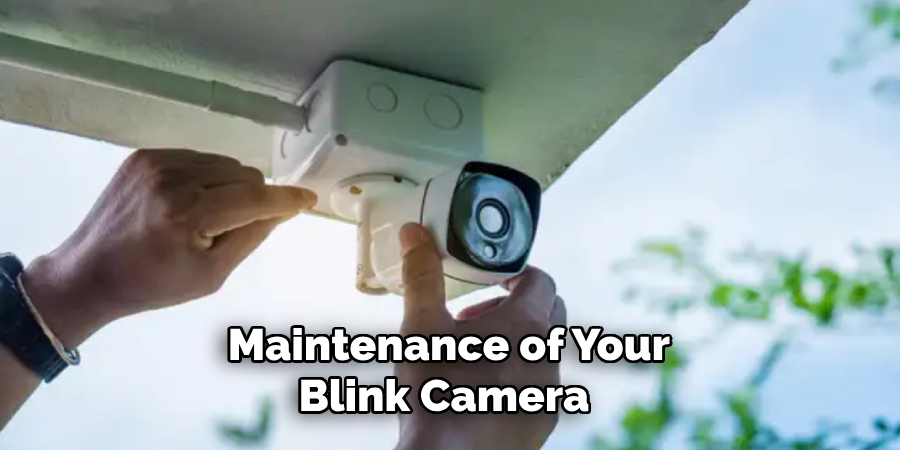
Step 10. Regular Maintenance
In the final step, remember that regular maintenance of your Blink Camera can extend its lifespan and ensure efficiency. Clean the exterior casing occasionally with a soft, dry cloth to prevent dust accumulation.
Also, monitor its performance regularly to detect any issues early. If your camera has a battery, remember to check its power level and replace it as necessary. Following these steps can keep your Blink camera in top-notch condition, providing you with reliable security for a long time.
By following these easy steps, you can successfully open your Blink Camera without using any tool. Remember to always proceed with caution and patience to avoid causing any damage to your camera.
5 Additional Tips and Tricks
Tip 1. Use a Strong Magnet:
A stronger magnet can make the process of opening your Blink Camera easier. The magnetic field will interact more efficiently with the latches, releasing them quicker. However, make sure not to use a mighty magnet as it could damage the internal components of the camera.
Tip 2. Work in a Well-Ventilated Area:
When opening your Blink Camera, it’s essential to work in a well-ventilated area. This will prevent any dust or debris from accumulating inside the camera, which could affect its performance.
Tip 3. Have a Second Pair of Hands:
It can be helpful to have someone assist you while opening the Blink Camera. They can hold the magnet steady while you work on releasing the latches, making the process smoother and more efficient.
Tip 4. Use Gloves:
To prevent leaving fingerprints or smudges on your Blink Camera, wear gloves while handling it. This will also protect your hands from any sharp edges that may be present when opening the casing.
Tip 5. Seek Professional Assistance:
If you need clarification on any steps or encounter difficulties while opening your Blink Camera, it’s always best to seek professional assistance. This will ensure that no further damage is caused and your camera remains in proper working condition.
With these additional tips and tricks, you can easily open your Blink Camera without using any tool and maintain its functionality for a longer period.
5 Things You Should Avoid
1. Avoid Using Excessive Force: When opening your Blink Camera, never apply excessive force. This could damage the casing or the internal components. Always proceed with caution and patience to prevent any damage.
2. Avoid Working in a Dusty Environment: A clean, dust-free workspace is essential when dealing with sensitive electronic equipment. Dust can interfere with the camera’s operation and potentially cause long-term damage.

3. Avoid Using Sharp Objects: Never use sharp tools to pry open the casing of your Blink Camera. This might scratch the casing or damage the internal components.
4. Avoid Direct Sunlight or Heat: Heat can potentially damage the delicate inner workings of your camera. Always work in an excellent, shaded location to prevent overheating.
5. Avoid Rushing: Opening your Blink Camera is a delicate process that requires patience. Never rush the process, as this can result in mistakes that damage the camera or affect its functionality.
By avoiding these common mistakes, you can successfully open your Blink Camera without any hassle and maintain its performance for a longer time.
Conclusion
Despite the potential difficulty of opening a Blink Camera without a tool, it can be done with patience and care. The process is worth it if you want to save time and money. If you’re uncomfortable with this process, it may be safer to purchase the optional screwdriver when buying an outdoor Blink camera or speak to an expert if the camera needs repairs down the line.
All in all, doing this on your own requires focus and practice, but it can give you the satisfaction of seeing that DIY project come to fruition. And if all else fails, remember that there are plenty of resources available online for extra help and guidance.
Hopefully, the article on how to open blink camera without tool has been helpful and will make your experience with Blink cameras more efficient. Happy monitoring!
About
Safety Fic is a distinguished figure in the world of Diy design, with a decade of expertise creating innovative and sustainable Diy solutions. His professional focus lies in merging traditional craftsmanship with modern manufacturing techniques, fostering designs that are both practical and environmentally conscious. As the author of diy, Safety Fic delves into the art and science of Safety Fic-making, inspiring artisans and industry professionals alike.
Education RMIT University
(Melbourne, Australia) Associate Degree in Design (Safety Fic) Focus on sustainable design, industry-driven projects, and practical craftsmanship. Gained hands-on experience with traditional and digital manufacturing tools, such as CAD and CNC software.
Nottingham Trent University
(United Kingdom) Bachelor’s in diyfastly.com and Product Design (Honors) Specialized in product design with a focus on blending creativity with production techniques. Participated in industry projects, working with companies like John Lewis and Vitsoe to gain real-world insights.
Publications and Impact
In diy, Safety Fic his insights on indoor design processes, materials, and strategies for efficient production. His writing bridges the gap between artisan knowledge and modern industry needs, making it a must-read for both budding designers and seasoned professionals.