

Are you looking for an easier way to keep your home and loved ones safe? Installing cameras is one of the fastest growing trends in home security, but it can take time to know where to start.
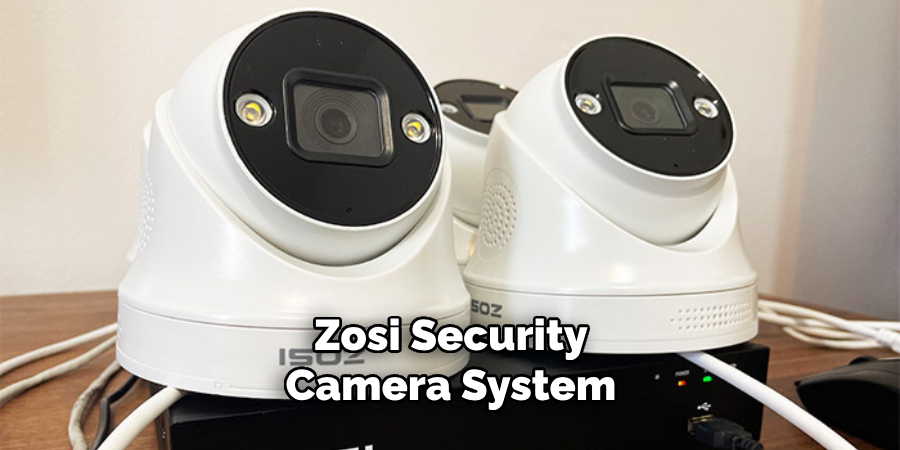
Zosi is a popular brand that offers high-quality and affordable security camera systems. In this article, we’ll show you how easy it is to add cameras with Zosi so your family and property stay secure without breaking the bank!
Fortunately, Zosi has revolutionized the process by making it even more straightforward to choose and install the right camera for any situation. In this guide, we will walk you through the step-by-step process of how to add cameras to Zosi, so you can have peace of mind knowing your home is protected.
What Will You Need?
Before you start the process of adding cameras to Zosi, it’s essential to make sure you have all the necessary equipment. Here is a list of items you will need:
- A Zosi security camera system (with cameras)
- Power adapters and cables for each camera
- A monitor or TV for viewing footage
- An internet connection (optional if you want remote access)
Now that you have everything ready let’s dive into the steps on how to add cameras to Zosi.
10 Easy Steps on How to Add Cameras to Zosi
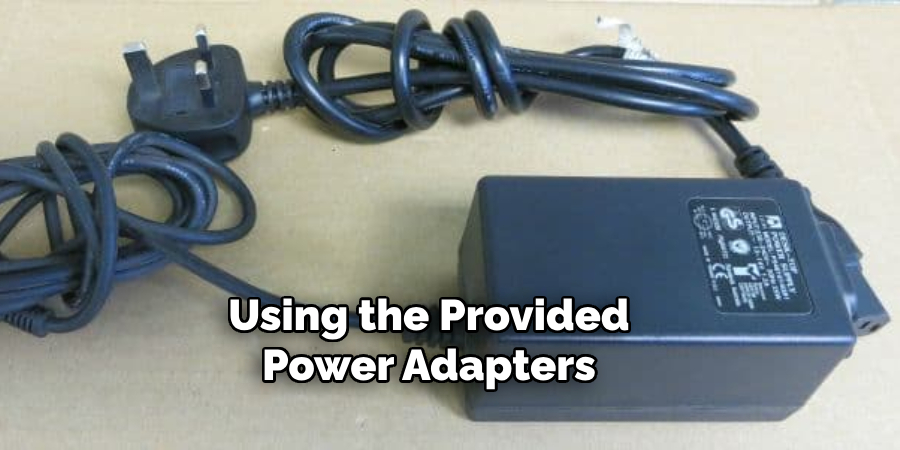
Step 1: Unbox and Connect Your Cameras
The first step is unboxing your cameras and connecting them to power using the provided power adapters and cables. Make sure to place the cameras in strategic locations around your property for maximum coverage. If you have any outdoor cameras, make sure they are correctly weatherproofed.
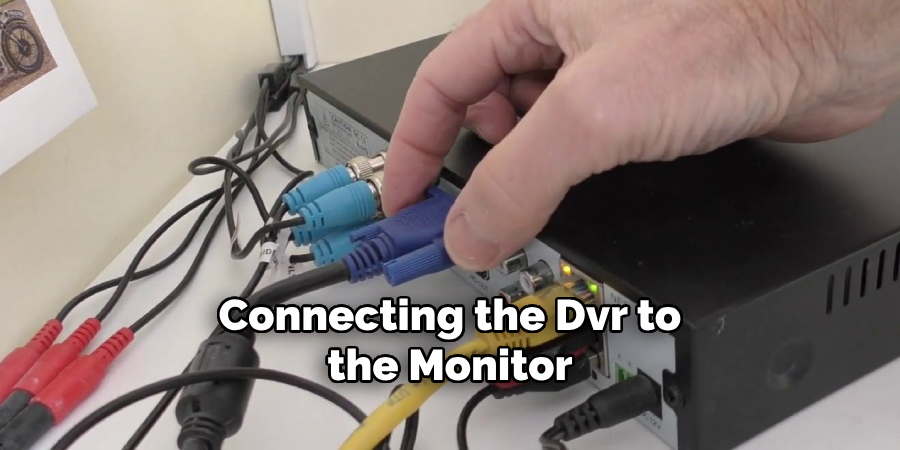
Step 2: Connect the Cameras to the DVR
After power-on, the next step is to connect your cameras to the Digital Video Recorder (DVR). The Zosi system comes with a DVR that serves as the hub for all the cameras. Use the BNC cables (included in the package) to connect each camera to the DVR. Each camera slot on the DVR is numbered, so you can keep track of which camera is connected to which slot. After all the cameras are connected, power up the DVR.
Step 3: Set Up the Monitor
Once the DVR is powered on, the next step is to set up your monitor. Use the HDMI or VGA cable (included in the package) to connect the DVR to the monitor. Turn on the monitor and select the correct input mode (HDMI or VGA) to display the feed from the DVR. You should be able to see the live footage from your cameras on the monitor screen.
Step 4: DVR Setup
After connecting the DVR to the monitor, it’s time to set up the DVR settings. Using the mouse provided with the DVR, navigate to the main menu. Here, you’ll find various settings such as time, date, and language, which you can customize according to your preference. Make sure also to set up your password for enhanced security of your Zosi system.
Step 5: Camera Configuration
Now, head over to the camera settings section in the main menu. Here, you can customize each camera’s view, recording settings, and other options. If your cameras support it, you can also adjust the resolution, frame rate, and different advanced settings to get the best video quality.
Step 6: Network Setup
To access your camera feed remotely, you need to set up the network settings. In the network settings menu, enable the DHCP option to obtain an IP address for your DVR automatically. Also, make sure to set up the port forwarding settings as per the instructions provided in the Zosi manual.
Step 7: Test the Setup
Once everything is set, it’s essential to test your setup. Make sure each camera is displaying correctly on the monitor, and the recording is working fine. Also, try accessing the camera feed remotely using Zosi’s mobile app or web interface to confirm everything works perfectly. If you experience any issues, refer to the troubleshooting section in the Zosi manual or contact Zosi’s customer support.
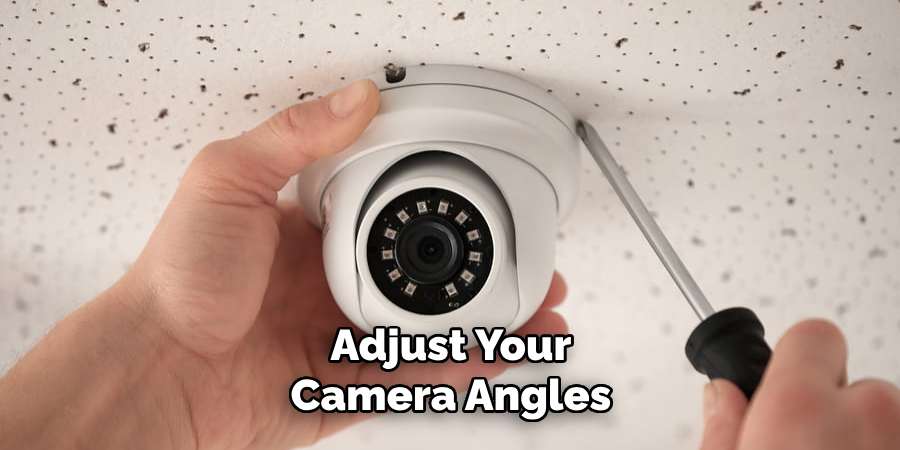
Step 8: Adjusting Camera Angles
With the system set up and functioning properly, now is the time to adjust your camera angles. Go to each camera location and adjust the camera angle to cover the desired area effectively.
Monitor the live feed on your screen while adjusting to ensure optimal coverage. Once set, tighten the security camera mount to secure the camera in its place. Remember, the objective is to minimize blind spots and maximize the coverage area.
Step 9: Setting Up Motion Detection (If Supported)
If your Zosi security camera system supports motion detection, you can set it up for added security. Navigate to the motion detection menu in the DVR settings. Here, you can turn on motion detection for each camera and adjust the sensitivity as per your needs. This feature, when activated, will start the camera recording whenever it detects movement, thus saving storage space and enabling you to review significant events more conveniently.
Step 10: Final Checks and Maintenance
After setting up everything, it’s recommended to periodically check your system to ensure everything is functioning as intended. Regularly check the live feed, recorded footage, remote access, and motion detection (if set).
Also, clean your cameras and maintain them as per the instructions given in the Zosi manual to keep them in good working condition. Remember, a well-maintained and regularly checked system is key to long-lasting and effective home security.
Following these ten simple steps, you can easily add cameras to Zosi and have a reliable surveillance system for your home or property. With its user-friendly interface and high-quality cameras, Zosi makes it convenient and affordable to keep your family and belongings safe.
5 Additional Tips and Tricks
Tip 1: Opt for High-Mounting
For maximum coverage and to prevent physical tampering, consider mounting your cameras at a higher vantage point. This also decreases the likelihood of obstructions blocking the camera’s view.
Tip 2: Use Adequate Lighting
Ensure the area your camera is monitoring has sufficient lighting, especially if the cameras do not have night vision. Good lighting improves the quality of the footage, making it easier to identify any potential threats.
Tip 3: Regularly Update Firmware
Keep your Zosi system up-to-date by regularly checking for firmware updates. New updates often include bug fixes and security enhancements that can improve the performance of your cameras.
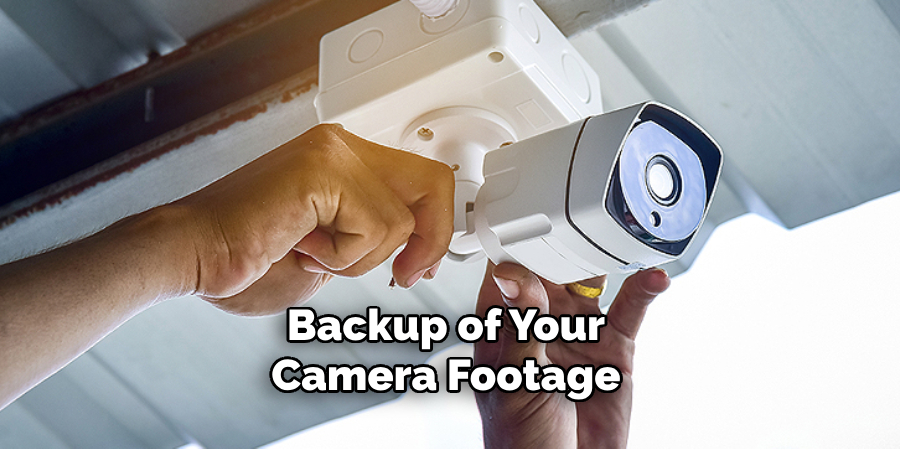
Tip 4: Back Up Your Footage
In case of any incidents, it’s essential to have a backup of your camera footage. Consider investing in an external hard drive or cloud storage to store your recorded footage securely.
Tip 5: Customize Alerts
Zosi’s mobile app allows you to customize alerts for specific events, such as motion detection or video loss. This way, you can be notified immediately when something significant happens on your property.
With these additional tips and tricks, you can make the most out of your Zosi security camera system and have peace of mind knowing your home or property is being monitored effectively.
5 Things You Should Avoid
Avoid 1: Neglecting Camera Placement
Avoid placing your cameras in a position that faces direct sunlight or bright lights, as this can potentially wash out the images and decrease the quality of the footage. Also, avoid obstructed camera views. Make sure there aren’t any trees or other objects blocking the camera’s field of view.
Avoid 2: Ignoring Privacy Laws
Always respect privacy laws and neighbors’ privacy when installing your Zosi cameras. Avoid pointing your cameras into neighboring properties or public spaces, which can lead to legal issues.
Avoid 3: Forgetting the Power Source
Remember to consider the power source for each of your cameras. Avoid installing cameras at locations where it would be difficult to provide a continuous power supply.
Avoid 4: Overlooking Regular Maintenance
Avoid not conducting regular maintenance of your Zosi security camera system. Regular cleaning and inspection for damage will prolong the life of your cameras and ensure optimal performance.
Avoid 5: Disregarding Password Security
Pay attention to the importance of setting up a strong password for your Zosi system. Avoid using easy-to-guess passwords. Regularly updating your password can significantly enhance the security of your surveillance system.
By avoiding these common mistakes, you can ensure your Zosi security camera system is functioning effectively and providing reliable protection for your home or property.
How Do I Find the IP Address of My Zosi Camera?
To find the IP address of your Zosi camera, follow these steps:
- Ensure that your Zosi camera is correctly connected to your network.
- Open a web browser on a computer or mobile device connected to the same network.
- In the web browser’s address bar, type “192.168.1.108” and press Enter.
- A login page for your Zosi system will appear.
- Enter the username and password for your Zosi system (default username: admin, default password: no password).
- Once logged in, navigate to the Network settings menu.
- From here, you can view and edit the IP address of your Zosi camera(s).
- Take note of the IP address for future reference.
Conclusion
Your home’s security system should not be taken lightly. Adding cameras to your Zosi surveillance system is an essential step in ensuring both the safety and security of your home and loved ones. It doesn’t have to be complicated or expensive either – with our guide, you now have the knowledge to carry out the task yourself.
While a DIY approach may seem daunting, arming yourself with the correct information can help simplify and tideline any project. It’s always worth investing time into research before beginning, as it will make big changes more accessible in the long run!
Start today and take the necessary steps to safeguard your home from potential threats. Now that you know how to add cameras to Zosi, what are you waiting for?
About
Safety Fic is a distinguished figure in the world of Diy design, with a decade of expertise creating innovative and sustainable Diy solutions. His professional focus lies in merging traditional craftsmanship with modern manufacturing techniques, fostering designs that are both practical and environmentally conscious. As the author of diy, Safety Fic delves into the art and science of Safety Fic-making, inspiring artisans and industry professionals alike.
Education RMIT University
(Melbourne, Australia) Associate Degree in Design (Safety Fic) Focus on sustainable design, industry-driven projects, and practical craftsmanship. Gained hands-on experience with traditional and digital manufacturing tools, such as CAD and CNC software.
Nottingham Trent University
(United Kingdom) Bachelor’s in diyfastly.com and Product Design (Honors) Specialized in product design with a focus on blending creativity with production techniques. Participated in industry projects, working with companies like John Lewis and Vitsoe to gain real-world insights.
Publications and Impact
In diy, Safety Fic his insights on indoor design processes, materials, and strategies for efficient production. His writing bridges the gap between artisan knowledge and modern industry needs, making it a must-read for both budding designers and seasoned professionals.