

Are you experiencing issues with your CCTV camera and wondering how to troubleshoot the problem? One effective technique is to use a multimeter to check various components of your camera. For those who are new to this, it might seem intimidating at first.
However, with a little guidance and practice, you can easily master the basics of using a multimeter to diagnose CCTV camera problems. In this blog post, we will go through the detailed steps on how to check CCTV camera with multimeter.
Can You Check the CCTV Camera with a Multimeter?
When checking a CCTV camera, many people may wonder if using a multimeter is an effective tool. While a multimeter can be used for electrical testing and diagnostics, it may not be the best option for checking a CCTV camera. There are a variety of factors to consider when troubleshooting a camera, including power supply, cabling, and network connectivity.
Depending on the issue at hand, it may be better to use specialized testing equipment or consult with a professional technician to ensure accurate and thorough results. In any case, it is important to approach the situation with care and attention to detail in order to ensure that the camera is functioning properly and providing the necessary surveillance coverage.
Why Should You Check CCTV Camera with Multimeter?
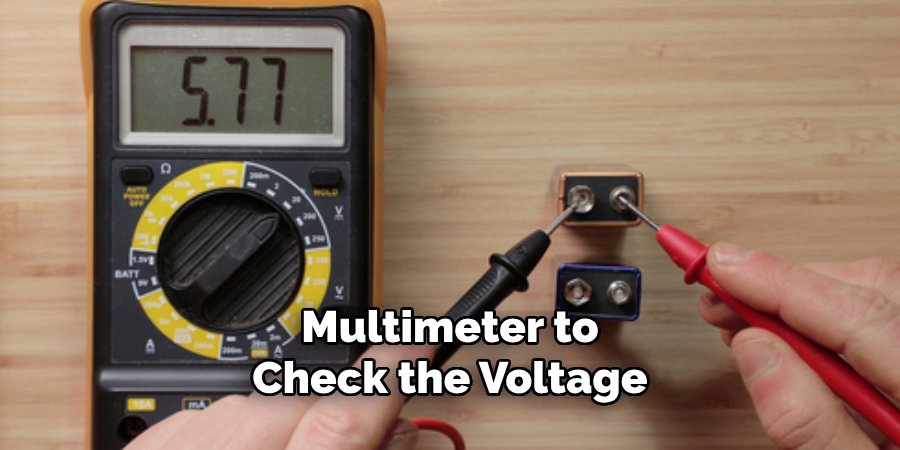
CCTV cameras have become essential to surveillance systems, protecting properties and safeguarding people’s privacy. But how do you know if a CCTV camera is functioning correctly? That’s where a multimeter comes in handy. Using a multimeter to check the voltage, we can ensure that the CCTV cameras are working adequately and provide accurate footage.
That’s why it’s important to check CCTV cameras with a multimeter regularly to avoid any malfunctions or problematic situations. With this simple procedure, we can guarantee that the cameras are working correctly and providing the necessary security for us and our community.
How to Check CCTV Camera with Multimeter: An In-Depth Guide
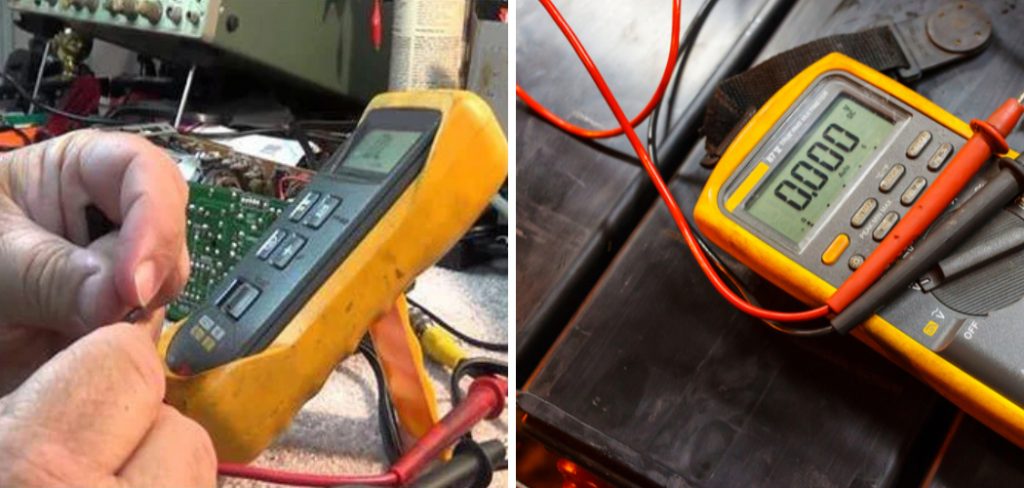
1. Understanding the Multimeter Basics
Before checking your CCTV camera, you should familiarize yourself with some basic multimeter concepts. These include voltage, current, and resistance. Voltage refers to the amount of electrical force in a circuit.
Current is the flow of electrical charge in a circuit. Resistance is the opposition to the flow of current in a circuit. You can use a multimeter to measure these values on different components of your CCTV camera to diagnose any problematic areas.
2. Checking the CCTV Camera Power Supply
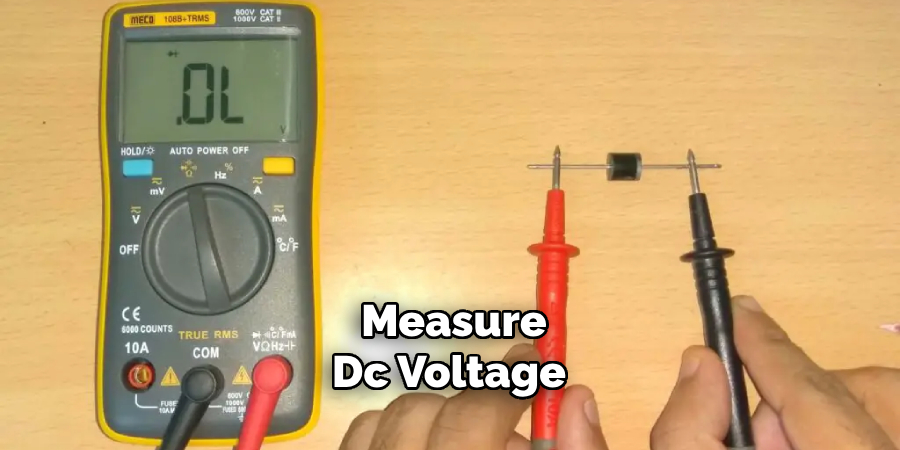
One of the most common issues with CCTV cameras is power supply problems. First, turn off the power source to check your camera’s power supply. Then, set the multimeter to measure DC voltage. Connect your multimeter’s black lead to the power supply’s negative terminal and the red lead to the positive terminal.
Turn the power source back on, and check the voltage value on your multimeter. If the voltage is within the expected range (usually 12V-24V), the power supply works properly. If the voltage is too low or too high, then there may be an issue with your power supply.
3. Checking Camera Coaxial Cable
If your CCTV camera is not transmitting video feed properly, there might be a problem with the coaxial cable. To check this, set the multimeter to measure impedance (ohms). Detach the camera from the coaxial cable, and touch the probes (black and red leads) of your multimeter to the center pin and the outer conductor of the cable.
The expected range of values should be around 75 ohms. If the measured value is below or above this range, then there might be an issue with the coaxial cable. You can also repeat this process for the camera end of the cable to check whether the cable is properly connected to your CCTV camera.
4. Checking Camera Voltage Output
A CCTV camera might sometimes have a voltage output issue, leading to a lack of video transmission or poor-quality footage. To check the voltage output, set the multimeter to measure DC voltage. Connect the black lead of your multimeter to the camera’s ground and the red lead to the camera’s positive voltage output.
The output is working properly if the voltage is within the expected range (depending on the camera model). If the voltage is too low or too high, then there might be an issue with your camera’s voltage regulator, which might require repair or replacement.

5. Checking Camera Image Sensor
If you suspect your CCTV camera’s image sensor is malfunctioning, you can use your multimeter to check its resistance. Set the multimeter to measure resistance (ohms). Detach the camera power source and remove the image sensor unit from the camera.
Connect the probes to the image sensor pins, and check the resistance value. The image sensor works fine if it is within the expected range (around 100-200 ohms). If the value is too low or too high, then there may be a problem with your image sensor.
You can also repeat this process for other components, such as the camera lens or IR cut filter, if necessary.
6. Checking Camera Infrared LEDs
Infrared (IR) LEDs are an essential part of CCTV cameras that enable night vision capabilities. If your camera’s IR LEDs are not functioning properly, your footage might appear dark or distorted at night. To check the IR LEDs, set the multimeter to measure voltage. Connect your black lead to the ground and red lead to one of the IR LED’s terminals. If there is no voltage reading, then the IR LED may be burnt out and need replacement.
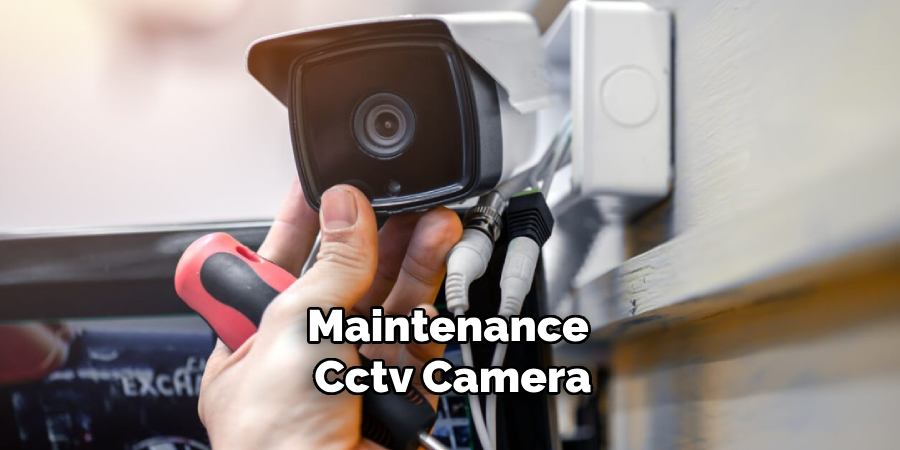
7. Properly Maintaining Your CCTV Camera
Regular maintenance of your CCTV camera can help prevent issues and ensure its proper functioning. Some simple maintenance tasks include cleaning the camera lens and checking for any loose connections or damaged components.
By following these steps and performing routine maintenance, you can avoid costly repairs and ensure that your CCTV camera continues to work properly. In case of any major issues, it is always recommended to seek professional help for repair or replacement.
That’s it! You’ve now learned how to check CCTV camera with multimeter. Remember, safety comes first when dealing with electrical components, so always make sure to turn off the power source and handle all equipment carefully.
By regularly checking and maintaining your CCTV camera, you can ensure its longevity and reliable performance. So be sure to follow these steps whenever you encounter any issues with your CCTV camera to quickly diagnose and fix the problem. Stay safe and keep your surveillance system up and running!
5 Considerations Things When You Need to Check CCTV Camera with a Multimeter
1. Check the Voltage of the Camera
When checking a CCTV camera with a multimeter, the first step is to check the camera’s voltage. This can be done by connecting one lead of the multimeter to the positive terminal of the camera and the other lead to the ground. The multimeter will then display the voltage level that is being supplied to the camera. If it is not within an acceptable range, then it may indicate that there is an issue with either the power supply or wiring.
2. Check for Continuity
The second step in checking a CCTV camera with a multimeter is to check for continuity. This can be done by connecting one lead of the multimeter to each end of a wire or cable and then reading off any resistance that may be present. If there is no resistance, then this indicates that there is good continuity between both ends and that all connections are secure.
3. Test for Short Circuits
The third step in checking a CCTV camera with a multimeter is to test for short circuits. This can be done by connecting one lead of the multimeter to each end of a wire or cable and then reading off any current that may be present. If there is more than an acceptable amount of current flowing through, then this indicates that there could be an issue with either wiring or components within the system itself, causing a short circuit.
4. Check Connections
The fourth step in checking a CCTV camera with a multimeter is to check all connections in order to ensure they are secure and free from corrosion or damage, which could affect performance levels. To do this, simply use one lead from your multimeter on each connection point and read off any resistance present, which should indicate if everything has been connected properly or not.
5. Test Video Quality
Finally, when checking a CCTV camera with a multimeter, you should also test video quality as well as other features such as night vision capabilities and motion detection accuracy in order to make sure everything works as expected before installation takes place. Doing so can address and resolve any potential issues before the system goes live, ensuring a smooth and successful CCTV setup.
Conclusion
Using a multimeter to check your CCTV camera might seem daunting at first, but with practice and careful attention to detail, you can easily learn how to diagnose various components of your camera. By following the steps mentioned in this blog post, you can quickly troubleshoot power supply, coaxial cable, voltage output, and image sensor issues.
If you are still not sure about these techniques, you can always seek the help of a professional technician who can guide you through the process. Thanks for reading our post about how to check cctv camera with multimeter and happy troubleshooting!
About
Safety Fic is a distinguished figure in the world of Diy design, with a decade of expertise creating innovative and sustainable Diy solutions. His professional focus lies in merging traditional craftsmanship with modern manufacturing techniques, fostering designs that are both practical and environmentally conscious. As the author of diy, Safety Fic delves into the art and science of Safety Fic-making, inspiring artisans and industry professionals alike.
Education RMIT University
(Melbourne, Australia) Associate Degree in Design (Safety Fic) Focus on sustainable design, industry-driven projects, and practical craftsmanship. Gained hands-on experience with traditional and digital manufacturing tools, such as CAD and CNC software.
Nottingham Trent University
(United Kingdom) Bachelor’s in diyfastly.com and Product Design (Honors) Specialized in product design with a focus on blending creativity with production techniques. Participated in industry projects, working with companies like John Lewis and Vitsoe to gain real-world insights.
Publications and Impact
In diy, Safety Fic his insights on indoor design processes, materials, and strategies for efficient production. His writing bridges the gap between artisan knowledge and modern industry needs, making it a must-read for both budding designers and seasoned professionals.