

Are you looking for an efficient and cost-effective way to monitor your property or home for security purposes? Trail cameras are a great tool that can offer high-tech surveillance without breaking the bank. With its incredible motion detection technology, trail cameras will capture images of anything that moves within range and provide you with instant alerts.
In this blog post, we’ll explore the basics of how to use a trail camera for security—from setup tips to power options—so you can enjoy peace of mind knowing your property is being monitored 24/7. Let’s dive in!
Step-by-step Guidelines on How to Use a Trail Camera for Security
Step 1: Choose the Right Camera
Before diving into the setup process, it’s important to understand that not all trail cameras are created equal. Some may have more advanced features or higher-quality images than others.
When choosing a camera for security purposes, you want to prioritize motion detection and image resolution. Look for models with at least a 12-megapixel resolution and adjustable sensitivity levels for motion detection.
Step 2: Determine the Best Location
Once you have chosen your trail camera, it’s time to find the perfect spot to set it up. Look for areas with high foot traffic or potential entry points, such as doors and windows. It’s also important to consider the angle at which the camera will be placed for optimal coverage.
This will ensure that you capture the best images and have a clear view of any potential threats.
Step 3: Set Up Your Camera
Once you have chosen the location, it’s time to set up your trail camera. This typically involves attaching it to a tree or post using straps or screws, depending on the model. Make sure the camera is securely fastened and facing the desired direction. While most cameras come with a built-in mounting bracket, some may require additional accessories for proper installation.

Step 4: Power Options
There are several different power options for trail cameras, including batteries, solar panels, and external power sources. Batteries are the most common option as they offer portability and can last for weeks or even months. However, it’s important to regularly check and replace the batteries to ensure your camera is always powered.
Solar panels, on the other hand, provide a more sustainable and eco-friendly power source but may be less reliable in areas with low sunlight.
Step 5: Test and Adjust Settings
Before leaving your trail camera unattended, it’s important to test it out and adjust the settings as needed. This includes adjusting the sensitivity levels for motion detection, setting up a schedule for when the camera should be active, and choosing the image or video resolution.
It’s also a good idea to set up alerts on your phone or email so you can instantly receive notifications when the camera is triggered. If needed, you can also password-protect your camera to prevent tampering.
Step 6: Regular Maintenance
To ensure your trail camera continues to function properly and provide the best security monitoring, it’s important to perform regular maintenance. This includes checking and replacing batteries as needed, cleaning the lens for clear images, and updating the software if necessary. It’s also a good idea to periodically check the camera for any damage or tampering.

Following these step-by-step guidelines on how to for security can provide you with an effective and reliable surveillance system. With its advanced technology and easy setup process, a trail camera is a valuable addition to your home or property’s security measures. So why wait? Start setting up your trail camera today and enjoy the peace of mind of knowing that your property is being monitored at all times. Happy hunting!
Additional Tips and Tricks to Use a Trail Camera for Security
1. When setting up a trail camera for security purposes, it is important to choose a location that is not easily visible to potential intruders. This will help prevent the camera from being tampered with or stolen.
2. It is also recommended to camouflage the trail camera by using natural materials such as leaves or branches to blend in with its surroundings. This will make it less noticeable and increase the chances of capturing any suspicious activity.
3. Regularly check and clean the camera lens to ensure clear images or videos are captured. Dust, dirt, or debris can affect the quality of the footage and make it difficult to identify individuals or objects.
4. Adjust the sensitivity settings on your trail camera to avoid false alarms triggered by small animals or foliage movements. This will also help conserve battery life by avoiding unnecessary recordings.
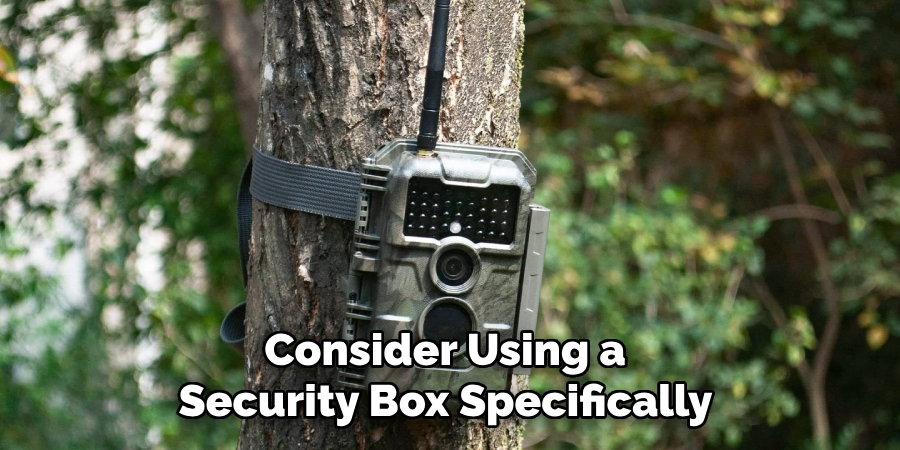
5. Consider using a security box specifically designed for trail cameras to protect it from harsh weather conditions or potential vandalism.
6. If possible, connect your trail camera to a power source instead of relying solely on batteries. This will ensure continuous monitoring and eliminate the need to constantly change batteries.
7. Take advantage of additional features such as time-lapse mode or burst mode to capture different angles and increase the chances of capturing any suspicious activity.
8. Keep your trail camera updated with the latest firmware to ensure it is functioning properly and taking advantage of any new features or improvements.
9. It is important to regularly check the memory card and delete old footage to make room for new recordings. This will also help with the overall performance of the camera.
10. Lastly, always remember to secure your trail camera with a strong password to prevent unauthorized access and protect your footage from being viewed or deleted.
Following these tips and tricks can help you effectively use your trail camera for security purposes. Remember to always follow any laws or regulations regarding the use of surveillance cameras in your area. With proper placement, maintenance, and settings adjustments, a trail camera can be a valuable tool in enhancing your home or property’s security. So don’t hesitate to invest in one and start monitoring your surroundings today! Happy trails!
Precautions Need to Be Followed for Using a Trail Camera for Security
1. First and foremost, the placement of the trail camera is critical. It should be placed in an area where it can easily capture footage of any movement or activity. Make sure to avoid placing it near trees or bushes, as they may create false alarms due to movement caused by wind.
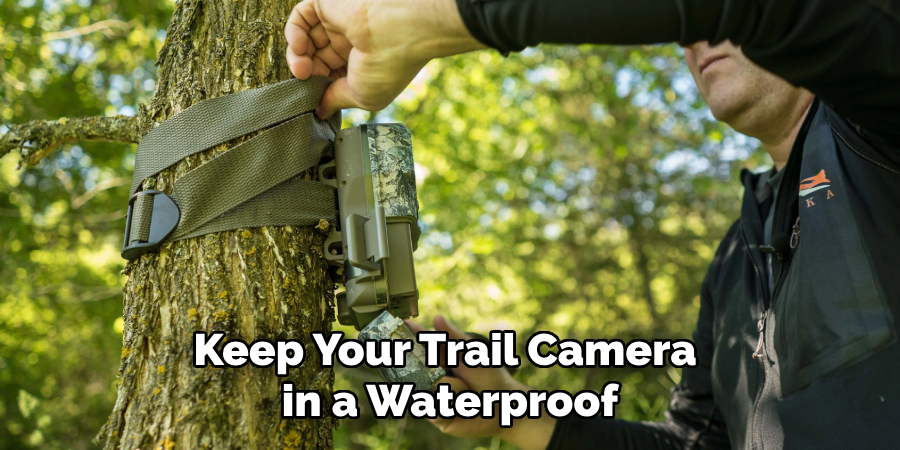
2. Keep your trail camera in a waterproof or weatherproof case if you are going to use it outdoors. This will protect it from harsh weather conditions and ensure its longevity.
3. Make sure to familiarize yourself with the settings of your trail camera before using it for security purposes. Adjust the resolution, video length, and trigger sensitivity according to your needs.
4. It is recommended to use high-quality batteries in your trail camera as low-quality ones may not last long enough or provide consistent performance.
5. Regularly check and clean the lens of your trail camera to ensure clear footage. Dirt, dust, or condensation can affect the quality of the images or videos captured.
6. Keep in mind that trail cameras are not meant to be used as a replacement for proper security measures such as alarms or surveillance systems. They should be considered as an additional layer of security.
7. If using a wireless trail camera, make sure to secure the connection with a strong password and regularly change it for added security.
8. In case of any suspicious activity captured by your trail camera, immediately inform the authorities rather than taking matters into your own hands.
Following these precautions will ensure that your trail camera is used effectively and responsibly for security purposes. Remember to also check the laws and regulations regarding the use of trail cameras in your area before setting one up. By following these guidelines, you can make the most out of your trail camera and have peace of mind knowing that your property is being monitored with an extra layer of security. Happy monitoring!
Frequently Asked Questions
What is a Trail Camera?
A trail camera, also known as a game camera, is a device designed to capture photos and videos of wildlife or human activities in outdoor settings.
How Does a Trail Camera Work?
Trail cameras are equipped with motion sensors that activate the camera when any movement is detected within its range. The camera then captures an image or video of the subject and stores it on a memory card.
Can I Use a Trail Camera for Security?
Yes, trail cameras can also be used for security purposes. They are often used by hunters to monitor their hunting grounds or by homeowners to keep an eye on their property. They are also commonly used for surveillance in remote or hard-to-reach areas.
How Should I Position My Trail Camera for Security?
When using a trail camera for security, it is important to position it strategically. Place it at a high vantage point, such as on a tree or post, to get a wider view of the area. Make sure to angle the camera towards the most likely entry points or areas of concern.
Do Trail Cameras Have Night Vision?
Some trail cameras do come equipped with night vision capabilities, allowing them to capture images and videos in low-light conditions. However, not all trail cameras have this feature, so be sure to check the specifications before purchasing one for security purposes.
Conclusion
Now you know how to use a trail camera for security purposes. By following the above tips, you can effectively monitor your property or other outdoor areas with ease. Remember to always check your local laws and regulations before using a trail camera for security, as there may be restrictions on where and how you can use them. Happy monitoring!
About
Safety Fic is a distinguished figure in the world of Diy design, with a decade of expertise creating innovative and sustainable Diy solutions. His professional focus lies in merging traditional craftsmanship with modern manufacturing techniques, fostering designs that are both practical and environmentally conscious. As the author of diy, Safety Fic delves into the art and science of Safety Fic-making, inspiring artisans and industry professionals alike.
Education RMIT University
(Melbourne, Australia) Associate Degree in Design (Safety Fic) Focus on sustainable design, industry-driven projects, and practical craftsmanship. Gained hands-on experience with traditional and digital manufacturing tools, such as CAD and CNC software.
Nottingham Trent University
(United Kingdom) Bachelor’s in diyfastly.com and Product Design (Honors) Specialized in product design with a focus on blending creativity with production techniques. Participated in industry projects, working with companies like John Lewis and Vitsoe to gain real-world insights.
Publications and Impact
In diy, Safety Fic his insights on indoor design processes, materials, and strategies for efficient production. His writing bridges the gap between artisan knowledge and modern industry needs, making it a must-read for both budding designers and seasoned professionals.