

Enhancing the storage capacity of your security camera system is a fundamental step towards ensuring continuous surveillance and efficient data management. The installation of an SD card in a security camera is a straightforward yet pivotal process that empowers users to store and access footage seamlessly. In this guide, we will delve into how to install sd card in security camera.
From identifying compatible SD card types to navigating through camera settings, this article aims to provide a comprehensive walkthrough, making the installation process accessible even for those with minimal technical expertise. By understanding the nuances of how to install an SD card in a security camera, users can optimize their surveillance capabilities, bolstering the overall effectiveness of their security infrastructure.
Importance of Using an Sd Card in a Security Camera
Security cameras have become an essential tool in ensuring the safety and security of our homes, businesses, and public spaces. With advancements in technology, these devices now come equipped with various features such as motion detection, night vision, and remote viewing capabilities. However, one crucial aspect that is often overlooked is the use of an SD card in a security camera.
An SD card, also known as a Secure Digital card, is a small storage device that can be easily inserted into most modern security cameras. This tiny yet powerful component allows for the storage of video footage and images captured by the camera.
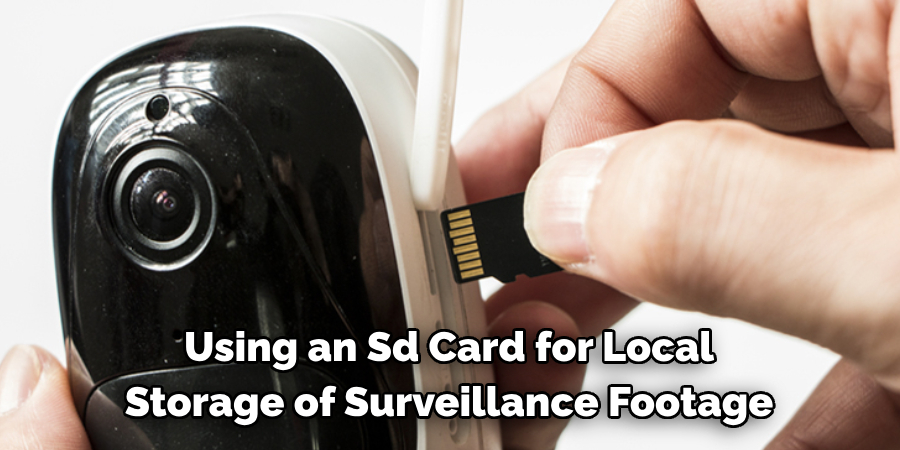
Benefits of Local Storage for Surveillance Footage
Using an SD card for local storage of surveillance footage offers numerous benefits. Firstly, it provides a secure and reliable backup of the footage in case of a network or internet outage. This is especially crucial for businesses where uninterrupted surveillance is critical.
Moreover, having local storage also eliminates the need for expensive cloud storage services. With an SD card, you can store large amounts of footage without any additional monthly fees or subscriptions.
Another advantage of local storage is that it allows for quick and easy access to footage. Instead of having to search through a cloud-based system, you can simply remove the SD card and review the footage on a computer or mobile device.
Additionally, using an SD card for local storage can also save bandwidth usage as the footage does not need to be continuously uploaded to a cloud server. This can be particularly beneficial for businesses with limited internet bandwidth.
10 Methods How to Install Sd Card in Security Camera
1. Check the Compatibility of the SD Card
The first step in installing an SD card to your security camera is to make sure that it is compatible with your device. You can do this by checking the specifications of both the camera and the SD card, as well as consulting with the manufacturer’s website or user manual. It is important to ensure that you are using a compatible SD card, as this will ensure optimal performance and prevent any potential damage to your security camera.
2. Format the SD Card
Once you have confirmed that your SD card is compatible with your security camera, you will need to format it before use. This step is essential for ensuring that all data stored on the card is properly organized and accessible by your security camera. You can format an SD card using either a computer or a dedicated formatting tool such as EaseUS Partition Master Free Edition.
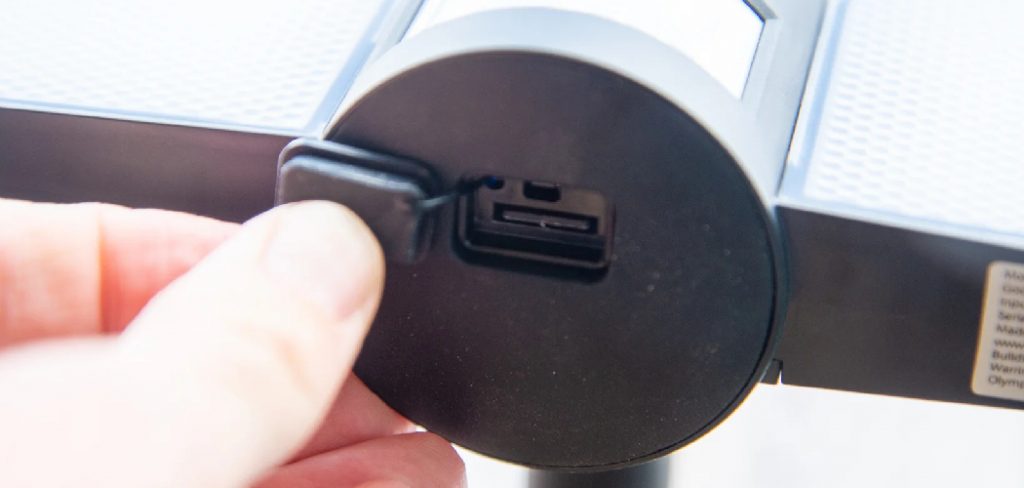
3. Insert the SD Card into Your Security Camera
After formatting your SD card, you can now insert it into your security camera’s memory slot. Depending on the type of security camera you have, this may be located behind a panel on its side or underneath its body. Make sure that you insert the card in accordance with the manufacturer’s instructions, as inserting it incorrectly could cause permanent damage to both your device and the memory card itself.
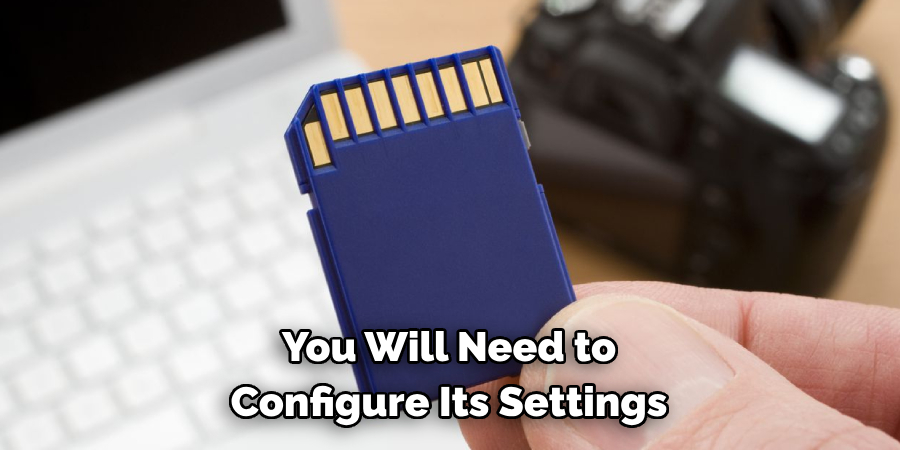
4. Configure Your Security Camera Settings
Once you have inserted your SD card into your security camera, you will need to configure its settings so that it can recognize and use it for recording video footage. To do this, access the settings menu of your device and select “Storage” or “SD Card” from there. From there, select “Format” or “Initialize” and follow any additional instructions provided by the manufacturer before saving these changes.
5. Select Your Recording Mode
Your security camera should now be ready to use its new memory card for recording video footage! Depending on what type of surveillance system you have installed, there may be several different recording modes available including continuous recording, motion detection recording, schedule recording etc.. Select whichever mode suits your needs best and save these changes before moving onto step 6 below!
6. Set Up Motion Detection Sensitivity Levels
If you have chosen to record using motion detection mode then it is important that you set up sensitivity levels correctly so that only relevant movements are recorded by your device while avoiding false alarms caused by animals or other objects passing in front of its lens unintentionally.
To do this access “Motion Detection Settings” within your device’s menu options and adjust each level until they are suitable for detecting genuine intrusions without causing unnecessary alerts due to external factors such as windy weather conditions etc..
7. Set Up Schedule Recording Times
If you wish to record footage at specific times throughout each day then it is important that you set up schedule recordings correctly within your device’s settings menu so that recordings begin at their specified times without fail! To do this simply access “Schedule Recording Settings” within your device’s main menu options and enter in start/end times for when recordings should begin/end respectively before saving these changes once finished!
8. Enable Cloud Backup Feature (Optional)
If available on your device then enabling cloud backup feature will allow all recorded video footage to be automatically uploaded onto an online storage platform such as Dropbox or Google Drive where they can be accessed remotely via an internet connection! To enable cloud backup feature simply access “Cloud Backup Settings” within main menu options before entering in login credentials for desired storage platform before saving these changes once finished!
9. Test Video Quality & Storage Capacity
Before relying solely on recorded video footage to be used for evidence purposes etc., it is important that quality & storage capacity are tested thoroughly beforehand! To do this simply view some test recordings taken with different light levels/motion types etc., while also checking how much free space remains available on the memory card after doing so – if quality & capacity are satisfactory then proceed to the next step below otherwise, repeat steps 1-8 until desired results are achieved!
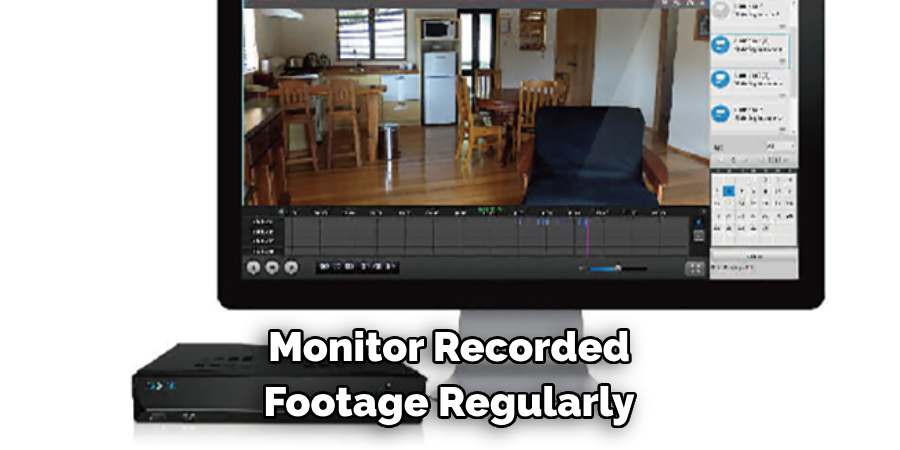
10. Monitor Recorded Footage Regularly
Once all steps above have been completed successfully then all which remains left to do is monitor recorded footage regularly (ideally daily) so any suspicious activity can be identified quickly & acted upon accordingly – if no suspicious activity detected over a period of time then repeat steps 1-9 periodically just incase any further updates/upgrades become available which might improve performance/security even further than current setup already does!
Things to Consider When Installing an SD Card in a Security Camera
When setting up a security camera, one of the most important decisions will be whether or not to use an SD card for storage. An SD card can provide convenient and cost-effective storage for your camera footage, but there are certain factors that need to be taken into consideration before installing one.
Compatibility with Your Security Camera
Before purchasing an SD card, it is crucial to ensure that it is compatible with your specific security camera model. Different cameras may have different requirements for the type and size of SD cards they can support. Some may only be able to use micro SD cards, while others may have limitations on the storage capacity.
Storage Capacity
Speaking of storage capacity, it is essential to choose an SD card with enough space to accommodate your needs. Consider how much footage your camera is expected to capture and for how long you want to keep it stored. This will help you determine the appropriate size of the SD card to purchase.
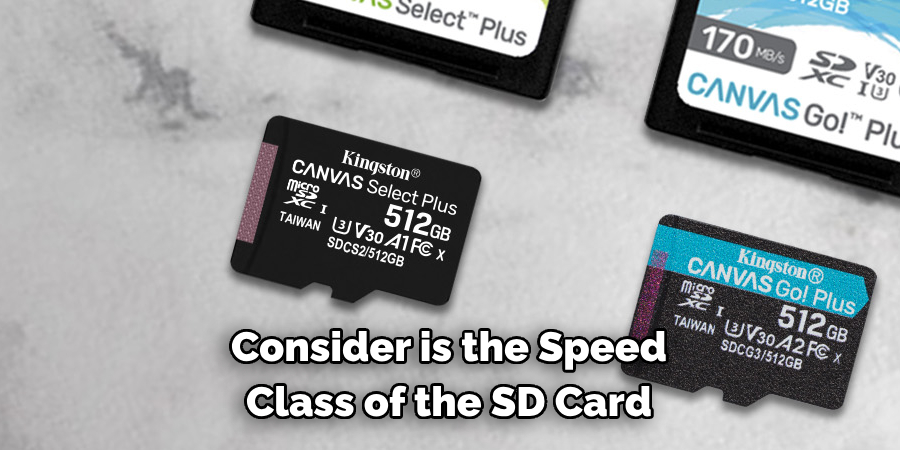
Speed Class
Another factor to consider is the speed class of the SD card. This refers to how quickly data can be read from or written to the card. A higher speed class means faster transfer speeds, which can be beneficial if you need to access footage quickly or have a high-resolution camera. However, a higher speed class also typically means a higher price.
Conclusion
Installing an SD card in your security camera is a great way to ensure that you have ample storage space and can make reviewing footage more efficient. While it can look daunting, the whole process, from gathering all of the pieces to inserting it into your camera, takes a few minutes at most.
With these simple instructions, there is no reason why you shouldn’t be able to get it done with confidence. For any extra questions or issues you may still have concerning how to install sd card in security camera, don’t hesitate to consult the surveillance system manufacturer’s customer service team for help. They will be able to help and answer any questions as well so it will be worth it in the end.
About
Safety Fic is a distinguished figure in the world of Diy design, with a decade of expertise creating innovative and sustainable Diy solutions. His professional focus lies in merging traditional craftsmanship with modern manufacturing techniques, fostering designs that are both practical and environmentally conscious. As the author of diy, Safety Fic delves into the art and science of Safety Fic-making, inspiring artisans and industry professionals alike.
Education RMIT University
(Melbourne, Australia) Associate Degree in Design (Safety Fic) Focus on sustainable design, industry-driven projects, and practical craftsmanship. Gained hands-on experience with traditional and digital manufacturing tools, such as CAD and CNC software.
Nottingham Trent University
(United Kingdom) Bachelor’s in diyfastly.com and Product Design (Honors) Specialized in product design with a focus on blending creativity with production techniques. Participated in industry projects, working with companies like John Lewis and Vitsoe to gain real-world insights.
Publications and Impact
In diy, Safety Fic his insights on indoor design processes, materials, and strategies for efficient production. His writing bridges the gap between artisan knowledge and modern industry needs, making it a must-read for both budding designers and seasoned professionals.