

Arlo security cameras have become increasingly popular for their advanced features and easy-to-use interface. Whether you use them to keep an eye on your home or business, the last thing you want is to lose connection with your camera due to a change in WiFi. Luckily, connecting your Arlo camera to a new WiFi network is straightforward and can be done in just a few simple steps. In this blog post, we will guide you on how to connect arlo to new wifi network.
Can You Connect Arlo to The New WiFi?
Technology has made it easier than ever to stay connected and in control of your home, and the Arlo camera system is no exception. Whether you are upgrading to a new WiFi network or simply want to switch up your current settings, many Arlo users are left wondering if connecting their cameras to the new network is possible. The answer is a resounding yes!
By accessing the settings within the Arlo mobile app, users can easily switch their cameras to a new WiFi network in seconds. This makes it simple to move your cameras to a new location or update your network settings without interrupting your home security. So go ahead and confidently explore new WiFi options, knowing that your Arlo cameras are easily adaptable and always at the forefront of modern technology.
Why Should You Connect Arlo to the New WiFi?
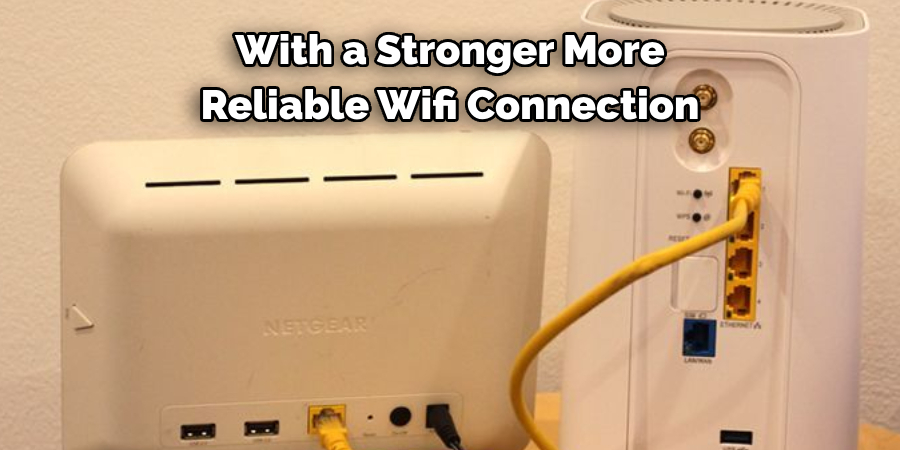
Connecting your Arlo security camera to a new WiFi network can provide many benefits. First and foremost, it ensures that your camera is always connected and able to monitor your property. With a stronger, more reliable WiFi connection, you’re less likely to experience interruptions in your footage or missed notifications.
Additionally, connecting to a new network means you can access your Arlo camera from anywhere, at any time. Whether you’re at work, on vacation, or running errands, you can easily check in on your home or business. So why wait? Connect your Arlo to the new WiFi network and enjoy knowing that your property is always secure.
How to Connect Arlo to New Wifi: A Comprehensive Guide
Step 1: Launch the Arlo app
Open the Arlo app on your smartphone or tablet and go to device settings. Select the camera you want to connect to the new WiFi network and tap on the “Edit Device” button.
Step 2: Remove Old WiFi Network
Scroll down to the bottom of the settings menu and tap on “remove device” to remove the camera from the old WiFi network. This will prevent any attempts to connect to the old network and ensure that the camera is only connected to the new network.
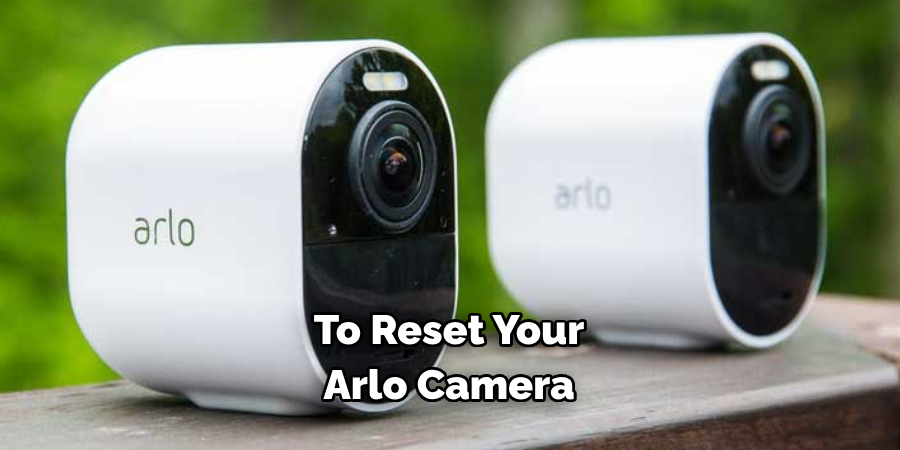
Step 3: Reset the Camera to Default Settings
To reset your Arlo camera, locate the reset button (often located at the bottom or side of the camera) and press it for 10-15 seconds until the LED light starts flashing. Once the light has stopped flashing, release the button. This will clear all settings and configurations, allowing the camera to be set up as if it were new.
Step 4: Connection to new WiFi Network
Once the camera has been reset to default settings, it will enter pairing mode. Ensure your smartphone or tablet is connected to the new WiFi network and select “add device” from the Arlo app settings. Follow the on-screen instructions to connect the camera to the new network.
Step 5: Test Connectivity
Once the camera has been connected to the new WiFi network, it’s time to test the connectivity to ensure everything works smoothly. Open the Arlo app to see if you can access the live feed from your camera. You may also want to check that notifications are working correctly to alert you of any activity your camera detects. You can move on to the next step if everything is in working order.
Step 6: Reconfigure Camera Settings
If your camera was previously set up with specific settings, such as motion detection zones or recording schedules, you must reconfigure these settings to match your preferences. Simply go to device settings and make any necessary changes.
Step 7: Disconnect from Old Network
Disconnect the device from the old network to ensure that your camera is only connected to the new WiFi network. This can be done by removing the old network’s information from your smartphone or tablet’s WiFi settings.
Congratulations, you have successfully connected your Arlo camera to a new WiFi network! Remember to repeat these steps for any additional cameras that need to be connected to the new network. Enjoy continued peace of mind with your Arlo camera now connected to a stable and reliable WiFi network. So, if you ever need to change your WiFi network, you now have the knowledge and steps necessary to easily reconnect your Arlo camera.
5 Considerations Things When You Need to Connect Arlo to New Wifi
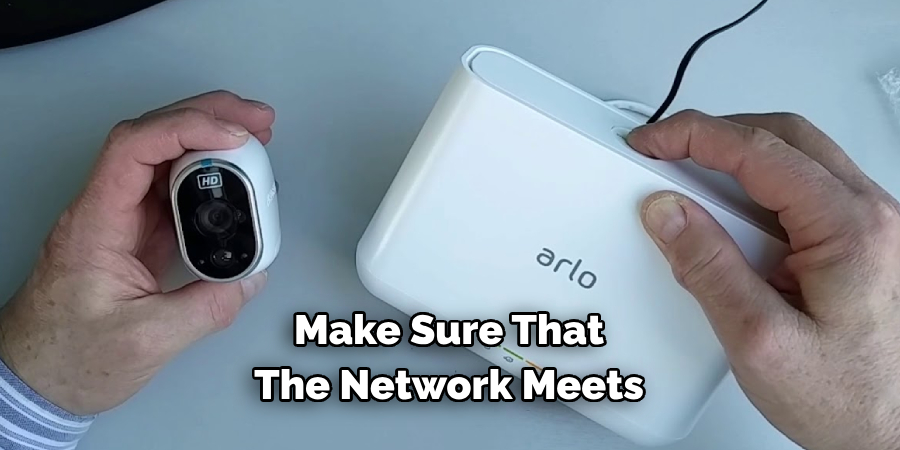
1. Check the Network Requirements
Before you attempt to connect your Arlo camera to a new Wi-Fi network, it is important to make sure that the network meets the requirements for connecting your device. The Arlo camera requires a 2.4 GHz 802.11 b/g/n Wi-Fi connection with WPA2 encryption and at least 1 Mbps upload speed. If your network does not meet these requirements, you will not be able to successfully connect your device.
2. Connect Your Device Directly to Your Router
When attempting to connect your Arlo camera to a new Wi-Fi network, ensuring the device is connected directly to your router via an Ethernet cable or wireless connection is important. This ensures that the signal strength is strong enough for the device to successfully connect and maintain a reliable connection with the new network.
3. Update Your Firmware
Suppose you have difficulty connecting your Arlo camera to a new Wi-Fi network. In that case, it may be necessary to update the firmware on your device for it to work properly with the new network. You can install and install the latest firmware version from the manufacturer’s website or through a third-party app such as Arlo Updater Pro.
4. Change Your Network Settings
Depending on how your router is configured, you may need to change some of its settings for your Arlo camera to successfully connect with it. For example, if you have enabled MAC address filtering on your router, you must add the MAC address of each device you want to access before they can join the network. Additionally, if you have enabled parental controls or other security features on your router, these may need to be disabled before attempting a connection.
5. Reset Your Device
If all else fails and you are still unable to connect your Arlo camera to a new Wi-Fi network, you may need to reset the device back to its factory settings and start over again from scratch. This can usually be done by pressing and holding down the reset button on either side of the device until both LED lights turn solid green (this usually takes about 10 seconds). Once this is done, follow all of the steps outlined above again to connect your device properly with its new Wi-Fi network.
Benefits of Connect Arlo to New Wifi
Are you tired of spotty wifi ruining your home security system? Look no further than connecting your Arlo camera to a new and improved wifi network. The benefits of this simple switch are endless.
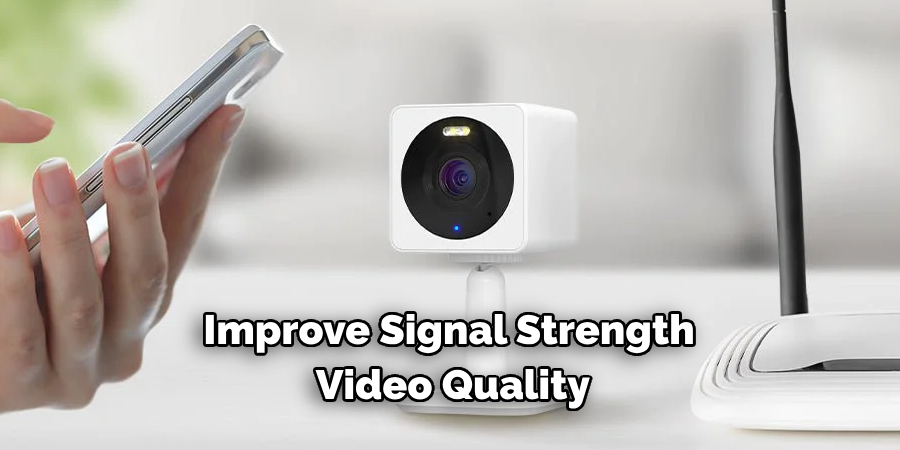
First and foremost, you’ll experience increased reliability and consistency, which is crucial for any security system. This connection will also improve signal strength, improving picture and video quality. But it’s not just about security—the new wifi network will also improve your overall home internet experience, making tasks like spritzing and installing a breeze. Don’t wait; connect your Arlo camera to a new wifi network today and experience the benefits for yourself!
Some Common Mistakes People Make When Trying to Connect Arlo to New Wifi
Connecting your Arlo security camera to a new WiFi network can be daunting. With a few common mistakes that people make, it’s easy to get frustrated and give up. One mistake is not resetting the camera’s settings before connecting it to a new network. It’s important to reset the camera to its default settings before attempting to connect it again.
Another mistake is not entering the correct WiFi credentials. Check and double-check that you are entering the correct WiFi name and password. Finally, not having a strong enough signal can cause issues. Ensure that your camera is within range of the WiFi network and that there are no obstructions between the camera and the router. By avoiding these common mistakes, you can easily connect your Arlo to a new WiFi network and enjoy peace of mind with a secure home.
Conclusion
Overall, connecting your Arlo camera to a new WiFi network is a quick and simple process that can be easily done. By following these steps, you can ensure that you can always keep an eye on your home or business without the worry of losing your connection. With this knowledge, you can always be assured that your peace of mind and security are never compromised. Thanks for reading our post about how to connect arlo to new wifi.
About
Safety Fic is a distinguished figure in the world of Diy design, with a decade of expertise creating innovative and sustainable Diy solutions. His professional focus lies in merging traditional craftsmanship with modern manufacturing techniques, fostering designs that are both practical and environmentally conscious. As the author of diy, Safety Fic delves into the art and science of Safety Fic-making, inspiring artisans and industry professionals alike.
Education RMIT University
(Melbourne, Australia) Associate Degree in Design (Safety Fic) Focus on sustainable design, industry-driven projects, and practical craftsmanship. Gained hands-on experience with traditional and digital manufacturing tools, such as CAD and CNC software.
Nottingham Trent University
(United Kingdom) Bachelor’s in diyfastly.com and Product Design (Honors) Specialized in product design with a focus on blending creativity with production techniques. Participated in industry projects, working with companies like John Lewis and Vitsoe to gain real-world insights.
Publications and Impact
In diy, Safety Fic his insights on indoor design processes, materials, and strategies for efficient production. His writing bridges the gap between artisan knowledge and modern industry needs, making it a must-read for both budding designers and seasoned professionals.