

Are you worried about your safety but don’t want to pay a huge fee just for peace of mind? You can easily take control of it with Blink’s home security camera to monitor your property. With its up-to-date technology and features such as a 110-degree viewing angle, adjustable motion detection, night vision, two way audio communication, and more―you have complete power at your fingertips.
But did you know that when not used actively, it still draws electricity from the battery? If not properly turned off or disarmed regularly, this will significantly rundown battery life, which may result in surprises!
Hence it is very important for you to learn how to disarm Blink camera without having panic attacks every time you’re leaving home! In this blog post, we’ll break down step by step instructions on how exactly you can do so – let’s get started!
What is Arming and Disarming?
Before we dive into the steps, let’s first understand what’s meant by arming and disarming a Blink camera. These terms describe the process of activating (arming) and deactivating (disarming) the motion detection feature on your device. When armed, your camera will start recording when any movement is detected within its range and send you an alert.
When disarmed, the camera will not record any motion but will still be on standby when you turn it back on.
Overall, knowing how to disarm your Blink camera is essential for effectively managing battery power while ensuring your home’s safety and security.
What Will You Need?
Before we begin, ensure you have all the necessary items to disarm your Blink camera without any hassle. You will need:
- Your smartphone with the Blink app installed.
- Stable internet connection.
- Access to the location of your Blink camera.
Once you have these items ready, you’re good to go!
10 Easy Steps on How to Disarm Blink Camera
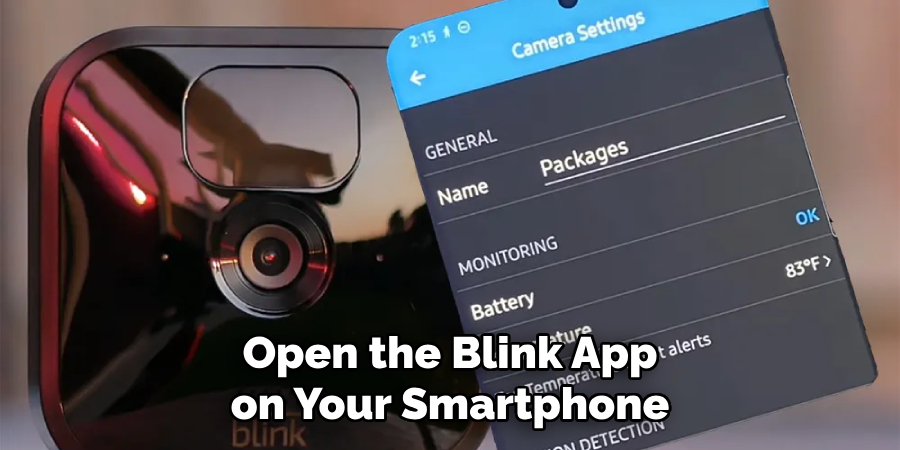
Step 1: Open the Blink App
Open the Blink app on your smartphone. Log into your account using your registered email address and password. If you’ve forgotten your password, click the ‘Forgot password’ link and follow the instructions to reset it. Always ensure you’re using the latest version of the Blink app to ensure optimal performance and security.
Step 2: Access the Home Screen
After logging into your account, you’ll reach the home screen of the Blink app. This screen contains all of your Blink systems. Select the system you’d like to disarm by tapping on its name. The system may take a moment to load if you haven’t accessed it for a while.
Step 3: Navigate to the System Settings
Upon selecting a system, you will see its cameras and their respective statuses. Find the ‘Settings’ icon, usually represented by a gear symbol, located at the bottom right corner of the screen and tap on it. This will take you to the ‘System Settings’ page, where various options can be altered, including the disarm feature.
Step 4: Disarm the System
Look for the ‘System Settings’ option on the ‘System armed/disarmed’ page. Here, you will find the status of your system (whether it’s “armed” or “disarmed”). Tap on the toggle button next to it. If your system is currently armed (the toggle button will be colored), tapping on the button will disarm the system (the toggle button will become grey).
After this, your Blink camera system is successfully disarmed, and it will stop recording motion events and drawing power until you arm it again. Remember always to disarm your system when it’s not in use to save battery life.
Step 5: Verify the Disarmed Status
Finally, it’s important to confirm that your system is indeed disarmed. To do this, navigate back to the home screen of the Blink app. You should now see a grey shield icon next to the system you just disarmed, indicating that the system is now inactive. If the shield is still colored, repeat the process to ensure the system is truly disarmed. Remember, disarming your Blink camera conserves battery life and ensures your device’s longevity.

Step 6: Re-Arm the System When Needed
After your system has been disarmed and is no longer in use, it’s important to remember to re-arm it when necessary. To do this, navigate to the ‘System Settings’ page and tap on the ‘System armed/disarmed’ option again. The toggle button will change from grey (disarmed state) to colored (armed state).
Your Blink camera system is now active and will start recording motion events. Be vigilant to arm your system whenever you are away from your property or when you want to monitor your premises actively.
Step 7: Schedule Arming and Disarming
For added convenience, you can schedule the arming and disarming of your Blink system. To do this, navigate to the ‘System Settings’ page and scroll down to find the ‘Scheduling’ option. Tap on it, then select ‘Add Schedule’.
Here, you can automatically set the time and days for your system to be armed or disarmed. Once you’ve selected, tap ‘Save’ to confirm the schedule. Now, your Blink camera system will automatically arm and disarm according to your schedule, saving you the hassle of remembering to do it manually.
Step 8: Adjust the Motion Detection Sensitivity
Once the system is disarmed, reviewing your camera’s motion detection settings is a good time to ensure they’re properly configured. From the ‘System Settings,’ select ‘Motion Detection’. Here, you’ll be able to adjust the sensitivity level to determine how much movement is needed to trigger a recording.
If you’re finding that your camera is triggering too frequently or not enough, adjust the sensitivity accordingly. This feature helps to enhance the camera’s efficiency and accuracy in detecting genuine threats, thus providing optimal home security.
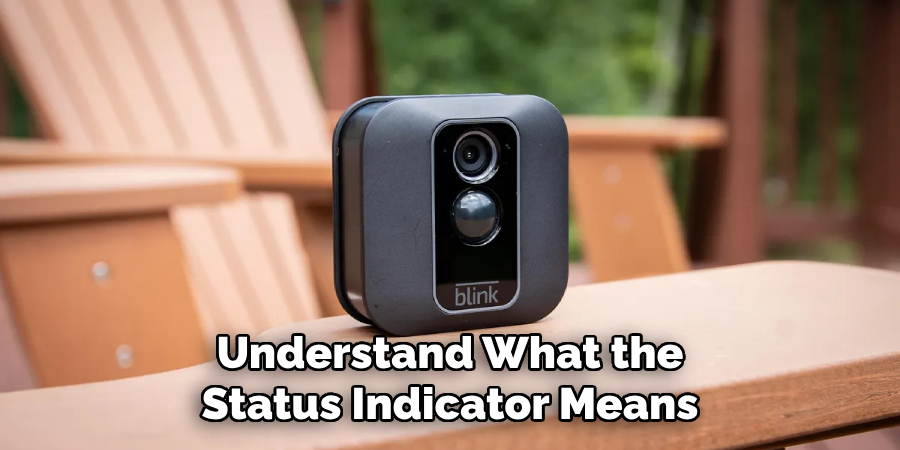
Step 9: Understand Your Camera’s Status Indicator
While using your Blink camera, it’s important to understand what the status indicator means. When the camera is armed, the indicator light will be blue, and when the camera is disarmed, the light will be off. By becoming familiar with these indicators, you can quickly and easily understand your camera’s status without needing to check the app.
Step 10: Troubleshooting
If you’re having trouble disarming your Blink camera, try the following troubleshooting steps:
- Ensure that your smartphone has a stable internet connection.
- Check that the Blink app is up-to-date. If not, update it through the app store on your smartphone.
- Try restarting the app or your phone. Sometimes, a simple restart can solve many technical issues.
- If all else fails, contact Blink customer service for further assistance. They have trained professionals who are ready to help 24/7.
By following these steps, you should be able to disarm your Blink camera successfully. With practice, this process will become second nature, ensuring your home’s security while preserving your camera’s battery life.
5 Additional Tips and Tricks
Here are additional tips and tricks to help you navigate the process of disarming your Blink camera:
- Use The App: To disarm your Blink camera, you can use the Blink mobile app. Open the app, go to the home screen, and look for the systems section. You can toggle between arming and disarming your camera here.
- Scheduling: You can schedule when your Blink camera should be armed or disarmed. This can be useful if you want the camera to arm itself automatically when you normally leave for work and disarm when you return home.
- WiFi Signal: Ensure your Blink camera is within a good range of your WiFi signal. If the WiFi connection is weak, the camera might not receive the command to disarm.
- Battery Check: Regularly check the battery levels of your Blink camera. If the batteries are low, the camera might not function properly, including disarming.
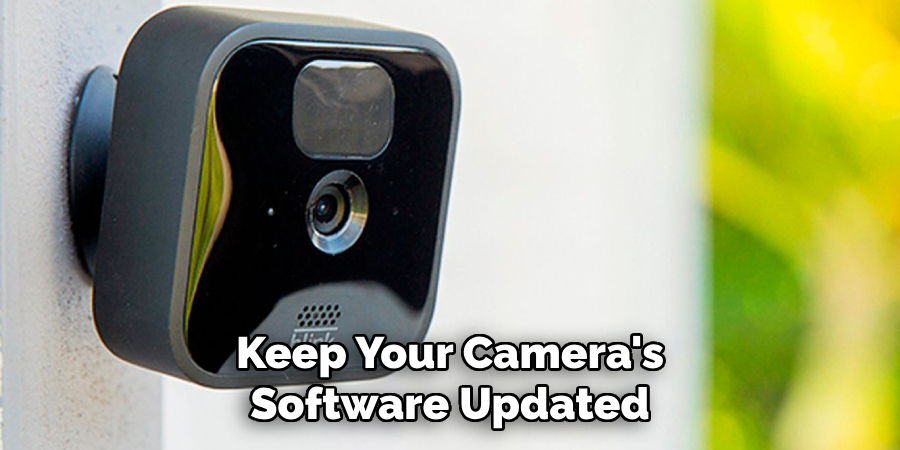
- Software Updates: Keep your camera’s software updated. Each update includes enhancements that can help your camera operate more efficiently, including the disarm function.
With these additional tips and tricks, you can easily disarm your Blink camera without any hassle.
5 Things You Should Avoid
Here are five things you should avoid when using your Blink camera:
- Ignoring Alerts: Do not neglect or ignore alerts from the Blink app about your camera’s status. These notifications can include important information like low battery warnings or software updates crucial to keep your camera functioning optimally.
- Forgetting to Disarm: Avoid leaving your Blink camera armed when it’s unnecessary. Overuse can lead to faster battery depletion, and it might capture extensive footage that has no value, thereby using up your cloud storage space.
- Using Unsecured WiFi: Do not connect your Blink camera to unsecured WiFi networks. These networks can be easily breached, compromising the security of your camera and the footage it captures.
- Ignoring Software Updates: Never ignore software updates. Each update includes bug fixes and enhancements that can improve your camera’s functionality, including its ability to disarm.
- Poor Positioning: Avoid positioning your camera in places with poor lighting or where it might be exposed to extreme weather conditions. Both of these factors can affect the camera’s performance and lifespan.
Remember, care, and cautious usage can go a long way in ensuring the longevity and efficiency of your Blink camera.
What are the Benefits of Disarming your Blink Camera?
Apart from conserving battery life and storage space, disarming your Blink camera has several other benefits:
- Privacy: By disarming your camera when it’s unnecessary, you can protect your privacy and that of others. This is especially important if indoor cameras capture footage in sensitive areas like bedrooms or bathrooms.
- Reduced False Alarms: Arming your Blink camera when it’s unnecessary can lead to false alarms, which can be a nuisance and drain your camera’s battery. Disarming it avoids this issue.
- Increased Control: With the ability to arm and disarm your camera at your fingertips through the Blink app, you have more control over when and how it operates.
- Cost Savings: By only using your camera when needed, you can save on electricity costs and avoid the need to replace batteries constantly.
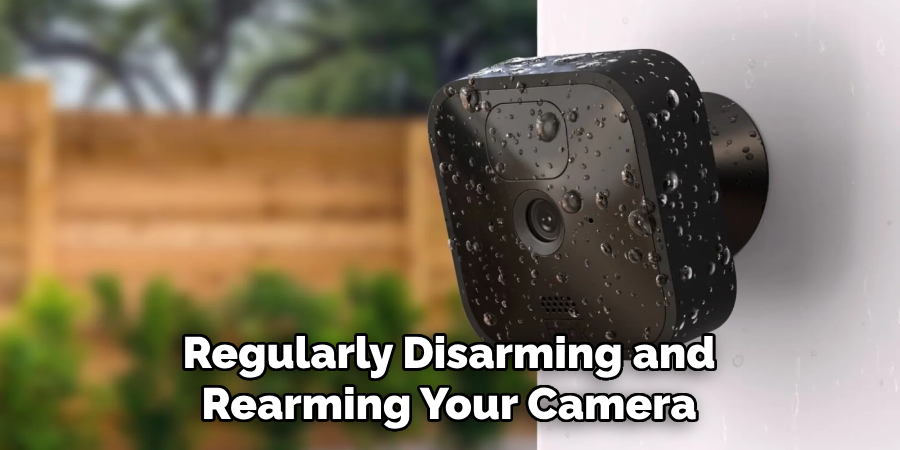
- Improved Security: By regularly disarming and rearming your camera, you can ensure it properly functions and capture footage when necessary. This can enhance your overall home security system and give you peace of mind.
With these additional tips and benefits, you can now confidently and efficiently disarm your Blink camera whenever needed.
Conclusion
In conclusion, how to disarm blink camera is a fairly straightforward task. It’s important to remember not to rush into it and take your time to follow the steps outlined above.
You have now gained additional insight and information on properly disarming your blink camera to keep it updated, secure, and running smoothly. Apply this newfound knowledge by ensuring you’re always up-to-date with the latest security protocols on your device.
Don’t wait until disaster strikes, do it today! After all, you’re never too careful when keeping your camera secure—so take some time out of your day and ensure that all of the data gathered by your blink camera is safe from unwanted eyes or hackers. Stay vigilant and happy blinking!
About
Safety Fic is a distinguished figure in the world of Diy design, with a decade of expertise creating innovative and sustainable Diy solutions. His professional focus lies in merging traditional craftsmanship with modern manufacturing techniques, fostering designs that are both practical and environmentally conscious. As the author of diy, Safety Fic delves into the art and science of Safety Fic-making, inspiring artisans and industry professionals alike.
Education RMIT University
(Melbourne, Australia) Associate Degree in Design (Safety Fic) Focus on sustainable design, industry-driven projects, and practical craftsmanship. Gained hands-on experience with traditional and digital manufacturing tools, such as CAD and CNC software.
Nottingham Trent University
(United Kingdom) Bachelor’s in diyfastly.com and Product Design (Honors) Specialized in product design with a focus on blending creativity with production techniques. Participated in industry projects, working with companies like John Lewis and Vitsoe to gain real-world insights.
Publications and Impact
In diy, Safety Fic his insights on indoor design processes, materials, and strategies for efficient production. His writing bridges the gap between artisan knowledge and modern industry needs, making it a must-read for both budding designers and seasoned professionals.