

Are you looking for an easy and affordable way to stay safe and secure in your outdoor space? Installing a SimpliSafe outdoor camera with a solar panel could be the solution you’ve been searching for. Not only will these cameras provide around-the-clock surveillance, but they also require no wiring or batteries as they are powered by solar energy alone.
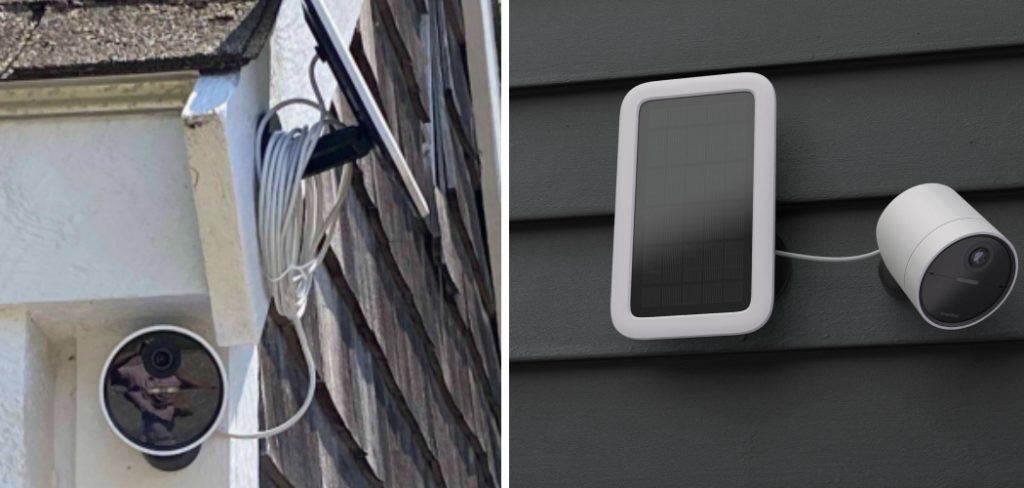
In this blog post on how to install simplisafe outdoor camera with solar panel, we’ll go over the basics of installing a Simplisafe outdoor camera with solar panel so that you can ensure your home is safe from criminal activity—no matter what time of day it is! Read on to get started today.
Needed Materials
Given the solar panel aspect, you’ll need:
- SimpliSafe Outdoor Camera
- Solar Panel (Included With the Camera)
- Mounting Kit (Included With the Camera)
- Drill and Drill Bits
- Screwdriver
- Ladder or Step Stool (Depending on How High You Need to Mount the Camera)
11 Step-by-step Guidelines on How to Install Simplisafe Outdoor Camera With Solar Panel
Step 1: Choose Your Location
The first step in installing your SimpliSafe outdoor camera is to choose the perfect spot for it. Consider areas where criminal activity or suspicious behavior may occur, such as near doorways or windows. You should also consider the angle and distance of your camera for optimal surveillance.
It’s also important to make sure that the spot you choose has access to direct sunlight for the solar panel. The solar panel should be facing south for maximum exposure. This will ensure that your camera stays powered and functioning at all times.
Step 2: Prepare the Camera
Before installing your camera, make sure to take off all the protective coverings and stickers from the lens and base. It’s also important to fully charge the camera before installation. It takes approximately 12 hours to charge the camera fully. It’s best to do this overnight.
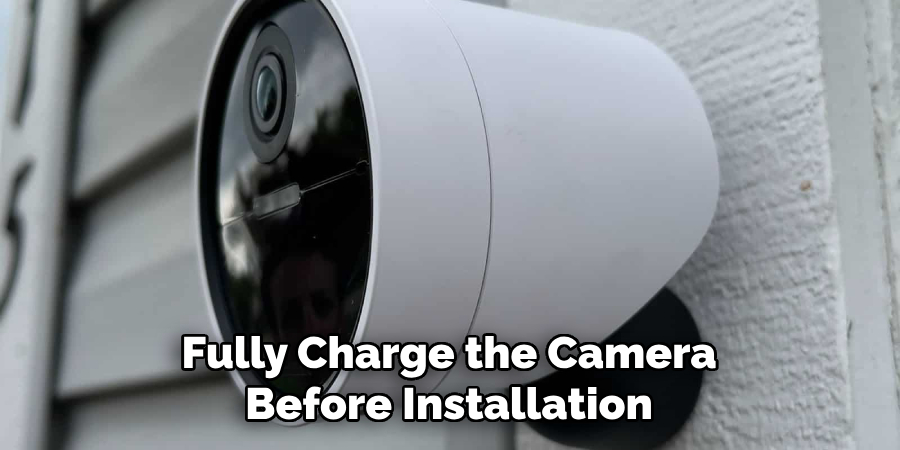
This will allow you to use the camera right away once it’s installed. You can also Install the SimpliSafe app and create an account while you wait for the camera to charge. But don’t forget to charge the camera fully.
Step 3: Charge the Solar Panel
While your camera is charging, you can also charge the solar panel. Simply plug it into a power outlet using the included USB cable. It takes approximately 4 hours to fully charge the solar panel. Once charged, disconnect the solar panel from the power outlet and wait for the camera to fully charge before moving on to the next step.
It’s important to fully charge the solar panel before use to ensure optimal performance. It’s also recommended to test the solar panel in direct sunlight beforehand to make sure it’s functioning correctly.
Step 4: Install the Mounting Bracket
Once your camera and solar panel are fully charged, you can begin installation. Start by attaching the mounting bracket to the base of the camera using the screws provided in the mounting kit.
Make sure to tighten them securely with a screwdriver. Otherwise, your camera may not be stable once mounted. It’s also important to make sure the camera is facing the desired direction before securing it.
Step 5: Mount the Solar Panel
Next, you’ll need to mount the solar panel. Start by attaching the mounting bracket to your preferred location using screws and a drill. Make sure it’s secure and level.
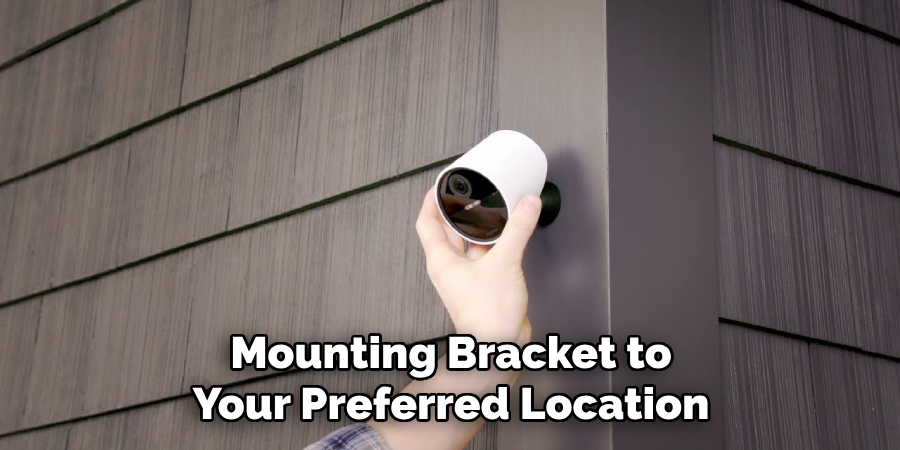
Then, attach the solar panel to the mounting bracket using the included screws. Once again, make sure they are tightly secured for optimal performance. But be careful not to over-tighten the screws as this may damage the solar panel.
Step 6: Connect the Solar Panel
Once your camera and solar panel are securely mounted, it’s time to connect them. Simply plug the connector from the solar panel into the port on the bottom of your camera. It should click into place, ensuring a secure connection.
It’s important to make sure the solar panel is connected properly so that your camera can receive power from it. You can also use the included cable clips to keep the connector in place.
Step 7: Install and Open the SimpliSafe App
Now that your camera is installed, it’s time to set it up using the SimpliSafe app. Install the app from the App Store or Google Play Store and open it on your smartphone. If you haven’t already, create an account by following the prompts on the app. This will allow you to control and monitor your camera remotely. It’s important to have a strong and stable Wi-Fi connection for optimal performance.
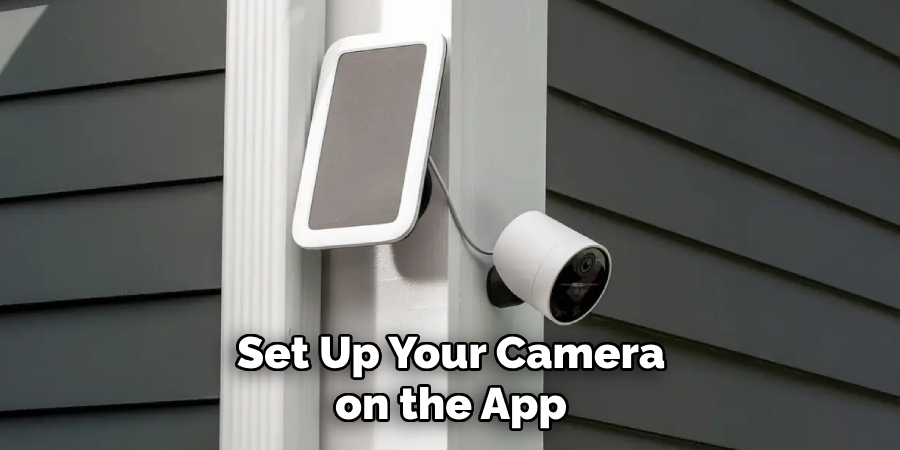
Step 8: Add Your Camera
To add your camera to the app, simply select “Add Device” and follow the prompts. Make sure your phone is close to the camera so that it can connect to your Wi-Fi network. Once connected, you can give your camera a unique name for easy identification.
You can also choose to receive notifications and alerts from the camera when motion is detected. But be sure to test your camera and make any necessary adjustments before leaving it unattended.
Step 9: Secure the Cable
Once you’ve set up your camera on the app, it’s important to secure the cable from the solar panel. Use the included clips to keep the cable in place and prevent it from dangling or getting damaged.
Make sure there is enough slack in the cable for the solar panel to adjust to changing light conditions. It’s also important to keep the cable out of reach from potential intruders so that they can’t tamper with it. But don’t worry, the camera’s mounting position should already be out of reach.
Step 10: Test Your Camera
Before considering your camera installation is complete, it’s crucial to test it out and make sure everything is working properly. You can use the “Live View” feature on the app to see a live feed from your camera and make any necessary adjustments.
You can also activate the motion detection feature to ensure it’s capturing activity accurately. If everything is working as expected, you’re ready to move on to the final step.
Step 11: Monitor Your Camera
Congratulations! Your SimpliSafe outdoor camera with solar panel is now installed and ready to protect your home. Make sure to monitor your camera regularly and make any necessary adjustments for optimal performance.
You can also view past recordings in the app and receive alerts when motion is detected. With proper maintenance, your camera will provide you with peace of mind and added security for years to come.
Following these steps on how to install simplisafe outdoor camera with solar panel will ensure a successful installation of your SimpliSafe outdoor camera with a solar panel. Remember to choose the perfect spot, prepare the camera and solar panel, securely mount them, connect them properly, and test everything before leaving it unattended.
Do You Need to Use an Additional Camera for Your Home?
While one camera may be enough to monitor a small area of your home, you may need multiple cameras for larger spaces. It’s important to assess your home and decide which areas require surveillance. SimpliSafe offers a range of outdoor cameras that can be integrated into your existing security system.
This allows you to customize the number and location of cameras based on your specific needs. With SimpliSafe, you can have peace of mind knowing your entire home is protected. So why wait? Install your SimpliSafe outdoor camera with solar panels and start monitoring your home today.
How Much Will It Cost?
The cost of your SimpliSafe outdoor camera with solar panels will depend on the specific model you choose. Prices can range from $169 to $299, with additional costs for installation and any necessary accessories. However, considering the added security and peace of mind it provides, many homeowners find it to be a worthwhile investment.
Plus, with SimpliSafe flexible payment plans, you can choose to pay upfront or in monthly installments. Overall, the cost of a SimpliSafe outdoor camera with solar panels is relatively affordable and well worth it for the added protection it provides.
Frequently Asked Questions
Q1: Can I Install the SimpliSafe Outdoor Camera With Solar Panels by Myself?
A1: Yes, the installation process is designed to be user-friendly and can easily be done by following the steps outlined in this guide. However, if you are not comfortable installing it yourself, you can always hire a professional for assistance.
Q2: Will the Solar Panel Work in All Weather Conditions?
A2: Yes, the solar panel is designed to work in all weather conditions. It is durable and can withstand rain, wind, and extreme temperatures. However, it’s important to regularly clean and maintain the panel for optimal performance.
Q3: Can I Use the SimpliSafe Outdoor Camera Without a Solar Panel?
A3: Yes, you can use the outdoor camera without a solar panel. However, keep in mind that without the solar panel, the camera will need to be charged regularly or connected to a power source.
Q4: Can I Monitor My Camera From Anywhere?
A4: As long as you have an internet connection and access to the SimpliSafe app, you can monitor your camera from anywhere. This allows you to check on your home and receive alerts even when you are away.
Conclusion
All in all, the process of setting up your new Simplisafe Outdoor Camera with Solar Panel can be a bit complicated at first, but with a little patience and guidance, you will soon have your outdoor security camera up and running.
No matter which method of installation you choose, both can provide you with peace of mind knowing that day or night, whether it is cloudy or sunny, you have an always-on outdoor camera keeping an eye on your home.
So don’t hesitate any longer and take advantage of the convenience and protection provided by the Simplisafe Outdoor Camera with Solar Panel! Act now to add a layer of convenience and security to your property; you’ll be glad that you did. Thanks for reading this article on how to install simplisafe outdoor camera with solar panel.