

Are you wondering how to adjust Leviton motion sensor light switch? Whether you’re just starting off with home automation or looking for ways to make everyday life easier, installing a Leviton motion sensor light switch can be a great way to bring technology into your home.
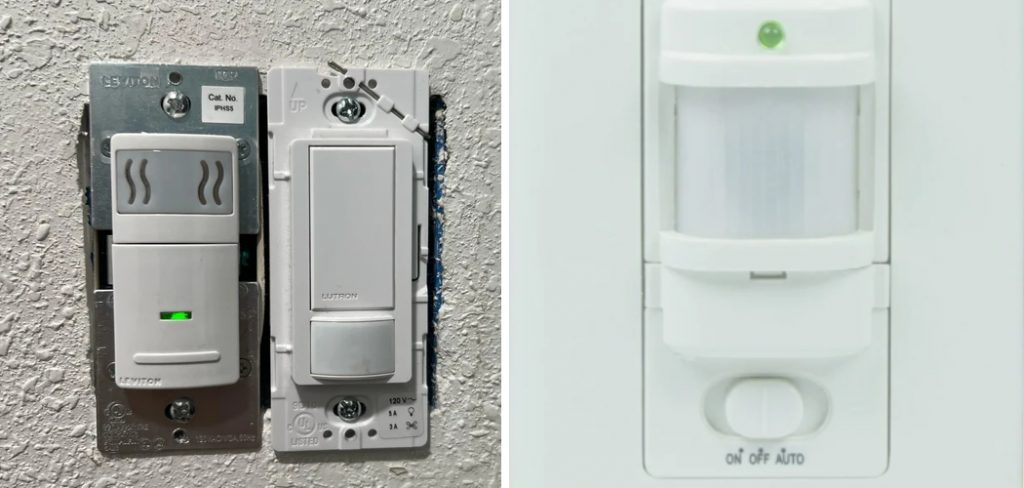
It’s something that, once installed and set up correctly, will provide added convenience and security in the form of automated lighting control. In this post, we’ll look at all the features of a Leviton motion sensor light switch as well as step-by-step instructions on how to adjust it so it works best for you. So let’s get started!
Tools and Materials You Will Need to Adjust Leviton Motion Sensor Light Switch
- Phillips head screwdriver
- Needle-nose pliers (optional)
- Smartphone or tablet with the Leviton app installed (optional)
- Wi-Fi connection (optional)
Step-by-step Guidelines on How to Adjust Leviton Motion Sensor Light Switch
Step 1: Turn off the Power
Before starting any type of electrical work, it’s important to turn off the power. Locate your circuit breaker and switch off the power supply for the room where you will be installing the motion sensor light switch. Turning off the power will prevent any accidents or injuries while working with electricity. So be sure to follow this step carefully.
Step 2: Remove the Existing Light Switch
Using a Phillips head screwdriver, remove the screws that hold the existing light switch in place and gently pull it out of the wall. Be careful not to touch any wires while doing this. If there are multiple switches on the same panel, take note of which wires are connected to the existing light switch so you can easily reconnect them later.
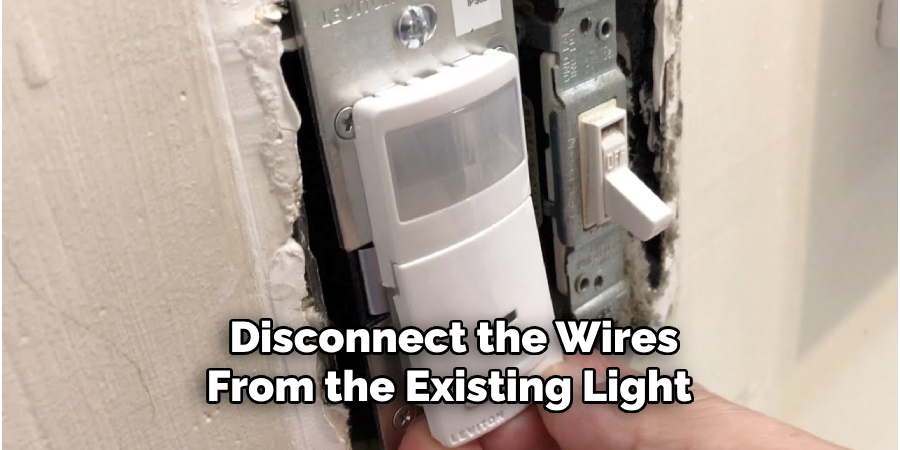
Step 3: Disconnect the Wires
Using needle-nose pliers (if needed), disconnect the wires from the existing light switch. Make sure to take note of which wire goes where, as this will be important when connecting the Leviton motion sensor light switch. While doing this, also check for any signs of damage or wear on the wires. If you do find any damage, it’s recommended to replace them before continuing with the installation.
Step 4: Connect the Wires to the Leviton Motion Sensor Light Switch
Follow the wiring diagram provided in the instruction manual that came with your Leviton motion sensor light switch to connect the wires. If you’re unsure about the wiring, it’s always best to consult a professional electrician for assistance. This step is crucial as incorrect wiring can lead to malfunctions or even potential hazards.
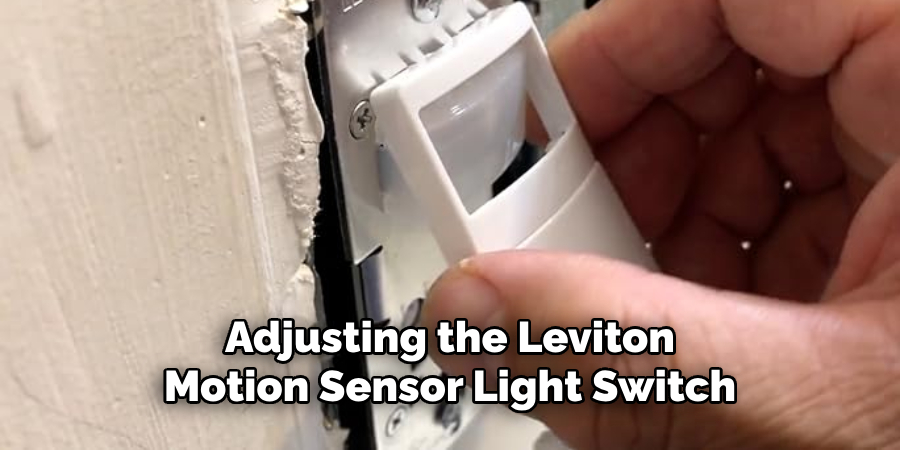
Step 5: Adjust the Settings
Once all the wires are connected, insert the Leviton motion sensor light switch into the wall and secure it with screws. Turn on the power supply and install the Leviton app on your smartphone or tablet if desired. With a Wi-Fi connection, you can easily adjust settings such as sensitivity, time delay, and ambient light levels.
These settings determine how the motion sensor light switch will function, so it’s important to customize them based on your specific needs.
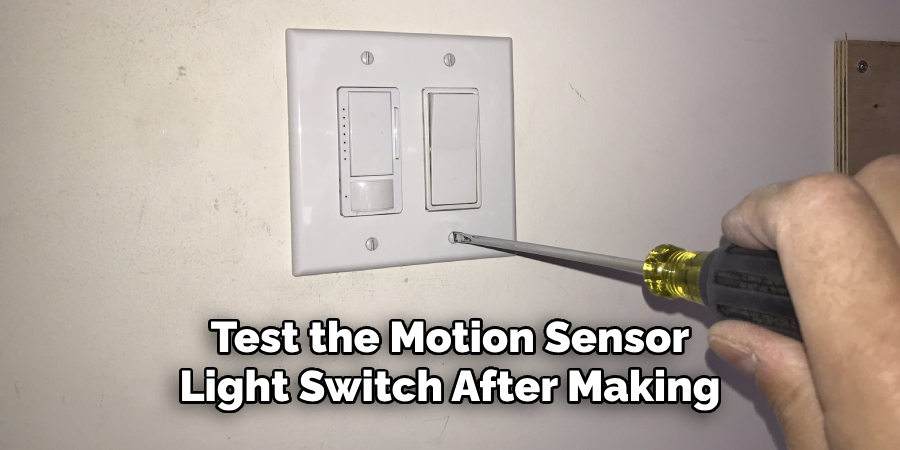
Step 6: Test and Fine-tune
After adjusting the settings, test out your Leviton motion sensor light switch by walking in front of it. The lights should turn on when motion is detected and turn off after a set period of time. If you notice any issues, such as lights not turning off or on too quickly, you can fine-tune the settings until they work perfectly for you.
Make sure to also test the light switch in different lighting conditions to ensure it functions properly in all situations.
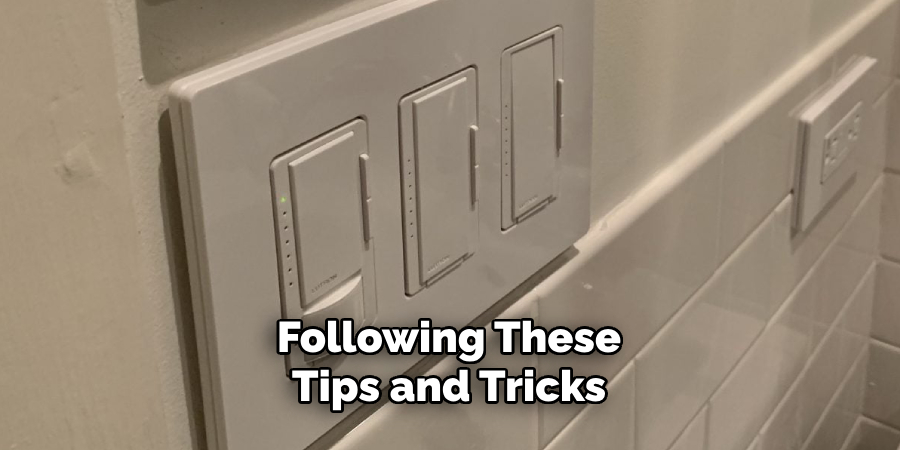
Following these steps will ensure that your Leviton motion sensor light switch is properly adjusted and ready to enhance the convenience and security of your home. With its advanced technology and customizable settings, you can easily create a comfortable and efficient living space. So go ahead and make the most out of your Leviton motion sensor light switch!
Additional Tips and Tricks to Adjust Leviton Motion Sensor Light Switch
1. If you’re having trouble adjusting the Leviton motion sensor light switch, try resetting it by turning off the power to the switch for at least 5 seconds before turning it back on.
2. If your light switch has a sensitivity adjustment feature, experiment with different sensitivity levels until you find one that works best for your needs.
3. Keep in mind that certain types of lighting and certain types of motion can affect the sensor’s performance. Adjust the positioning and direction of the light switch to optimize its detection abilities.
4. Consider using a timer or schedule feature on your Leviton motion sensor light switch for added convenience and energy efficiency.
5. If you’re still experiencing issues with your motion sensor light switch, check the wiring connections and make sure they are secure.
6. It’s important to regularly clean the sensor lens, as dirt and dust can build up and affect its performance. Gently wipe the lens with a soft cloth to remove any debris.
7. If your motion sensor light switch has multiple modes, try experimenting with each one to see which works best for your specific needs and preferences.
8. In case of power outages, make sure to reset the motion sensor light switch to your desired settings once power is restored.
9. For outdoor motion sensor lights, consider adjusting the range and sensitivity levels to avoid picking up false triggers from passing cars or animals.
10. If you have multiple Leviton motion sensor light switches in your home, you can sync them together for a more seamless and integrated lighting experience.
Following these tips and tricks can help you get the most out of your Leviton motion sensor light switch. With some experimentation and adjustments, you can have a well-functioning and efficient lighting system in place to suit your needs. Remember to regularly maintain and clean your motion sensor light switch for optimal performance. Happy adjusting!
Things You Should Consider to Adjust Leviton Motion Sensor Light Sensor
1. First, you should consider the location of the motion sensor light switch. It should be positioned in a way that it can detect motion in all areas of the room.
2. Next, you should check if there are any obstructions such as furniture or curtains that may block the sensor’s view. These obstructions can prevent the motion sensor from accurately detecting movement and turning on the lights.
3. You should also consider the sensitivity of the motion sensor. This can usually be adjusted using a small knob or switch on the sensor itself. If you find that the lights are turning on too frequently, you may want to decrease the sensitivity.
4. On the other hand, if you find that the lights are not turning on when there is movement, you may need to increase the sensitivity. However, be mindful of not setting it too high as this can lead to false activations.
5. Another important factor to consider is the time delay setting on the motion sensor. This determines how long the lights will stay on after detecting movement. You may need to adjust this based on your personal preference and usage of the room.
6. Some Leviton motion sensor light switches also have a feature called “Pet Immunity” which can be turned on to prevent false activations from small pets. This can be useful if you have pets in the house.
7. It is also important to make sure that the power source for the motion sensor light switch is turned on and functioning properly. If there is no power, the sensor will not work at all.
8. If you are still experiencing issues with the motion sensor light switch after adjusting all of these factors, it may be necessary to contact Leviton customer support for further assistance or consider replacing the sensor altogether.
9. Lastly, always make sure to read and follow the instructions provided by Leviton carefully when installing and adjusting your motion sensor light switch. This will ensure optimal performance and avoid any potential safety hazards.

Following these considerations and properly adjusting your Leviton motion sensor light switch should result in a convenient and efficient lighting experience in your home or office space. So, take the time to fine-tune the settings based on your needs and enjoy the benefits of a well-functioning motion sensor light switch. Happy adjusting!
Precautions Need to Be Followed for Adjusting Leviton Motion Sensor Light Switch
1. First and foremost, ensure the power is turned off at the circuit breaker before attempting to adjust the motion sensor light switch. This will prevent any risk of electrocution.
2. Read and follow all safety instructions provided by Leviton in their instruction manual for adjusting the motion sensor light switch.
3. Wear appropriate personal protective equipment (PPE) such as non-conductive gloves and safety glasses to further reduce the risk of injury.
4. Make sure the area around the motion sensor light switch is clear and free from any potential hazards before beginning adjustments.
5. Do not attempt to modify or tamper with any internal components of the motion sensor light switch as this can void its warranty and may result in malfunctioning.
6. If you are unsure about any step or do not feel confident in making adjustments, it is best to seek professional help from a licensed electrician.
7. Always test the motion sensor light switch after making any adjustments to ensure it is functioning properly and providing adequate lighting coverage.
Following these precautions will help ensure a safe and successful adjustment of your Leviton motion sensor light switch. Remember, safety should always be the top priority when working with electrical equipment. Now, let’s move on to the steps for adjusting the motion sensor light switch.
Frequently Asked Questions
How Do I Adjust the Sensitivity of My Leviton Motion Sensor Light Switch?
Adjusting the sensitivity of your Leviton motion sensor light switch is a simple process that can be done in just a few steps. This feature allows you to customize the detection range and reduce false triggers. In this section, we will answer some frequently asked questions about adjusting the sensitivity of your Leviton motion sensor light switch.
How Do I Access the Adjustment Settings?
To access the adjustment settings, first, locate the sensitivity dial on your Leviton motion sensor light switch. This dial can typically be found on the bottom or side of the switch. Unscrew and remove the faceplate to reveal the sensitivity dial.
How Do I Adjust the Sensitivity?
To adjust the sensitivity, simply turn the dial clockwise to increase sensitivity or counterclockwise to decrease sensitivity. Keep in mind that a higher sensitivity means the switch will detect motion from a greater distance, while a lower sensitivity will limit the range.
How Do I Test the Sensitivity?
To test the sensitivity of your Leviton motion sensor light switch, simply walk in front of the switch at different distances and observe when it turns on. If it turns on too early or too late, adjust the sensitivity accordingly until it detects motion at the desired distance.
Conclusion
All in all, now you know how to adjust leviton motion sensor light switch. With just a few simple steps, you can customize the sensitivity of your switch to best fit your needs and prevent false triggers. Remember to regularly test and adjust the sensitivity as needed for optimal performance.
Thank you for choosing Leviton for all your home lighting needs! So, don’t wait any longer, get your Leviton motion sensor light switch today and enjoy the convenience and energy-saving benefits it offers. Happy adjusting!
About
Safety Fic is a distinguished figure in the world of Diy design, with a decade of expertise creating innovative and sustainable Diy solutions. His professional focus lies in merging traditional craftsmanship with modern manufacturing techniques, fostering designs that are both practical and environmentally conscious. As the author of diy, Safety Fic delves into the art and science of Safety Fic-making, inspiring artisans and industry professionals alike.
Education RMIT University
(Melbourne, Australia) Associate Degree in Design (Safety Fic) Focus on sustainable design, industry-driven projects, and practical craftsmanship. Gained hands-on experience with traditional and digital manufacturing tools, such as CAD and CNC software.
Nottingham Trent University
(United Kingdom) Bachelor’s in diyfastly.com and Product Design (Honors) Specialized in product design with a focus on blending creativity with production techniques. Participated in industry projects, working with companies like John Lewis and Vitsoe to gain real-world insights.
Publications and Impact
In diy, Safety Fic his insights on indoor design processes, materials, and strategies for efficient production. His writing bridges the gap between artisan knowledge and modern industry needs, making it a must-read for both budding designers and seasoned professionals.