
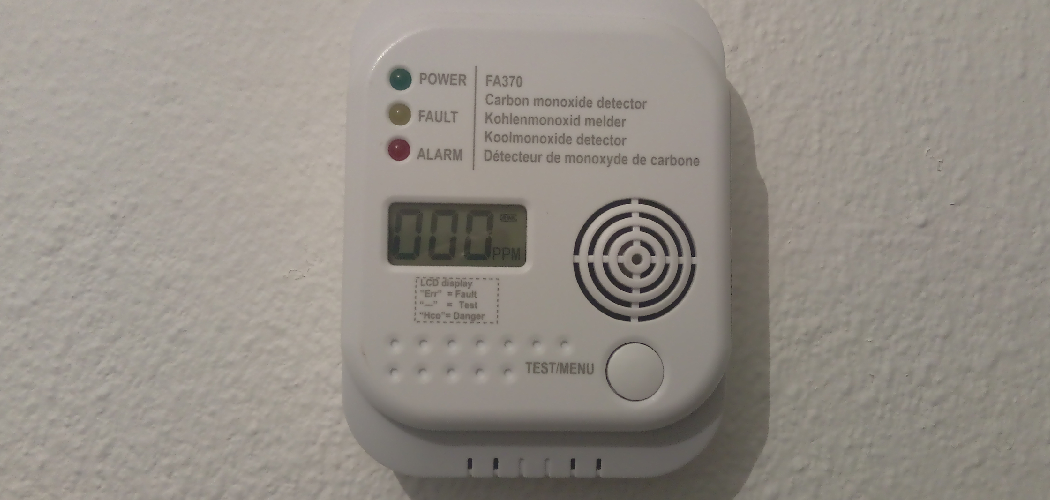
Carbon monoxide (CO) alarms are critical devices designed to detect and warn individuals about dangerous levels of carbon monoxide. This invisible, odorless gas can prove fatal if inhaled in large concentrations. These alarms are an essential part of home safety, acting as the first line of defense against potential CO poisoning by monitoring the air for CO buildup and alerting occupants with an audible alarm.
Given the crucial role they play in protecting lives, understanding how to properly maintain these devices is vital. This includes knowing how to open carbon monoxide alarm units for regular maintenance, battery replacement, or troubleshooting. Failure to perform these tasks can lead to malfunction or a complete failure of the alarm to detect CO gas, thus jeopardizing the safety of home occupants.
Therefore, acquiring the knowledge and skills to open and maintain your CO alarm is an indispensable aspect of ensuring it functions effectively at all times, safeguarding your home and loved ones from the silent threat of carbon monoxide poisoning.
Types of Carbon Monoxide Alarms
Carbon monoxide alarms come in several types, each designed to offer protection while considering various households’ specific needs and preferences. Understanding the differences between these can help you choose the right CO alarm for your home.
A. Battery-Powered Alarms
Battery-powered carbon monoxide alarms are highly portable and easy to install, making them ideal for renters or those looking to avoid complex installation processes.
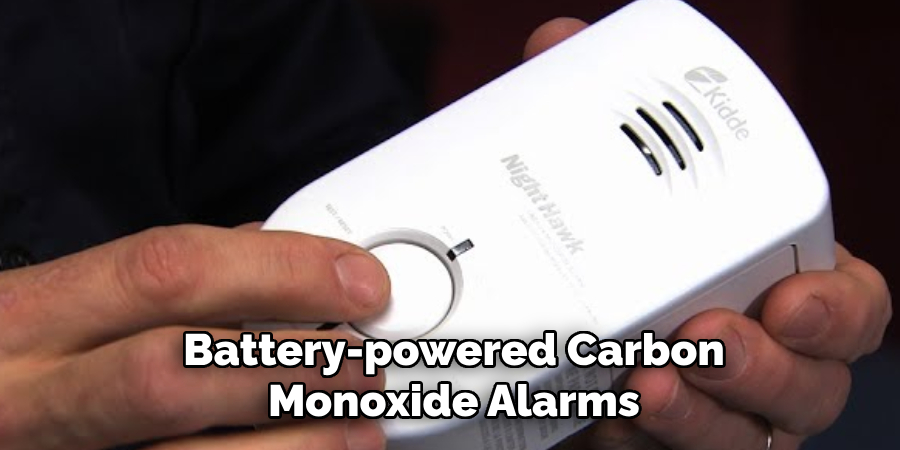
These alarms rely entirely on batteries for power, which means they can continue to operate during power outages, an essential feature for continuous safety. However, it is crucial to regularly check and replace the batteries to ensure the alarms remain functional.
B. Hardwired Alarms
Hardwired carbon monoxide alarms are connected directly to a home’s electrical system, providing reliable power without the need for frequent battery changes. These units often include a backup battery to ensure operation during power outages.
Hardwired alarms are typically installed by professionals and are considered permanent fixtures, making them a common choice in new constructions or major renovations.
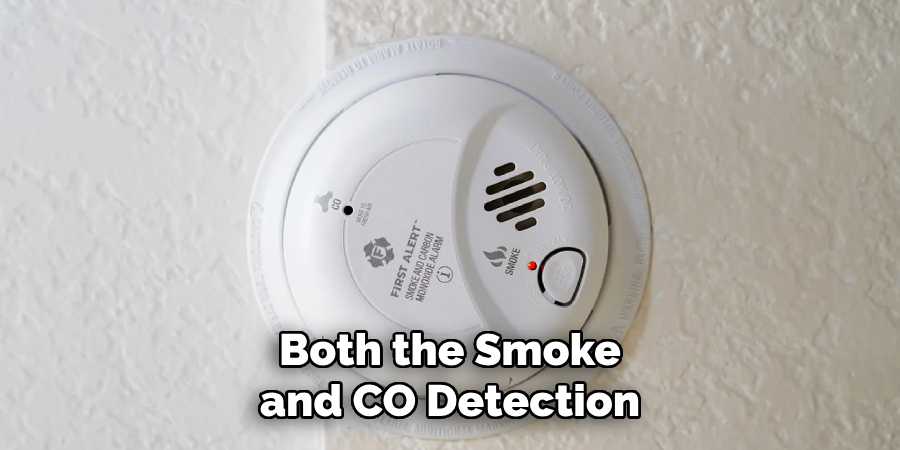
C. Combination Smoke and CO Alarms
Combination alarms offer the convenience of detecting both smoke and carbon monoxide with a single device. This dual functionality makes them a cost-effective and space-saving solution for comprehensive home safety. Combination alarms are available in both battery-operated and hardwired models, catering to various installation preferences and requirements.
While they streamline safety efforts, it’s important to note that maintenance and testing protocols should be diligently followed to ensure both smoke and carbon monoxide detection functions are operational.
Importance of Opening a Carbon Monoxide Alarm

Opening a carbon monoxide (CO) alarm is a critical step in ensuring its safety and functionality. This process allows homeowners to perform necessary maintenance tasks that keep the alarm in good working order.
A. Performing Regular Maintenance
Regular maintenance, including opening the CO alarm to inspect its components, is essential for the device’s longevity and reliability. This process enables homeowners to ensure that the alarm’s sensors are free from dust and debris that could impede its ability to detect carbon monoxide effectively.
Regular inspection and maintenance also allow for the identification and remediation of any potential issues, such as corrosion or battery leakage, before they impact the alarm’s performance.
B. Replacing Batteries
One of the most common reasons to open a carbon monoxide alarm is to replace its batteries. For battery-powered and hardwired alarms with battery backups, ensuring that the batteries are fresh and properly installed is crucial for continuous protection, especially during power outages. Knowing how to open the alarm safely and correctly is vital to performing this task without damaging the device.
C. Troubleshooting and Cleaning
Opening the internal components of a CO alarm is also necessary for effective troubleshooting and cleaning. If an alarm malfunctions or frequently emits false alarms, opening it can allow homeowners to perform a visual inspection for any apparent issues.
Cleaning the interior, particularly the sensors, can resolve some problems and restore the alarm’s sensitivity to carbon monoxide. This step is an integral part of troubleshooting that can sometimes prevent the need for professional repairs or replacement.
In essence, understanding how to open carbon monoxide alarm is an indispensable skill for any homeowner. It facilitates essential maintenance tasks such as replacing batteries, cleaning, and troubleshooting, all of which are necessary to ensure that the alarm continues to function correctly and provide the vital protection needed against the dangers of carbon monoxide.
Safety Precautions
Ensuring the safety and effectiveness of carbon monoxide (CO) alarms goes beyond simple installation and routine checks. Proper handling and maintenance are imperative to prevent accidental damage to the alarms or unintended exposure to harmful gases.
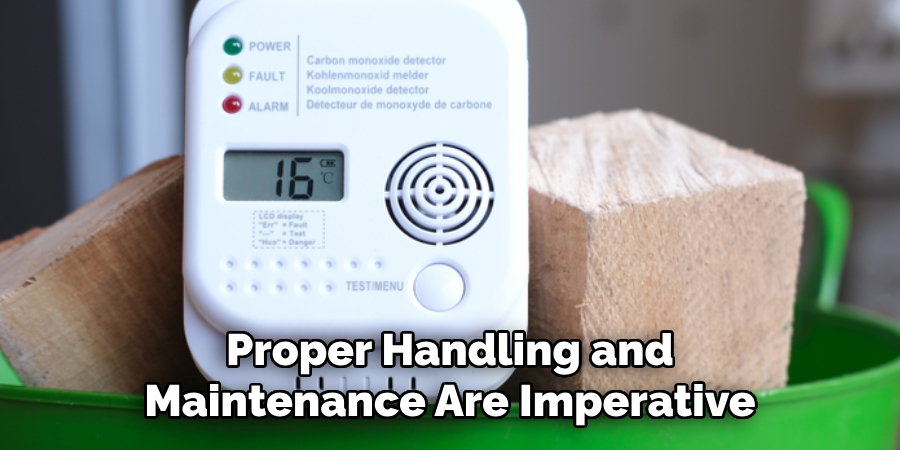
Safety precautions are paramount when dealing with CO alarms; these electronic devices are designed to protect from the invisible threat of carbon monoxide, a responsibility that necessitates careful, informed handling.
Firstly, referring to the manufacturer’s manual is crucial before attempting to open or otherwise manipulate the CO alarm. This guidance ensures that any interaction with the device, be it for battery replacement, cleaning, or troubleshooting, is conducted correctly and safely.
Furthermore, avoid using abrasive cleaners or solvents, which can degrade the sensitive components inside the alarm and impair its functionality.
When performing maintenance tasks such as battery replacement or sensor cleaning, ensure that the device is completely disconnected from any power source. This precaution minimizes the risk of electrical shock and prevents any disruption to the alarm’s operation.
Additionally, when handling the alarm, wear gloves to avoid transferring oils or contaminants onto the device, which could affect its responsiveness to carbon monoxide.
Finally, be mindful of the alarm’s expiration date. CO alarms have a limited lifespan, typically between 5 to 10 years. Regular testing and maintenance are essential, but recognizing when to replace an outdated unit is just as critical for maintaining a safe environment.
Following these guidelines for safe handling and maintenance helps ensure that CO alarms remain functional and effective, providing continuous protection against the hazards of carbon monoxide.
Assessing the Alarm Type and Model
Before performing any maintenance on a carbon monoxide (CO) alarm, it is essential to accurately identify the alarm’s brand and model number. This information forms the basis for understanding the specific requirements and recommendations related to the device.
Manufacturers often provide detailed instructions and safety precautions that are unique to each model, taking into account its design, functionality, and the technology it employs.
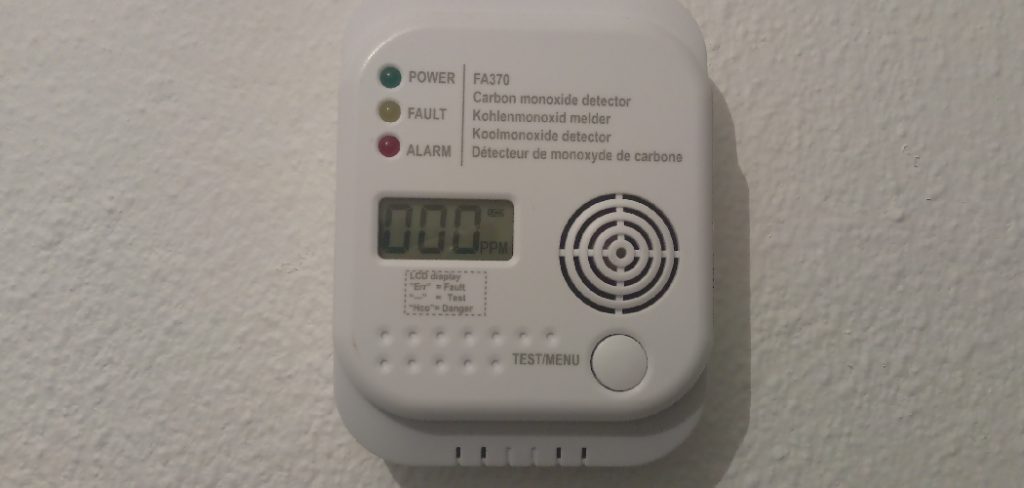
A. Identifying the Brand and Model Number
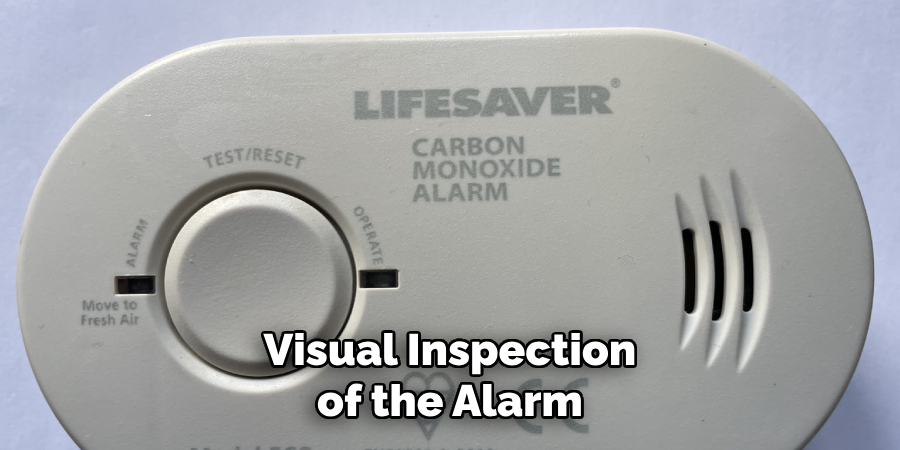
Locating the brand and model number typically involves a visual inspection of the alarm. This information is usually found on the backside of the device or within the battery compartment. In some instances, it may be listed on the front panel.
Knowing the exact make and model facilitates access to the most relevant and precise information regarding maintenance, troubleshooting, and technical specifications.
B. Checking the Manufacturer’s Instructions
Once the brand and model number are identified, the next step involves consulting the manufacturer’s instructions. These guidelines are often available in the user manual provided at the time of purchase or can be found online on the manufacturer’s website.
Referencing these instructions is crucial for understanding the recommended practices for safely opening the alarm, replacing batteries, and conducting maintenance without compromising the device’s integrity.
C. Understanding the Opening Mechanism
Each CO alarm model has a distinct opening mechanism designed to safeguard the internal components while allowing access for maintenance. Understanding how to properly open your specific alarm model is imperative to prevent damage. The manufacturer’s instructions will detail the opening procedure, whether it involves sliding, twisting, unscrewing, or pressing a release latch.
Familiarizing oneself with this process ensures that the alarm remains fully functional after any maintenance activity and continues to provide reliable protection against carbon monoxide exposure.
How to Open Carbon Monoxide Alarm: Opening Battery-Powered Alarms
A. Locating the Battery Compartment
The battery compartment in CO alarms is typically situated in an accessible area to facilitate easy battery replacement by the homeowner. For most models, this compartment can be found on the back or side of the alarm. In certain designs, it may be integrated into the front panel.
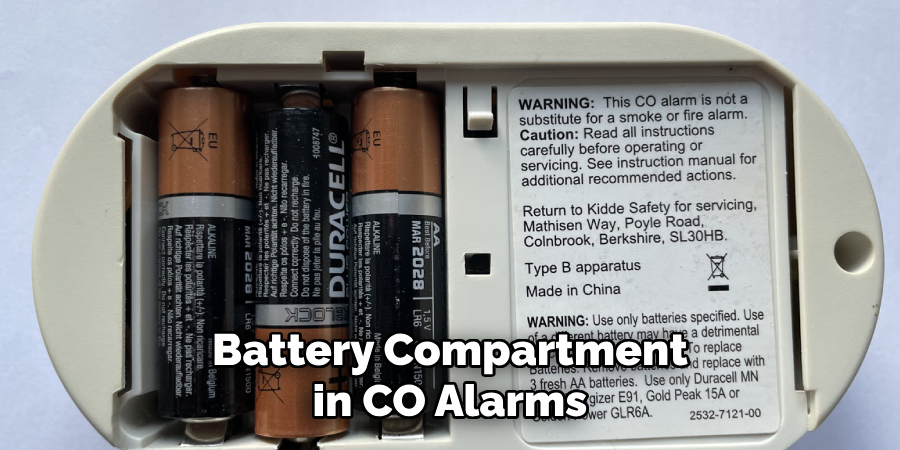
The exact location is usually indicated in the manufacturer’s manual, along with illustrations or diagrams to help identify it quickly. It’s important to ensure that the alarm is off or disconnected from any power source before attempting to locate the battery compartment to prevent any accidental triggering of the alarm or electrical hazards.
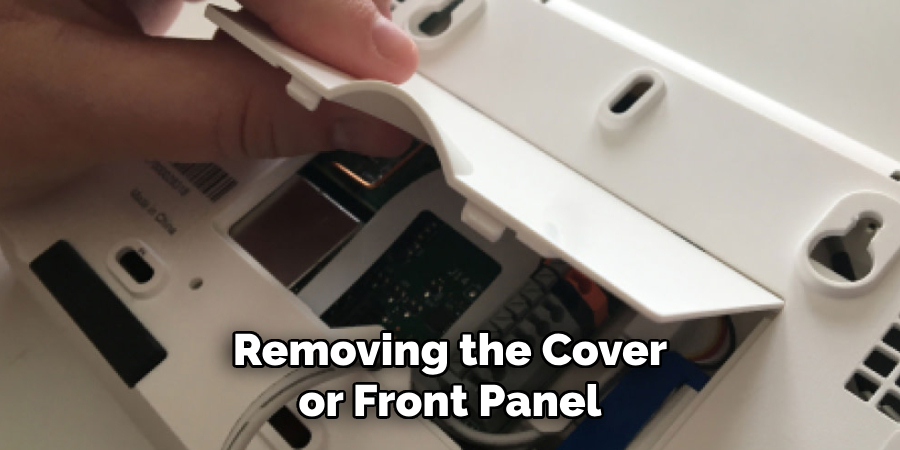
B. Removing the Cover or Front Panel
Once the battery compartment’s location is identified, the next step involves removing its cover or the alarm’s front panel to access the batteries. This process varies depending on the alarm model. Some covers might slide off with gentle pressure, while others might require unscrewing or pressing a specific latch or button that releases the cover.
Following the manufacturer’s instructions closely is advisable to avoid damaging the cover or the locking mechanism. Using appropriate tools, such as a screwdriver, might be necessary for some models.
C. Accessing the Battery Compartment
After removing the cover or front panel, the battery compartment should be directly accessible. It will either be an open slot housing the batteries or may have a small panel that needs to be opened or removed. Batteries are typically arranged in a clearly marked orientation, indicating the correct way to insert them.
It’s important to handle batteries properly, avoiding any sharp objects or excessive force that could damage the battery compartment or the connectors. Once the old batteries are removed, it’s an opportune time to clean the compartment with a dry cloth to ensure a good connection with the new batteries.
How to Open Carbon Monoxide Alarm: Opening Hardwired Alarms
A. Switching Off the Power to the Alarm
Before attempting to open a hardwired carbon monoxide (CO) alarm, it is crucial to ensure your safety by switching off the power to the unit. This can typically be done at the circuit breaker box, where flipping the switch for the circuit that powers the CO alarm will cut off electricity to the device.
It’s important to verify that the power is completely off before proceeding. This might involve testing the alarm with a non-contact voltage tester to ensure there is no active electrical current. Taking this precautionary step is essential to avoid the risk of electric shock during the maintenance process.
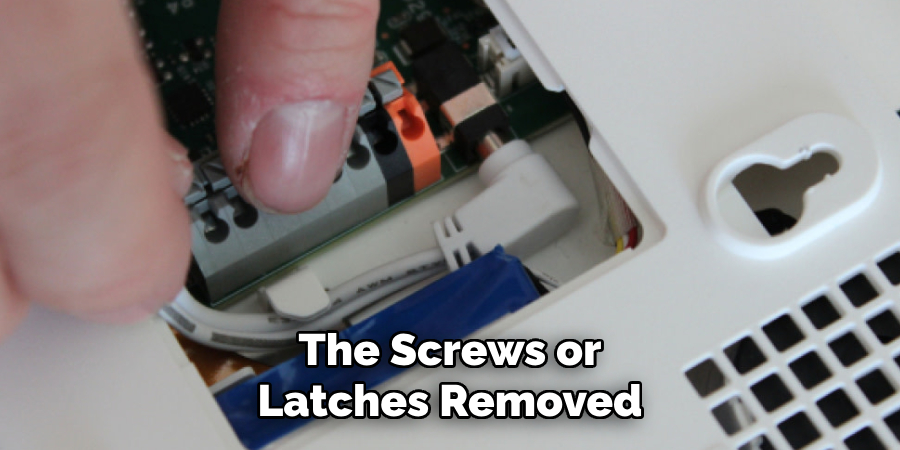
B. Removing Screws or Latches Holding the Alarm in Place
Once the power to the alarm has been safely disabled, the next step is to remove the alarm from its mounted position. Hardwired CO alarms are commonly secured to the wall or ceiling with screws, latches, or a combination of both.
Identify which method your particular model uses by consulting the manufacturer’s instructions or conducting a visual inspection.
Use the appropriate tools, such as a screwdriver, to carefully remove these fixtures. For alarms utilizing a latching mechanism, gently pressing or sliding the latch as indicated in the instructions should release the alarm from its bracket. It’s crucial to proceed with caution to avoid damaging the unit.
C. Detaching the Alarm from the Mounting Bracket
With the screws or latches removed, the alarm should now be partially freed from its mounting position. The next step involves completely detaching the alarm from the mounting bracket. This may require gently pulling the alarm away from the wall or ceiling, taking care not to exert excessive force that might damage the electrical wiring or the device itself.
In some models, electrical wires might still connect the alarm to the mounting bracket. Note the arrangement of these wires before disconnecting them, as this will be crucial for reattaching the alarm correctly after maintenance.
If the alarm is connected to a quick-connect plug, disconnect it by pressing the release mechanism on the plug. Remember to handle the wires and connections with care to maintain the integrity of the system.
Opening Combination Smoke and CO Alarms
Combination smoke and carbon monoxide (CO) alarms integrate smoke and CO detection in a single device, simplifying installation and maintenance. However, opening these combined alarms for battery replacement or maintenance requires additional steps and considerations compared to standalone CO alarms.
These combination units often possess more complex circuitry and multiple sensing technologies, necessitating a cautious approach to avoid disrupting their sensitive components.
One significant difference is the placement and security of the battery compartment or access panel. While CO alarms typically have their compartments readily accessible, combination alarms may feature a more secure setup to maintain the integrity of both smoke and CO detection systems.
It’s not uncommon for these alarms to have a screw-secured panel or a push-and-slide mechanism that requires a more deliberate effort to open to prevent accidental access.
In terms of opening procedures, combination alarms generally follow a similar approach to standalone units—requiring power to be disconnected before accessing the internal compartments.
However, due to their dual function, it’s crucial to consult the manufacturer’s instructions for any model-specific steps that ensure both the smoke and CO detection capabilities remain unaffected after any maintenance activity.
Additionally, users should be aware of the need to handle these devices gently, as the internal components for detecting smoke can be even more delicate than those for CO detection.
Replacing Batteries
A. Choosing the Right Type of Batteries
Selecting the appropriate type of battery is crucial for the efficient operation of combination smoke and CO alarms. Generally, manufacturers recommend using alkaline or lithium batteries, specifying the size and model required (such as AA, AAA, or 9-volt) in the user manual.
It’s important to use new, high-quality batteries and avoid mixing old with new or combining different types of batteries (alkaline with lithium, for example), as this can affect the performance and reliability of the alarm.
B. Inserting New Batteries Correctly
To insert the new batteries, first ensure that the polarity (positive (+) and negative (-) ends) matches the indications within the battery compartment. Incorrect insertion can prevent the alarm from functioning or cause damage.
If the compartment door is screw-secured, place the batteries inside and then carefully replace the door and secure it with the screw. For push-and-slide compartments, gently push the batteries into place and slide the door until it clicks, indicating it is locked.
C. Testing the Alarm After Battery Replacement
After replacing the batteries, it’s imperative to test the alarm to ensure it’s working correctly. This usually involves pressing and holding the test button located on the alarm’s surface until you hear a loud beep or series of beeps, indicating the alarm is operational. The test should trigger both the smoke and CO detection functions for combination smoke and CO alarms.
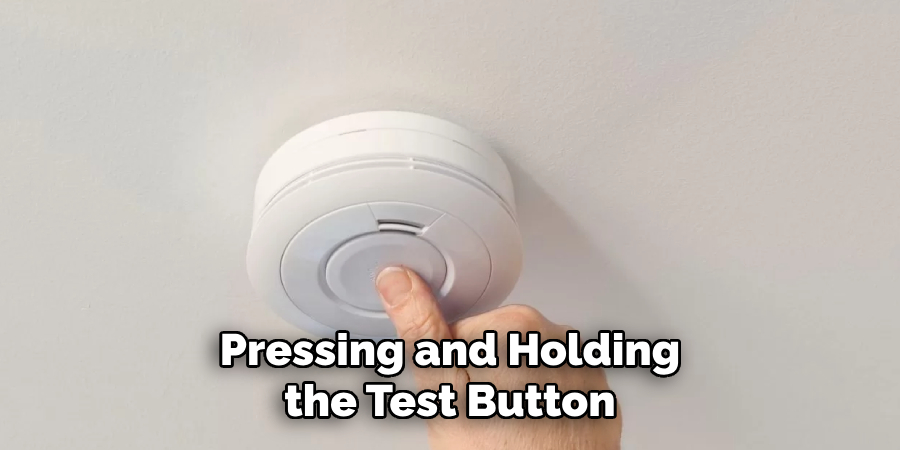
Repeat the test if the first attempt doesn’t produce a sound or if the sound is weak, as this could indicate improperly inserted batteries or another issue. Even after battery replacement, regular testing is key to maintaining the alarm’s reliability over time.
Cleaning and Maintenance
A. Removing Dust and Debris from Sensors
Regular cleaning of the sensors is vital to maintain the accuracy and functionality of combination smoke and CO alarms. Dust, pollen, and other airborne particles can accumulate on the sensors over time, potentially leading to false alarms or a failure to alert in an emergency. To clean the sensors, use a can of compressed air to gently blow away any debris from the sensor vents.
It’s important to avoid using any wet cleaners or solvents, as these can damage the sensors. Additionally, do not insert any objects into the sensor openings, as doing so can harm the sensitive components.
B. Checking for Signs of Wear or Damage
Periodic inspection of the alarm unit for any signs of wear, damage, or tampering is essential. Look for physical anomalies such as cracks, loose components, or signs of water damage. If any damage is found, the alarm should not be used and must be replaced immediately.
It’s also wise to check that all connections are secure, especially after cleaning or maintenance activities, to ensure the alarm’s effectiveness is not compromised.
C. Regular Testing and Calibration
Testing your combination smoke and CO alarm regularly, as recommended by the manufacturer, is crucial to ensure it is in proper working order. This typically involves pressing the test button and waiting for the alarm to sound. Calibration, or the adjustment of the alarm’s sensitivity settings, may also be necessary to ensure it responds correctly to smoke and CO presence.
While homeowners can often test alarms themselves, calibration might require professional service, especially if the alarm frequently signals false alarms or fails to test properly. Keeping a maintenance log with dates of battery changes, cleaning, and testing can be helpful in maintaining a schedule and ensuring that the alarms are always in optimal condition.
Troubleshooting Common Issues
Troubleshooting common issues with combination smoke and CO alarms can often be managed without the need for professional assistance, providing quick solutions to ensure continuous protection.
False alarms, for instance, are a frequent concern and can often be attributed to dust or spider webs triggering the sensors. A thorough cleaning using compressed air directed at the sensor vents can resolve this issue in most cases.
Similarly, sensor malfunctions may arise from battery-related problems such as low battery power or incorrect battery installation. Ensuring that the batteries are fresh, correctly inserted according to the polarity indicated and that the compartment is securely closed can often rectify these problems.
In instances where the alarm sounds intermittently without a clear cause, it’s advisable to check the environment for factors that might be influencing the sensors, such as excessive humidity, temperature fluctuations, or the presence of volatile chemicals. Relocating the alarm away from kitchens, bathrooms, and windows can mitigate unwanted triggers.
Should these steps not resolve the issue, consulting the manufacturer’s support line for specific advice or considering replacement may be necessary, especially for units nearing the end of their recommended service life.
Final Thoughts
Regular maintenance and timely battery replacement are pivotal for the optimal functioning of carbon monoxide (CO) alarms. These steps are not just about ticking items off a maintenance checklist; they are proactive measures to safeguard against the silent, invisible threat of CO poisoning.
Appreciating the significance of these actions prompts a deeper understanding of “how to open carbon monoxide alarm” cases for cleaning, battery changes, or simply for an inspection, which is essential for every household member. Familiarizing oneself with the CO alarm’s operation manual, maintenance routines, and troubleshooting tips can significantly enhance safety and ensure that these devices perform their critical role effectively.
Encourage regular engagement with your CO alarms, practicing proper maintenance procedures, and replacing batteries as recommended. By doing so, you contribute significantly to creating a safer home environment where the risk of CO exposure is minimized.