

Dealing with a malfunctioning cabinet lock can be incredibly frustrating, especially when it impedes access to important documents or valuables stored within.
The necessity to replace a cabinet lock arises from various scenarios: you might find yourself with lost keys, confronting a broken mechanism that refuses to budge, or perhaps you’re seeking to upgrade your current lock to a more secure option as a proactive measure against potential threats.
Understanding how to replace cabinet lock is not just about restoring functionality but also about enhancing your storage spaces’ security. This guide aims to demystify the process, ensuring that you have the knowledge and confidence to tackle the task head-on, whether you’re dealing with wear and tear that’s led to a malfunctioning lock or simply aiming for an upgrade.
Replacing a cabinet lock can seem daunting, but with the right tools and guidance, it’s a manageable DIY project that can significantly improve the security and functionality of your cabinets.
Understanding Cabinet Locks
A. Types of Cabinet Locks
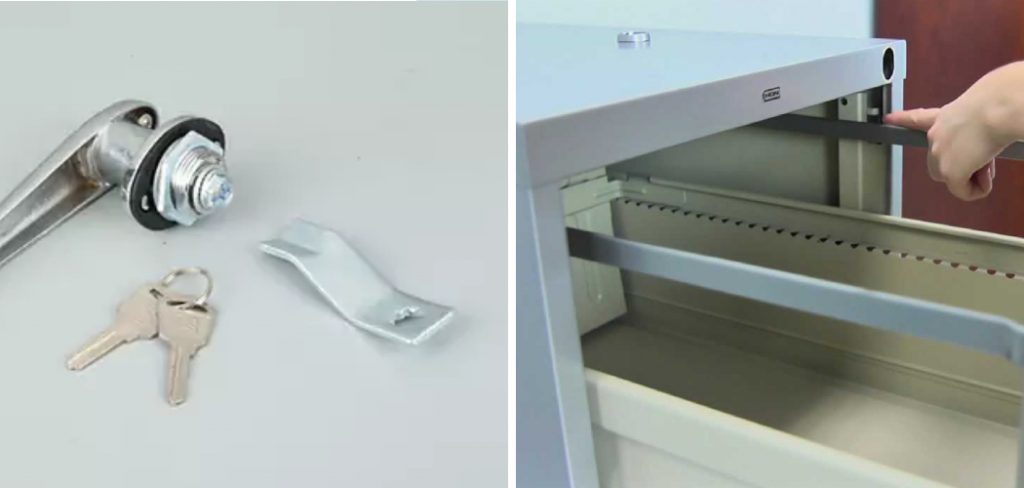
Cabinet locks are essential for maintaining privacy and security. Various types cater to different applications and preferences. Mortise locks, embedded into the cabinet structure, are famed for their durability and are commonly found in furniture pieces. Cylinder locks operate with a key turning a cylinder; these are often seen in file cabinets due to their ease of replacement.
Cam locks are distinguished by a cam mechanism that locks or unlocks with a turn of the key or knob, making them ideal for quick-access applications. Then, there are keyless locks, which can be electronic or combination-based, offering a modern, no-key solution to secure cabinets.
B. Identifying Your Existing Lock
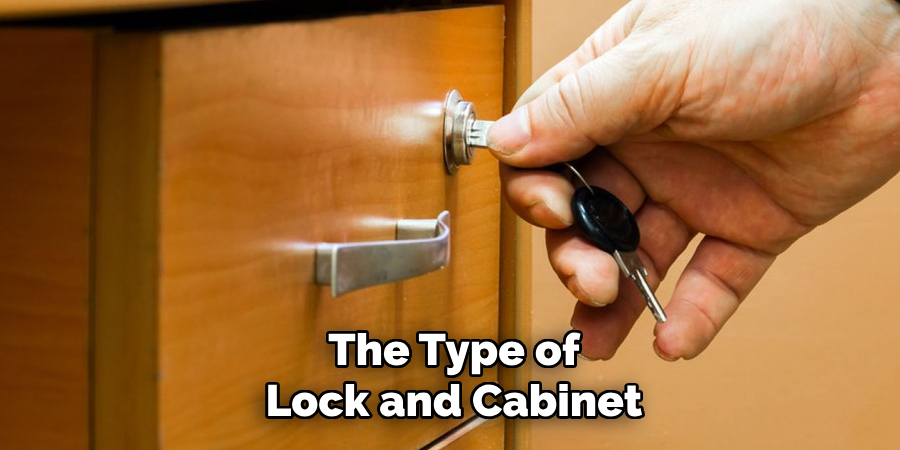
Before proceeding with a replacement, it’s crucial to identify the type of lock your cabinet currently utilizes. This step informs your choice for a new lock and ensures compatibility. You can start by examining the lock’s visible components, such as the keyhole and handle.
If the lock type is not immediately apparent, look for any manufacturer documentation or labels on the lock or cabinet itself. Identifying the lock correctly is a pivotal step in selecting the appropriate replacement and ensuring a smooth transition to the new locking mechanism.
C. Understanding Lock Measurements
One critical step in the lock replacement process is acquiring accurate measurements of your current lock. Key dimensions include the keyhole size, the backset – which is the distance from the edge of the door to the center of the handle or keyhole, and the lock’s overall dimensions.
These measurements ensure that your new lock fits perfectly without the need for extensive modifications to your cabinet. Utilizing precise tools like calipers or a standard ruler can help you obtain these measurements accurately, thus facilitating a seamless lock replacement experience.
Gathering Tools and Materials
A. Essential Tools
Replacing a cabinet lock requires a set of basic tools to ensure a smooth and efficient installation process. The toolset may vary slightly depending on the type of lock and cabinet but generally includes a screwdriver (both Phillips and flathead to accommodate different screws), pliers for adjusting or removing components, and a drill in case new holes need to be made for the replacement lock.
A hammer might come in handy for gently tapping parts into place, although its use should be minimal to avoid damaging the cabinet. Lastly, a tape measure is indispensable for verifying measurements before installation begins. Having these tools ready before starting the project can help streamline the replacement process.
B. Choosing the Right Replacement Lock
Selecting the right replacement lock is crucial for ensuring compatibility with your cabinet and meeting your security needs. Factors to consider include the lock’s compatibility with your cabinet type, the level of security it provides (with keyed locks typically offering more security than keyless options), and whether it matches the style and finish of your existing locks and cabinet hardware.
Bringing your old lock to a hardware store can be beneficial, as professionals can offer guidance in finding a compatible replacement that meets your requirements. Remember, the most suitable lock is one that balances aesthetic appeal with functional security.
How to Replace Cabinet Lock: Removing the Old Lock
A. Safety Precautions
Before initiating the lock replacement process, prioritizing safety is paramount. Ensure you’re wearing safety glasses to protect your eyes from small, flying debris. Also, familiarize yourself with the proper usage of each tool involved in the replacement process to prevent inadvertent injuries.
B. Removing Screws or Mounting Hardware
Start by carefully inspecting your cabinet lock to identify the screws or mounting hardware securing it in place. Select the appropriate screwdriver using the information acquired about your existing lock’s type.
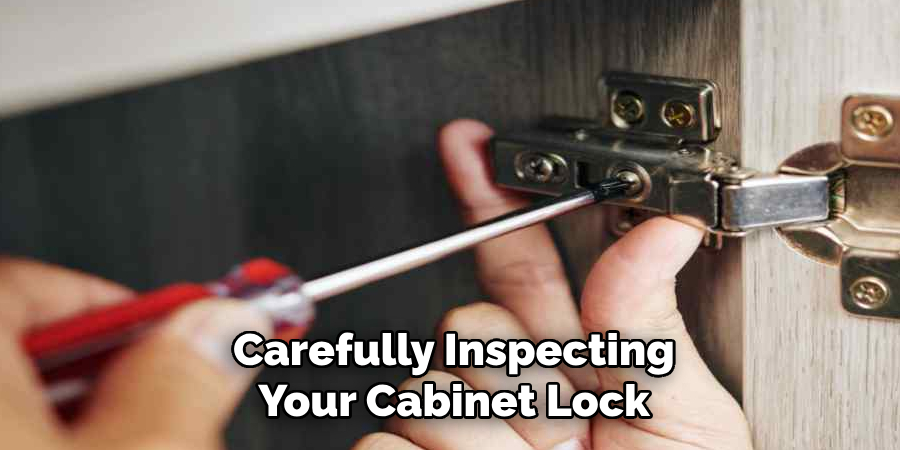
Unscrew these components gently, making sure not to strip the screws. Keep all removed hardware in a small container to prevent losing any pieces, as some might be needed for installing the new lock.
C. Disengaging the Lock Mechanism
With the external mounting hardware removed, the next step involves disengaging the lock mechanism from the cabinet door or drawer. This process can vary depending on the lock type. If your lock has a handle or knob, carefully remove it to expose the internal mechanism.
Use a screwdriver to loosen and remove any additional components securing the lock to the cabinet. Proceed with caution, ensuring not to damage the door or drawer during removal.
D. Preparing the Space for the New Lock
Once the old lock is removed, prepare the space for the new lock by cleaning out the hole to ensure it’s free of debris and remnants of the previous locking mechanism. Compare the hole’s alignment and size with the new lock’s requirements, making any minor adjustments with a file if necessary to ensure a perfect fit. Ensuring the space is appropriately prepared will facilitate a smoother installation of the new lock.
How to Replace Cabinet Lock: Installing the New Lock
A. Positioning the New Lock
Carefully positioning the new lock within the designated hole on the cabinet door or drawer is imperative to a seamless installation. Ensure the keyhole and any handles or knobs are properly aligned with the existing structure of the cabinet.
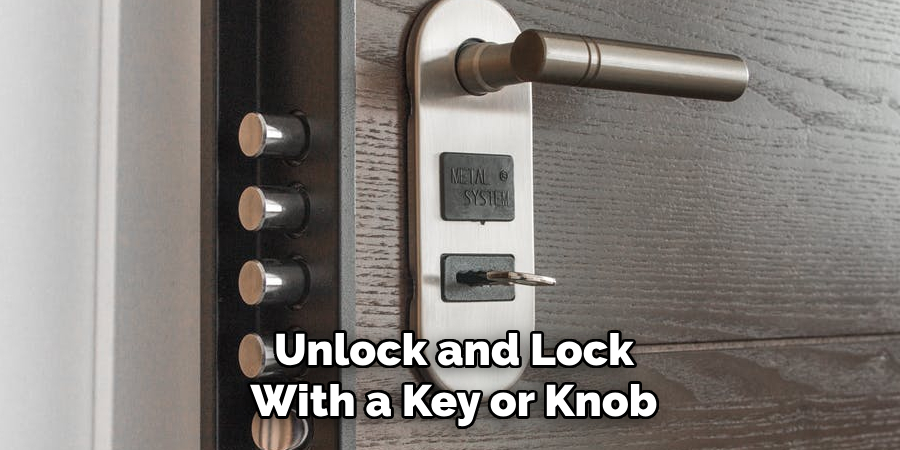
Take the time to adjust the lock’s position so it sits perfectly aligned with the door or drawer’s surface. Proper alignment not only ensures aesthetic consistency but also guarantees the lock’s functionality, making it easier to unlock and lock with a key or knob.
B. Securing the Lock
Once the new lock is correctly positioned, the next step involves securing it firmly in place. This process varies slightly depending on the lock type but generally requires inserting screws or mounting hardware through designated holes on the lock and into the cabinet.
Use the screwdriver to tighten these securely, ensuring the lock sits flush against the cabinet surface without wobbling. For cylinder locks, pay particular attention to the orientation of the cylinder to ensure it aligns properly with the external components.
C. Attaching the Handle or Knob
Attaching the handle or knob to the new lock mechanism is a critical step for locks incorporating these elements. Depending on the specific design of the lock, this might involve aligning the handle or knob with the front part of the lock mechanism and securing it with screws or fasteners.
Tighten these components securely to ensure the handle or knob does not come loose over time. This step not only contributes to the lock’s functionality but also its overall aesthetic appeal.
D. Testing the Lock Functionality
Before considering the installation complete, it’s crucial to test the lock’s functionality thoroughly. Insert the key into the lock, turning it to ensure the locking and unlocking mechanisms operate smoothly without resistance. If your lock includes a handle or knob, test it to confirm that it moves as expected and that it effectively engages and disengages the lock.
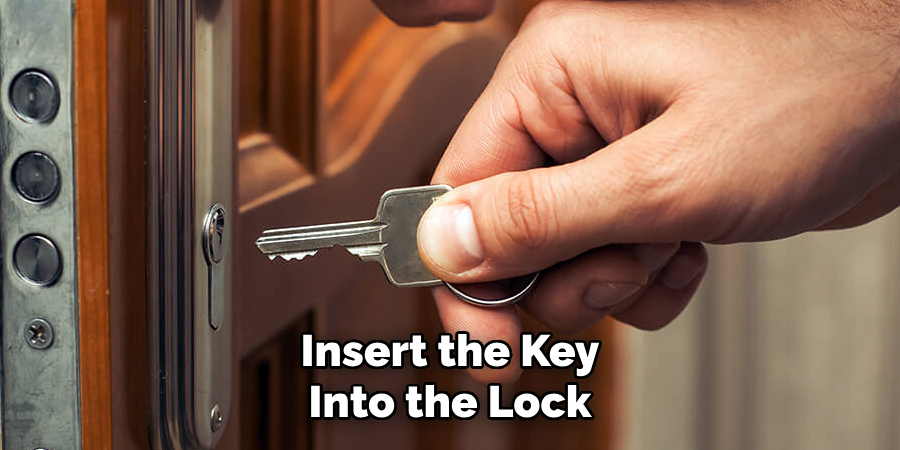
Any stiffness or misalignment at this stage indicates the need for adjustment. Testing the lock functionality ensures the security and reliability of the installation, providing peace of mind that your belongings are securely protected.
Finishing Touches and Troubleshooting
A. Cleaning Up and Final Adjustments
The next step after successfully installing the new lock involves cleaning up any debris or leftover materials from the replacement process. Use a small brush or vacuum to remove metal filings or dust from the installation area, ensuring the cabinet’s surface is clean and presentable.
Re-examine all screws and mounting hardware to confirm they’re tightly secured, making any final adjustments to guarantee the lock sits flush against the cabinet surface. A thorough cleanup and these final tweaks not only ensure a clean installation but also enhance the lock’s security and aesthetic integration with the cabinet.
B. Troubleshooting Common Issues
During the lock replacement process, you might encounter several common issues. If the lock appears misaligned, causing difficulty when turning the key, recheck your measurements and make necessary adjustments to the position of the lock or its internal components.
A key that’s hard to turn could benefit from a bit of appropriate lubrication in the keyhole or on the lock mechanism. Handles or knobs that become loose over time can usually be secured by simply tightening the screws or fasteners. Addressing these issues promptly ensures the longevity and reliability of your new cabinet lock, maintaining a secure and functional storage solution.
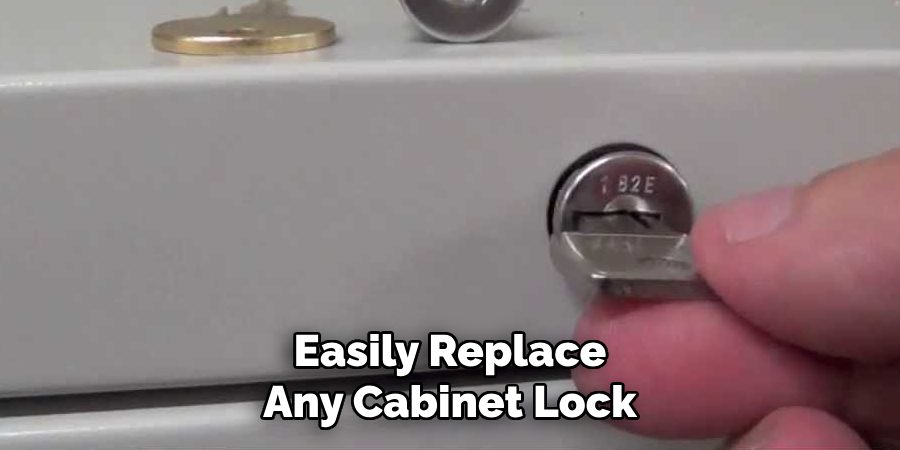
That’s it! You’ve now learned how to replace cabinet lock by following a series of simple and straightforward steps. Remember to always prioritize safety during the process, take your time, and double-check your work before considering it complete. With these skills in hand, you can easily replace any cabinet lock in the future and keep your belongings secure at all times!
Keyless Lock Installation (Optional)
A. Understanding Keyless Lock Options
Keyless locks, such as electronic or combination locks, present a modern alternative to traditional keyed locks, especially for cabinets requiring secure but flexible access. These locks eliminate the need for physical keys, instead relying on numerical codes or electronic mechanisms for operation.
The primary considerations when choosing a keyless lock include the power source, with options ranging from batteries to direct electrical wiring, and the lock’s programming methods. Additionally, different models offer varying security features, such as tamper alerts or multiple user codes, enhancing the overall security of your cabinets.
B. Installing an Electronic Lock
The installation process for an electronic lock can vary based on the specific model but typically involves mounting the lock body and keypad onto the cabinet door or drawer. Begin by carefully following the manufacturer’s instructions, which will guide you on positioning the lock correctly and ensuring the alignment is accurate.
If the lock is wired, connect the necessary wires as directed. The final step involves programming the lock with your chosen access codes, a crucial part of setting up your new electronic lock to ensure it operates securely and efficiently.
C. Installing a Combination Lock
The process for installing a combination lock also varies according to the lock’s design but generally includes mounting the lock body to the cabinet and setting the initial combination.
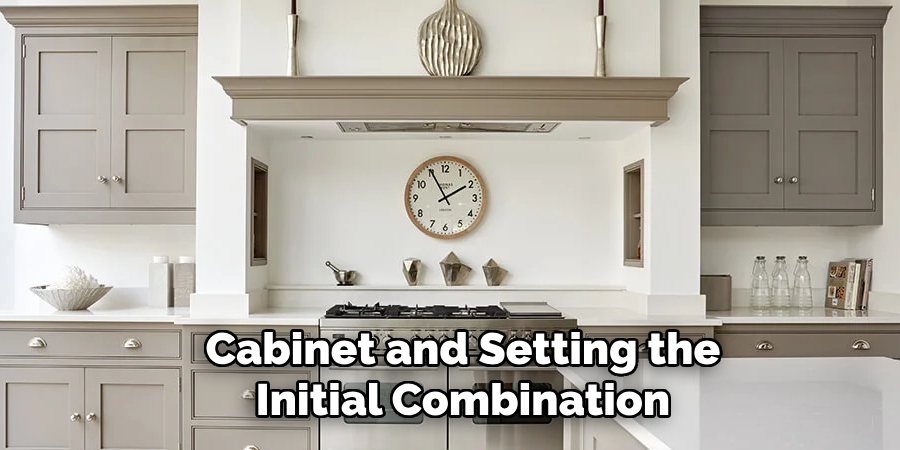
Follow the manufacturer’s instructions closely to ensure the lock is installed correctly, paying particular attention to the alignment of the locking mechanism. Once installed, test the locking and unlocking mechanism by entering the initial combination, ensuring it operates smoothly. This testing phase is vital for confirming that the lock is ready for secure use.
D. Programming and Security Tips
Programming your keyless lock securely is essential for maintaining the security of your cabinets. Start by choosing a strong, unique access code or combination that is not easily guessed. Keep this information confidential to prevent unauthorized access.
Always refer to the manufacturer’s instructions for specific steps on how to program your lock, as this can vary significantly between models. Regularly update your access codes and perform routine checks to ensure the lock’s mechanism operates as expected, ensuring long-term security and functionality.
Frequently Asked Questions
Q1: Can I Install a Keyless Lock on Any Type of Cabinet Door?
A1: Most keyless locks are designed to be versatile and can be installed on a wide range of cabinet doors and drawers. However, it’s essential to check the lock’s specifications and the thickness of your cabinet door to ensure compatibility.
Q2: How Long Do the Batteries Last in An Electronic Lock, and What Happens When They Die?
A2: The lifespan of batteries in an electronic lock depends on usage and the lock model. On average, batteries can last anywhere from 6 months to a year. Most electronic locks feature a low-battery indicator, and it’s critical to change the batteries as soon as this is noticed to avoid being locked out.
Q3: Can I Change the Access Codes on My Keyless Lock, and Is There a Limit to How Many Times I Can Change Them?
A3: Yes, you can change the access codes on your keyless lock, and typically, there is no limit to how many times you can do so. Changing access codes periodically is a good practice for maintaining security.
Q4: What Should I Do if My Electronic or Combination Lock Is Not Functioning Correctly After Installation?
A4: If your lock isn’t functioning correctly after installation, first double-check the installation steps to ensure everything is correctly set up. If the problem persists, consult the manufacturer’s troubleshooting guide or consider contacting their customer support for assistance.
Q5: Is It Possible to Revert to A Traditional Keyed Lock After Installing a Keyless Lock?
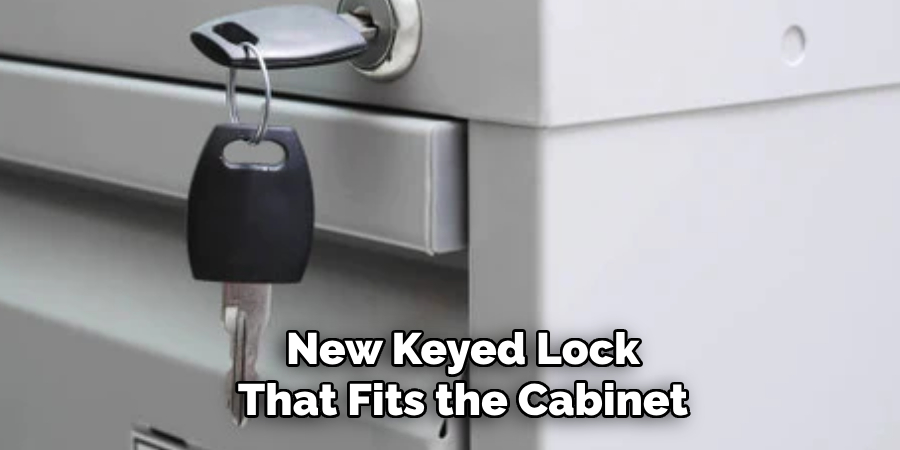
A5: Yes, it’s possible to revert to a traditional keyed lock if you decide that a keyless option is not the best fit for your needs. The process would involve removing the keyless lock and installing a new keyed lock that fits the cabinet door or drawer’s previous modifications.
Conclusion
In conclusion, the process of how to replace cabinet lock involves several critical steps, each contributing to the seamless transition from an old, potentially compromised lock to a new, secure mechanism.
Starting with a clear understanding of the different types of locks and the importance of selecting one that aligns with both your security needs and cabinet specifications, this guide has navigated through the necessary preparations—including gathering the appropriate tools.
We’ve explored how to meticulously remove the existing lock without damaging your cabinet, followed by the detailed steps to install the new lock, ensuring it fits perfectly and operates smoothly. Testing the functionality of the new lock is an essential step, confirming that it provides the desired level of security and reliability.
Choosing the right replacement lock is pivotal, emphasizing that the success of this DIY project hinges on compatibility and the quality of the lock. With the correct tools and comprehensive information, replacing a cabinet lock can be a straightforward task, instilling a sense of achievement while enhancing the functional security of your cabinets.
For additional resources, consider exploring online retailers or visiting local hardware stores that specialize in cabinet locks. These sources often provide detailed instructions for specific lock models and invaluable tips for maintaining your newly installed lock, ensuring its long-lasting performance and durability.
About
Safety Fic is a distinguished figure in the world of Diy design, with a decade of expertise creating innovative and sustainable Diy solutions. His professional focus lies in merging traditional craftsmanship with modern manufacturing techniques, fostering designs that are both practical and environmentally conscious. As the author of diy, Safety Fic delves into the art and science of Safety Fic-making, inspiring artisans and industry professionals alike.
Education RMIT University
(Melbourne, Australia) Associate Degree in Design (Safety Fic) Focus on sustainable design, industry-driven projects, and practical craftsmanship. Gained hands-on experience with traditional and digital manufacturing tools, such as CAD and CNC software.
Nottingham Trent University
(United Kingdom) Bachelor’s in diyfastly.com and Product Design (Honors) Specialized in product design with a focus on blending creativity with production techniques. Participated in industry projects, working with companies like John Lewis and Vitsoe to gain real-world insights.
Publications and Impact
In diy, Safety Fic his insights on indoor design processes, materials, and strategies for efficient production. His writing bridges the gap between artisan knowledge and modern industry needs, making it a must-read for both budding designers and seasoned professionals.