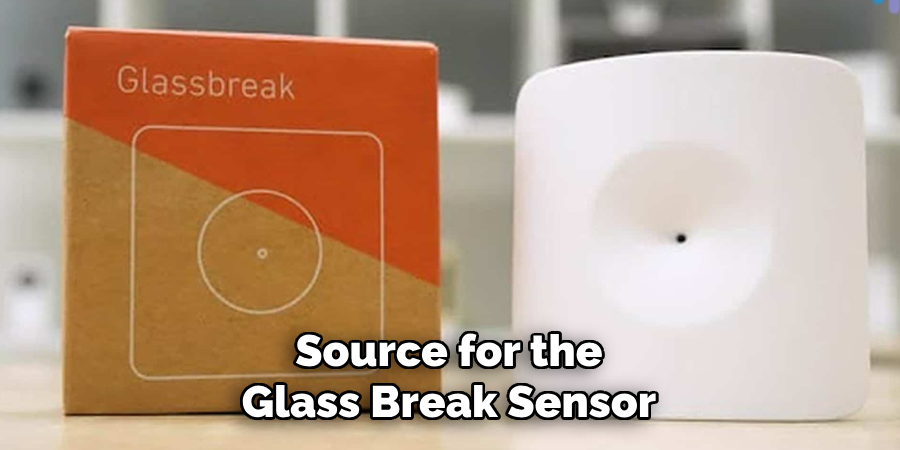
Glass break sensors are indispensable components of modern home security systems, offering an added layer of protection against intrusions. By detecting the unique sound frequency of glass breaking, they can alert homeowners and security services to potential break-ins, ensuring a prompt response. Understanding how to reset glass break sensor mechanisms is crucial for maintaining their efficiency and reliability.
There are several reasons why a glass break sensor might need resetting, from false alarms to system updates or after an actual security event. Properly resetting and troubleshooting these sensors not only restores their functionality but also enhances the overall security of a home.
By following the right steps to reset, homeowners can ensure their sensors remain in optimal working condition, ready to protect their premises at all times.
Identify the Glass Break Sensor
Identifying your glass break sensor is the first critical step in the resetting process. This stage involves locating the device, pinpointing its make and model, and understanding the manufacturer’s specific reset procedures.
A. Locate the Glass Break Sensor within the Home
Begin by walking through your home and visually inspecting each room for the glass break sensor. These devices are typically installed near windows or glass doors, areas most susceptible to break-ins.
They might be mounted on ceilings, walls, or even placed on shelves. The installer might have noted the sensor locations on a system map if your security system was professionally installed.
B. Identify the Manufacturer and Model of the Sensor
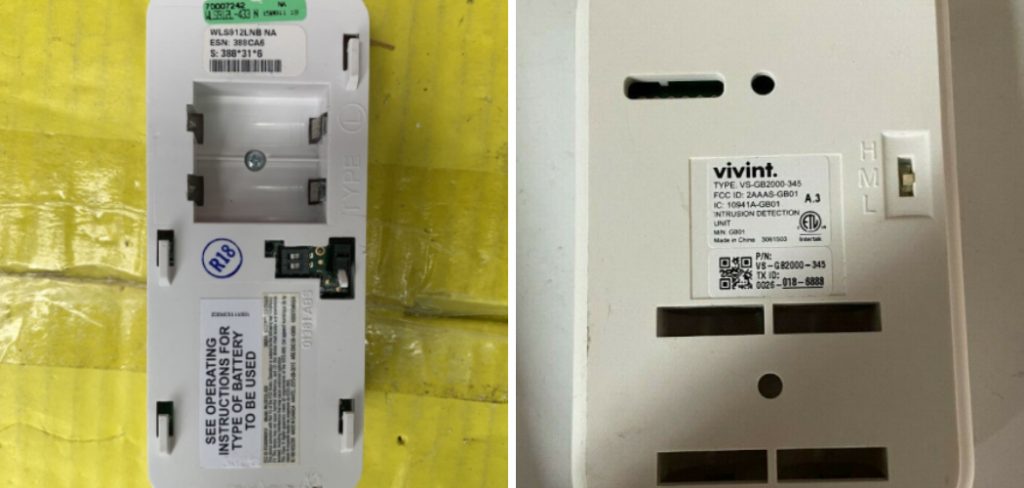
Once you’ve located the sensor, the next step is identifying its manufacturer and model. This information is usually found directly on the device’s front, back, or underneath.
If not visibly marked, check any documentation that came with the security system or look up the system details online using the security service provider’s website. Knowing the precise model and manufacturer is essential for accessing accurate reset instructions and support.
C. Refer to the Sensor’s User Manual for Specific Reset Instructions
After identifying the sensor’s make and model, locate the user manual. This might be a physical booklet provided during installation or a digital document on the manufacturer’s website. The manual contains crucial information, including specific instructions for resetting the sensor.
If the manual is misplaced or unavailable, most manufacturers offer downloadable versions online or support through customer service hotlines. Following these instructions carefully is key to successfully resetting the glass break sensor without compromising its functionality or warranty.
How to Reset Glass Break Sensor: Power Cycle the Sensor
Power cycling, a fundamental troubleshooting step, can resolve many technical issues by resetting the device’s state and clearing temporary glitches. This process is particularly effective for resolving problems with electronic devices, including glass break sensors, without altering their settings or saved data. Here’s how to execute a proper power cycle for your glass break sensor.
A. Turn Off the Power Supply to the Sensor
Initially, locate the power source for the glass break sensor. If the sensor is integrated into a larger home security system, you might need to disable the system or turn off the specific circuit that powers the sensors.
For standalone sensors or those directly connected to a power outlet, simply switch off the power at the outlet or the main panel if necessary. Ensuring the power is completely off is crucial to avoid any electrical hazards during the process.
B. Unplug the Sensor from the Power Source (if applicable)
With the power off, safely unplug the sensor from the electrical outlet or disconnect it from the power source. If the sensor is hardwired into the home’s electrical system, ensure that you have correctly identified and turned off the correct circuit breaker before proceeding to disconnect any wires, preferably with the assistance of a professional.
C. Wait for 30 Seconds to 1 Minute Before Reconnecting Power
After unplugging or disconnecting the sensor, it is advisable to wait for a period of 30 seconds to 1 minute. This pause allows the sensor to fully discharge and clears any residual power or temporary configurations that might be causing the issue. This waiting period is an essential step in the power cycle process, as it ensures the device is completely reset before power is reintroduced.
Finally, reconnect the sensor to the power source or plug it back into the electrical outlet. Turn the power back on at the outlet or through the home’s main panel. The sensor should undergo its startup sequence, indicated by lights or sounds specific to the model.
This sequence is a sign that the device is rebooting properly. Once the sensor is back online, monitor its performance closely to ensure the reset process has addressed the issue. Power cycling can often restore functionality, representing a simple yet effective solution for technical glitches.
Understanding how to reset glass break sensor is a vital step in troubleshooting and maintaining the device’s efficacy. This method offers a straightforward approach to resolving minor technical issues, ensuring your home security system remains reliable and responsive.
Check Sensor Batteries (if applicable)
In some cases, the issue with a glass break sensor may not be related to its electrical connection or software but rather to the condition of its batteries. Battery-operated sensors are common in wireless home security systems, providing the flexibility to be installed far from power outlets but requiring periodic battery checks and replacements.
A. Remove the Battery Cover from the Sensor
To inspect the batteries, you must first locate and remove the battery cover on the sensor. This cover is typically found on the back or bottom of the sensor. It may slide off, snap open, or require a small screwdriver to remove any securing screws. Ensure that you’re handling the device gently to avoid any damage.
B. Inspect the Batteries for Corrosion or Damage
With the battery cover off, take a moment to inspect the batteries for any signs of corrosion or other damage. Corrosion on the contacts or the batteries themselves can prevent the sensor from receiving adequate power, leading to malfunctions. If you spot any white or greenish residue on the batteries or the contacts, this indicates corrosion.

C. Replace Batteries with New Ones if Necessary
If the batteries show signs of corrosion or damage or have been in use beyond their expected lifespan, it’s time to replace them. Even if the batteries appear to be in good condition but you’re uncertain when they were last replaced, it may be prudent to install new ones.
Ensure that the replacement batteries match the type specified by the manufacturer. After inserting new batteries, replace the cover securely and observe the sensor’s operation. Fresh batteries can significantly improve the performance and reliability of your glass break sensor.
How to Reset Glass Break Sensor: Perform a Factory Reset (if needed)
In certain cases, when the above troubleshooting steps fail to resolve the issues with a glass break sensor, performing a factory reset might be necessary. This process restores the sensor to its original settings, erasing any custom configurations that may have been causing problems.
Before initiating a factory reset, it’s essential to understand that this action cannot be undone, and any preferences or settings must be reconfigured afterward.
A. Refer to the Sensor’s User Manual for Factory Reset Instructions
First, consult the user manual for your specific glass break sensor model to find detailed factory reset instructions. Each manufacturer may have different steps or require specific conditions to be met for a successful reset.
If you can no longer access a physical copy of the manual, look for a digital version on the manufacturer’s website or contact their customer support for guidance.
B. Typically, Press and Hold the Reset Button for a Specific Duration
Most glass break sensors are equipped with a reset button, often located in a recessed area on the device to prevent accidental resets. The standard procedure involves pressing and holding this reset button for a specific duration, usually ranging from 5 to 10 seconds, depending on the manufacturer’s instructions. This action typically initiates the reset process, accompanied by visual or auditory signals such as flashing lights or beeps indicating the factory reset is underway.
C. Follow Any Additional Steps as Directed by the Manufacturer
After the initial reset step, adhere to the manufacturer’s additional instructions. This might include waiting for a certain period while the sensor completes the reset process or performing steps on a connected app or home security system panel to re-establish connection to the sensor.
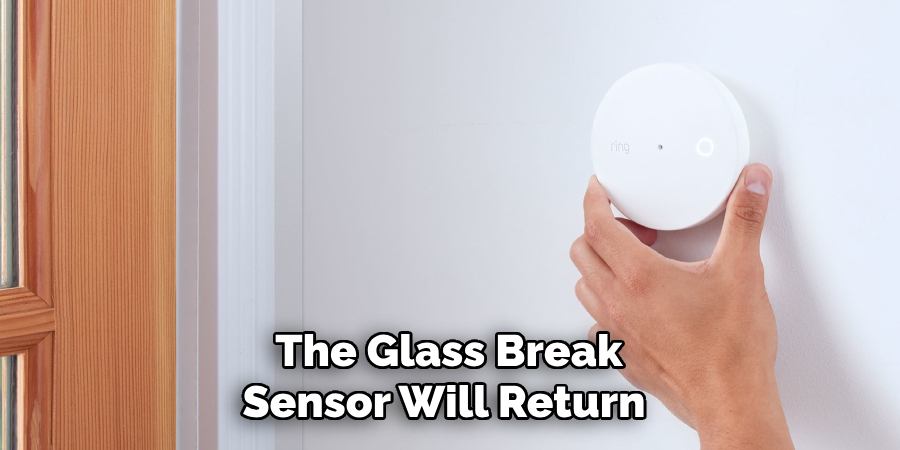
Once the factory reset is complete, the glass break sensor will return to its default state, and you can proceed to set it up again as if it were a new device, ensuring that any previous glitches or configuration errors are cleared.
Test the Sensor
After going through troubleshooting steps, including checking for power issues, inspecting and replacing batteries if needed, and possibly performing a factory reset, the final and crucial step is to test the glass break sensor to ensure it works correctly.
A. Activate the Glass Break Sensor to Test Functionality
First, activate the glass break sensor according to the manufacturer’s instructions. This may involve using a specific button on the device or an option within a connected app or home security system panel. Ensure that the sensor is in its active state and ready to detect incidents.
B. Trigger the Sensor Using a Glass Break Simulator or Loud Noise
To accurately test the sensor, use a glass break simulator if available. These devices are designed to produce a sound that mimics the frequency of breaking glass, providing a precise test condition for glass break sensors. If a simulator is not accessible, a loud noise resembling glass breaking can also be used, but this may be less reliable for testing.
C. Verify that the Sensor Detects and Responds Appropriately
After triggering the sensor, observe its response. A properly functioning glass break sensor will detect the sound and immediately alert the home security system. This alert could be a notification on your smartphone, an alarm sound, or a signal to a monitoring center if your system is monitored.
If the sensor does not respond as expected, review the previous troubleshooting steps to identify any potential issues that may have been overlooked, ensuring your home remains secure and responsive to potential break-ins or damages.
Adjust Sensor Sensitivity (if necessary)
After ensuring your glass break sensor is correctly installed and fully functional, you might find its sensitivity to be either too high, causing false alarms, or too low, potentially missing incidents. Adjusting the sensitivity of your sensor can optimize its performance, tailoring it to your specific environment and needs.
A. Refer to the Sensor’s User Manual for Sensitivity Adjustment Instructions
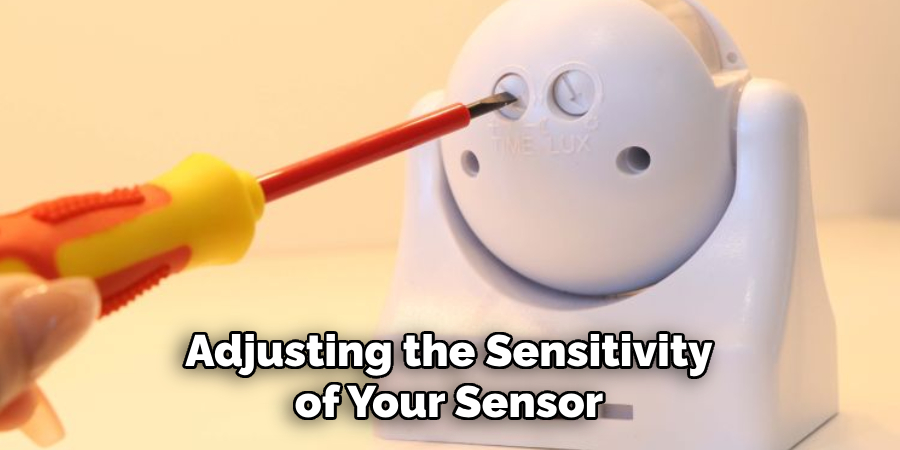
Begin by consulting the sensor’s user manual for detailed instructions on adjusting its sensitivity. Manufacturers typically provide guidelines on accessing and modifying these settings, which may involve using a connected app, a control panel, or physical switches on the sensor itself. The manual will also offer recommendations for sensitivity levels based on different environments and situations.
B. Adjust the Sensitivity Settings According to Your Needs
Once you understand how to change the sensitivity settings, carefully adjust them according to your requirements. If your sensor has been triggering false alarms, consider lowering the sensitivity.
Conversely, if the sensor fails to detect actual glass break events, the sensitivity will increase. It’s advisable to make these adjustments gradually, observing the effects of each change to find the optimal setting.
C. Test the Sensor Again to Ensure Proper Functionality
After adjusting the sensitivity settings, it’s crucial to test the sensor again to ensure it functions correctly at the new sensitivity level. Repeat the previous testing process, using a glass break simulator or a loud noise to activate the sensor.
Pay close attention to how the sensor responds to the test—ideally, it should now operate effectively within your desired sensitivity range without causing false alarms or missing genuine incidents. This final testing step ensures that your glass break sensor provides reliable protection while minimizing unnecessary disturbances.
Monitor Sensor Operation
Ensuring your glass break sensor’s continuous reliability and effectiveness goes beyond just completing the initial setup and testing phases. Regular monitoring and maintenance are critical to maintaining the sensor’s performance and, by extension, your home’s security.
A. Regularly Check the Sensor for Any Signs of Malfunction
Regular visual inspections of the sensor are essential. Check for any physical damage or indications of battery wear. Also, be alert to any changes in the sensor’s performance, such as failing to respond to incidents or triggering too frequently without a clear cause. These can be signs that the sensor requires attention.
B. Conduct Periodic Tests to Ensure Continued Reliability
Establishing a schedule for routine testing of your glass break sensor is advisable. Depending on the manufacturer’s recommendations and your personal experience, this could be monthly, quarterly, or bi-annually.
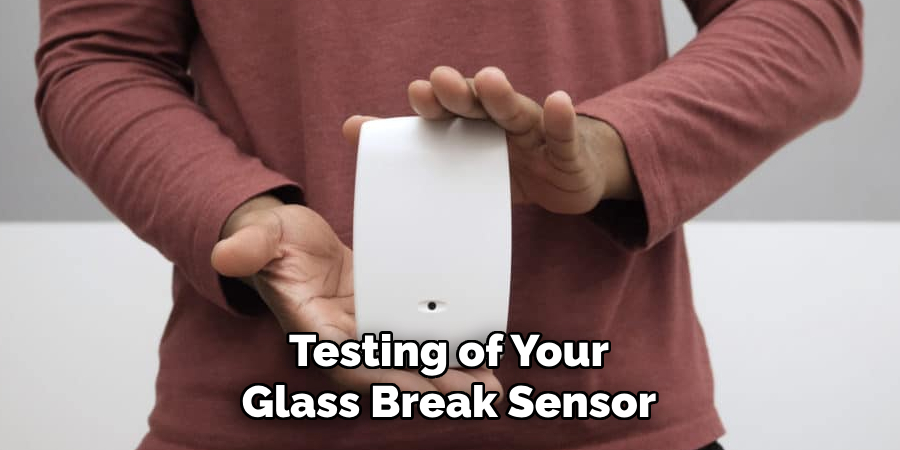
Use a glass break simulator or a similar method to verify that the sensor is still performing as expected. This consistent testing helps to catch any potential issues early, ensuring the sensor remains a reliable part of your home security system.
C. Address Any Issues Promptly to Maintain Home Security
If any problems are detected during regular checks or tests, it’s crucial to address them immediately. Whether it’s replacing batteries, adjusting sensitivity settings, or contacting customer support for more serious technical issues, prompt action helps to avoid gaps in your home’s security. Remember, the effectiveness of a security system lies not only in its components but also in the vigilance of its upkeep.
Consider Professional Assistance
Ensuring the optimal performance of your glass break sensor might sometimes necessitate seeking help beyond the DIY route. Professional assistance can provide the expertise needed for complex issues, ensuring your home security system operates without fault.
A. Contact the Manufacturer’s Customer Support for Further Assistance
If troubleshooting steps and adjustments do not resolve the issues with your glass break sensor, contact the manufacturer’s customer support. They can offer detailed guidance specific to your model, helping to diagnose and fix problems more effectively. Their support might include remote diagnostics, step-by-step repair guides, or advice on optimizing your sensor’s settings.
B. Seek Help from a Qualified Technician or Security Professional
For issues that require hands-on expertise, consider hiring a qualified technician or a security professional. These experts can assess your home security system in person, identifying any underlying issues with the glass break sensor or its integration into the larger security setup. Their professional assessment can ensure that all components of your system are properly installed, configured, and functioning as intended.
C. Explore Warranty or Repair Options for Persistent Issues
If your glass break sensor continues to malfunction despite troubleshooting efforts and professional advice, it might be time to explore warranty or repair options. Review the warranty documentation for your device to understand the coverage and the process for claiming a repair or replacement.
When the warranty expires, consult with the manufacturer or a trusted security professional to discuss the most cost-effective repair or replacement options. Acting on these options promptly can help maintain the uninterrupted security of your home.
Conclusion
Resetting your glass break sensor involves several critical steps, starting with understanding the specific reset procedures outlined in the sensor’s manual. The sensitivity settings must be adjusted based on your unique environmental needs, followed by thorough testing to ensure the sensor operates at the desired sensitivity level without false alarms or missed detections.
Maintaining the reliability of your glass break sensor is an ongoing task that requires regular monitoring, visual inspections for signs of malfunction, and routine testing. These measures are crucial for ensuring that your sensor continues to function effectively as part of your home security system, providing peace of mind and protection for your family and property.
For a successful sensor reset and maintenance routine, always refer to the guidance on how to reset glass break sensor as provided in your sensor’s manual. Make incremental adjustments to sensitivity settings and conduct regular tests using a glass break simulator.
Anticipate the need for prompt action to address any detected issues, and do not hesitate to seek professional assistance when DIY solutions fall short. Following these steps will help you maintain an optimally functioning glass break sensor, enhancing your home’s security measures.
About
Safety Fic is a distinguished figure in the world of Diy design, with a decade of expertise creating innovative and sustainable Diy solutions. His professional focus lies in merging traditional craftsmanship with modern manufacturing techniques, fostering designs that are both practical and environmentally conscious. As the author of diy, Safety Fic delves into the art and science of Safety Fic-making, inspiring artisans and industry professionals alike.
Education RMIT University
(Melbourne, Australia) Associate Degree in Design (Safety Fic) Focus on sustainable design, industry-driven projects, and practical craftsmanship. Gained hands-on experience with traditional and digital manufacturing tools, such as CAD and CNC software.
Nottingham Trent University
(United Kingdom) Bachelor’s in diyfastly.com and Product Design (Honors) Specialized in product design with a focus on blending creativity with production techniques. Participated in industry projects, working with companies like John Lewis and Vitsoe to gain real-world insights.
Publications and Impact
In diy, Safety Fic his insights on indoor design processes, materials, and strategies for efficient production. His writing bridges the gap between artisan knowledge and modern industry needs, making it a must-read for both budding designers and seasoned professionals.
