

Removing SimpliSafe sensors from walls necessitates a careful approach to avoid damaging your home’s interiors and preserving the sensor’s functionality for future use. Understanding the correct procedures ensures that you can maintain the integrity of your security setup, whether you’re relocating sensors or upgrading your system.
The process of how to remove simplisafe sensors from wall involves a few critical steps: disarming your security system to prevent triggering false alarms, using the right tools to detach sensors and mounts without damaging your walls, and finally, cleaning and prepping the area for any necessary repairs.
Removing sensors can provide several advantages, including updating your security system, repositioning sensors for optimized coverage, or preparing your home for painting and other renovations. Proper removal techniques ensure you can reuse sensors and extend their lifespan, offering both economic and environmental benefits.
Preparing for Removal
A. Disarming the SimpliSafe Security System
Before attempting to remove any sensors, it’s crucial to disarm your SimpliSafe security system. This can typically be done through the SimpliSafe control panel or via the mobile app.
Disarming the system ensures that you won’t trigger any alarms or send unintentional distress signals to your monitoring service while removing the sensors. It’s a safety precaution protecting you and the emergency services from potential misunderstandings.
B. Gathering Necessary Tools (e.g., Screwdriver)
The next step involves gathering all necessary tools for the removal process. A screwdriver is essential for detaching sensors that are screwed into the wall. If your sensors are adhered to with mounting tape, you may also need a plastic pry tool or a credit card to gently lift the sensor off the wall without causing damage. Having all tools on hand before you begin ensures a smooth and hassle-free removal process.
C. Reviewing SimpliSafe User Manual for Guidance
Finally, take a moment to review the SimpliSafe user manual or the removal guidelines provided on SimpliSafe’s official website. This information is invaluable as it may offer specific instructions or tips for your sensor model.
The manual can also guide you on safely handling the sensors and advise on any precautions to take during removal. Being well-informed through the manual ensures you are fully prepared for the task ahead, minimizing the risk of damage to both your property and the sensors.
Identifying Sensor Placement
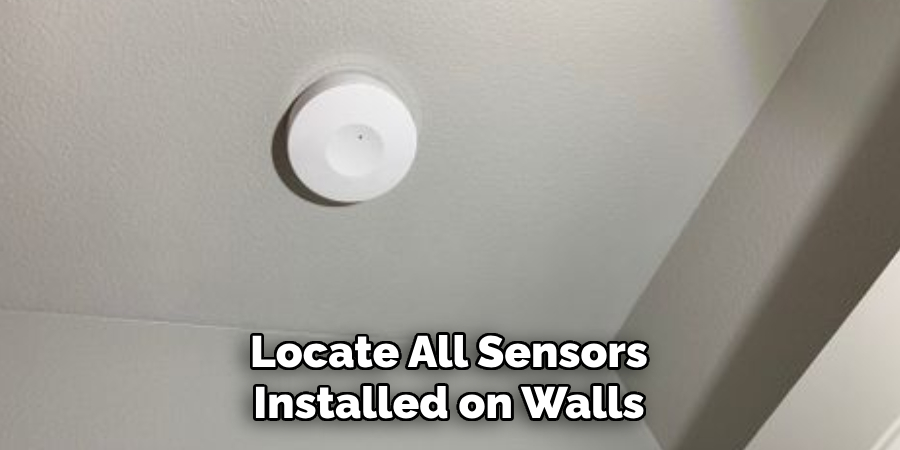
A. Locating Sensors Installed on the Wall
Begin by surveying your property to locate all sensors installed on walls. These could be above doors, windows, or in corners where movement is expected to be detected. Ensure you check both high and low points on walls, as sensors can be positioned at various heights depending on their intended function.
B. Noting the Type of Sensors (e.g., Entry Sensor, Motion Sensor)
Once located, identify and note the types of sensors. SimpliSafe offers a range of sensors,, including Entry Sensors, typically found on doors and windows, and Motion Sensors, often positioned in corners or high-traffic areas. Recognizing the sensor type is critical as it influences the method of removal and reinstallation if necessary.
C. Inspecting the Surrounding Area for Any Obstructions
Examine the area around each sensor for potential obstructions. Furniture, decorations, or even dense indoor plant growths can interfere with sensor removal. It’s also important to check for any cables or other systems that might be concealed behind the wall where the sensor is mounted to avoid damage during the sensor removal process.
How to Remove Simplisafe Sensors from Wall: Disabling the Sensor
A. Accessing SimpliSafe Control Panel or Mobile App
To begin disabling, access your SimpliSafe control panel or use the SimpliSafe mobile app. Both interfaces provide a straightforward means to manage your sensors. The control panel usually mounted on a wall or placed on a flat surface within your home, offers a tactile way to adjust settings.
Alternatively, the mobile app allows for remote management, offering the convenience of adjusting your security system settings from anywhere.
B. Disabling the Sensor to Prevent False Alarms
After gaining access to your SimpliSafe system through the control panel or app, locate the settings or devices section where you can view all connected sensors. Select the sensor you plan to remove from the wall.
You’ll find an option to disable or “turn off” the sensor temporarily. This step is crucial to prevent any false alarms during the removal process. Disabling the sensor ensures that it does not send alerts or trigger the alarm system while it’s being handled.

C. Verifying Sensor Deactivation
Once you have disabled the sensor, verifying it has been correctly deactivated is important. This can be done through the control panel or mobile app, where a status indicator should show that the sensor is “off” or “disabled.”
For added assurance, you can check the system’s event log or history to confirm that the sensor’s deactivation has been recorded. This verification step is a critical safeguard to ensure there are no unwanted alerts to your monitoring service, allowing for a smooth removal process.
How to Remove Simplisafe Sensors from Wall: Removing Mounting Hardware
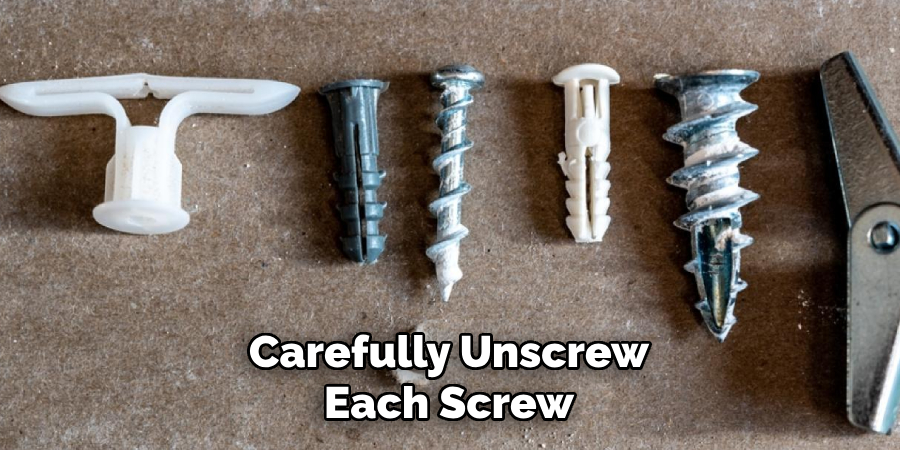
A. Using a Screwdriver to Remove Screws or Mounting Brackets
Once the sensor is safely deactivated, the next step is physically detaching it from the wall. If the sensor is attached using a screws or a mounting bracket, a screwdriver will be your go-to tool.
Carefully unscrew each screw, holding the sensor or bracket firmly to avoid it dropping or causing injury. It’s important to keep all screws and brackets together in a safe place if you plan on reinstalling the sensor later.
B. Loosening Adhesive Strips or Mounting Tape (if applicable)
For sensors attached with adhesive strips or mounting tape, gently pry the edge of the sensor or its mount away from the wall using a plastic pry tool or a credit card. Work slowly around the edges to loosen the adhesive evenly.
Applying direct heat with a hair dryer for a few seconds can also help soften the adhesive, making it easier to remove without leaving residue. Never rush this process; pulling too hard can damage the paint or wall covering.
C. Ensuring Safe Removal without Damaging the Wall Surface
Patience and gentle handling are the keys to safely removing sensors and their mounting hardware. Regardless of whether screws or adhesive are used, protect the wall surface by slowly and carefully executing each step.
If adhesive residue remains on the wall after removal, it can often be cleaned off with a gentle adhesive remover or by lightly dabbing with a clean, slightly damp cloth. Always test any cleaning solution on a small, inconspicuous area first to avoid damaging the wall’s finish.
When removing screws, if wall anchors were used, decide whether to leave them in place for future use or carefully remove them, bearing in mind that this may require patching the holes left behind.
Detaching Sensor from Mounting Surface
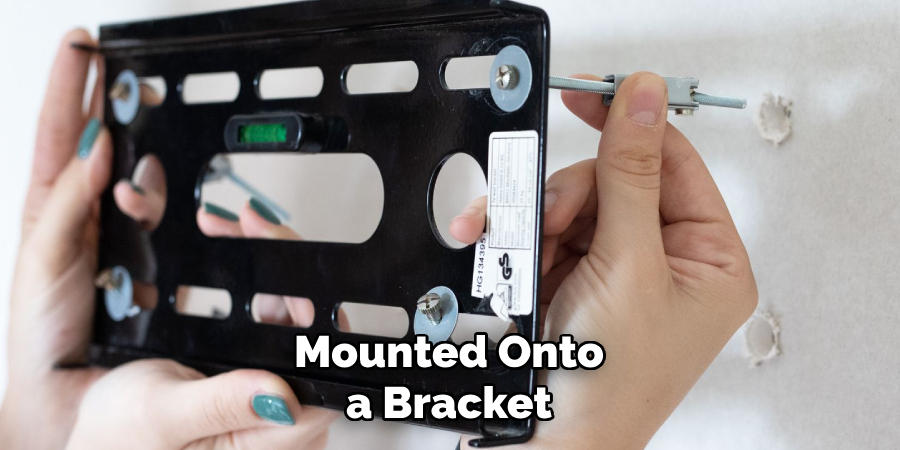
A. Gently Pulling the Sensor Away from the Wall
Once you’ve successfully loosened the screws or softened the adhesive, hold the sensor firmly in your hand and gently pull it away from the wall. If the sensor is attached using screws and was mounted onto a bracket, it should come off easily once the screws are removed. Be careful to support the weight of the sensor to prevent it from falling once detached.
B. Applying Pressure to Release Adhesive or Mounting Tape
If the sensor was attached using adhesive strips or mounting tape, you may need to apply a bit more pressure to fully release it from the wall. Press down on the sensor or mounting base and slide it slowly in one direction.
This sliding motion can help break the remaining adhesive bond without damaging the wall surface. If the sensor feels stuck, apply a little more heat with a hair dryer to further soften the adhesive, but be cautious not to overheat the sensor.
C. Using a Flat Tool to Pry the Sensor Away if Necessary
In cases where the sensor or mounting hardware resists your attempts to pull or slide it off, use a flat tool like a plastic pry tool or a credit card as a last resort. Gently insert the flat edge of the tool between the sensor or mount and the wall. Leverage the tool to pry the sensor away slowly.
This technique requires patience and gentle handling to ensure you do not damage the wall or the sensor. Avoid using metal tools, which may scratch the wall or damage the paint.
Detaching a sensor from its mounting surface can be a delicate process, especially when dealing with adhesives. The key is to proceed with patience, using gradual force and the correct tools to aid in the removal. This careful approach ensures the sensor can be removed without causing damage to the wall or the sensor itself, allowing for smooth reinstallation or maintenance as needed.
Cleaning and Inspecting
A. Removing Any Residual Adhesive or Tape from the Wall
After successfully detaching the sensor from the wall, the next step involves addressing any residual adhesive or mounting tape left behind. Gently scrape away any remaining pieces with a plastic scraper, not gouging or damaging the wall surface.

For stubborn adhesives, applying a small amount of adhesive remover or rubbing alcohol on a clean cloth can be effective. Allow the solvent to soak in briefly before wiping it away gently. Always perform a spot test in an inconspicuous area to ensure the cleaner does not damage the paint or wallpaper.
B. Wiping Down the Wall Surface with Mild Cleaner
Once all adhesives have been removed, use a mild cleaner to clean the area where the sensor was mounted. Dilute a small amount of gentle, non-abrasive cleaning solution with water and apply it to a soft cloth or sponge.
Wipe the wall gently to remove any dust, grime, or fingerprints that may have accumulated around the sensor’s location. Rinse the area with a clean, damp cloth to remove any residue from the cleaning solution, and dry the surface with a soft towel.
C. Inspecting Sensor for Damage or Wear
With the sensor detached and the wall cleaned, take the opportunity to inspect the sensor for any signs of damage or wear. Look for visible cracks, discoloration, battery leakage, or any damage to the wires or connectors if it’s a wired model.
Any found damage may affect the sensor’s functionality and might require repair or replacement. If the sensor is battery-operated, consider replacing the batteries as part of maintenance to ensure optimal reinstalled performance. This inspection ensures the long-term reliability and efficiency of your home security system.
Storing or Discarding Sensors
A. Storing Sensors in a Safe and Dry Location (if Reusing)
After inspecting the sensor and deciding to reuse it in the future, it’s important to store it properly to prevent damage. If available, place the sensor in a static-free bag to reduce the risk of electrostatic discharge damaging the electronics.
Identify a dry and temperature-controlled storage area to avoid moisture or extreme temperatures that could affect the sensor’s components. Labeling the sensor with the date of removal and any specific handling notes can be helpful for future reference.
B. Properly Disposing of Sensors According to Local Regulations (if Not Reusing)
Responsible disposal is essential if you’ve decided not to reuse a sensor. Electronic waste, including home security sensors, can contain environmentally harmful materials and should never be disposed of in regular trash.

Check local regulations for electronic waste disposal, as many communities offer recycling programs or special drop-off locations for such items. This ensures that your sensor is disposed of safely and environmentally friendly.
C. Documenting Removed Sensors for Inventory Purposes
Documentation is a crucial step, whether storing or discarding a sensor. Keeping a record of removed sensors helps maintain an updated inventory of home security equipment.
Note the sensor’s type, location, removal date, and condition at the time of removal. If discarding, record the disposal method and date. Keeping this information organized not only assists in maintaining your security system but also prepares you for any future upgrades or audits of your home security setup.
Patching Wall Surface (if necessary)
After the sensor removal process, you may find screw holes or minor damages on the wall that require attention. Patching these areas not only restores the aesthetic appeal of your wall but also helps maintain the integrity of the wall’s surface.
A. Filling Screw Holes with Spackle or Wood Filler
For small screw holes, use a spackle (for drywall) or wood filler (for wooden surfaces) to fill the holes. Apply the filler using a putty knife, pressing it firmly into the hole until it’s slightly overfilled.
This accounts for shrinkage as the filler dries. Allow the filler to dry completely according to the manufacturer’s instructions, which usually takes a few hours.
B. Sanding Patched Areas Smooth
Once the filler has dried, use fine-grit sandpaper to smooth the area, blending it into the surrounding wall surface. Ensure the patched area is flat and there are no bumps or excess filler. This step is crucial for a seamless finish, especially if the wall is to be painted over.
C. Touching Up Paint to Match the Surrounding Wall
Finally, choose a paint that matches the existing wall color. If you’re unsure of the shade, take a small chip off the existing paint to a paint store for color matching. Apply the paint over the patched area with a small brush or roller, blending the edges to make the repair invisible. It may require more than one coat to achieve the desired finish. Allow the paint to dry thoroughly between coats.
Patching the wall surface after sensor removal ensures that your walls remain pristine, blending any repair work seamlessly with the rest of the wall. This attention to detail not only preserves the aesthetics of your space but also contributes to the overall maintenance of your home.
Reinstalling Sensors (if necessary)
After the removal and maintenance processes, you may decide to reinstall the sensor in its original or new location. This step is integral to maintaining your home’s security coverage.
A. Assessing the Need for Reinstallation in a New Location
Before reinstalling, assess whether the original location still serves your security needs or if a new location might offer better coverage. Consider factors such as the sensor’s range, potential obstructions, and areas of your home that might be more vulnerable to security breaches. Selecting an optimal location enhances the sensor’s effectiveness and your home’s overall security.
B. Following SimpliSafe Installation Instructions
When reinstalling the sensor, carefully following the manufacturer’s installation instructions is crucial, even if you’re familiar with the process. This ensures that the sensor is installed correctly and operates as intended.
SimpliSafe, for example, provides a detailed step-by-step guide for each of its sensors, including optimal placement, mounting techniques, and setup procedures. Adherence to these guidelines ensures operational efficiency and avoids damage to both the sensor and your home’s surfaces.
C. Testing Sensor Functionality After Reinstallation
After reinstallation, thoroughly test the sensor’s functionality to ensure it operates correctly. This might include intentionally setting off the sensor (in accordance with the system’s testing protocol) to verify that it communicates effectively with the rest of your security system.
Check for any signal interference or delays in response. If the sensor is part of a monitored system, inform the monitoring service before conducting tests to avoid false alarms. Proper testing confirms the sensor’s reliability, ensuring that your home remains protected.
Conclusion
This guide has taken you through the essentials of how to remove simplisafe sensors from wall safely and efficiently. Starting with preparing your work area and tools, heading into the step-by-step removal process, and concluding with wall repair and sensor documentation, each stage has been designed to ensure a smooth process.
Properly removing your sensors plays a crucial role in their maintenance, potential reuse, or successful reinstallation. It prevents damage to both the sensors and the wall, ensuring that your home security system remains effective and your living space is aesthetically pleasing.
In summary, always ensure that you have the correct tools at hand and follow the manufacturer’s guidelines for removal. Remembering the steps on how to remove SimpliSafe sensors from the wall can save you time and avoid unnecessary damage.
Lastly, never overlook the importance of preparing the sensor for either storage or disposal in an environmentally friendly manner. Following these practices will keep your home security system in optimal condition, ready to protect your home and loved ones effectively.