Are you concerned about the smoke alarms in your home? Do you want to ensure that they are interconnected for maximum safety? In this guide, we will discuss how to interconnect smoke alarms so that they work together and provide more comprehensive protection for your family.
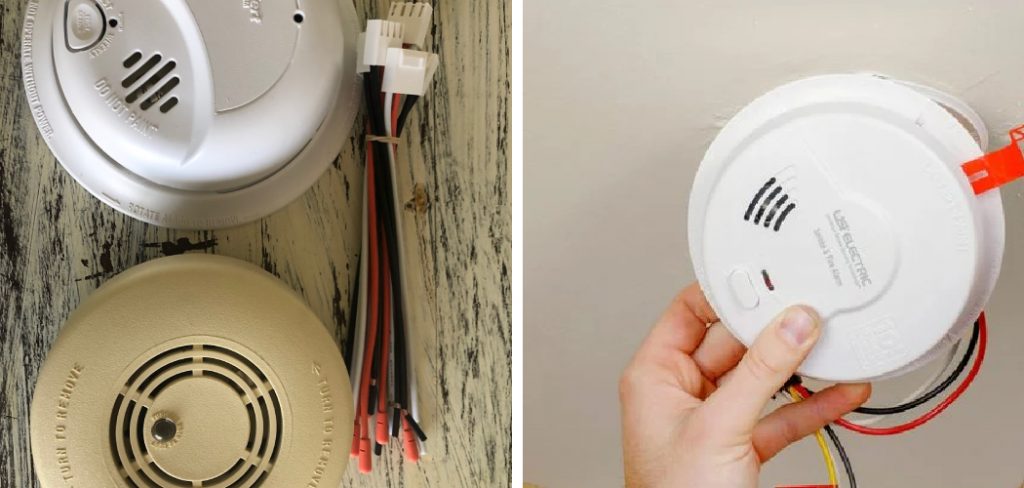
Interconnecting smoke alarms in your home is a vital safety measure that ensures when one alarm detects smoke, all alarms throughout the house sound off simultaneously. This unified response provides early detection and ample warning time, no matter where in the home a fire starts, allowing for quicker evacuation.
This guide aims to demystify the process, outlining the necessary tools, steps, and safety precautions to successfully interconnect your smoke alarms, making your home safer for you and your loved ones.
Why Interconnected Smoke Alarms are Important
Interconnected smoke alarms significantly enhance the safety of a home by ensuring that a warning is issued throughout the entire house the moment smoke is detected in any area. This comprehensive alert system is crucial in large homes or multi-story buildings where individuals elsewhere in the structure might not hear an alarm triggered in an unoccupied area or floor.
By linking the alarms, residents are given the maximum possible time to respond and evacuate, which is particularly beneficial during the night when many fires occur and when individuals are more likely to be asleep.
This connectivity can make a critical difference in emergency situations, providing precious seconds that could save lives.
What Will You Need?
Before beginning the interconnection process, gathering all the necessary tools and equipment is crucial. Here’s a list of items you will need:
- Smoke alarms (preferably interconnected ones)
- Ladder
- Screwdriver
- Wire nuts
- Electrical tape
Once you have all the needed supplies, you can proceed with the following steps to interconnect your smoke alarms.
10 Easy Steps on How to Interconnect Smoke Alarms
Step 1: Turn off the Power
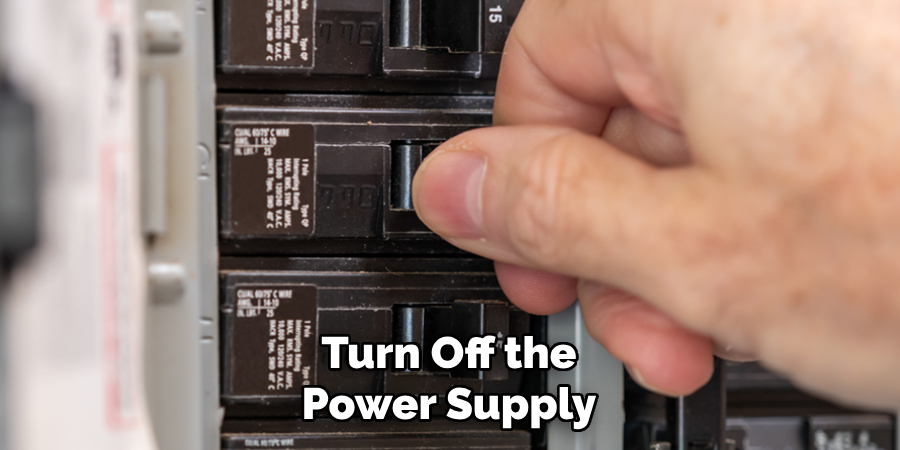
For safety reasons, turn off the power supply in your home’s electrical panel before starting any work. This will prevent any potential electric shocks while working on the interconnected smoke alarms. Additionally, having another person with you during this process is a good idea for added safety.
Step 2: Check the Wiring
After ensuring that the power is off, you’ll need to remove the existing smoke alarm (if applicable) to access and inspect the wiring in the ceiling or wall. Most interconnected smoke alarms require a third wire (in addition to the standard black and white wires) that serves as the interconnectivity wire, often colored red or orange. This wire is crucial for transmitting signals between alarms.
If your home still needs to be equipped with this third wire, professional installation by a licensed electrician may be necessary. For homes already wired for interconnection, proceed to identify and separate the wires, ensuring you clearly distinguish between the power (black), neutral (white), and interconnect (red or orange) wires.
Step 3: Connect the Smoke Alarms
Once the power is safely turned off and you’ve identified the necessary wires, the next step involves physically connecting the smoke alarms. Align the black wire (power) from the ceiling or wall to the black wire of the smoke alarm, the white wire (neutral) to the white wire of the alarm, and the red or orange wire (interconnect) to the corresponding interconnect wire of the smoke alarm.
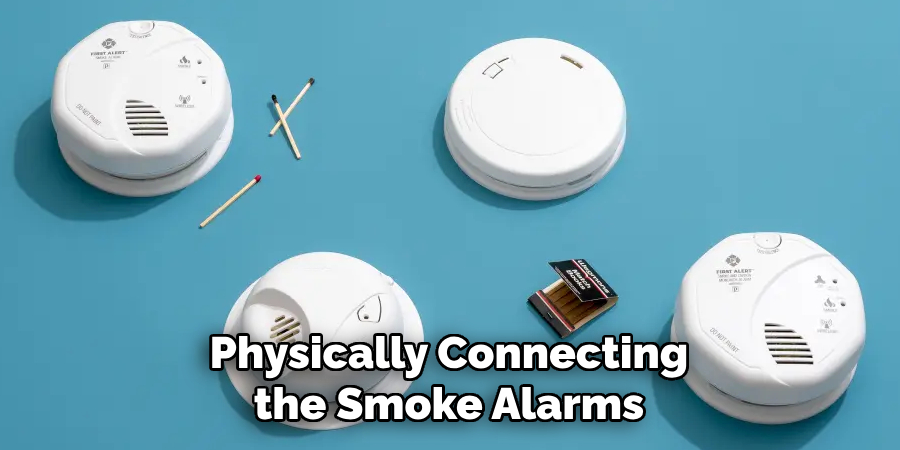
Secure each connection with wire nuts, twisting them until they are tight and secure, ensuring no bare wires are exposed. Electrical tape should be applied around each connection for additional safety. This step creates a circuit that seamlessly links the alarms.
Step 4: Mount the Smoke Alarms
After completing the wiring connections, the next step is to mount the smoke alarms back onto the ceiling or wall. Use the screws provided with your smoke alarms and a screwdriver to securely attach each unit. Ensure the alarms are firmly in place and there is no movement once mounted.
This is crucial to ensure the alarms remain operational and do not get dislodged over time. Before moving on to the next step, double-check that each alarm is correctly aligned and positioned as per the manufacturer’s instructions to guarantee optimal performance.
Step 5: Restore Power and Test the Alarms
With the smoke alarms now securely mounted and interconnected, it’s time to restore power to your home. Once the electricity is back on, test each smoke alarm individually to ensure they are functioning properly. This can typically be done by pressing the test button located on each alarm unit.
If interconnected correctly, activating the test feature on one alarm should trigger all other interconnected alarms in the house, confirming the success of your installation. If an alarm does not sound during this test, ensure all connections are secure and try again. Testing is a critical step to ensure your safety and the operational reliability of the interconnected smoke alarm system.
Step 6: Label Each Alarm
Once testing is completed and all alarms are confirmed to be working correctly, labeling each alarm with the date of installation is recommended. This can be done using a permanent marker or a label maker.
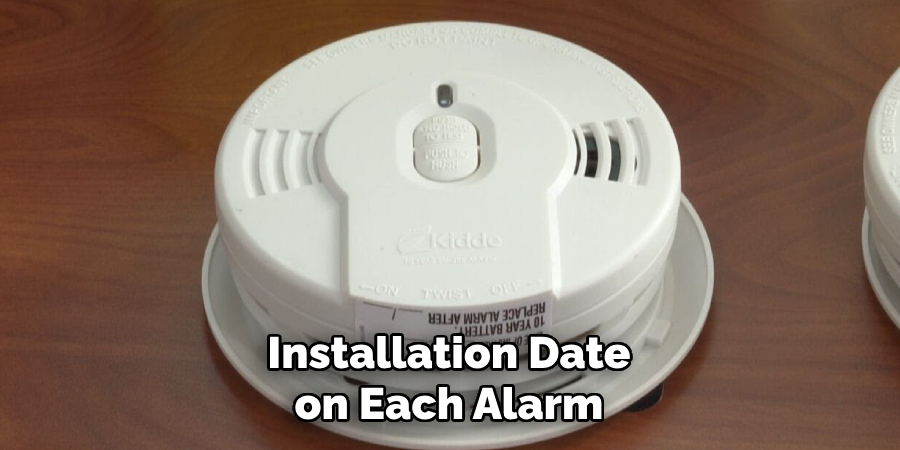
Marking the installation date on each alarm unit will help you keep track of the smoke alarm’s age, as most manufacturers recommend replacing smoke alarms every 10 years. Regularly monitoring the age of your alarms ensures that your home’s smoke detection system remains up-to-date and functional, providing the best possible protection for you and your loved ones.
Step 7: Schedule Regular Maintenance Checks
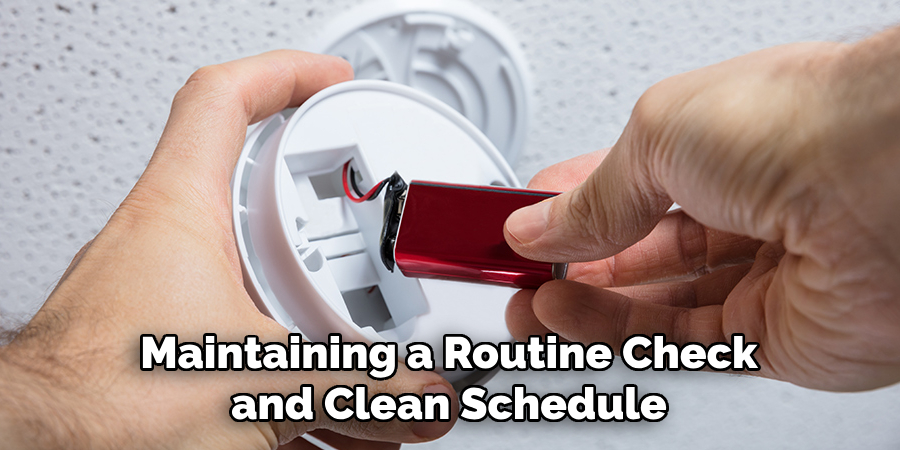
To ensure your interconnected smoke alarms continue to operate effectively, it’s essential to schedule regular maintenance checks. This involves cleaning each alarm unit from dust and debris, which can accumulate over time and impair the alarm’s sensitivity to smoke.
Use a vacuum cleaner with a soft brush attachment to gently clean the outside of the alarms every six months. Additionally, test all the alarms monthly by pressing the test button to confirm they are working correctly. Maintaining a routine check and clean schedule guarantees the reliability of your interconnected smoke alarm system, keeping your home safe and secure.
Step 8: Educate Your Household
Informing every member of your household about the interconnected smoke alarm system is crucial. Ensure everyone understands the system’s importance and knows what the different alarms sound like. Conduct a fire drill to practice what should be done if an alarm goes off.
This includes identifying escape routes and establishing a safe meeting point outside the home. Educating your household not only reinforces the safety measures but also ensures that in the event of a real emergency, everyone knows how to respond swiftly and safely.
Step 9: Review and Update Emergency Plans Regularly
It is vital to review and, if necessary, update your home’s emergency evacuation plans annually. This includes verifying that all escape routes remain clear and accessible, checking that the designated safe meeting point is still suitable, and ensuring that all members of your household are familiar with the plan.
Changes in living arrangements or home layouts can affect how you respond to an emergency, so keeping your plans relevant and up-to-date is crucial. Additionally, integrating the operation of your interconnected smoke alarms into these plans reinforces the importance of immediate action when an alarm sounds. Regular reviews encourage preparedness and can significantly enhance your household’s safety in the event of an emergency.
Step 10: Utilize Smart Technology for Added Safety
Incorporating smart technology into your home’s safety plan can provide an additional layer of protection and convenience. Many modern smoke alarms offer smart features that can notify you on your smartphone if an alarm goes off, even when you’re not at home. Consider upgrading to interconnected smoke alarms that are compatible with home automation systems.
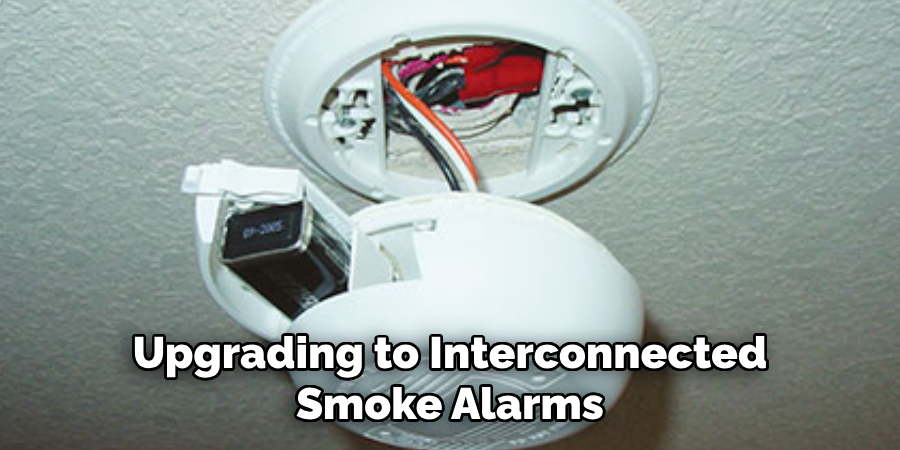
This enables remote monitoring and integrates with other smart home devices for an enhanced safety network. Regularly update the software of your smart smoke alarms to ensure they operate efficiently and take advantage of new safety features as they become available. By staying informed and utilizing advanced technology, you contribute significantly to the safety and security of your residence.
With these steps, you have successfully installed and interconnected smoke alarms in your home. Regular maintenance checks and staying prepared by reviewing and updating emergency plans can help ensure that your interconnected smoke alarm system remains functional and reliable for years to come.
5 Additional Tips and Tricks
- Utilize Wireless Interconnectivity: Many modern smoke alarms offer wireless connection capabilities, eliminating the need for complex wiring. Look for devices that can communicate via Radio Frequency (RF) signals to create a network of alarms that alert simultaneously.
- Regular Testing is Crucial: Conduct regular monthly tests to ensure all interconnected smoke alarms are functioning correctly. This helps in identifying any device that isn’t responding as part of the interconnected system.
- Central Control Panel: Consider installing a central control panel that monitors all interconnected smoke alarms for larger homes. This panel can provide instant information on which alarm triggered the alert, making identifying the source of danger easier.
- Maintain Power Supply Consistency: If your smoke alarms are battery-powered, ensure they all use the same type and brand of batteries to maintain consistency in performance. For hardwired systems, ensure they all have battery backups in case of a power outage.
- Stay Updated with Technology: Smoke alarm technology is continuously evolving. Stay informed about new features and updates, such as smart smoke alarms that can send alerts to your mobile device. Upgrading your system can enhance safety and convenience.
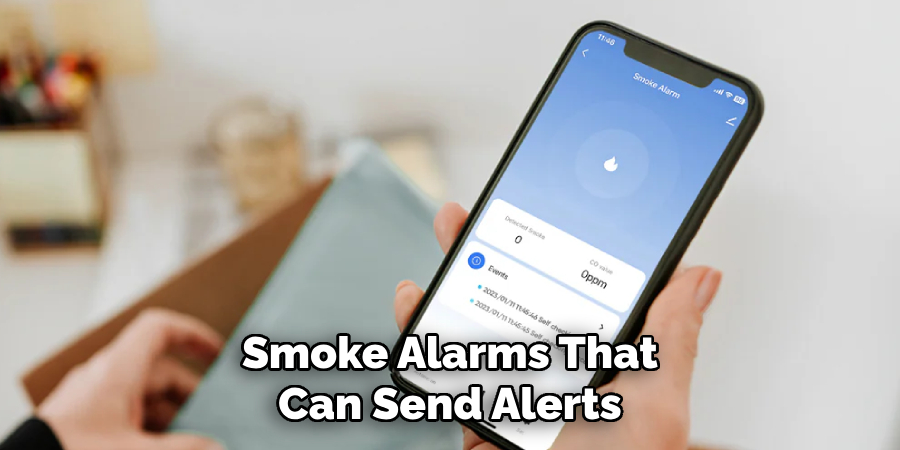
With advancements in technology, there are also now smoke alarms that can detect different types of fires, including smoking and fast-moving fires. Consider investing in these specialized devices for added protection.
5 Things You Should Avoid When Interconnecting Smoke Alarms
- Ignoring Compatibility: Please confirm their compatibility before mixing and matching smoke alarms of different brands or technologies. Using incompatible devices can lead to system failures, risking the safety of your home and loved ones.
- Overlooking Wireless Interference: In systems that use wireless interconnectivity, avoid positioning devices in areas with high wireless interference, such as near Wi-Fi routers or microwave ovens. Interference can disrupt communication between units.
- Neglecting Local Code and Regulations: Always adhere to local building codes and regulations when installing interconnected smoke alarms. Ignoring these can not only render your system non-compliant but also ineffective during emergencies.
- DIY Complex Installations Without Expertise: Avoid DIY approaches unless you have the necessary technical knowledge for complex installations, especially those involving hardwired systems. Improper installation can lead to system malfunctions.
- Failing to Plan Alarm Placement Strategically: Avoid placing interconnected smoke alarms haphazardly. Each device should be strategically located to provide maximum coverage and early detection, such as inside and outside of bedrooms and on every level of your home, including the basement.
By avoiding these common mistakes, you can ensure your interconnected smoke alarm system functions effectively and provides the best protection for your home.
Some Frequently Asked Questions
1. Can You Interconnect Different Smoke Alarms?
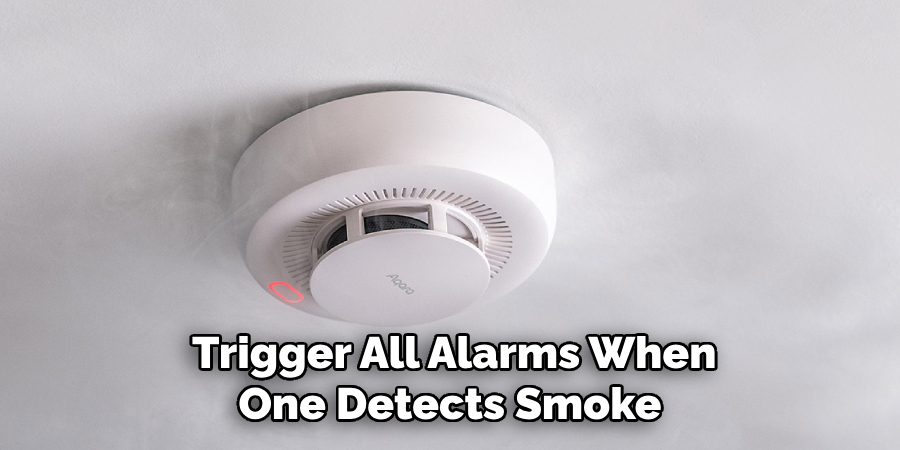
Yes, it is possible to interconnect different smoke alarms as long as they are compatible. This means that they should have the ability to communicate with each other and trigger all alarms when one detects smoke. It is important to check the compatibility of different brands or technologies before interconnecting them to avoid any issues or malfunctions in the system.
Additionally, some manufacturers offer specific devices or adapters that allow interconnectivity between different brands. For proper interconnection, it is recommended that you follow the manufacturer’s instructions and recommendations.
Interconnecting different types of smoke alarms, such as photoelectric and ionization alarms, can also provide better coverage as each type detects a different type of fire. This means that one alarm may go off faster than the other, providing early detection of a fire.
2. What is the Difference Between a Smoke Alarm and a Smoke Detector?
A smoke alarm is a stand-alone device that detects the presence of smoke and emits an audible alert to warn occupants of potential danger. On the other hand, a smoke detector is a component of a larger fire detection system, which may include multiple detectors, alarms, and control panels.
Smoke detectors are typically found in commercial buildings or larger residential homes requiring more advanced fire protection systems. On the other hand, smoke alarms are commonly used in smaller residential homes and require less complex installations.
Overall, both smoke alarms and smoke detectors serve the same purpose of detecting and alerting occupants to potential fire hazards. The main difference is that a smoke detector is part of a larger system, while a smoke alarm functions independently.
So, choosing the right option based on your specific needs and home size is essential when considering installing a fire protection system. In any case, regularly maintain and test your smoke alarm or detector to ensure it is functioning correctly in an emergency.
3. Where Do Interconnected Smoke Alarms Need to Be Placed?
Interconnected smoke alarms should be strategically placed throughout your home to provide maximum coverage and early detection. The National Fire Protection Association (NFPA) recommends the following locations for interconnected smoke alarms:
- Inside Every Bedroom: This ensures that occupants are immediately alerted if a fire breaks out while they are sleeping.
- Outside Every Sleeping Area: In addition to inside bedrooms, there should be a smoke alarm outside of each sleeping area to provide early warning for occupants in adjacent rooms.
- On Every Level of the Home: This includes the basement and any finished attics or basements.
- In Interconnected Homes: If your home is connected to other units, such as in an apartment building or townhouse, interconnected smoke alarms are necessary to alert all occupants in case of a fire.
It is also recommended to place smoke alarms near potential sources of fires, such as kitchens and heating appliances. Additionally, consider installing interconnected smoke alarms with strobe lights for those who are hard of hearing or have hearing impairments.
4. What is the Best Type of Smoke Alarm?
There are two main types of smoke alarms: ionization and photoelectric. Ionization alarms are more sensitive to fast-moving, flaming fires, while photoelectric alarms are better at detecting smoldering, slow-burning fires. Both types have their advantages, but the best type of smoke alarm is one that combines both technologies.
Dual-sensor or dual-technology smoke alarms use both ionization and photoelectric sensors, providing more comprehensive coverage and early detection of various types of fires. The NFPA recommends these for optimal fire protection.
It is also important to consider other features, such as battery life, interconnectivity, and ease of installation, when choosing a smoke alarm. Ultimately, the best type of smoke alarm is one that fits your specific needs and budget while providing the most effective fire protection for your home. So, carefully research and compare options before making a purchase.
Conclusion
How to interconnect smoke alarms in your home is a critical step towards ensuring the safety and well-being of all occupants. It not only enhances the efficiency of detecting fires early but also provides an integrated system of alerts that can save precious seconds during an emergency.
This guide aimed to underline the significance of proper installation, the compatibility of different alarms, strategic placement, and the choice of the best type of smoke alarm to optimize fire protection. Remember, regular maintenance and testing of your interconnected smoke alarms are just as crucial as their initial installation.
By adhering to the guidelines and recommendations provided, homeowners can significantly decrease the risks associated with residential fires. Always prioritize safety by staying informed and prepared, ensuring that your interconnected smoke alarm system functions flawlessly when it matters the most.
About
Safety Fic is a distinguished figure in the world of Diy design, with a decade of expertise creating innovative and sustainable Diy solutions. His professional focus lies in merging traditional craftsmanship with modern manufacturing techniques, fostering designs that are both practical and environmentally conscious. As the author of diy, Safety Fic delves into the art and science of Safety Fic-making, inspiring artisans and industry professionals alike.
Education RMIT University
(Melbourne, Australia) Associate Degree in Design (Safety Fic) Focus on sustainable design, industry-driven projects, and practical craftsmanship. Gained hands-on experience with traditional and digital manufacturing tools, such as CAD and CNC software.
Nottingham Trent University
(United Kingdom) Bachelor’s in diyfastly.com and Product Design (Honors) Specialized in product design with a focus on blending creativity with production techniques. Participated in industry projects, working with companies like John Lewis and Vitsoe to gain real-world insights.
Publications and Impact
In diy, Safety Fic his insights on indoor design processes, materials, and strategies for efficient production. His writing bridges the gap between artisan knowledge and modern industry needs, making it a must-read for both budding designers and seasoned professionals.
