

Building a shadow box fence is an excellent way to add privacy, aesthetic appeal, and dimension to your outdoor space. Unlike traditional solid fences, a shadow box fence features alternating panels that provide both visibility and seclusion.

In this article, we will explore the step-by-step process of how to build a shadow box fence, offering a comprehensive guide for DIY enthusiasts and homeowners. From gathering the necessary materials and tools to mastering the techniques of panel assembly and installation, this guide aims to empower individuals with the knowledge needed to create a stylish and functional shadow box fence.
Join us on this informative journey as we delve into the intricacies of building a shadow box fence, transforming your outdoor area into a private and visually appealing sanctuary.
Benefits and Aesthetic Appeal of Shadow Box Fences
Shadow box fences offer a unique set of benefits and aesthetic qualities that make them a popular choice among homeowners. Functionally, these fences provide a high degree of privacy while allowing air and light to pass through, thanks to their alternating panel design. This dual functionality ensures that your yard remains well-ventilated and enjoys natural light, without sacrificing seclusion.
Aesthetically, shadow box fences add depth and dimension to outdoor spaces. The alternating panels create a pattern of light and shadow that is visually intriguing and enhances the overall look of your property. Furthermore, these fences look identical from both sides, ensuring that neither you nor your neighbors need to compromise on aesthetics.
This element of design symmetry not only promotes good neighbor relations but also increases the curb appeal of your home, potentially raising its market value. Whether painted, stained, or left in their natural wood state, shadow box fences can be customized to complement the style of any home, making them a versatile choice for those looking to combine functionality with style.
Privacy and Visual Appeal in Residential Fencing
The significance of privacy and visual appeal in residential fencing cannot be overstated. A fence that achieves both these aspects can transform an ordinary outdoor space into a serene, personal oasis while significantly enhancing the aesthetic appeal of a home. A shadow box fence excellently embodies this balance, offering a solution that not only secures privacy but also contributes positively to the landscape’s visual interest.
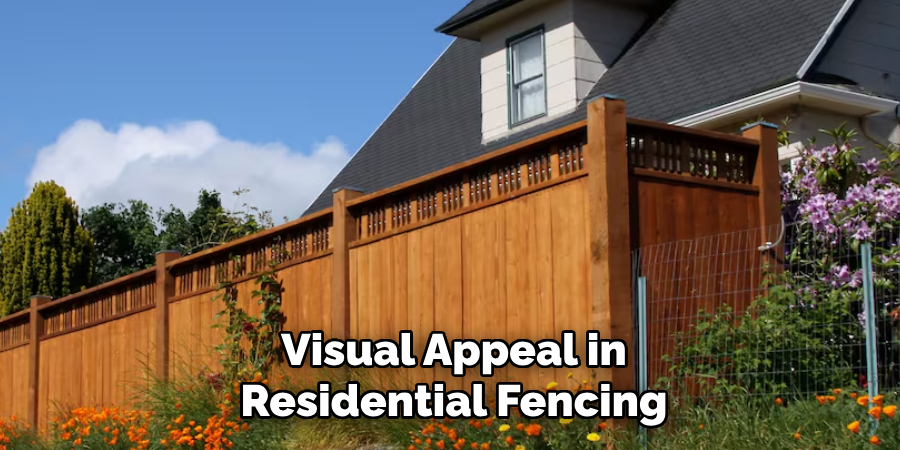
Unlike solid fencing, which can create a feeling of confinement and obstruct natural light, the shadow box design maintains an airy environment, full of light and breeze, without compromising on personal space. This inventive approach to residential fencing meets the homeowner’s practical needs while catering to the desire for an attractive, welcoming exterior.
Understanding Shadow Box Fences
Understanding the structure and design of shadow box fences is crucial for aspiring builders and homeowners. Essentially, shadow box fences are composed of wood or composite material posts and rails, with pickets installed on either side of the rails in an alternating pattern. This construction offers a three-dimensional appearance, giving the fence depth and a dynamic look as one’s perspective changes.
The design’s strategic spacing between pickets on opposite sides of the fence ensures privacy while allowing the passage of air and gentle sunlight, creating a balance between seclusion and an open, airy feel. Recognizing the importance of durability and maintenance, it is also vital to select high-quality materials that can withstand weather conditions, ensuring the long-term stability and beauty of the fence.
Shadow box fences, therefore, not only serve as a practical solution for privacy and boundary marking but also as a decorative feature that can enhance the aesthetic charm and value of a property.
Differentiating Between Shadow Box and Other Fence Styles
While shadow box fences are favored for their combination of privacy and aesthetic value, it’s beneficial to understand how they compare to other popular fencing styles. Solid privacy fences, for instance, offer maximum privacy but can block natural light and air flow, potentially creating a more enclosed atmosphere.

On the other hand, picket fences present a classic and open appearance, enhancing curb appeal with less emphasis on privacy. Chain link fences are another common choice, offering durability and security, though they lack in privacy and aesthetic appeal without additional modifications like privacy slats or screens.
The distinction lies in shadow box fences’ unique design, which meticulously balances the desire for privacy with the need for light and air passage, all while ensuring a visually appealing exterior from both sides. This harmonious blend of features sets shadow box fences apart, making them a versatile choice for homeowners who do not wish to compromise between functionality and style.
11 Methods How to Build a Shadow Box Fence
1. Gather Necessary Materials and Tools:
Before starting your project, gather all the required materials and tools. This typically includes fence posts, pickets, nails or screws, a saw, level, measuring tape, and a post hole digger. Ensure you have high-quality materials for durability and a polished finish. Additionally, make sure you have the necessary safety equipment such as gloves and eye protection.
Once you have gathered all the materials and tools, set up a designated work area. This will help keep your project organized and prevent any accidents or injuries. Clear the area of any obstacles and make sure there is enough space to maneuver around while working.
2. Mark and Set Fence Post Locations:
Begin by marking the locations for your fence posts. Use stakes and string to outline the fence perimeter, ensuring it is straight and evenly spaced. Mark the locations for the fence posts, maintaining equal distances between them. This will help ensure that your fence is sturdy and visually appealing.

Once you have marked the locations for your fence posts, it’s time to set them in place. Using a post hole digger, dig holes at each of the marked locations. The depth of the holes will depend on the type of soil and the height of your fence, but as a general rule, the holes should be at least one-third of the length of your fence posts. For example, if your fence posts are 6 feet tall, the holes should be at least 2 feet deep.
3. Dig Fence Post Holes:
Use a post hole digger to excavate holes for the fence posts. The depth and diameter of the holes will depend on your local building codes and the desired height of the fence. Ensure the holes are deep enough for stability and properly spaced. Once the holes are dug, insert the posts and fill with concrete to secure them in place.
When digging fence post holes, it is important to keep in mind the purpose of the fence. If you are installing a decorative fence, smaller holes may be sufficient. However, if you are building a privacy or security fence, larger and deeper holes will be necessary for stability.
It is also important to check with your local building codes before beginning any construction project. They will have specific guidelines on the minimum depth and diameter of fence post holes based on the type of fence you are installing.
4. Set Fence Posts and Allow for Cure Time:
Place the fence posts into the holes and fill them with concrete for stability. Use a level to ensure the posts are perfectly vertical. Allow the concrete to cure according to the manufacturer’s recommendations before proceeding to the next steps.

After setting the fence posts, it is important to allow enough time for the concrete to fully cure. This typically takes anywhere from 24 to 48 hours, depending on the type of concrete used and the weather conditions. It is crucial to follow the manufacturer’s recommendations for curing time as this will ensure that the posts are strong and stable once the fence is installed.
During the curing process, it is important to keep the concrete moist. This can be achieved by spraying water on the posts or covering them with plastic sheeting. This will prevent the concrete from drying out too quickly and cracking.
5. Cut and Attach Rails:
Cut the horizontal rails to the desired length, ensuring they fit snugly between the fence posts. Attach the rails using nails or screws, making sure they are level. The number of rails will depend on the height of your shadow box fence design. Typically, a 6-foot fence will have three rails, and an 8-foot fence will have four.
When cutting the rails, make sure to use a saw appropriate for the type of wood you are using. This will ensure clean cuts without splintering or damaging the wood. Additionally, it is important to measure carefully and accurately before making any cuts to avoid wasting materials.
Once the rails are cut and attached, it is important to check their alignment and make any necessary adjustments. Use a level to ensure that the rails are straight and evenly spaced. This will provide a sturdy base for your fence panels.
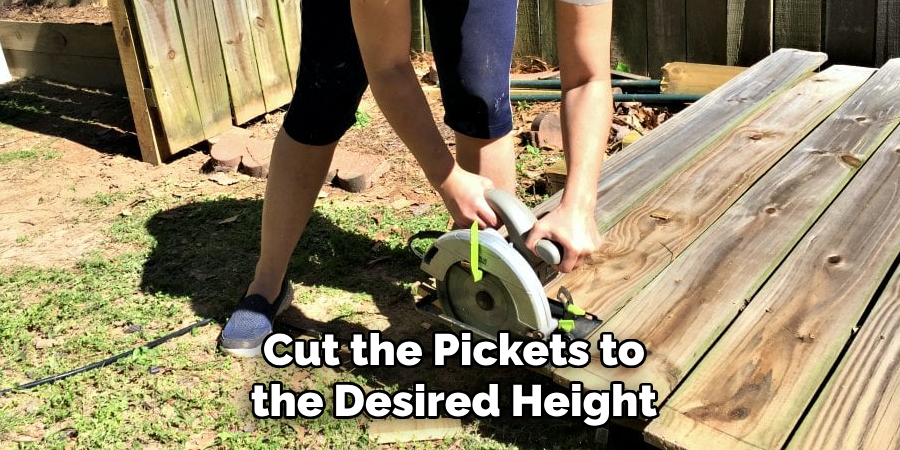
6. Prep and Attach Pickets:
Cut the pickets to the desired height and width, making sure they align with the design of a shadow box fence. Attach the pickets to the rails, leaving equal spacing between them. Ensure the pickets are level, and alternate them on each side to create the shadow box effect. Use galvanized or stainless steel nails to prevent rusting and corrosion.
If you are using pre-made pickets, make sure they are of good quality and free from any defects. If needed, sand the edges to smooth them out before attaching them to the rails. This will ensure a professional-looking finish to your fence.
Another important consideration when attaching pickets is the gap between them. This gap will affect both the privacy and airflow of your fence. For more privacy, space the pickets closer together, while for better airflow, leave a larger gap.
7. Consider Picket Overhang:
Determine if you want the pickets to overhang the rails slightly for added visual interest. If so, adjust the measurements accordingly during the cutting and attaching process. The overhang adds a decorative touch to the shadow box design.
Some things to consider when deciding whether or not to have picket overhang include the overall aesthetic of your fence and the level of privacy you desire. For a more traditional look, having the pickets overhang the rails slightly can add a charming touch. However, for a more modern and streamlined appearance, it may be best to keep the pickets flush with the rails.
Other factors to consider when thinking about picket overhang include the climate and weather conditions in your area. If you live in an area with strong winds or heavy precipitation, having pickets that overhang the rails may make them more vulnerable to damage. In this case, it may be best to keep the pickets flush with the rails for added durability.
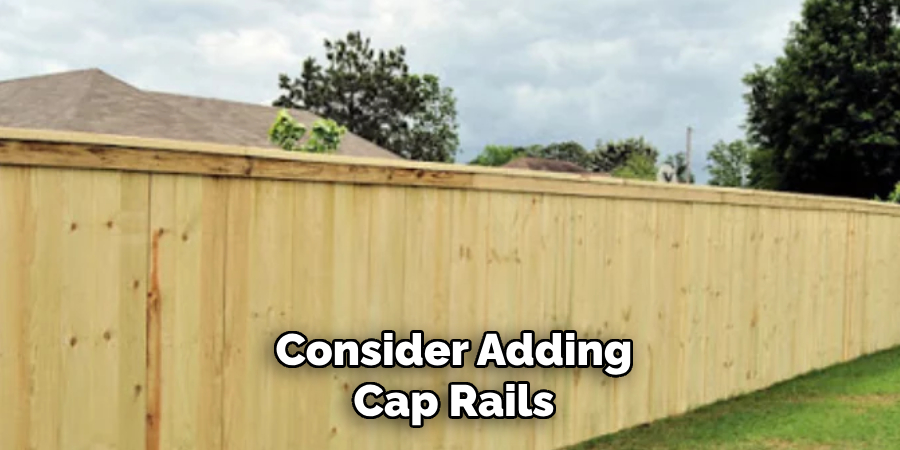
8. Add Cap Rails (Optional):
To enhance the appearance of your shadow box fence, consider adding cap rails. These horizontal pieces are placed on top of the pickets, providing a finished look and additional protection. Secure the cap rails with screws or nails. It is best to use long screws and pre-drill the holes before attaching them to prevent splitting. You can also consider using adhesive for added strength.
Cap rails come in various materials such as wood, vinyl, or metal. Choose a material that complements your fence design and provides durability against weather elements. Additionally, you may want to choose a cap rail with decorative elements such as scalloped edges or ornamental designs to add a touch of elegance to your fence.
Adding cap rails not only improves the appearance of your shadow box fence, but it also helps to extend its lifespan by preventing water from seeping into the pickets. This added protection can save you time and money on repairs in the future.
9. Apply Finish:
Once the fence is assembled, consider applying a finish to enhance its longevity and aesthetic appeal. You can choose to paint, stain, or seal the wood, depending on your preferences and the level of protection you desire. Each option has its own benefits and considerations.
Painting the fence is a popular choice as it allows for a wide range of color options. You can match your fence to the exterior of your home or add a pop of color for visual interest. However, keep in mind that painting may require more maintenance over time as the paint can chip or peel.
Staining is another option that adds color but also allows the natural grain of the wood to show through. This can create a more natural and rustic look for your fence. Stains also provide protection against UV rays and water damage, making them a good choice for areas with harsh weather conditions.
10. Regular Maintenance and Inspection:
After completing your shadow box fence, establish a routine maintenance schedule. Regularly inspect the fence for signs of wear, damage, or the need for additional finishing. Address any issues promptly to maintain the fence’s structural integrity and appearance. Although shadow box fences are durable, they still require upkeep to remain in good condition.
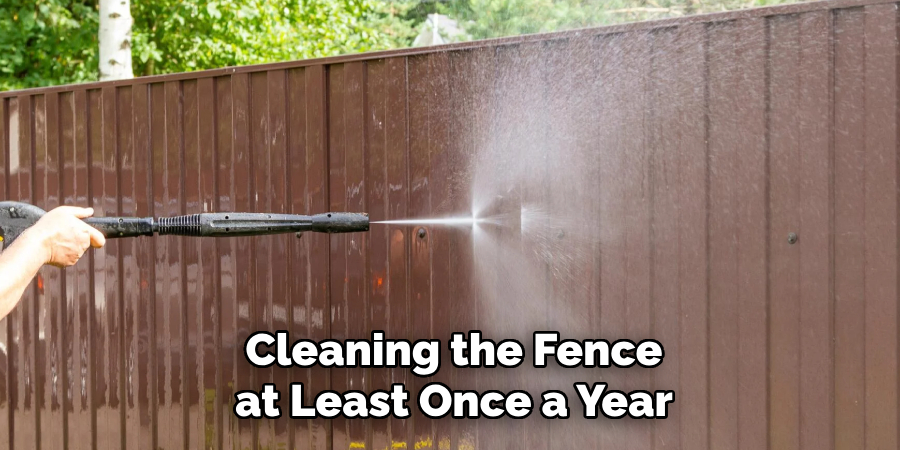
11. Maintaining and Repairing the Shadow Box Fence
Regular maintenance is crucial to keeping your shadow box fence in top condition. Start by cleaning the fence at least once a year using a mild detergent and a soft brush to remove dirt, mildew, and algae. For wooden fences, avoid using a power washer as it can damage the wood. Instead, opt for a gentle hose spray to rinse off the cleaning solution.
Inspect your fence periodically, especially after severe weather conditions, for any signs of damage such as loose or cracked pickets and rails. Immediate repair of these issues prevents further deterioration and maintains the fence’s structural integrity. If a picket or rail is damaged beyond repair, remove and replace it with a new piece of the same material and finish to ensure consistency.
Check the stability of the fence posts occasionally to ensure they are firm in the ground and not wobbling or leaning. If a post is loose, it may need to be re-set in concrete for added stability. Likewise, ensure that all screws and nails are tight and not corroded. Replace any rusty fasteners with galvanized or stainless steel ones to prevent future rust.
For fences with a finish, such as paint or stain, monitor the condition of the coating. Peeling, chipping, or fading indicates that it’s time to repaint or re-stain the fence. This not only refreshes the look of your fence but also provides an extra layer of protection from the elements.
Conclusion
In conclusion, building a shadow box fence involves careful planning, precise execution, and attention to detail. From setting the fence posts to attaching rails, pickets, and gates, each step plays a crucial role in creating a durable and visually appealing structure.
Shadow box fences not only offer privacy and security but also add aesthetic value to outdoor spaces with their unique design. By following the outlined steps and considering local regulations and guidelines, homeowners can create a shadow box fence that enhances the beauty and functionality of their property.
Regular maintenance and inspections ensure the longevity and structural integrity of the fence, preserving its attractiveness for years to come. Hopefully, this article gave you some helpful tips about how to build a shadow box fence successfully, so now that you have the proper knowledge on how to get the job done, why not give it a try today?
About
Safety Fic is a distinguished figure in the world of Diy design, with a decade of expertise creating innovative and sustainable Diy solutions. His professional focus lies in merging traditional craftsmanship with modern manufacturing techniques, fostering designs that are both practical and environmentally conscious. As the author of diy, Safety Fic delves into the art and science of Safety Fic-making, inspiring artisans and industry professionals alike.
Education RMIT University
(Melbourne, Australia) Associate Degree in Design (Safety Fic) Focus on sustainable design, industry-driven projects, and practical craftsmanship. Gained hands-on experience with traditional and digital manufacturing tools, such as CAD and CNC software.
Nottingham Trent University
(United Kingdom) Bachelor’s in diyfastly.com and Product Design (Honors) Specialized in product design with a focus on blending creativity with production techniques. Participated in industry projects, working with companies like John Lewis and Vitsoe to gain real-world insights.
Publications and Impact
In diy, Safety Fic his insights on indoor design processes, materials, and strategies for efficient production. His writing bridges the gap between artisan knowledge and modern industry needs, making it a must-read for both budding designers and seasoned professionals.