

Connecting a Roku camera to your TV is a seamless way to enhance your home entertainment and security experience. Whether you’re looking to keep an eye on your home while you’re away, check in on a pet, or simply incorporate live video into your viewing options, a Roku camera can be an excellent addition to your smart home ecosystem.
In this guide on how to connect roku camera to tv, we’ll walk you through the simple steps required to set up your Roku camera and start streaming live video directly to your TV. Let’s get started on transforming your television into a window to your world.
What is a Roku Camera?
A Roku camera is a wireless, internet-connected camera that can be easily integrated with your TV and other smart devices. It allows you to stream live video directly from the camera to your TV, smartphone, or tablet. Some cameras also come equipped with features such as 2-way audio, motion detection, and night vision.
With a Roku camera, you can keep an eye on your home or loved ones in real time, making it a convenient and versatile addition to any household. It also eliminates the need for separate devices and apps, making it a convenient all-in-one solution.
What You Will Need
To connect your Roku camera to your TV, you will need the following:
A Roku camera (compatible with your TV)
There are several Roku camera models available, so make sure to choose one that is compatible with your TV. Some of the popular options include the Roku Smart Soundbar, Roku Streambar, and the Roku Ultra.
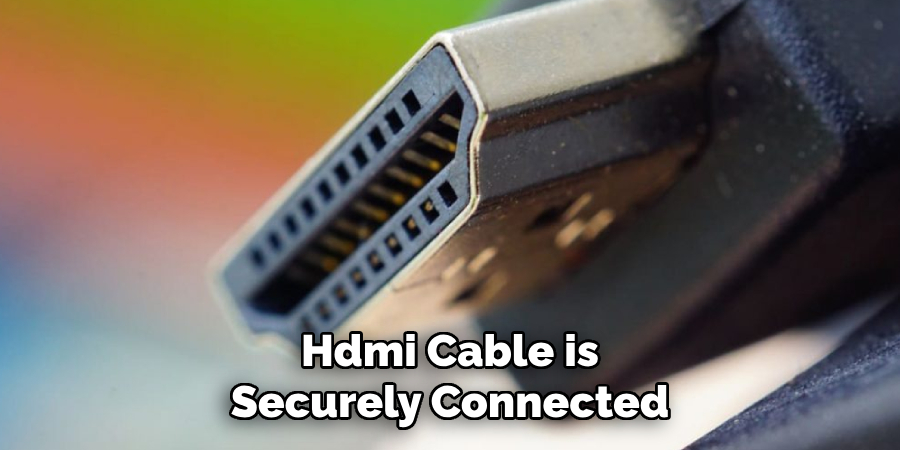
An HDMI cable
You will need an HDMI cable to connect your Roku camera to your TV. Make sure you have the correct length of cable for your setup.
A Roku remote
Your Roku camera will come with a remote that you will need to use for setup and everyday use. If you already have a Roku device, such as a streaming stick or box, you can also use the same remote for your camera.
10 Step-by-step Instructions on How to Connect Roku Camera to Tv
Step 1: Unbox Your Roku Camera
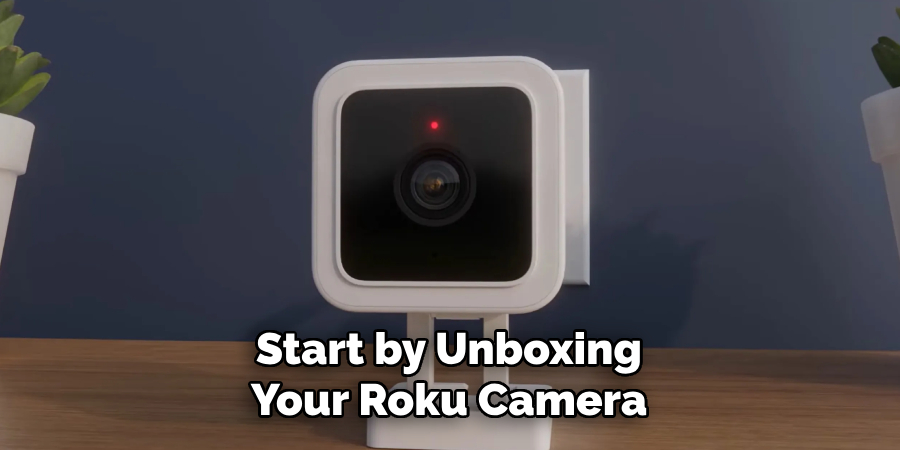
Start by unboxing your Roku camera and making sure that all the necessary components are included. These typically include the camera, remote control, power adapter, and any necessary cables. You may also want to check the instruction manual for any specific setup instructions.
The Roku camera should come with everything you need for a smooth setup process. If not, contact Roku support for assistance. It’s always a good idea to familiarize yourself with the camera’s features and capabilities before starting the setup process.
Step 2: Connect Your Camera to Power
Using the power adapter included in the box, plug your camera into an electrical outlet. Make sure that it is positioned near your TV for easy connectivity. The camera should power on automatically once plugged in. If not, use the power button on the camera or remote to turn it on.
But, before moving on to the next step, make sure your TV is turned off. It’s important to connect the camera to your TV while both devices are off. You can also opt to use a surge protector for added safety.
Step 3: Connect Your Camera to Your TV
Using an HDMI cable, connect one end to the HDMI port on your Roku camera and the other end to an available HDMI port on your TV. Take note of which HDMI input you are connecting to, as you will need this information later.
You may also want to label the HDMI cable connecting your camera for easy identification. It’s important to use an HDMI cable for optimal video and audio quality. The HDMI cable should come with your camera package, but if not, make sure to purchase one that is high-speed and supports 4K video.
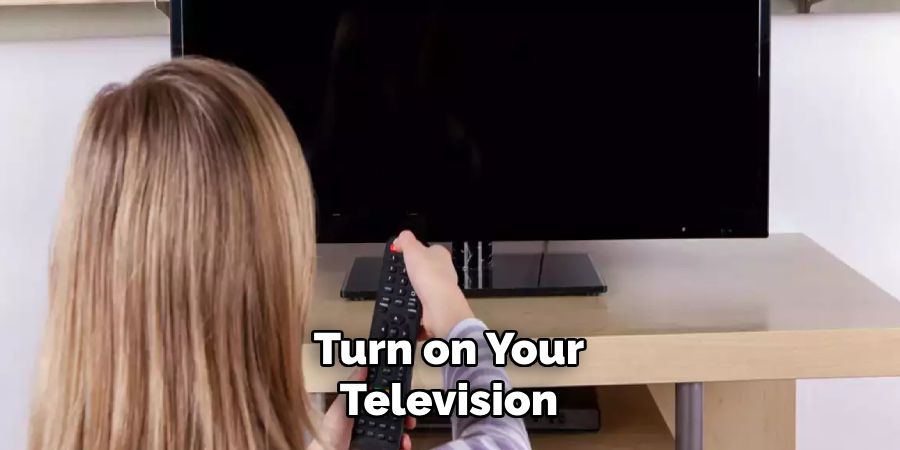
Step 4: Turn on Your TV
Using your TV remote or the power button on your TV itself, turn on your television. Make sure to select the correct HDMI input channel that you connected your Roku camera to in the previous step.
You should see a Roku welcome screen on your TV. The Roku camera should also automatically power on and display a similar welcome screen or logo. It may take a few seconds for the camera to connect to your TV. You may also need to enter your TV settings and change the input source to the HDMI you connected your camera to. You can refer to your TV’s manual for specific instructions.
Step 5: Connect to Wi-Fi
Follow the prompts on your TV screen to connect your Roku camera to your Wi-Fi network. Make sure to select your network and enter the password correctly. The camera will need a stable internet connection to stream live video, so make sure your Wi-Fi signal is strong in the area where you have placed your camera.
The setup process may vary depending on your camera model, but most will have a simple on-screen guide to follow. It’s always a good idea to use a secure Wi-Fi network for added privacy and security. The camera will also need to be connected to the same network as your TV for them to communicate with each other.
Step 6: Create a Roku Account
If you don’t already have one, you will need to create a Roku account. This is necessary for accessing and managing your camera’s settings and features. You can sign up for an account using your TV screen or through the Roku website. You will need to provide some basic information, such as your name, email address, and password.
Once you have created an account, sign in to continue with the setup process. But if you already have a Roku account, you can simply log in. Although creating an account is not mandatory, it allows you to personalize your experience and access additional features.
Step 7: Update Your Camera’s Software
It’s important to ensure that your camera is running on the latest software for optimal performance. The setup process may automatically prompt you to update your camera’s software. If not, you can check for updates manually by going to the settings menu on your TV screen and selecting “System” then “Software Update.” Once any updates are complete, continue with the setup process.
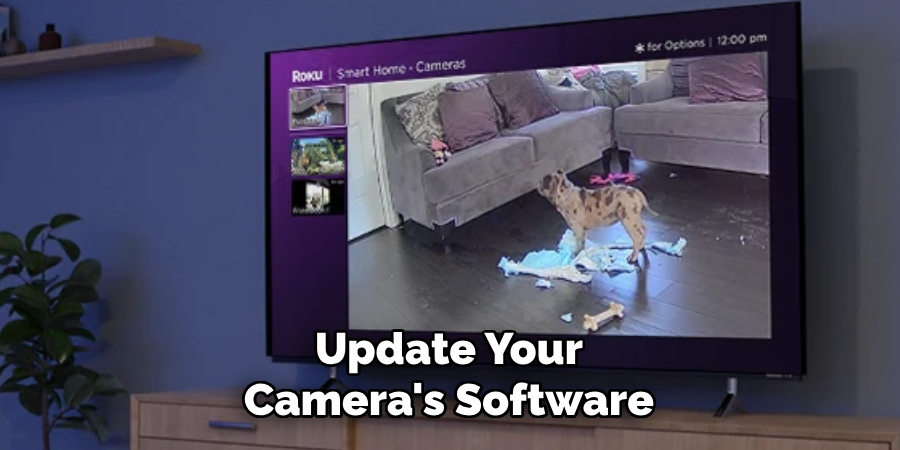
You may also want to periodically check for updates to ensure your camera is always running at its best. It’s also important to note that during software updates, your camera may temporarily shut down and restart.
Step 8: Name Your Camera
You may want to give your camera a unique name for easy identification, especially if you have multiple cameras set up. This can be done during the setup process or through your account settings later on.
Make sure to choose a name that is easy to remember and relevant to the camera’s location, such as “Living Room Camera” or “Front Door Camera.” But if you prefer to keep the default name, that’s okay too. You can always change it in the future. But make sure to save any changes before moving on to the next step.
Step 9: Position Your Camera
Now it’s time to find the perfect spot for your camera. Make sure to choose a location that provides a clear view of the area you want to monitor. You may also want to use a mounting bracket or stand for added stability and adjustability.
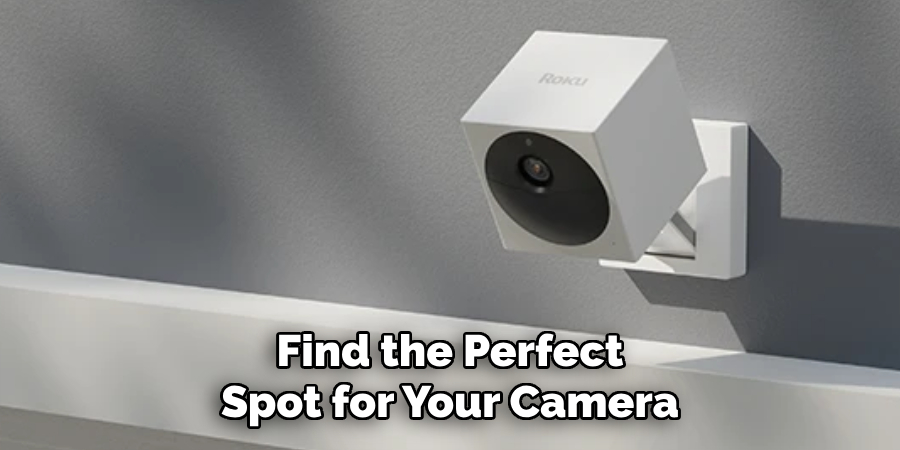
The camera should come with instructions on how to set up the bracket or stand, but if not, refer to the manual or contact Roku support for assistance. The camera should also come with a lens cover for added privacy when not in use. Although it is not necessary to cover the lens, it’s always a good idea for added security.
Step 10: Test Your Camera
Once you have completed the setup process, it’s important to test your camera before relying on it for monitoring. Use the remote or buttons on the camera itself to ensure that all features are working correctly. You may also want to check the live video feed on your TV to make sure it is clear and stable. If you encounter any issues, refer to the troubleshooting section in your camera’s manual or contact Roku support for further assistance.
Following these steps on how to connect roku camera to tv should have your Roku camera set up and ready for use in no time. Remember to periodically check for updates and adjust the settings as needed for optimal performance. And most importantly, enjoy the added security and convenience that comes with having a Roku camera in your home. Happy monitoring!
Troubleshooting Common Connection Issues
While setting up your Roku camera may seem straightforward, you may encounter some issues along the way. Here are a few common connection issues and troubleshooting tips to help resolve them:
No Video or Audio on TV:
If you have connected your camera to your TV but there is no video or audio, make sure the HDMI cable is securely connected to both devices. You can also try using a different HDMI cable or port on your TV to see if that resolves the issue. If you are still experiencing issues, check the camera’s settings to make sure the correct input source is selected.
Weak Wi-Fi Signal:
If your camera is having trouble connecting to your Wi-Fi network or has a weak signal, try moving it closer to your router or access point. You can also try changing the Wi-Fi channel on your router to see if that improves the signal strength. If these solutions do not work, you may need to consider using a Wi-Fi range extender or upgrading your internet plan for stronger and more stable connectivity.
Trouble with Roku Account:
If you are having issues creating or signing into your Roku account, make sure you are entering the correct email and password. You can also try resetting your password if you have forgotten it. If the problem persists, contact Roku customer support for further assistance.
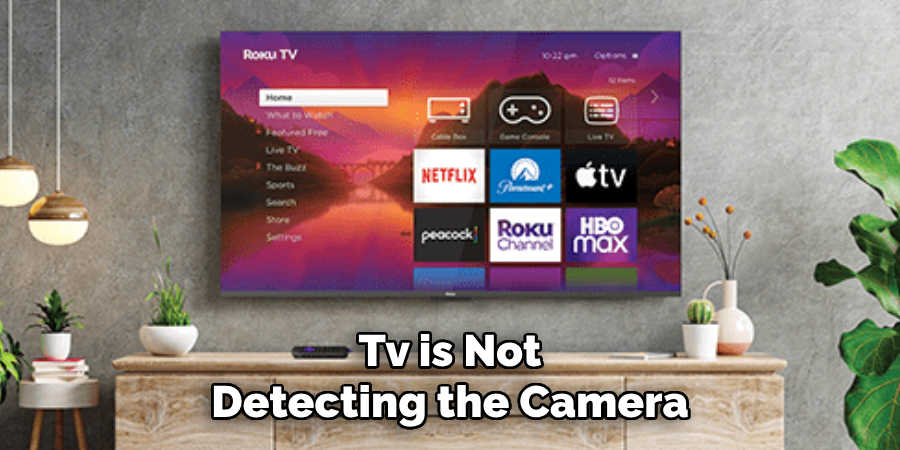
Camera Not Detected:
If your TV is not detecting the camera during setup, make sure all connections are secure and that the camera is powered on. You may also want to try restarting both devices and starting the setup process again. If the issue continues, refer to your camera’s manual or contact Roku support for help.
Remember, if you encounter any issues during setup or while using your Roku camera, don’t hesitate to reach out for assistance. With proper setup and maintenance, your Roku camera can provide added security and peace of mind in your home. Happy monitoring!
Tips for Maintenance and Longevity
To ensure your Roku camera continues to function at its best, here are a few tips for maintenance and longevity:
- Check for Updates Regularly and Install Them as Needed.
- Keep the Lens Clean From Dust or Debris Using a Soft Cloth.
- Place the Camera in an Area With Good Ventilation to Prevent Overheating.
- Avoid Exposing the Camera to Extreme Temperatures or Moisture.
- Check the Camera’s Power Source and Cables for Any Damage or Wear.
- Monitor Your Wi-Fi Signal Strength and Consider Using a Range Extender if Needed.
- Keep the Camera’s Firmware Up to Date for Optimal Performance.
- Regularly Test the Camera and Make Adjustments to Settings if Needed.
By following these tips, you can prolong the life of your Roku camera and enjoy its features for years to come. Whether it’s for security purposes or just checking in on your pets while you’re away, your Roku camera can provide peace of mind and convenience in your daily life. Happy monitoring!
Future Developments in Roku Camera Technology
As technology continues to advance, we can expect to see new developments and improvements in Roku camera technology. Some potential future developments may include:
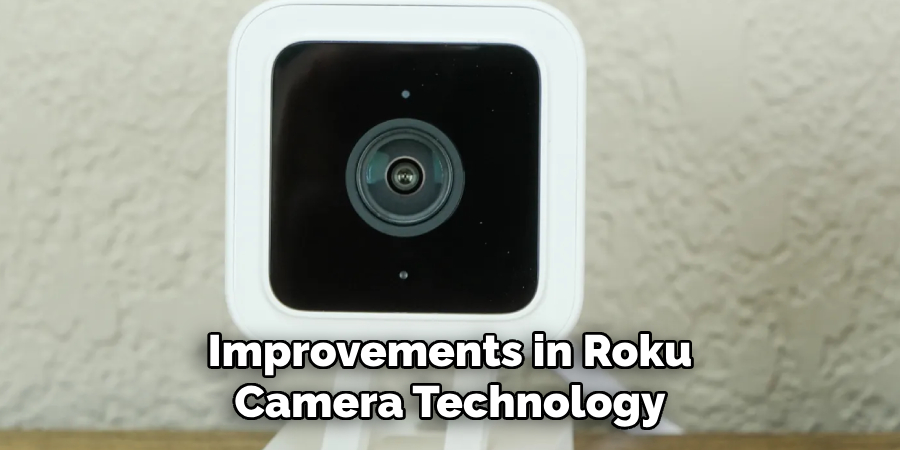
Enhanced Video Quality:
With the increasing demand for higher resolution and clearer video footage, we can expect to see improved video quality in Roku cameras.
Voice Control:
As voice control becomes more prevalent in smart home devices, we may see future Roku cameras incorporating this feature for easier control and monitoring.
Virtual/Augmented Reality:
With the rise of virtual and augmented reality technology, we may see Roku cameras offering a more immersive viewing experience in the future. This could potentially allow users to feel as though they are physically present in their home while viewing the camera’s feed remotely.
Artificial Intelligence:
With advancements in artificial intelligence, we may see Roku cameras incorporating features such as facial recognition and motion detection for added security and convenience. These developments could potentially alert homeowners of unfamiliar faces or movements in their homes while they are away.
As technology continues to evolve, the possibilities for future developments in Roku camera technology are endless. Stay tuned for exciting new updates and advancements in the world of home monitoring. Happy monitoring!
Frequently Asked Questions
Q: Can I Connect My Roku Camera to Any TV?
A: As long as your TV has an available HDMI port, you should be able to connect your Roku camera. However, it’s always best to check the compatibility of your specific TV model with the camera beforehand. You can refer to the manual or contact Roku support for more information.
Q: Is It Necessary to Create a Roku Account?
A: While it’s not mandatory, creating a Roku account allows you to access additional features and personalize your camera experience. It also makes it easier to manage and troubleshoot any issues that may arise.
Q: Can I Set Up Multiple Cameras with One Roku Account?
A: Yes, you can set up multiple cameras with one Roku account. This allows you to easily monitor different areas of your home from one central location.
Q: Is My Camera’s Live Video Feed Secure?
A: Yes, all communication between the camera and your TV is encrypted for added security. However, it’s always a good idea to use a secure Wi-Fi network for added privacy. You can also adjust the camera’s privacy settings in your account for added control over who can access the live video feed.
Q: Can I Live Stream My Camera’s Feed on My Phone?
A: Yes, you can download the Roku mobile app and use it to live stream your camera’s feed from anywhere with an internet connection. This allows for convenient remote monitoring when you are away from your TV.
Conclusion
Setting up your Roku camera with your TV is quick and straightforward. By following the steps outlined above, you can greatly expand your home entertainment system to include live video streaming, adding an extra layer of convenience and security. Whether it’s for monitoring purposes or simply enjoying live content, the connectivity between your Roku camera and TV enriches your multimedia experience.
With the right equipment and a few minutes of configuration, you’re ready to enjoy live video on the big screen. Stay connected and stay secure with your new Roku camera-TV setup. Thanks for reading this article on how to connect roku camera to tv.
About
Safety Fic is a distinguished figure in the world of Diy design, with a decade of expertise creating innovative and sustainable Diy solutions. His professional focus lies in merging traditional craftsmanship with modern manufacturing techniques, fostering designs that are both practical and environmentally conscious. As the author of diy, Safety Fic delves into the art and science of Safety Fic-making, inspiring artisans and industry professionals alike.
Education RMIT University
(Melbourne, Australia) Associate Degree in Design (Safety Fic) Focus on sustainable design, industry-driven projects, and practical craftsmanship. Gained hands-on experience with traditional and digital manufacturing tools, such as CAD and CNC software.
Nottingham Trent University
(United Kingdom) Bachelor’s in diyfastly.com and Product Design (Honors) Specialized in product design with a focus on blending creativity with production techniques. Participated in industry projects, working with companies like John Lewis and Vitsoe to gain real-world insights.
Publications and Impact
In diy, Safety Fic his insights on indoor design processes, materials, and strategies for efficient production. His writing bridges the gap between artisan knowledge and modern industry needs, making it a must-read for both budding designers and seasoned professionals.