
Installing a pool safety rope is essential for enhancing safety and organization in aquatic environments, whether at public pools, private residences, or recreational facilities.
These ropes serve multiple purposes, including marking boundaries, guiding swimmers, and preventing accidental entry into deeper water. This guide explores the key aspects of how to install pool safety rope.
Proper installation involves selecting the appropriate rope material and buoyancy elements, such as floats, to ensure visibility and stability. Understanding the layout and dimensions of the pool is crucial for determining the correct placement and tension of the safety rope.
By following precise installation steps, such as securing anchors or hooks at designated intervals along the pool edge and adjusting the rope for optimal tension, individuals can effectively enhance pool safety measures.
This guide provides essential tips and techniques for installing a pool safety rope, promoting a safer and more organized swimming environment for all users.
Importance of Pool Safety Ropes
Pool safety ropes play a crucial role in maintaining a safe swimming environment for all users. These ropes act as physical barriers, clearly demarcating different sections of the pool, such as the shallow and deep ends.
This not only helps swimmers instantly recognize safe zones but also prevents less experienced swimmers from venturing into areas beyond their capability.
Additionally, pool safety ropes aid in crowd control, effectively managing the flow of swimmers and reducing the risk of collisions or overcrowding in specific areas. In the event of an emergency, clearly marked sections can expedite rescue efforts by lifeguards or other safety personnel.
Choosing the Right Pool Safety Rope
Selecting the appropriate pool safety rope is a critical step in ensuring both effectiveness and longevity. When choosing a pool safety rope, several factors should be taken into consideration, including the material, thickness, buoyancy, and visibility.
Material
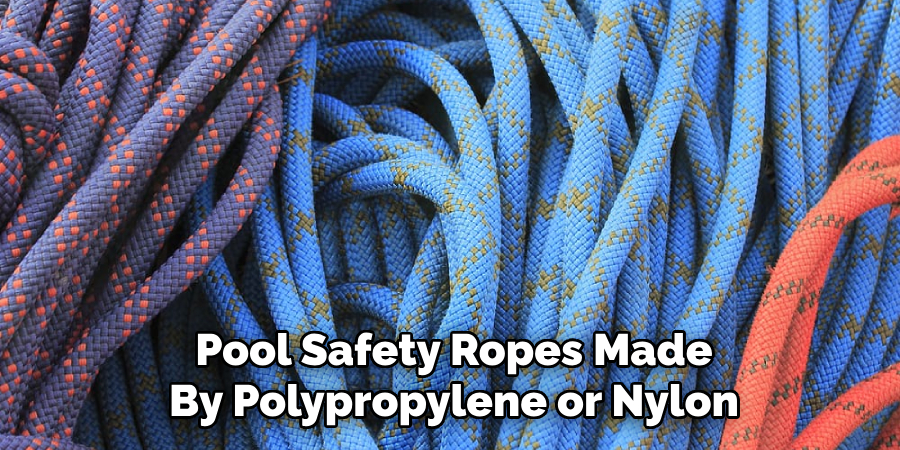
Pool safety ropes are commonly made from durable, water-resistant materials such as polypropylene or nylon. Polypropylene ropes are favored for their buoyancy and resistance to UV rays, making them an excellent choice for outdoor pools.
Nylon ropes, while slightly more expensive, offer superior strength and abrasion resistance, ideal for high-traffic areas.
Thickness
The thickness of the rope plays a significant role in its durability and ease of handling. Thicker ropes are generally more robust and can withstand greater wear and tear.
However, they may be harder to manipulate and install. Conversely, thinner ropes are easier to handle but may not provide the same level of durability in heavily used pools.
Buoyancy
Incorporating floats or other buoyancy aids is essential to ensure the rope remains visible and accessible on the water’s surface.
These floats should be evenly spaced and securely attached to maintain the rope’s position and effectiveness. The colour of the floats also plays a role in visibility, with bright, contrasting colours preferred for easy identification.
Visibility
Visibility is another crucial aspect when selecting pool safety ropes. Ropes should be easily seen by swimmers, meeting regulatory standards for safety equipment. Brightly colored ropes, often in combinations of red, blue, or white, are ideal for enhancing visibility against the water and pool surface.
10 Methods How to Install Pool Safety Rope
1. Understand the Purpose and Regulations
Before installing a pool safety rope, it’s important to understand its purpose and any relevant regulations. The primary function of a pool safety rope is to mark the boundary between the shallow and deep ends of the pool.
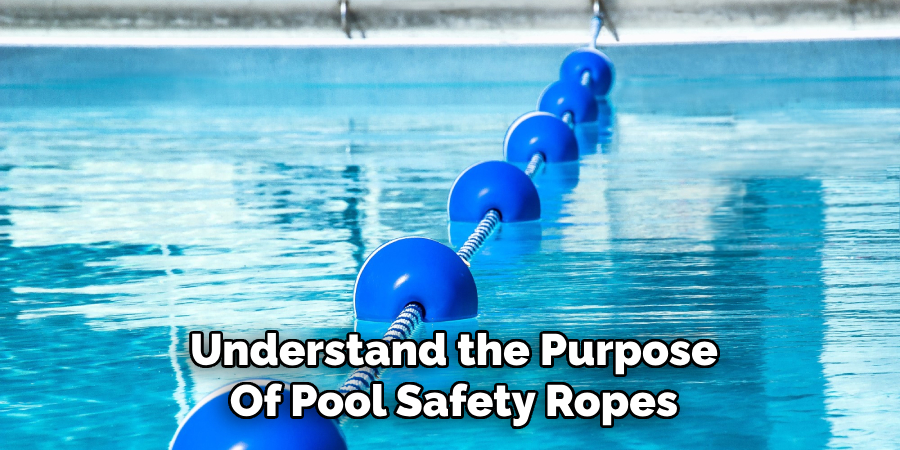
It serves as a safety measure, helping swimmers recognize the depth change and providing a physical line to hold onto.
Many local and national regulations may specify requirements for pool safety ropes, such as the type of rope, buoy spacing, and placement. Familiarize yourself with these regulations to ensure compliance and maximize safety.
2. Gather Necessary Materials
To install a pool safety rope, you’ll need specific materials. These typically include the safety rope itself, buoy floats, anchors or hooks, and possibly a rope tensioner. The safety rope should be durable, water-resistant, and suitable for pool use.
Buoy floats are usually spaced at regular intervals along the rope to provide visibility and buoyancy. Anchors or hooks are used to attach the rope to the pool walls. Ensure you have all the necessary materials before starting the installation to avoid interruptions and ensure a smooth process.
3. Measure the Pool’s Width
Accurate measurement of your pool’s width is crucial for the correct installation of the safety rope. Use a measuring tape to measure the width of the pool at the point where the shallow end transitions to the deep end. This is typically the point where the pool’s slope begins to steepen.
Write down this measurement as it will determine the length of rope needed and the placement of the anchors. Ensure your measurements are precise to avoid any issues with the rope fitting correctly across the pool.
4. Mark the Installation Points
With the pool’s width measured, mark the points on either side of the pool where the safety rope will be installed. These points should be directly opposite each other at the start of the slope between the shallow and deep ends.
Use a waterproof marker or tape to mark these spots on the pool walls. These marks will serve as guides for installing the anchors or hooks, ensuring that the rope is positioned correctly and securely.
5. Install Anchors or Hooks
Anchors or hooks are essential for securing the safety rope to the pool walls. Depending on your pool’s construction, you may need to drill holes for the anchors or use adhesive hooks. If drilling is required, use a drill with a masonry bit suitable for your pool material (e.g., concrete, fiberglass).
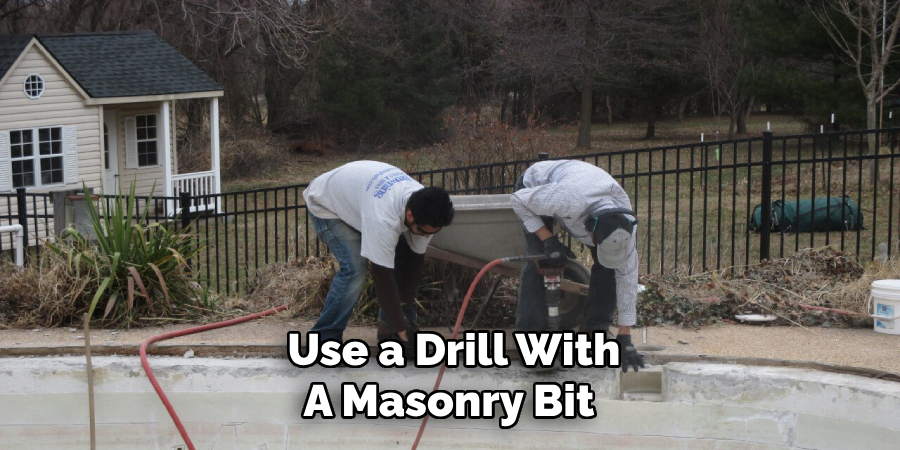
Drill holes at the marked points, ensuring they are at the same height on both sides of the pool. Insert the anchors or attach the adhesive hooks according to the manufacturer’s instructions. Ensure they are firmly in place, as they will bear the tension of the safety rope.
6. Attach the Rope to the Anchors
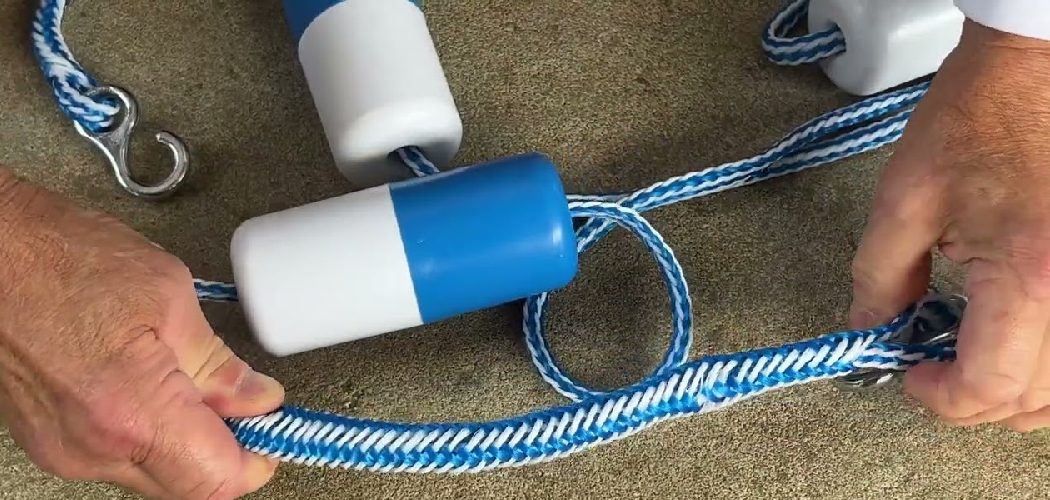
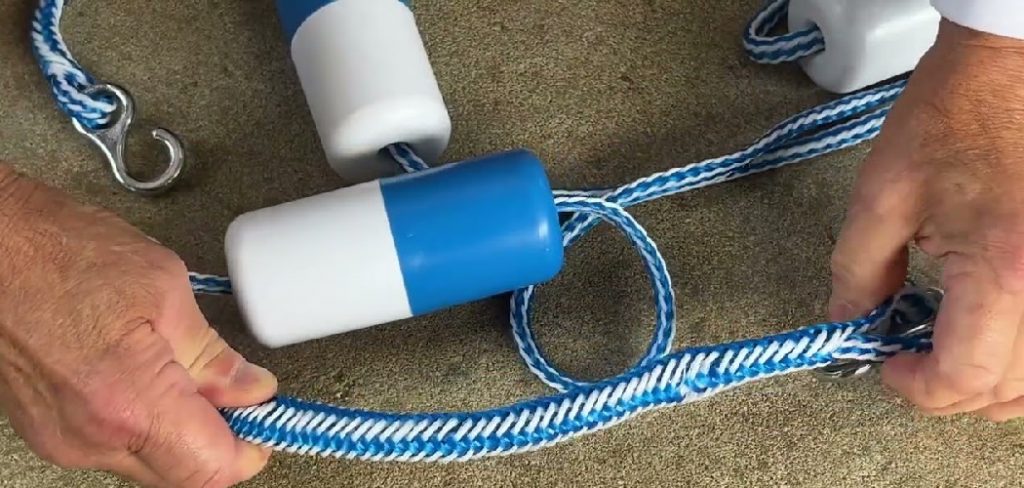
Once the anchors or hooks are installed, it’s time to attach the safety rope. Start by securing one end of the rope to an anchor or hook. Use a knot that is secure yet easy to adjust, such as a bowline knot or a clove hitch.
Ensure the knot is tight and the rope is securely attached. Stretch the rope across the pool to the opposite anchor point. Attach the other end of the rope to the second anchor or hook, ensuring the rope is taut but not overly tight.
The rope should have slight tension to stay above water level but should not be so tight that it risks breaking under stress.
7. Adjust the Buoy Floats
Buoy floats are crucial for making the safety rope visible and providing buoyancy. Before securing the rope completely, adjust the spacing of the buoy floats along the rope. Floats should be evenly spaced, typically every 1 to 2 feet, depending on the length of the rope and safety standards.
Adjust the floats so they are evenly distributed and secured in place, preventing them from bunching together or sliding along the rope. Properly spaced floats ensure the rope is easily visible and effective as a safety measure.
8. Test the Tension and Position
After attaching the rope and adjusting the floats, test the tension and position of the safety rope. The rope should be taut enough to stay above water level but not so tight that it risks snapping. Check that the rope is positioned correctly at the transition point between the shallow and deep ends.
Ensure the rope does not sag excessively in the middle and that the floats remain evenly spaced. Make any necessary adjustments to the tension or positioning to ensure the rope functions effectively.
9. Secure the Rope Ends
Once you are satisfied with the tension and position of the rope, secure the ends properly. This might involve tying additional knots, using clips, or attaching end caps to prevent fraying.
Double-check that the rope is securely attached to the anchors or hooks and that there is no risk of it coming loose. Properly securing the rope ends ensures the longevity and effectiveness of the safety rope, providing continuous protection for swimmers.
10. Regular Maintenance and Inspection
Installing the safety rope is not a one-time task; regular maintenance and inspection are crucial for ongoing safety. Periodically check the rope for signs of wear and tear, such as fraying, stretching, or damage to the floats.
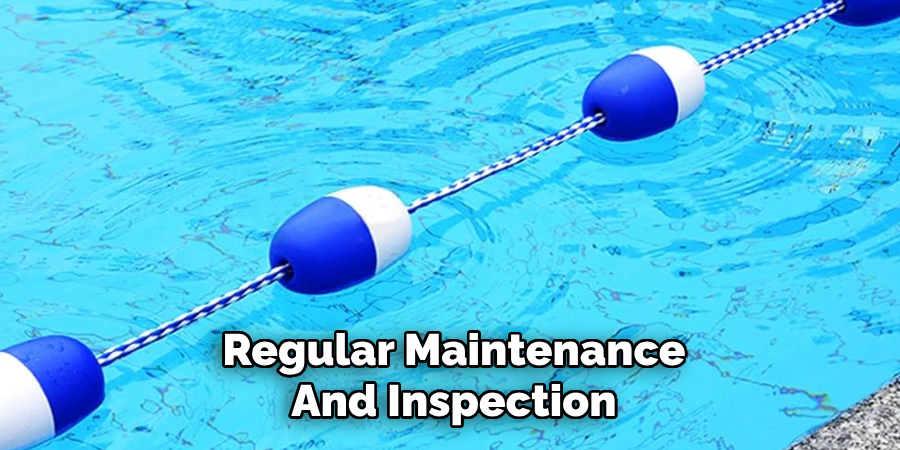
Ensure the anchors or hooks remain securely in place and that the rope maintains proper tension. Clean the rope and floats regularly to prevent algae or debris buildup. Replace any worn or damaged components promptly to ensure the safety rope continues to function effectively.
Conclusion
In conclusion, installing a pool safety rope involves a series of detailed steps to ensure it is correctly positioned and securely fastened. Start by understanding the purpose and regulations related to pool safety ropes, then gather the necessary materials.
Measure the pool’s width accurately and mark the installation points. Install the anchors or hooks securely and attach the rope, ensuring it is taut and correctly positioned. Thanks for reading, and we hope this has given you some inspiration on how to install pool safety rope!