
Are you looking to install floodlights on your house for added security and illumination? Knowing how to properly position them is crucial to maximize their effectiveness. Here are some tips on how to position flood lights on house.
Properly positioning flood lights on your house is essential for enhancing security, boosting curb appeal, and effectively illuminating outdoor spaces. Floodlights can deter intruders, prevent accidents, and highlight architectural features when placed strategically. This guide will walk you through the key considerations and steps for placing flood lights to achieve optimal coverage and illumination, ensuring both functionality and aesthetics.

Whether you are a seasoned DIY enthusiast or a homeowner looking to improve outdoor lighting, these tips will help you confidently position your flood lights.
What Will You Need?
Before you start positioning your flood lights, there are some essential tools and materials you will need:
- Floodlights with appropriate wattage and beam angle for your space
- Ladder or scaffolding (if needed)
- Outdoor extension cord
- Screwdriver or drill
- Weatherproof junction box (if not already installed)
Once you have everything ready, it’s time to start positioning your flood lights.
10 Easy Steps on How to Position Flood Lights on House
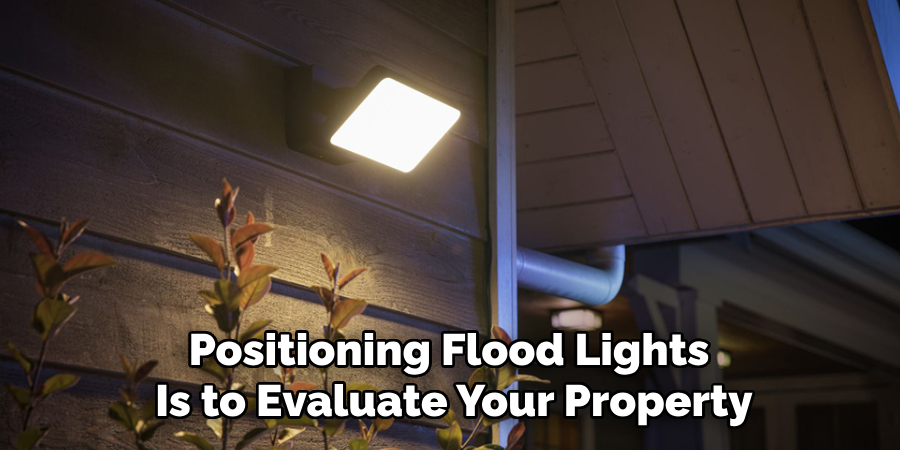
Step 1: Assess Your Property
The first step in positioning flood lights is to evaluate your property. Walk around your house, both during the day and at night, to determine which areas could benefit from additional lighting. Consider potential entry points for intruders, dark spots or corners, and any architectural features you want to highlight.
Step 2: Identify the Purpose of Your Flood Lights
Understanding the primary purpose of your floodlights will guide you in placing them effectively. Are you aiming to enhance security, improve visibility for safety, or accentuate the architectural features of your home?
For security purposes, it’s important to focus on vulnerable areas of your property. This includes entry points such as doors and windows, pathways, and the perimeter of your house. Positioning flood lights in these locations can deter potential intruders by eliminating hiding spots and casting light on otherwise obscured areas. Motion sensor flood lights can be particularly effective for this purpose, as they only activate when movement is detected, conserving energy while providing a surprise element.
If safety is your priority, ensure that your flood lights illuminate walkways, driveways, and stairs to prevent accidents. Adequate lighting in these areas will help you and your guests safely navigate your property, especially in the dark or inclement weather. Consider using flood lights with a wider beam angle to cover more ground and reduce shadows that could cause tripping hazards.
Use flood lights to highlight your home’s architectural features, such as columns, facades, and landscaping elements for aesthetic purposes. Installing flood lights with adjustable angles and dimming capabilities can create dramatic effects and enhance the visual appeal of your property after dark. Use warm-toned lights to create a welcoming ambiance and cool-toned lights to create a modern, sleek look.
Step 3: Plan Your Layout
Create a layout plan for your lighting setup before installing your flood lights. Consider factors such as the height at which the lights will be mounted, the direction they will face, and the coverage area of each light. Sketch a rough diagram of your home’s exterior and mark the locations where you intend to place the floodlights. This visual plan will help you ensure that you have all areas covered without overlapping or leaving gaps in illumination.

Step 4: Choose the Right Mounting Height
The mounting height of your flood lights can significantly affect their coverage and effectiveness. Generally, flood lights should be installed 9-10 feet above the ground. This elevation provides a broad coverage area while keeping the lights out of reach for potential vandals. However, the exact height may vary depending on your specific requirements and the design of your home.
Step 5: Angle the Lights Appropriately
Positioning the floodlights at the correct angle is crucial for effective illumination. Tilt the lights downward at an angle of approximately 22 degrees to cover the desired area without creating glare. Avoid pointing the lights directly into the eyes of passersby or neighbors, as this can cause discomfort and affect their night vision. Adjustable mounts can help achieve the perfect angle for optimal lighting.
Step 6: Test the Position and Coverage
Before permanently mounting your flood lights, test their position and coverage. Temporarily place the lights in your planned locations and turn them on at night. Check if the lighting is adequate for the intended areas and make any necessary adjustments to the angle or position. This step will help you fine-tune your setup and ensure that you achieve the best possible illumination.
Step 7: Install the Junction Box and Wiring
If your flood lights are not battery-operated, you must install a weatherproof junction box. Ensure that it is securely mounted on the exterior wall and run outdoor-rated electrical cables from your power source to the junction box. Use waterproof connectors to join the wires and protect them from moisture and elements. If you’re uncomfortable working with electrical wiring, hiring a professional electrician to handle this step is advisable.
Step 8: Mount the Flood Lights
Once the wiring is in place, you can mount your flood lights. Secure the lights to the junction box or the mounting surface using screws or brackets provided with the lights. Ensure the lights are firmly attached and withstand outdoor conditions, including wind and rain. Double-check that the angle and direction are still correct before finalizing the installation.
Step 9: Conceal and Protect the Cables
After mounting the floodlights, conceal and protect any exposed cables. Use cable clips or conduits to secure the wires to the wall, keeping them neat and tidy. This not only enhances the aesthetics of your installation but also protects the cables from weather damage and potential vandalism.
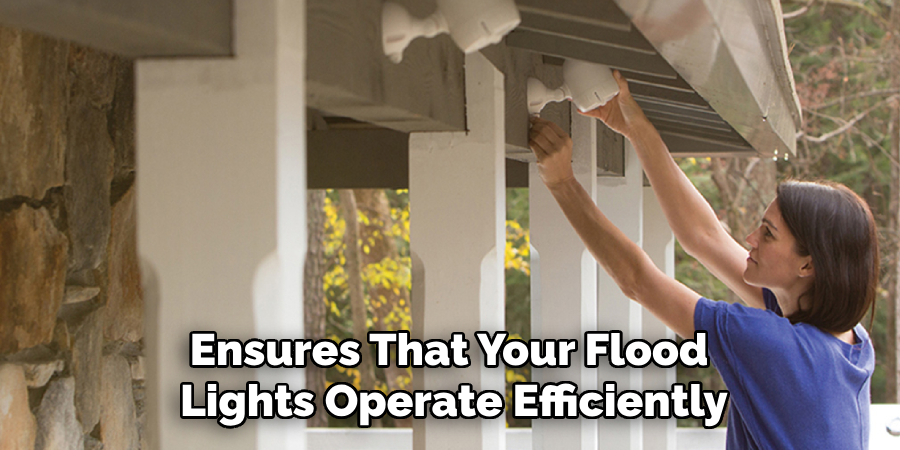
Step 10: Test and Adjust the Settings
Finally, test your flood lights to ensure they are functioning correctly. Turn on the lights and verify that they illuminate the desired areas without any issues. If you have motion sensor lights, test the sensors to see if they detect movement and activate the lights as expected. Adjust any settings, such as sensitivity or timer duration, to suit your preferences. This step ensures that your flood lights operate efficiently and effectively, providing optimal security and lighting for your property.
By following these steps, you can confidently position your floodlights to enhance the safety, security, and aesthetics of your home’s exterior.
5 Additional Tips and Tricks
- Consider the Angle: Position floodlights at a 45-degree angle to reduce glare and shadows. This angle helps to distribute light evenly, illuminating the intended area without causing unnecessary light spills.
- Height Matters: Mount flood lights around 9 to 12 feet off the ground. This height is optimal for covering a wide area and deterring intruders while minimizing bright spots and dark shadows.
- Overlap Light Beams: Ensure that the beams of adjacent flood lights overlap slightly. This technique guarantees there are no gaps in the coverage, providing comprehensive illumination of the desired area.
- Use Motion Sensors: Incorporate motion sensors with your floodlights to enhance security and conserve energy. Position sensors in areas where movement is expected, such as pathways or entry points, to activate the lights only when necessary.
- Mind Your Neighbors: When positioning flood lights, be considerate of your neighbors to avoid directing bright lights into their windows or property. Use shields and adjust the direction of lights to minimize light pollution and maintain neighborhood harmony.
With these tips and tricks in mind, you can successfully plan and install your flood lights for a well-lit, safe, and aesthetically pleasing home exterior.
5 Things You Should Avoid
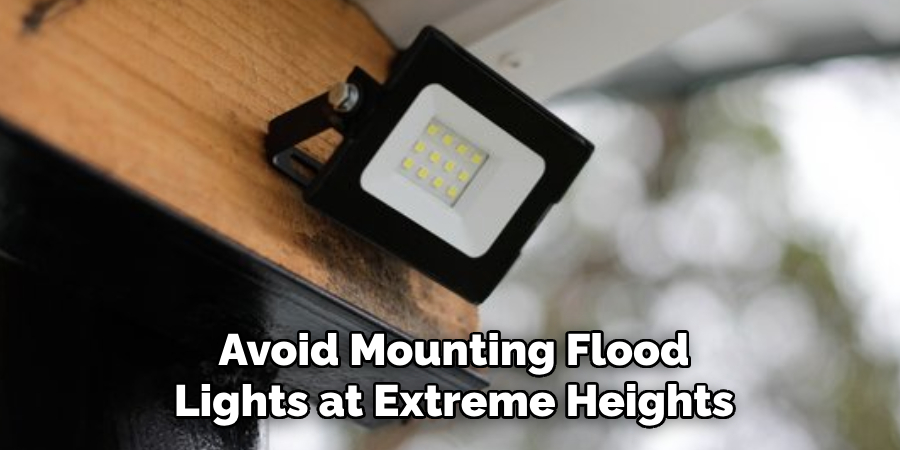
- Too High or Too Low Installation: Avoid mounting flood lights at extreme heights. Positioning them too high can result in dispersed lighting that doesn’t adequately illuminate the target area, while placing them too low can create glare and shadows, reducing visibility and effectiveness.
- Ignoring the Viewing Angle: Avoid positioning flood lights without considering the viewing angles. Lights directed straight ahead or too steeply downward can create blind spots or excessive glare that distracts and annoys people.
- Neglecting Light Pollution: Be mindful of light pollution and avoid positioning flood lights that disrupt neighbors or contribute to excessive illumination in the surrounding neighborhood. Aim lights downward and utilize shields or hoods to focus the light only where it’s needed.
- Overlooking Maintenance: Remember to account for maintenance when positioning your flood lights. Ensure they are easily accessible for bulb replacements, cleaning, and adjustments. Difficult-to-reach locations can lead to neglected lights that perform poorly over time.
- Poor Weatherproofing: Avoid installing flood lights in areas prone to water exposure without proper weatherproofing. Ensure all fixtures, junction boxes, and wiring are weather-resistant to prevent damage and electrical hazards. Use seals and covers to protect against moisture and harsh weather conditions.
By steering clear of these common mistakes, you can ensure your flood lights are positioned optimally for maximum efficiency, safety, and longevity.
Conclusion
How to position flood lights on house is crucial for achieving the right balance of safety, security, and aesthetics.
By following the detailed steps provided and considering the additional tips and tricks, you can avoid common pitfalls and ensure your flood lights work efficiently. Always consider the light beams’ angle, height, and overlap, and don’t neglect the importance of motion sensors and neighborly considerations. By avoiding extreme heights, inappropriate viewing angles, and poor weatherproofing, among other mistakes, you set your flood lights up for optimal performance and durability.
Ultimately, carefully positioning floodlights enhances your home’s functionality and curb appeal, creating a well-illuminated and secure environment.