

Wearing a safety harness correctly is crucial for ensuring your safety when working at heights. Whether you’re a construction worker, a window washer, or someone involved in industrial tasks, a safety harness is an essential piece of personal protective equipment (PPE) designed to prevent falls and save lives. Understanding how to put on a safety harness properly is key to maximizing its effectiveness. The process involves more than just slipping it on; it requires careful adjustment and inspection to ensure a secure fit.
This includes checking for any signs of wear and tear, ensuring the harness is the right size, and properly connecting all straps and buckles. This guide will walk you through each step of the process, from initial inspection to final adjustments, ensuring you are safely and securely harnessed for your tasks. By following these guidelines, you can significantly reduce the risk of injury and ensure a safer working environment.
Importance of Wearing a Safety Harness
The importance of wearing a safety harness cannot be overstated, especially in professions that involve working at significant heights or in hazardous environments. A safety harness acts as a lifeline, dramatically reducing the chances of fatal falls and serious injuries. It distributes the force of a fall across the strongest parts of the body, primarily the thighs, pelvis, and shoulders, which helps to minimize injury during an incident.
Besides physical protection, wearing a safety harness instills confidence, enabling workers to perform their tasks more efficiently without the constant fear of falling. By adhering to safety protocols and consistently using a safety harness, employers demonstrate their commitment to worker safety, thereby fostering a culture of safety and responsibility within the workplace. Ultimately, the use of safety harnesses is a fundamental aspect of occupational safety that protects lives, boosts morale, and enhances overall productivity.
Different Types of Safety Harnesses
There are several types of safety harnesses available, each designed to meet specific safety requirements and industry standards. Understanding the differences between these harnesses is essential for selecting the right one for your job.
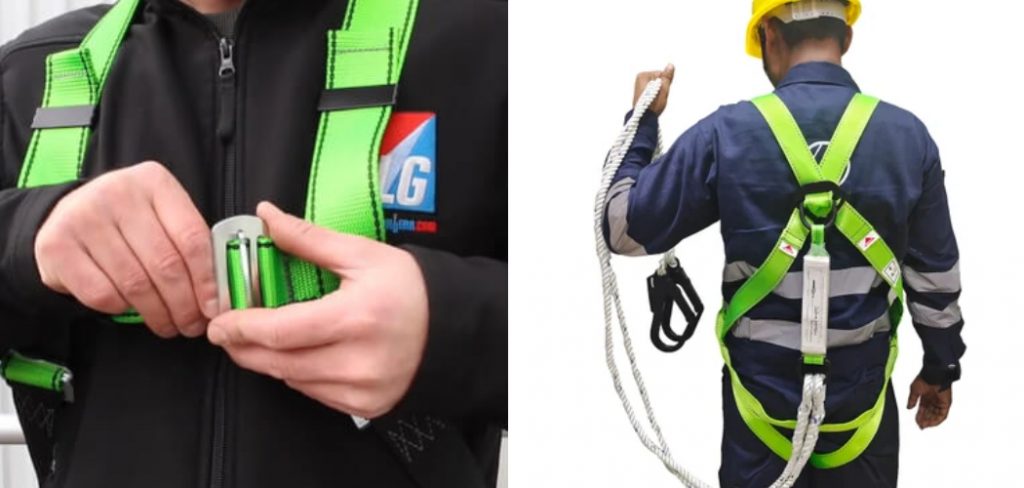
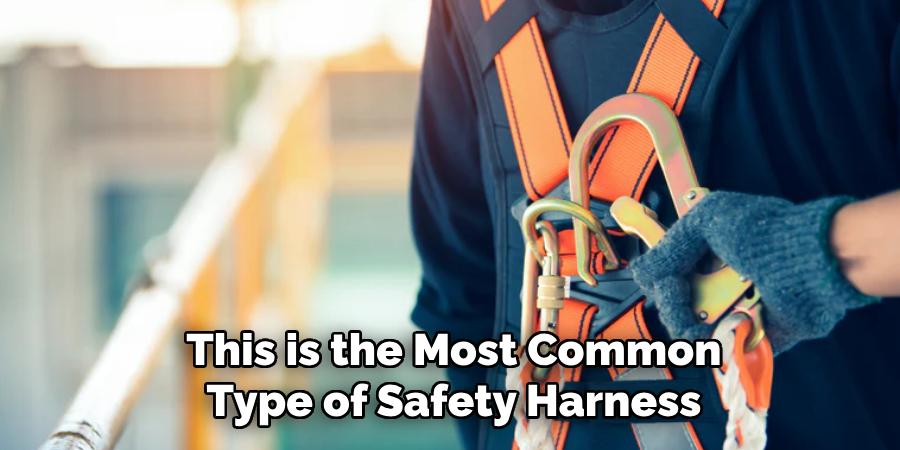
- Full Body Harness: This is the most common type of safety harness and is designed to distribute the force of a fall across the entire body. It includes straps for the shoulders, chest, waist, and legs, providing maximum support and protection.
- Chest Harness: Chest harnesses are typically used in situations where there is a risk of tipping over backward. They are often combined with full body harnesses for additional support and safety.
- Seat Harness: Also known as sit harnesses, these are frequently used in rope access and rescue operations. They provide support around the hips and thighs, allowing for greater mobility and comfort during prolonged periods of suspension.
- Suspension Harness: These harnesses are designed for tasks that require workers to be suspended vertically for extended periods, such as window washing or bridge inspection. They provide additional padding and support to reduce discomfort and fatigue.
- Work Positioning Harness: These harnesses are used for tasks where the worker needs to be held in a specific position at height. They include additional D-rings for attachment to positioning lanyards and provide excellent stability and control.
10 Methods How to Put on a Safety Harness
1. Selecting the Right Safety Harness
Before putting on a safety harness, it is crucial to select the appropriate harness for the task. Safety harnesses come in various designs tailored for different activities such as construction, climbing, or industrial work. Ensure the harness meets the relevant safety standards for your industry and is rated for your weight and the type of work you will be performing. Inspect the harness for any signs of wear, damage, or missing parts. A well-chosen and well-maintained harness is the foundation of effective fall protection.
2. Inspecting the Harness Before Use
Thorough inspection of the safety harness before each use is critical for safety. Begin by laying out the harness on a clean, flat surface and examining each component. Check for frayed or cut webbing, broken stitching, or damage to the buckles and D-rings. Look for any signs of chemical damage or excessive wear. Ensure that all buckles, grommets, and other hardware are present and functional. If any part of the harness appears damaged or defective, do not use it. Replace or repair the harness as necessary to maintain safety.
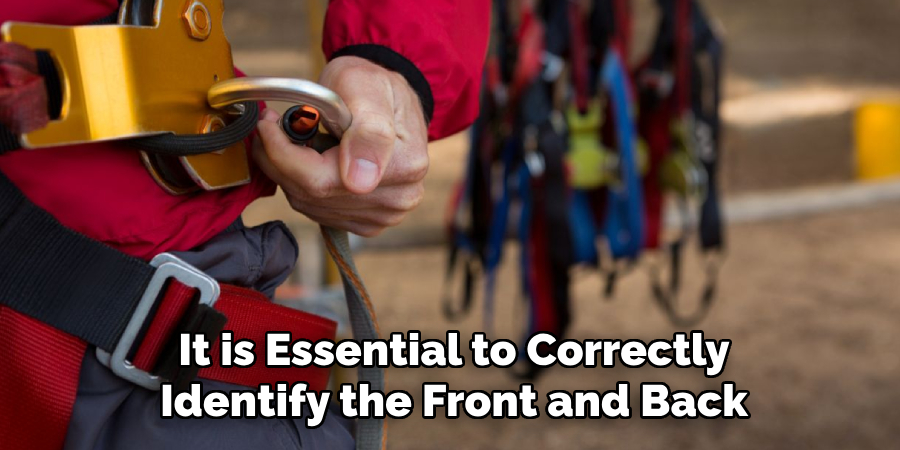
3. Identifying the Front and Back of the Harness
Before putting on the harness, it is essential to correctly identify the front and back. Most harnesses have a D-ring on the back, which is a key indicator of the rear of the harness. Some harnesses also have labels or color-coded straps to differentiate the front from the back. Ensuring that the harness is oriented correctly prevents misconfiguration and enhances comfort and safety. Take a moment to familiarize yourself with the harness’s layout to avoid mistakes during the donning process.
4. Putting on the Shoulder Straps
Start by picking up the harness by the shoulder straps and ensuring they are not twisted. Slip your arms through the shoulder straps as if putting on a vest. Adjust the straps so that they sit comfortably on your shoulders without twisting or tangling. The D-ring on the back should be positioned between your shoulder blades. Properly fitted shoulder straps are crucial for distributing the force of a fall evenly across your upper body and ensuring the harness stays in place during use.
5. Securing the Chest Strap
After positioning the shoulder straps, locate the chest strap and fasten it across your chest. The chest strap helps to keep the shoulder straps in place and prevents them from slipping off your shoulders. Adjust the chest strap so that it sits comfortably across your chest, usually about mid-chest level. The strap should be snug but not overly tight, allowing for ease of movement and breathing. A properly adjusted chest strap enhances the overall fit and security of the harness.
6. Adjusting the Leg Straps
Next, locate the leg straps and bring them between your legs. Fasten the buckles on each side, ensuring they are securely connected. Adjust the leg straps so that they fit snugly around your thighs without cutting into your skin. The leg straps should be tight enough to prevent slipping but comfortable enough to allow for movement. Properly adjusted leg straps are critical for distributing the force of a fall and preventing injury to the lower body. Ensure there is no twisting or tangling of the straps for optimal safety and comfort.
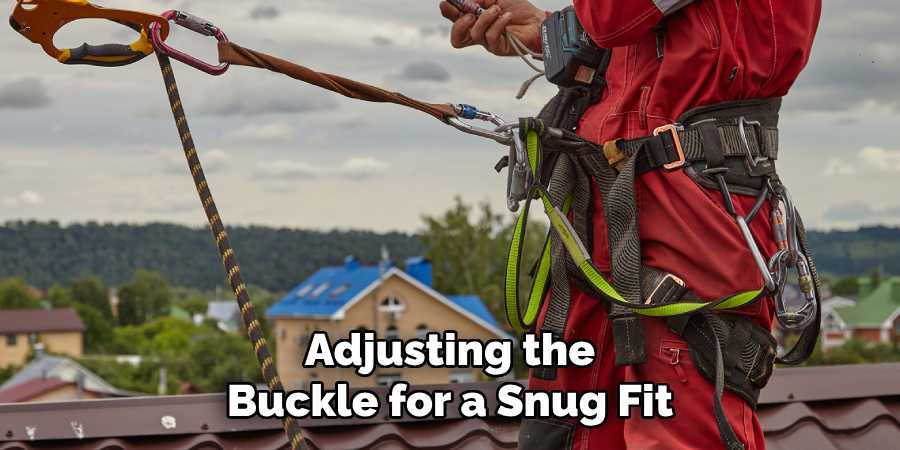
7. Fastening the Waist Strap
Many safety harnesses include a waist strap for additional security and support. Locate the waist strap and fasten it around your waist, adjusting the buckle for a snug fit. The waist strap should sit comfortably around your waist without restricting movement. Like the chest strap, the waist strap helps to keep the harness in place and evenly distributes the force in the event of a fall. Ensure the strap is adjusted properly to enhance overall stability and comfort.
8. Ensuring Proper Fit and Comfort
Once all the straps are fastened, take a moment to ensure the harness fits properly and is comfortable. Check that the shoulder straps, chest strap, leg straps, and waist strap are all snug and secure without being overly tight. The harness should allow for a full range of motion without causing discomfort or restricting movement. Walk around and perform basic movements to test the fit and make any necessary adjustments. A well-fitted harness is crucial for both safety and comfort during extended use.
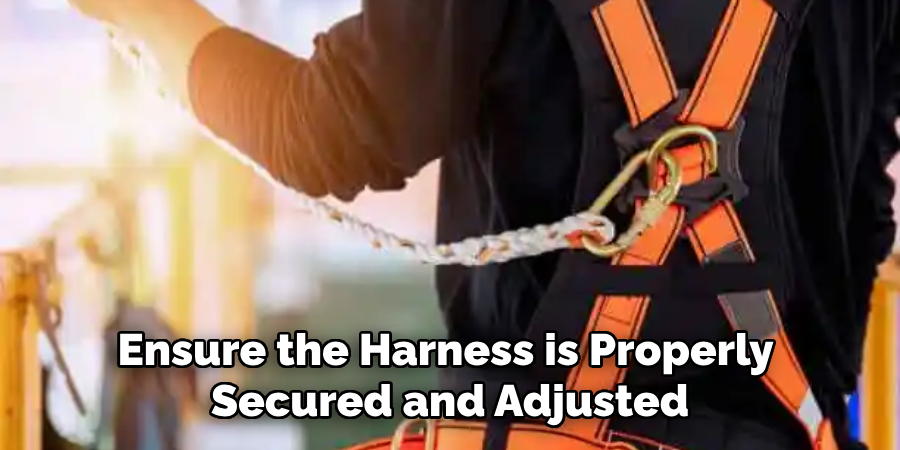
9. Performing a Final Safety Check
Before starting work, perform a final safety check to ensure the harness is properly secured and adjusted. Check that all buckles are securely fastened and locked, and that there are no twisted or tangled straps. Ensure that the D-ring is correctly positioned between your shoulder blades and that the harness is snug but comfortable. It is also advisable to have a colleague perform a quick visual inspection to double-check that everything is in place. This final safety check is an essential step in preventing accidents and ensuring your safety while working at heights.
10. Connecting to the Anchor Point
After ensuring the harness is properly fitted and secured, connect the harness to the anchor point. Use a lanyard or lifeline that is rated for your weight and the type of work you are performing. Attach the lanyard’s snap hook or carabiner to the D-ring on the back of the harness, ensuring it is securely locked. The anchor point should be above you to minimize the distance you could fall. Ensure that the lanyard or lifeline is free from knots, tangles, or damage. Proper connection to the anchor point is the final step in ensuring your fall protection system is ready and effective.
Conclusion
Each of these methods provides a crucial step in ensuring that your safety harness is correctly worn and properly functioning. From selecting the right harness to performing a final safety check, following these detailed steps will help ensure your safety while working at heights. Proper use of a safety harness not only protects you from falls but also enhances your confidence and ability to work effectively in elevated environments. Thanks for reading, and we hope this has given you some inspiration on how to put on a safety harness!
About
Safety Fic is a distinguished figure in the world of Diy design, with a decade of expertise creating innovative and sustainable Diy solutions. His professional focus lies in merging traditional craftsmanship with modern manufacturing techniques, fostering designs that are both practical and environmentally conscious. As the author of diy, Safety Fic delves into the art and science of Safety Fic-making, inspiring artisans and industry professionals alike.
Education RMIT University
(Melbourne, Australia) Associate Degree in Design (Safety Fic) Focus on sustainable design, industry-driven projects, and practical craftsmanship. Gained hands-on experience with traditional and digital manufacturing tools, such as CAD and CNC software.
Nottingham Trent University
(United Kingdom) Bachelor’s in diyfastly.com and Product Design (Honors) Specialized in product design with a focus on blending creativity with production techniques. Participated in industry projects, working with companies like John Lewis and Vitsoe to gain real-world insights.
Publications and Impact
In diy, Safety Fic his insights on indoor design processes, materials, and strategies for efficient production. His writing bridges the gap between artisan knowledge and modern industry needs, making it a must-read for both budding designers and seasoned professionals.