

Dryer maintenance is essential for ensuring that your appliance runs efficiently and effectively for years to come. One critical aspect of this maintenance is knowing how to test dryer moisture sensor with multimeter. Understanding this process can help you diagnose and address common issues that may arise with the moisture sensor, such as inaccurate readings or complete failure, which can lead to improperly dried clothes and wasted energy.
This article will guide you through the steps required to test the moisture sensor with a multimeter, troubleshoot potential problems, and perform regular maintenance to keep your dryer in optimal condition.
Understanding Dryer Moisture Sensors
Dryer moisture sensors ensure that clothes are dried efficiently without over-drying or under-drying. These sensors detect the moisture level in the clothes and communicate with the dryer’s control system to adjust the drying time accordingly. The primary way these sensors work is by detecting electrical properties associated with moisture content.
There are two main types of dryer moisture sensors: conductivity-based and resistance-based. Conductivity-based sensors measure how well an electrical current passes through the damp clothes. As clothes dry and moisture levels decrease, conductivity drops, signaling the control system to reduce or stop the drying cycle. On the other hand, resistance-based sensors measure the resistance encountered by an electrical current passing through the clothes. Higher moisture results in lower resistance; as the clothes dry, the resistance increases, indicating it is time to end the drying cycle.
Common issues with moisture sensors can interfere with their performance, leading to inefficient drying cycles. These problems often include dirt or lint build-up on the sensor, faulty wiring or connections, and sensor wear and tear over time. When a moisture sensor malfunctions, it can either lead to over-drying, wasting energy, or under-drying, resulting in damp clothes. Regular maintenance and timely repairs are essential for optimal dryer performance.
Tools and Materials Needed
- Tools:
- Digital multimeter (with continuity and resistance settings)
- Screwdriver
- Materials:
- None required beyond the multimeter
Safety Precautions
Before beginning any testing, unplugging the dryer from the power source is crucial to avoid electrical shock or injury. Always exercise caution by avoiding direct contact with electrical components and wires. Ensure the multimeter is set up and used correctly to prevent any potential damage to the device or personal harm. Handling the multimeter safely, such as double-checking the settings and maintaining a secure grip on the probes, is essential for accurate readings and avoiding accidents. Adhering to these safety precautions helps ensure a safe and effective testing process.
How to Test Dryer Moisture Sensor with Multimeter: Testing Process
Step 1: Access the Moisture Sensor
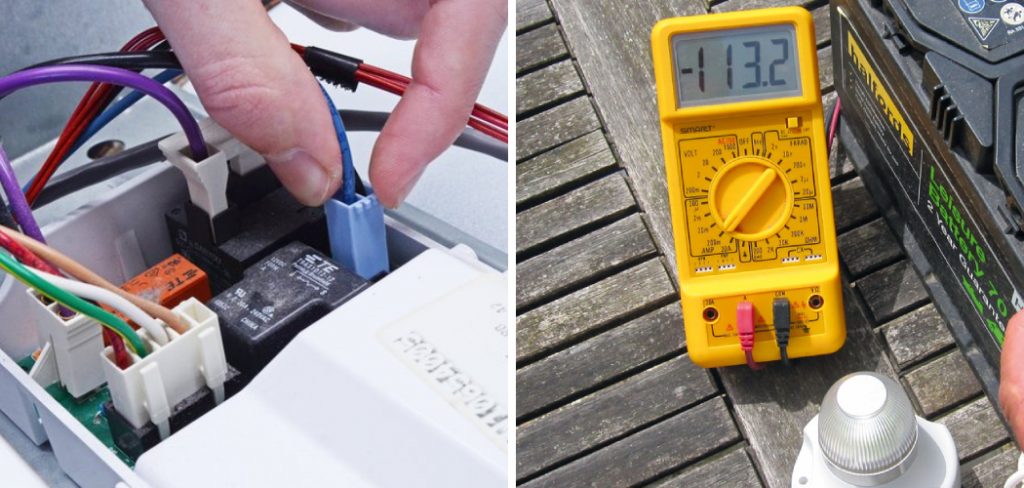
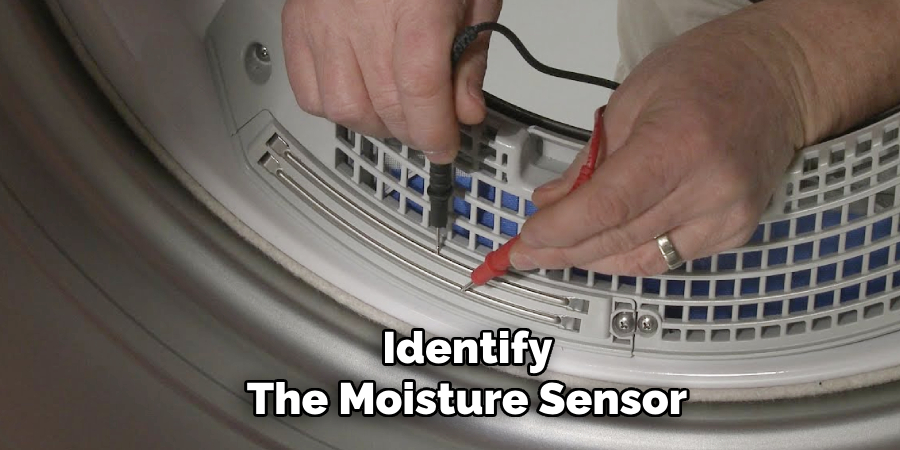
To begin, ensure the dryer is unplugged. This is a critical safety measure. Next, you must remove the dryer’s access panel to locate the moisture sensor. The access panel is typically located at the dryer’s back or bottom front. Use a screwdriver to carefully unscrew and remove the panel. Once the panel is off, identify the moisture sensor. It is usually a small, metallic component with wiring connected to it. Take a moment to familiarize yourself with the sensor’s location, wiring, and terminals, which will be important for testing.
Step 2: Setting Up the Multimeter
The next step involves setting up your digital multimeter with the moisture sensor in sight. Turn on the multimeter and set it to the appropriate function based on your sensor type—either resistance (ohms) or continuity mode. Setting the multimeter to a low resistance scale, typically around 200 ohms, is sufficient for most tests. Ensure the multimeter probes are securely attached and the settings are correctly aligned to avoid inaccurate readings.
Step 3: Testing the Sensor
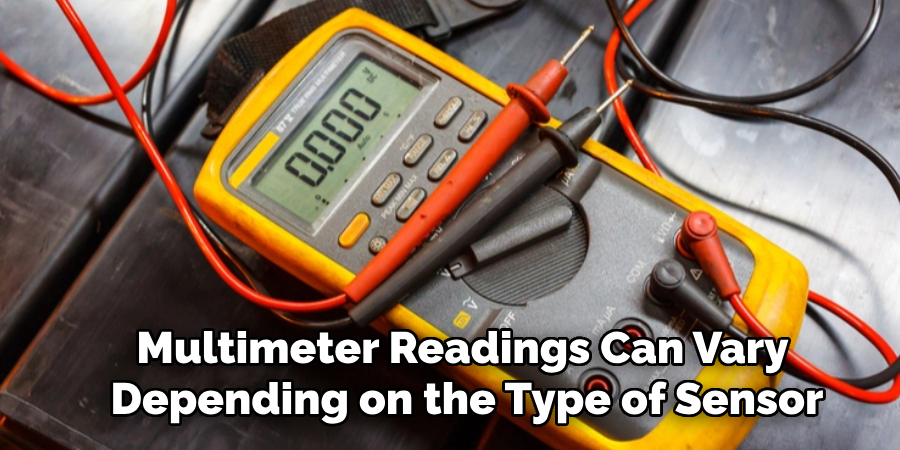
Now, proceed to test the sensor. Touch the multimeter probes to the sensor terminals—one probe on each terminal. Observe the multimeter’s display for a resistance or continuity reading. The expected readings can vary; for instance, a conductivity-based sensor should show continuity when damp, while a resistance-based sensor should display a specific resistance value.
Step 4: Interpreting the Results
Interpret the multimeter readings based on pre-determined values for your specific moisture sensor. Normal readings suggest that the sensor is functioning correctly. Abnormal readings, such as infinite resistance or no continuity, indicate a faulty sensor that may require cleaning, repair, or replacement.
Step 5: Reassembling and Testing
Once testing is complete, reassemble the dryer by reattaching the access panel with the screwdriver. Plug the dryer back into the power source and run a drying cycle to confirm the sensor is operating. Observing the drying process will help verify that the sensor accurately detects moisture levels and signals the dryer to cycle appropriately.
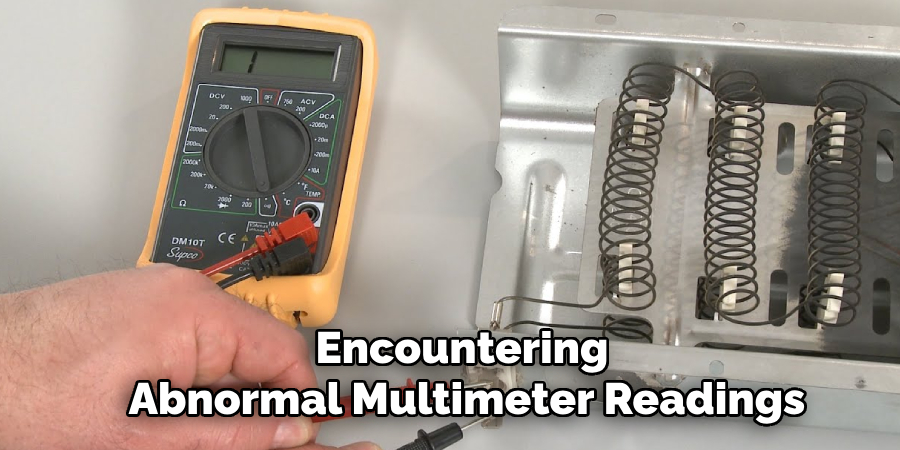
Troubleshooting Common Issues
When encountering abnormal multimeter readings, several potential issues could be at play. One common cause is dirt, lint, or residue build-up on the sensor, which can interfere with accurate moisture level detection. To address this, clean the sensor using a soft cloth or a cotton swab dipped in rubbing alcohol. Gently remove any debris, ensuring the sensor surface is clean and clear.
Loose or damaged connections are another frequent culprit of faulty readings. Inspect the wiring and terminals connected to the moisture sensor for any signs of wear, corrosion, or disconnection. Secure any loose connections and replace damaged wiring as necessary.
If cleaning and connection checks do not resolve the problem, it may be time to consider replacing the moisture sensor. Persistent abnormal readings, such as infinite resistance or continuous lack of continuity despite troubleshooting, indicate a sensor that has likely reached the end of its lifespan. Consulting the dryer’s manual or a professional technician for guidance on compatible replacement parts can ensure a smooth and effective resolution. Regular maintenance and prompt addressing of sensor-related issues will help maintain the dryer’s performance and efficiency.
Regular Maintenance Tips
Importance of Periodic Sensor Checks
Regular inspections of the moisture sensor are crucial to maintaining optimal dryer performance. Periodic sensor checks can identify potential issues early, preventing inefficient drying cycles and extending the appliance’s lifespan.
Cleaning the Sensor and Dryer Vents
Routine cleaning is essential to ensure the dryer operates efficiently. Use a soft cloth or cotton swab dipped in rubbing alcohol to gently clean the moisture sensor, removing any dirt or lint build-up. Keep the dryer vents clean and clear of debris to promote proper airflow and reduce the risk of overheating or fire hazards.
Keeping a Record of Maintenance and Testing Dates
Maintaining a log of all maintenance activities and testing dates can be incredibly beneficial. Documenting when the sensor was cleaned and tested and any repairs undertaken provides a useful reference for future maintenance. This practice ensures that the dryer remains in peak condition, ultimately saving time and energy costs.
Frequently Asked Questions (FAQs) About Testing Dryer Moisture Sensors
Q1: Why Is My Dryer Not Turning Off Even when Clothes Are Dry?
This issue could be due to a malfunctioning moisture sensor. If the sensor is dirty or faulty, it may not accurately detect moisture levels, causing the dryer to run longer than necessary. Testing the sensor with a multimeter can help determine if it needs cleaning or replacement.
Q2: How Often Should I Test My Dryer’s Moisture Sensor?
It is recommended to test your dryer’s moisture sensor at least once a year or whenever you notice drying performance issues. Regular testing helps ensure that the sensor operates correctly and efficiently.
Q3: Can I Use Any Type of Multimeter for Testing the Moisture Sensor?
Yes, a standard digital multimeter can be used to test a moisture sensor. Ensure the multimeter has settings for measuring resistance (ohms) or continuity, which are necessary for testing the sensor.
Q4: What Should the Multimeter Reading Be for A Functioning Moisture Sensor?
The expected multimeter readings can vary depending on the type of sensor. You should see continuity (a closed circuit) for a conductivity-based sensor when the sensor is damp. For a resistance-based sensor, you should see a specific resistance value, which should be referenced in your dryer’s manual.
Q5: What Do I Do if I Get an Abnormal Reading While Testing the Sensor?
If you get an abnormal reading, such as infinite resistance or a lack of continuity, clean the sensor and check for any loose or damaged connections. If the problem persists, you may need to replace the moisture sensor.
Q6: Can I Replace the Moisture Sensor Myself?
Yes, if you are comfortable with appliance repair, you can replace the moisture sensor yourself. Ensure you follow your dryer’s manual guidelines and take necessary safety precautions, such as unplugging the dryer before starting the replacement process.
Conclusion
Understanding the importance of regular maintenance and knowing how to test dryer moisture sensor with multimeter can significantly enhance the longevity and efficiency of your dryer. By following the outlined steps, you can safely and accurately diagnose any issues with the moisture sensor, ensuring your appliance operates at its best. Routine inspections, proper cleaning, and timely repairs are pivotal in maintaining optimal dryer performance. Keeping a detailed record of all maintenance activities helps track your dryer’s health, ensuring it functions effectively for years to come.
About
Safety Fic is a distinguished figure in the world of Diy design, with a decade of expertise creating innovative and sustainable Diy solutions. His professional focus lies in merging traditional craftsmanship with modern manufacturing techniques, fostering designs that are both practical and environmentally conscious. As the author of diy, Safety Fic delves into the art and science of Safety Fic-making, inspiring artisans and industry professionals alike.
Education RMIT University
(Melbourne, Australia) Associate Degree in Design (Safety Fic) Focus on sustainable design, industry-driven projects, and practical craftsmanship. Gained hands-on experience with traditional and digital manufacturing tools, such as CAD and CNC software.
Nottingham Trent University
(United Kingdom) Bachelor’s in diyfastly.com and Product Design (Honors) Specialized in product design with a focus on blending creativity with production techniques. Participated in industry projects, working with companies like John Lewis and Vitsoe to gain real-world insights.
Publications and Impact
In diy, Safety Fic his insights on indoor design processes, materials, and strategies for efficient production. His writing bridges the gap between artisan knowledge and modern industry needs, making it a must-read for both budding designers and seasoned professionals.