

Ensuring the safety of your home or workplace involves taking proactive measures to prevent and manage potential fire hazards. One crucial step in this process is understanding how to install fire extinguisher correctly. Proper installation guarantees that the fire extinguisher will be readily accessible and fully functional in the event of an emergency.
This article provides a comprehensive guide on the correct installation, regular maintenance, and essential safety checks needed to keep your fire extinguisher operational and reliable. Following these guidelines can cultivate a safer environment for yourself, your family, or your colleagues.
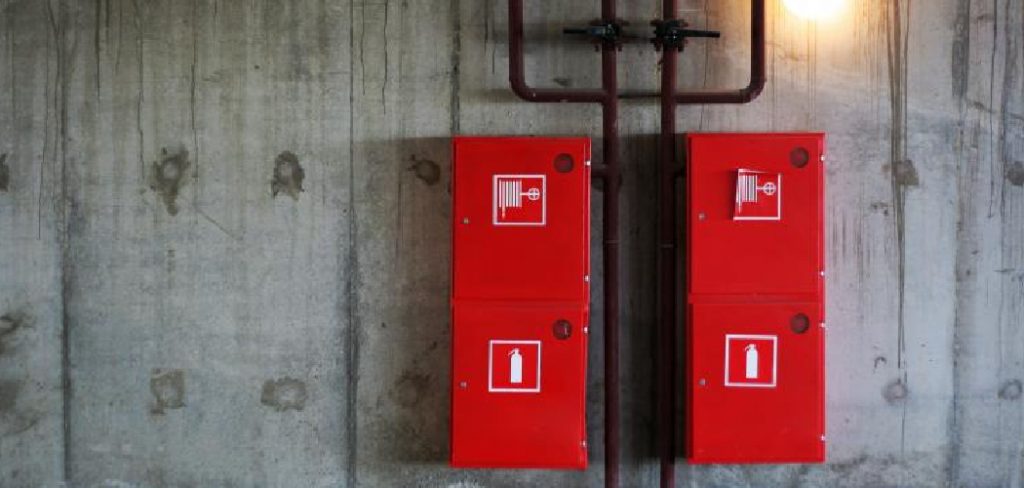
Understanding Fire Extinguisher Types and Placement
Fire extinguishers are categorized into five main types based on the classes of fires they are designed to combat: Class A extinguishers are for ordinary combustibles such as wood, paper, and cloth; Class B extinguishers are used for flammable liquids like gasoline, oil, and paint; Class C extinguishers are for electrical fires involving appliances, wiring, and circuit breakers; Class D extinguishers are suited for flammable metals such as sodium, magnesium, and titanium; and Class K extinguishers are specifically designed for kitchen fires involving cooking oils and fats.
It is crucial to strategically place fire extinguishers to ensure they are easily accessible during an emergency. Common placement areas include the kitchen, garage, workshop, and near exits. The kitchen, for instance, benefits from having a Class K extinguisher due to the likelihood of grease fires, while garages and workshops might require a combination of Class A, B, and C extinguishers to cover various hazards.
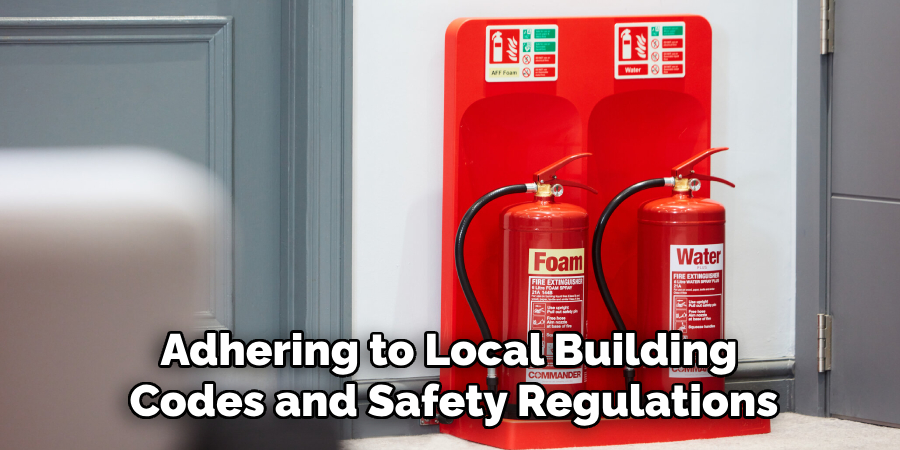
Adhering to local building codes and safety regulations for fire extinguisher placement ensures compliance with legal requirements. Guidelines typically mandate that extinguishers be conspicuously located, not obstructed, and installed at appropriate heights—usually between 3 to 5 feet off the ground—to facilitate quick access. Regularly reviewing these requirements and ensuring proper placement can significantly enhance safety in homes and businesses.
Tools and Materials Needed
- List of Tools: screwdriver, drill, level, measuring tape, pencil
- List of Materials: fire extinguisher, mounting bracket (often included with the extinguisher), screws, wall anchors
- Optional: stud finder
Choosing the Right Location for Installation
Selecting the right location for your fire extinguisher is critical for ensuring that it can be accessed quickly and easily during a fire. The chosen spot should be highly visible and free from any obstructions, such as furniture or decorative items. Placing the extinguisher near exits or along escape routes can also be beneficial, as these areas are likely to be frequented during an emergency.
When installing a fire extinguisher, adhere to the recommended height guidelines to ensure optimal accessibility. The bottom of the extinguisher should typically be mounted 3 to 5 feet off the ground. This ensures that the extinguisher is within reach for most people, including children and those who may have to kneel or crouch during an emergency.
Avoid placing the extinguisher near potential fire hazards that could become inaccessible, such as close to stoves, heaters, or high-risk areas like welding stations. Instead, opt for locations that remain easily reachable even if a fire occurs in those high-risk areas. By carefully selecting and installing your fire extinguisher strategically, you can greatly enhance your preparedness and ability to respond swiftly in the event of a fire.
Preparing the Mounting Area
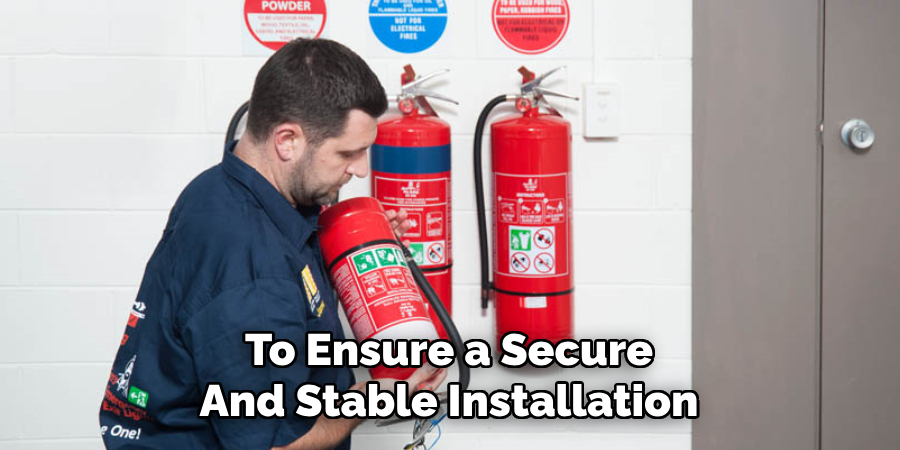
To ensure a secure and stable installation for your fire extinguisher, begin by preparing the mounting area. First, use a stud finder to locate the studs within the wall. Studs provide the necessary support to securely hold the weight of the fire extinguisher, preventing it from becoming dislodged over time. Once you have identified the studs, mark the desired height and position using a pencil. This step is critical for maintaining proper accessibility; the ideal height for mounting a fire extinguisher is typically between 3 to 5 feet off the ground.
Next, double-check the chosen location to ensure it is free from any obstructions such as furniture, wall decor, or any other items that could conceal or impede access to the fire extinguisher. An obstruction-free installation area ensures that the fire extinguisher remains visible and can be quickly and easily accessed in the event of an emergency.
How to Install Fire Extinguisher: Installing the Mounting Bracket
Properly installing the mounting bracket is essential to ensure your fire extinguisher is securely fastened and readily accessible during an emergency. This step-by-step guide will walk you through the process:
Holding the Bracket Against the Wall:
Begin by positioning the fire extinguisher’s mounting bracket against the chosen spot on the wall. Ensure that the bracket is at the correct height (typically 3 to 5 feet off the ground) and in a location free from obstructions. Use a level to check that the bracket is perfectly horizontal.
Marking the Screw Holes:
Once the bracket is properly positioned, use a pencil to mark the locations of the screw holes. Marking these spots accurately is crucial, as misaligned holes may result in an unstable installation.
Drilling Pilot Holes:
If you are mounting the bracket on drywall, drill pilot holes for screws or use wall anchors to provide extra support. Align the drill bit with the pencil marks and carefully drill the pilot holes into the wall. For installations directly into studs, you can skip the wall anchors and use only screws.
Securing the Bracket to the Wall:
Position the mounting bracket against the wall, aligning it with the drilled pilot holes or inserting wall anchors. Insert the screws through the bracket’s holes and into the wall, then use a screwdriver to tighten them securely. Ensure the screws are driven in fully to prevent any wobbling of the bracket.
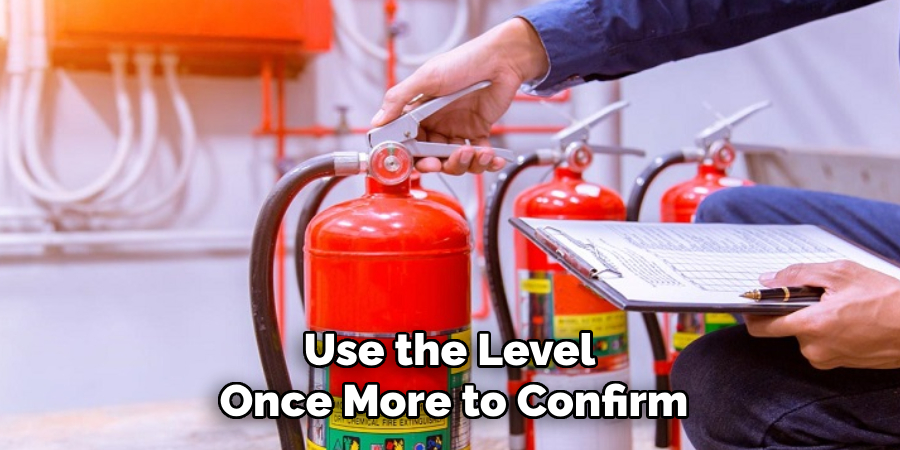
Ensuring the Bracket is Level and Tightly Fastened:
Once the bracket is attached, double-check that it remains level. Use the level once more to confirm that the bracket is horizontal. Give the bracket a firm shake to ensure it is tightly fastened and does not shift. A secure and proper level bracket is vital for maintaining the extinguisher’s readiness in an emergency.
By following these steps, you can ensure that your fire extinguisher is securely mounted and easily accessible when needed.
Attaching the Fire Extinguisher
Placing the Fire Extinguisher onto the Mounted Bracket:
After securing the mounting bracket to the wall, the next step is to attach the fire extinguisher to the bracket. Carefully lift the extinguisher and align it with the bracket’s holding mechanism. Most fire extinguishers will have a built-in hook or groove corresponding to the bracket’s design. Ensure the extinguisher is properly seated by gently lowering it onto the bracket until it clicks or fits snugly in place.
Ensuring the Extinguisher is Securely Fastened and Does Not Wobble:
Once the extinguisher is placed on the bracket, inspect the fit to ensure it is securely fastened. Push and pull the extinguisher to verify it does not wobble or shift. A stable attachment is critical to prevent the extinguisher from falling or becoming dislodged during an emergency. If any movement is detected, recheck the alignment and fastening of both the bracket and the extinguisher.
Checking that the Extinguisher’s Handle and Instructions are Easily Accessible:
Finally, ensure that the fire extinguisher’s handle and operating instructions are fully visible and accessible. The handle should be easy to grasp, and the instructions should be legible and unobstructed by the bracket or nearby objects. This accessibility is crucial to enable quick action and proper usage during a fire. Regularly check the extinguisher’s placement and condition to maintain this readiness level.
Final Safety Checks
Verifying that the Fire Extinguisher is Fully Charged and Operational:
Begin by inspecting the fire extinguisher to ensure it is fully charged and ready for use. Check the pressure gauge to confirm that the needle is within the green zone, indicating that the extinguisher is charged and operational.
Checking the Expiration Date and Ensuring the Gauge Indicates Proper Pressure:
Next, review the expiration date printed on the extinguisher. Fire extinguishers have a finite lifespan, and it is crucial that they are replaced once they have expired to ensure reliability. Additionally, recheck the pressure gauge to verify that it consistently indicates the proper pressure level.
Reviewing the Fire Extinguisher’s Usage Instructions and Ensuring All Household Members or Employees are Familiar with Them:
Lastly, take a moment to review the instructions for using the fire extinguisher. Ensure that every household member or employee is familiar with these instructions and confident in operating the extinguisher during an emergency. Regular safety drills can be helpful in maintaining this readiness.
Regular Maintenance and Inspections
Importance of Regular Checks to Ensure the Extinguisher is in Good Working Condition:
Regular maintenance and inspections are vital to ensuring that your fire extinguisher remains in optimal working condition. Consistent monitoring helps identify potential issues early, reducing the risk of failure during an emergency.
Monthly Visual Inspections for Damage or Pressure Loss:
Conduct monthly visual inspections to check for any signs of damage or pressure loss. Look at the pressure gauge to ensure the needle stays within the green zone and inspect the extinguisher for any cracks, dents, or corrosion that may compromise its functionality.
Annual Professional Maintenance and Recertification:
Schedule annual maintenance checks with a certified professional to thoroughly inspect and service the fire extinguisher. This recertification process ensures that the device meets all safety standards and is ready for use.
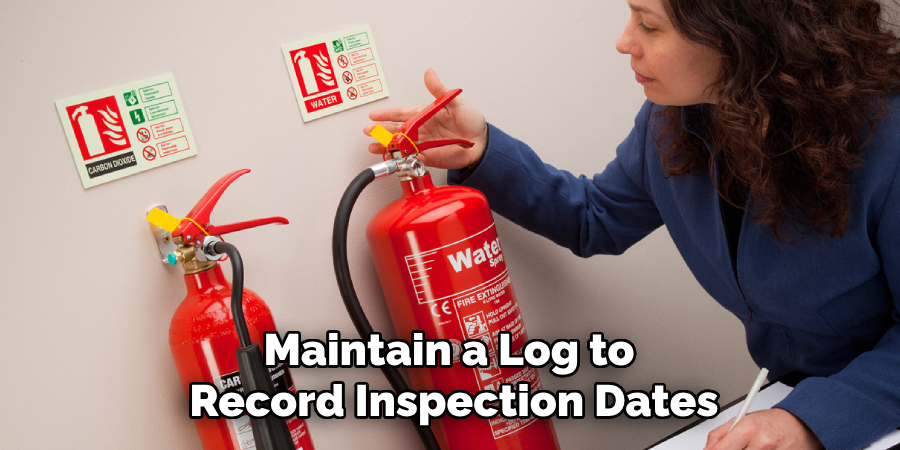
Recording Inspection Dates and Maintenance Actions in a Log:
Maintain a log to record inspection dates and any maintenance actions taken. This documentation helps track the extinguisher’s condition over time and ensures that all necessary checks are performed consistently.
Conclusion
In conclusion, knowing how to install fire extinguisher properly is an essential step in ensuring the safety of your home or workplace. Following the outlined steps for mounting, securing, and maintaining your fire extinguisher will provide you with peace of mind, knowing that you are prepared for unexpected fires. Regular inspections and professional maintenance will further guarantee that your fire extinguisher remains in optimal condition, ready to function effectively in an emergency. By taking these preventive measures, you protect your property and enhance the safety and well-being of everyone in your environment.
About
Safety Fic is a distinguished figure in the world of Diy design, with a decade of expertise creating innovative and sustainable Diy solutions. His professional focus lies in merging traditional craftsmanship with modern manufacturing techniques, fostering designs that are both practical and environmentally conscious. As the author of diy, Safety Fic delves into the art and science of Safety Fic-making, inspiring artisans and industry professionals alike.
Education RMIT University
(Melbourne, Australia) Associate Degree in Design (Safety Fic) Focus on sustainable design, industry-driven projects, and practical craftsmanship. Gained hands-on experience with traditional and digital manufacturing tools, such as CAD and CNC software.
Nottingham Trent University
(United Kingdom) Bachelor’s in diyfastly.com and Product Design (Honors) Specialized in product design with a focus on blending creativity with production techniques. Participated in industry projects, working with companies like John Lewis and Vitsoe to gain real-world insights.
Publications and Impact
In diy, Safety Fic his insights on indoor design processes, materials, and strategies for efficient production. His writing bridges the gap between artisan knowledge and modern industry needs, making it a must-read for both budding designers and seasoned professionals.