

Installing a door guard is a straightforward and highly effective way to enhance the security of your home.
Door guards provide an extra layer of protection against potential break-ins, ensuring that your entryways are more secure. In addition to security benefits, door guards also help prevent wear and tear on your doors, making them a practical addition to any household.
This guide on how to install a door guard will walk you through the step-by-step process of installing a door guard, from gathering necessary tools to completing the installation efficiently.
Whether you are a DIY enthusiast or a first-time installer, this guide aims to make the task simple and hassle-free.
What is a Door Guard?
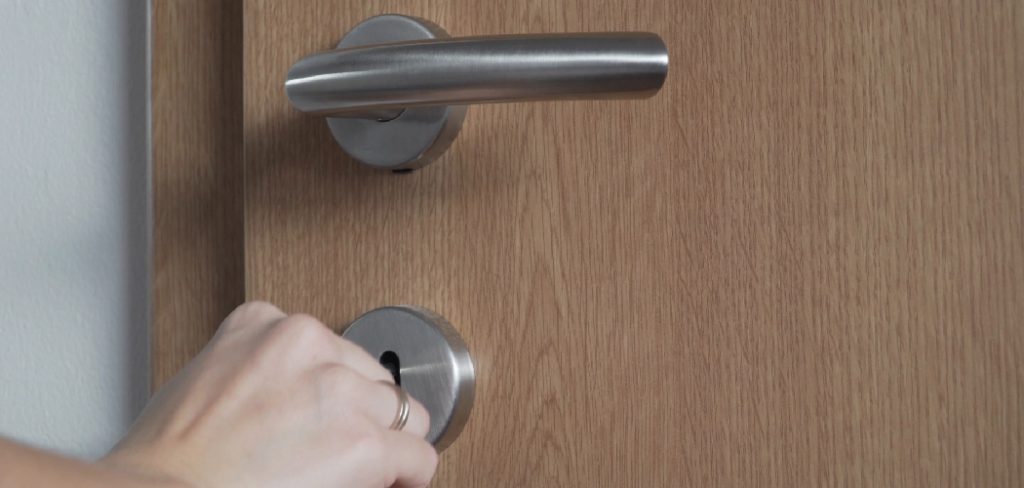
A door guard is a type of lock that prevents unauthorized entry into your home or premises. It is typically installed on the interior side of an entry door and can be used to prevent the door from being opened, even if someone has a key.
Door guards come in various designs and styles, including chain locks, swing bars, and slide bolts. The type of door guard you choose will depend on your specific needs and preferences.
The primary purpose of a door guard is to provide an extra level of security for your doors. It acts as a barrier against forced entry, giving you peace of mind while you are at home or away.
Apart from security, door guards can also help in preventing accidental injuries, especially for families with small children.
What You Will Need
Before you begin installing a door guard, make sure you have all the necessary tools and materials at hand. These include:
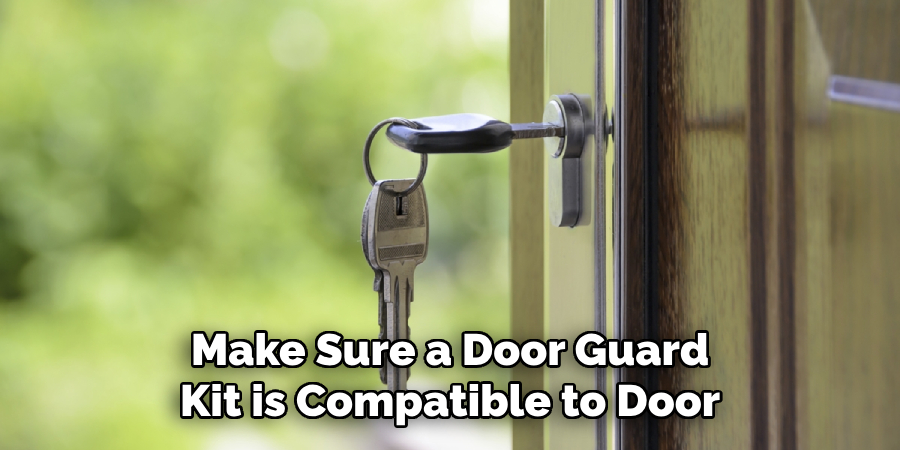
Door Guard Kit (Including Screws and Mounting Hardware):
Make sure to purchase a door guard kit that is compatible with your door type and size. Some kits may include additional tools such as a drill bit or template, for easy installation.
Drill:
You will need a drill to make holes in the door frame to mount the door guard.
Screwdriver:
A screwdriver will be required to tighten the screws during installation.
Tape Measure:
To ensure accuracy, use a tape measure to mark the placement of the door guard on your door.
Pencil:
Use a pencil to mark where you will be drilling holes for installation.
8 Step-by-step Guidelines on How to Install a Door Guard
Step 1: Prepare the Door
Begin by thoroughly cleaning the door surface where the door guard will be installed. This ensures that the guard fits snugly and that any debris or dust does not interfere with the installation process.
Close the door firmly to its frame, and use the tape measure to determine the optimal height for installing the door guard.
Typically, door guards are installed around waist height, but you can adjust this based on your preference and door type.
Once you’ve determined the position, use the pencil to make light, accurate markings on the door and door frame to guide your drilling. These preparations will serve as your reference points throughout the installation process.
Step 2: Assemble the Door Guard Kit
Next, carefully open your door guard kit, making sure all components are accounted for. Lay out the necessary pieces on a flat surface, including the door guard itself, screws, and any mounting hardware provided.
Refer to the instruction manual included in your kit to identify each part and understand their function.
If your kit includes a template for marking drill holes, lay this template on the door and align it with the markings you made in the previous step.
Ensuring you have all parts and understanding their use will streamline the installation process and help prevent any mistakes once you start drilling.
Step 3: Drill Pilot Holes
With the door guard kit components laid out and your drill at hand, it’s time to create pilot holes for the screws. Pilot holes are essential as they guide the screws into the material, making installation easier and preventing the wood from splitting.

Start by aligning the template (if included in your kit) or using the pencil marks you made earlier on the door and door frame.
Position the drill bit accurately on one of the marked spots and drill a hole that is slightly smaller in diameter than the screws provided. Repeat this process for all the identified drilling points on both the door and the frame.
Step 4: Screw the Door Guard on the Door
With the pilot holes drilled, you are ready to attach the door guard to the door. Begin by positioning the door guard over the pilot holes on the door frame, ensuring it aligns with the markings and pilot holes made earlier.
Hold the door guard firmly in place with one hand while you use the screwdriver with the other hand to insert the screws into the pilot holes. Tighten each screw carefully to secure the door guard to the door frame without causing any damage.
Make sure the door guard is firmly attached and properly aligned, as this will ensure its effectiveness in providing security and stability. Proceed to the next section to secure the remaining parts to the door itself, following the same method of alignment and screwing.
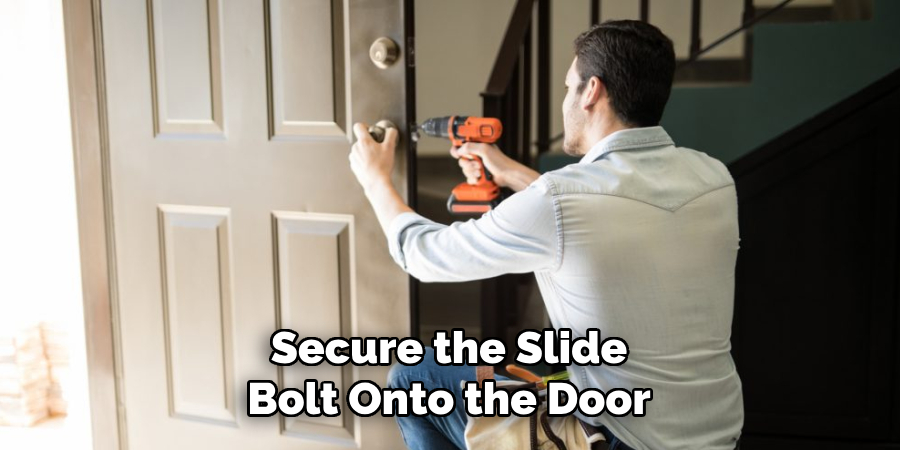
Step 5: Secure the Slide Bolt
After attaching the main body of the door guard to the door frame, the next step is to secure the slide bolt onto the door itself. Start by aligning the slide bolt with the previously drilled pilot holes on the door.
Hold the slide bolt firmly in place and use your screwdriver to insert the screws into the pilot holes. Tighten the screws until the slide bolt is securely fastened, ensuring it aligns perfectly with the main body of the door guard for smooth operation.
It is crucial to make sure that the slide bolt can move freely and lock into place without obstruction. Test the mechanism by sliding the bolt into its engaged and disengaged positions to verify that everything operates correctly.

If necessary, make slight adjustments to the alignment until the slide bolt functions seamlessly. Properly securing the slide bolt is essential for the overall effectiveness and security of the door guard system.
Step 6: Install the Strike Plate
The strike plate is the metal piece that attaches to the door frame and receives the slide bolt when engaged. It provides additional support and stability to the door guard system.
To install the strike plate, hold it securely in place on the door frame, aligning it with the markings you previously made for drilling.
Use your drill to create pilot holes for each screw, then insert and tighten them using a screwdriver. Make sure the strike plate is firmly attached before proceeding to the next step.
Step 7: Check Alignment and Adjust if Necessary
At this point, all the components of the door guard should be attached and secured to their respective positions. It’s essential to check for proper alignment and functioning before considering the installation complete.
Close the door and engage the slide bolt, making sure it fits snugly into the strike plate without any obstruction or resistance.
If there are any issues with alignment or functionality, make minor adjustments until everything operates smoothly.
Step 8: Test Security and Functionality
Once you’ve completed all necessary installations and alignments, it’s time to test the security and effectiveness of your door guard system. Close and lock your door, then attempt to open it from both the inside and outside.
The door guard should prevent any unauthorized entry but also allow for easy opening and closing from the inside when needed.
If you encounter any issues with locking or unlocking, make necessary adjustments to ensure proper functionality.
Following these steps on how to install a door guard carefully will ensure a successful and effective installation of your door guard system.
Remember to always refer to the instruction manual provided in your kit for any specific guidelines or recommendations. With your new door guard installed, you can rest easy knowing your home and loved ones are safer and more secure. Happy drilling!
Frequently Asked Questions
Q: Can I Install a Door Guard by Myself?
A: Yes, you can easily install a door guard on your own by following the steps outlined in this guide. However, it’s always recommended to have an extra set of hands available for assistance and safety reasons.
Q: What Tools Do I Need to Install a Door Guard?
A: The tools required for installing a door guard are usually included in the kit and typically include a drill, screwdriver, and possibly a template for marking drilling points. However, it’s always good to have additional tools such as a pencil and measuring tape, on hand for accuracy.
Q: Can I Install a Door Guard on Any Type of Door?
A: Most door guards are designed to be installed on standard interior or exterior doors made of wood or metal. It’s important to check the specific compatibility of your door guard with the type of door you have before attempting installation.
Final Thoughts
Installing a door guard is an excellent way to enhance security and stability in your home or office.
By following these steps on how to install a door guard carefully and ensuring proper alignment and functionality, you can confidently protect your property while maintaining ease of use for yourself and authorized individuals.
Refer back to this guide anytime you need to install a door guard, and remember always to prioritize safety during installation by using appropriate tools and techniques. So, always take the necessary precautions and seek professional assistance if needed to ensure a successful installation. Happy safeguarding!
About
Safety Fic is a distinguished figure in the world of Diy design, with a decade of expertise creating innovative and sustainable Diy solutions. His professional focus lies in merging traditional craftsmanship with modern manufacturing techniques, fostering designs that are both practical and environmentally conscious. As the author of diy, Safety Fic delves into the art and science of Safety Fic-making, inspiring artisans and industry professionals alike.
Education RMIT University
(Melbourne, Australia) Associate Degree in Design (Safety Fic) Focus on sustainable design, industry-driven projects, and practical craftsmanship. Gained hands-on experience with traditional and digital manufacturing tools, such as CAD and CNC software.
Nottingham Trent University
(United Kingdom) Bachelor’s in diyfastly.com and Product Design (Honors) Specialized in product design with a focus on blending creativity with production techniques. Participated in industry projects, working with companies like John Lewis and Vitsoe to gain real-world insights.
Publications and Impact
In diy, Safety Fic his insights on indoor design processes, materials, and strategies for efficient production. His writing bridges the gap between artisan knowledge and modern industry needs, making it a must-read for both budding designers and seasoned professionals.