

A robust metal gate frame is crucial for both security and aesthetics, providing a durable barrier that enhances the appearance of your property. In residential settings, metal gate frames are often used for driveway gates, garden entrances, and privacy fences, offering a blend of functionality and visual appeal. Commercially, they are a staple for securing business premises, parking lots, and industrial sites, ensuring that only authorized personnel have access.
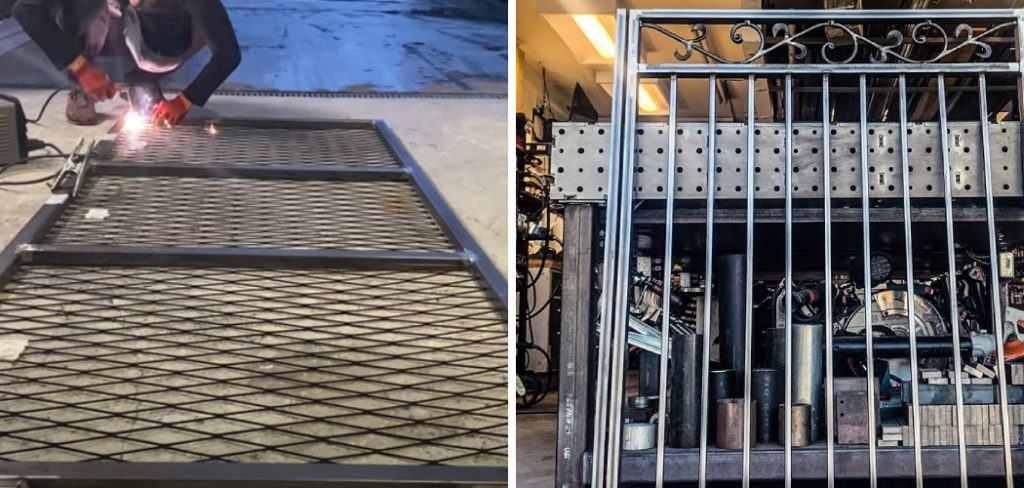
Learning how to build a metal gate frame involves a series of methodical steps, from planning and measuring to cutting, assembling, and finishing. Precision in these steps ensures the frame’s strength and alignment, resulting in a long-lasting structure. This guide will walk you through the process, highlighting key techniques and materials needed for a professional-grade metal gate frame.
Materials and Tools Needed
You’ll need the following materials and tools to build a metal gate frame. Materials: metal tubing (preferably steel or aluminum for durability), welding rods or screws, sturdy hinges, and a reliable latch mechanism. Tools: a welder (or alternatively, a drill with screws), an angle grinder for cutting the metal tubing, a measuring tape for precise measurements, a square to ensure right angles, clamps to hold pieces in place, and essential protective gear such as gloves and a welding mask. Proper preparation with these materials and tools will facilitate a smooth and effective gate frame construction process.
Planning and Design
Measuring the Gate Opening and Determining the Size
The first step in planning and design involves accurately measuring the gate opening. Use a measuring tape to determine the width and height of the area where the gate will be installed. Measuring both the top and bottom widths is essential to ensure consistency and identify any potential differences due to uneven ground or existing structures.
Choosing the Type and Dimensions of Metal Tubing
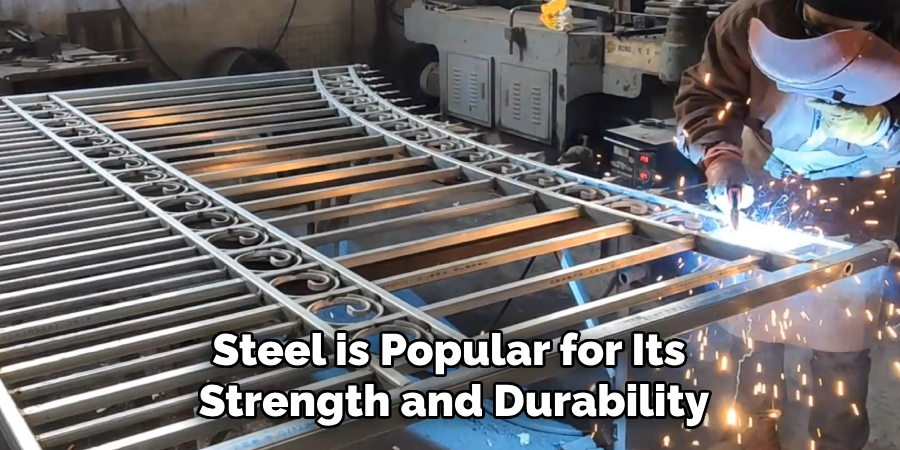
Based on the gate opening size and anticipated load, choose the appropriate type and dimensions of metal tubing. Steel is popular for its strength and durability, though aluminum offers a lighter alternative with good corrosion resistance. Common dimensions for metal tubing range from 1×1 inch to 2×2 inches for standard gate frames, though this can be adjusted based on specific needs and design preferences.
Designing the Gate Frame
Design the gate frame by considering its primary purpose—whether it is purely functional or aims to enhance aesthetic appeal. A simple rectangular frame is a common choice for its straightforward construction and clean lines. However, incorporating features such as decorative scrolls or lattice patterns can add a touch of elegance and personalization.
Creating a Detailed Sketch or Plan with Measurements
Finally, create a detailed sketch or plan that includes all measurements and design elements. This blueprint will serve as a guide throughout the building process, ensuring each piece is cut to the correct length and assembled accurately. Mark all key dimensions, the placement of hinges, latch, cross supports, and any decorative elements to avoid mistakes during construction.
How to Build a Metal Gate Frame: Cutting the Metal Tubing
Measuring and Marking the Metal Tubing According to the Design
Begin by carefully measuring each piece of metal tubing according to the detailed sketch or plan created during the design phase. Use a measuring tape to ensure precise measurements, and mark the cutting points with a pen or chalk. Double-check all measurements before proceeding to avoid any costly mistakes, as even slight errors can affect the overall alignment and functionality of the gate frame.
Using an Angle Grinder or Metal Saw to Cut the Tubing
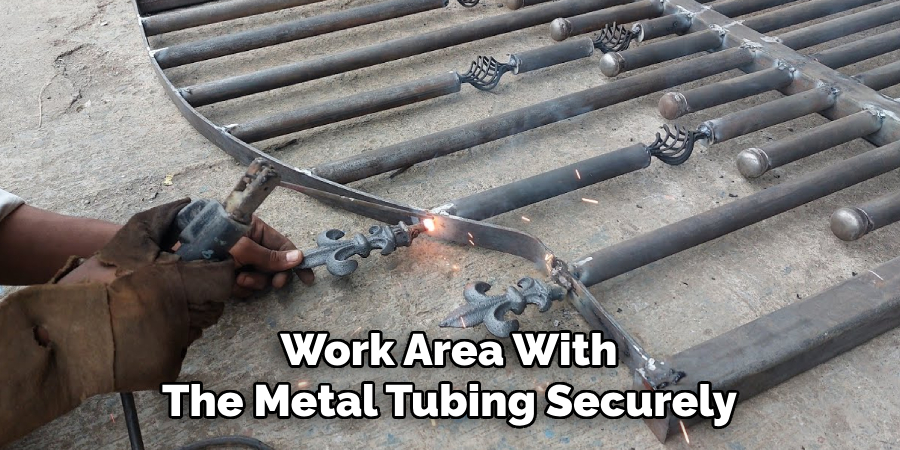
Once the measurements are confirmed, set up your work area with the metal tubing securely clamped in place. Use an angle grinder with a cutting wheel or a metal saw to cut along the marked lines. Keep a steady hand and follow the marked lines closely to achieve clean, accurate cuts. Make sure to wear appropriate protective gear, including safety glasses and gloves, to protect yourself from sparks and metal shards.
Ensuring Accurate and Straight Cuts for Proper Alignment
Ensuring each cut is straight is crucial for the proper assembly and alignment of the gate frame. Misaligned cuts can cause issues in fitting the pieces together, resulting in a weak or unstable frame. Use a square or a metal file to check and adjust the straightness of each cut as needed.
Cleaning and Deburring the Edges of the Cut Pieces
After cutting, the edges of the metal tubing pieces will be rough and may have sharp burrs. Use an angle grinder with a grinding wheel or a metal file to clean and deburr the edges, ensuring they are smooth to the touch. This makes handling the pieces safer and facilitates a snug fit when assembling the frame. Once all pieces are cut and cleaned, they are ready for assembly.
How to Build a Metal Gate Frame: Assembling the Frame
Arranging the Cut Pieces on a Flat Surface According to the Design
Begin by arranging the cut pieces of metal tubing on a flat, sturdy surface following the detailed sketch or plan. Lay out each piece in its designated position, ensuring the correct placement of horizontal and vertical sections as per the design. This visual arrangement helps to verify that all pieces are accurately cut and ready for assembly.
Clamping the Pieces Together to Hold Them in Place
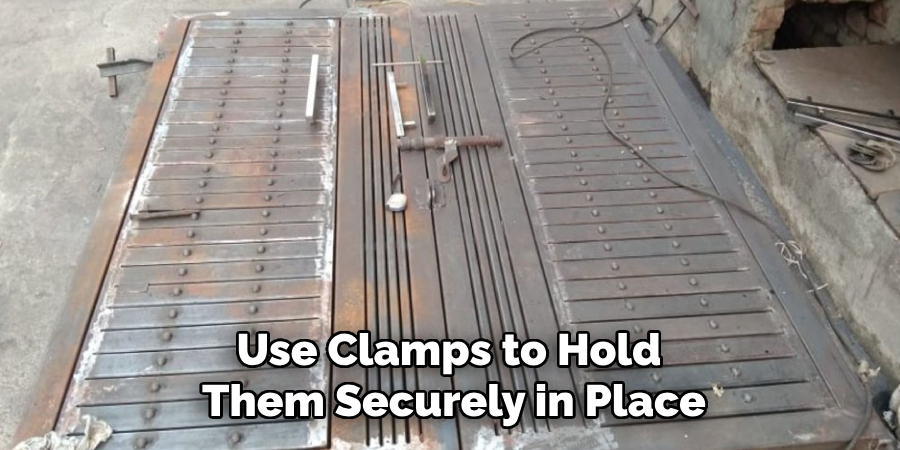
Once the pieces are arranged, use clamps to hold them securely in place. Clamping ensures that the pieces remain steady while you work, preventing any movement that could lead to misalignment. Ensure that the clamps are tight enough to maintain stability without distorting the tubing.
Ensuring the Frame is Square Using a Measuring Tape and Square
Before welding or screwing the frame together, use a measuring tape and carpenter’s square to verify that the frame is perfectly square. Measure the diagonals from corner to corner; if the measurements are equal, the frame is square. Adjust the pieces as necessary to achieve precise alignment, as any deviation can weaken the frame and affect its functionality.
Welding the Corners of the Frame (or Drilling Holes and Securing with Screws)
Depending on your chosen method, proceed with welding or screwing the corners of the frame.
Welding: Tack Welding First to Hold the Pieces, Then Complete the Weld
For welding, begin with tack welds at each corner to hold the pieces together. Tack welding involves creating small, temporary welds to stabilize the frame. Once all corners are tack welded and alignment is confirmed, proceed to complete the welds along each seam. Ensure consistent and clean welds to maintain the frame’s strength and durability.
Screwing: Drilling Pilot Holes and Using Metal Screws to Secure the Corners
For screwing, drill pilot holes at each corner to guide the screws and prevent the metal from splitting. Then, insert metal screws into the pilot holes to securely fasten the corners together. Ensure the screws are tight and flush with the tubing to maintain a robust connection.
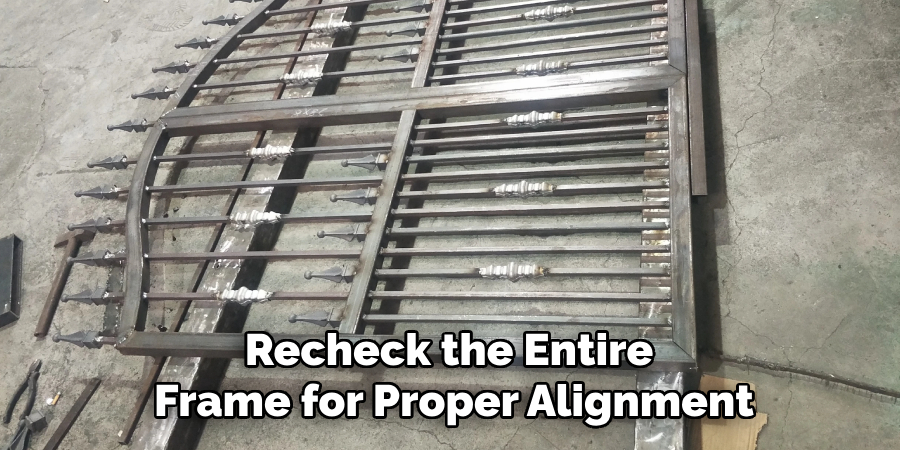
Checking for Proper Alignment and Making Any Necessary Adjustments
After securing the corners, recheck the entire frame for proper alignment. Use the measuring tape and square once more to confirm that the frame remains square and true. Make any necessary adjustments before proceeding to the next steps in the construction process. Ensuring accurate alignment at this stage is crucial for the frame’s overall stability and functionality.
Adding Cross Supports and Bracing
Measuring and Cutting Additional Tubing for Cross Supports or Bracing
To enhance the gate frame’s strength and stability, you must measure and cut additional pieces of metal tubing for cross supports or bracing. Reference your detailed sketch or plan to determine these supports’ exact dimensions and placement. Use a measuring tape to measure the required lengths, and mark the cutting points clearly with a pen or chalk. Double-check your measurements before cutting to ensure accuracy.
Positioning the Supports Within the Frame for Added Strength and Rigidity
Once the additional tubing is cut, position these pieces within the gate frame according to your design. The cross supports should be arranged to provide maximum structural integrity, typically forming an “X” pattern or other configurations as specified in your plan. Ensure that each support fits snugly within the frame and that its placement is consistent with your design.
Welding or Screwing the Supports into Place
With the supports correctly positioned, proceed to secure them to the main frame. If you are welding, begin with tack welds to hold the supports in place before completing the full welds along each junction. If you are using screws, drill pilot holes and insert metal screws to fasten the supports securely. Ensure that each connection is firm to prevent any movement.
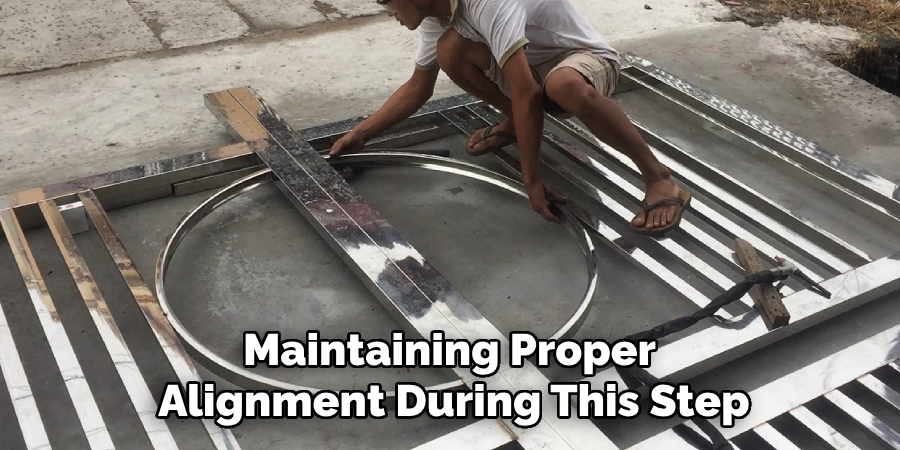
Ensuring the Frame Remains Square and Level Throughout the Process
Continually check to ensure that the frame remains square and level while adding the cross supports. Use a measuring tape, square, and level to confirm alignment and make any necessary adjustments as you proceed. Maintaining proper alignment during this step is essential to the final stability and functionality of the gate frame.
Attaching Hinges and Latch
Determining the Placement of the Hinges and Latch on the Gate Frame
Before attaching the hinges and latch, carefully determine their optimal placement. Typically, hinges are placed near the top and bottom of the gate frame, with an additional hinge in the middle for larger gates to ensure even weight distribution. The latch mechanism should be positioned conveniently for easy access and secure closure, often around waist height.
Welding or Screwing the Hinges onto the Frame
Once the placement is determined, mark the locations for the hinges on the gate frame. If welding, start by tack welding the hinges in place to check for alignment. Once satisfied, complete the welds to securely fasten the hinges. For screwing, drill pilot holes at the marked locations and use metal screws to attach the hinges firmly to the frame. Ensure the hinges are aligned and allow smooth movement.
Attaching the Latch Mechanism in the Desired Location
Next, position the latch mechanism at the marked location on the frame. Align the latch components to ensure they engage correctly. If welding, tack weld the latch in place and verify its functionality before completing the welds. For screwing, drill pilot holes and secure the latch with metal screws. Test the latch to ensure it opens and closes smoothly and securely.
Ensuring the Hinges and Latch are Securely Fastened and Functional
After attaching the hinges and latch, thoroughly inspect each connection for strength and stability. Test the gate several times by opening and closing it to ensure smooth operation and proper alignment. Make any necessary adjustments to guarantee that the hinges and latch are securely fastened and fully functional. Properly installing these components is crucial for the gate’s performance and longevity.
Finishing Touches
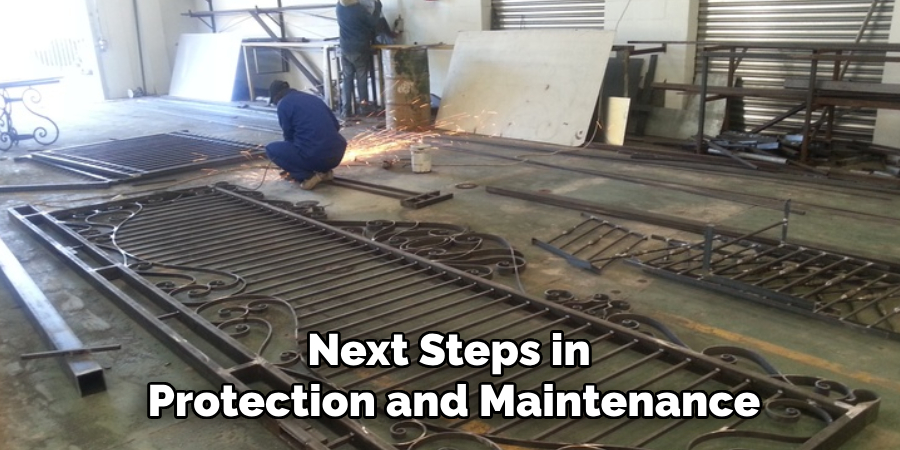
Cleaning the Welded Joints and Removing Any Slag or Spatter
Begin the finishing touches by meticulously cleaning the welded joints. Use a wire brush or slag hammer to remove any slag or spatter that may have accumulated during welding. Clean joints enhance the appearance and prepare the surface for the next steps in protection and maintenance.
Grinding Down Any Rough or Sharp Edges for a Smooth Finish
Next, inspect the frame for any rough or sharp edges. Use a grinder or file to smooth these areas thoroughly. A smooth finish is essential to prevent injuries and provide a polished look to the gate frame, making it both safe and aesthetically pleasing.
Applying a Protective Coating
Apply a protective coating to prevent corrosion and extend the lifespan of the gate frame. Options include paint, primer, or a rust inhibitor. Choose a coating suitable for outdoor use and apply it evenly. This protective layer is a barrier against the elements, safeguarding the metal from rust and wear.
Allowing the Frame to Dry and Cure as Needed
Finally, allow the protective coating to dry and cure according to the manufacturer’s instructions. Proper curing ensures that the coating adheres well to the metal, providing long-lasting protection. Once dried, the gate frame is ready for installation and use.
Installing the Gate
Positioning the Gate in the Opening and Aligning it with the Gate Posts
To install the gate, carefully position it within the opening, ensuring it is aligned with the gate posts. An extra set of hands can be helpful for this step, as the gate needs to be held in place while you make adjustments. Use a level to ensure the gate is vertically straight and properly aligned with the posts.
Attaching the Hinges to the Gate Posts Using Screws or Bolts
With the gate positioned and aligned, the next step is to attach the hinges to the gate posts. Mark the locations of the hinge points on the posts, and then drill pilot holes if necessary. Depending on your preference, use either screws or bolts to secure the hinges firmly to the gate posts. Ensure each hinge is tightly fastened and that the gate remains aligned with the posts throughout the process.
Checking for Proper Alignment and Swing of the Gate
After attaching the hinges, check the gate’s alignment and swing. Open and close the gate several times to ensure it operates smoothly without any obstruction. The gate should swing freely, and the edges should not scrape against the ground or gate posts. Use a level to verify that the gate is still hanging straight, making any necessary adjustments.
Adjusting the Hinges if Necessary to Ensure Smooth Operation
Adjust the hinges if the gate does not swing smoothly or seems misaligned. Loosen the screws or bolts slightly, reposition the gate as needed, and then retighten the fasteners. Ensure that the gate operates smoothly and consistently with each adjustment.
Testing the Latch to Ensure it Locks and Unlocks Properly
Finally, test the latch to confirm that it locks and unlocks properly. The latch should align perfectly with its counterpart and engage securely. Open and close the gate several times, testing the latch with each operation to ensure it functions as intended. Make any necessary adjustments to the latch mechanism to guarantee reliable performance.
Regular Maintenance Tips
Importance of Regular Inspection and Maintenance of the Metal Gate Frame
Maintaining your metal gate frame is essential for its longevity and reliable performance. Regular inspections help identify and address potential issues before they become major problems.
Checking for and Tightening Any Loose Screws or Bolts
Periodically check all screws and bolts, tightening any that have become loose. Ensuring that all fasteners are secure helps maintain the gate’s structural integrity.
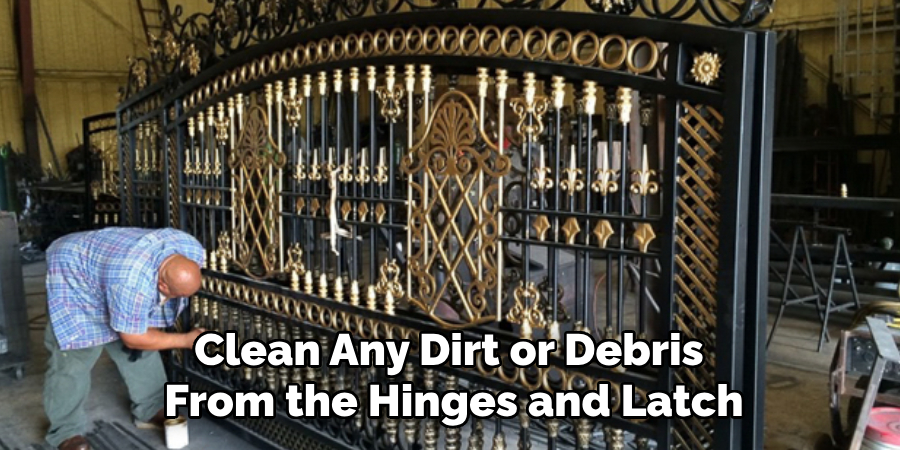
Cleaning and Lubricating Hinges and Latch for Smooth Operation
Clean any dirt or debris from the hinges and latch, then apply a suitable lubricant to these moving parts. This helps to ensure smooth operation and prevents wear.
Reapplying Protective Coating Periodically to Prevent Rust and Corrosion
To protect your gate from rust and corrosion, reapply a protective coating, such as paint or rust inhibitor. This creates a barrier against the elements and extends the life of the metal frame.
Conclusion
Building a sturdy metal gate frame involves several critical steps, including accurate measurements and careful planning. Following the correct process for cutting, welding, and attaching components ensures a durable and functional gate. Proper alignment during installation, combined with securely fastening hinges and latches, is vital for the gate’s smooth operation and longevity. An essential part of learning how to build a metal gate frame is understanding the role of precise measurements and adjustments at each stage.
Regular maintenance, including tightening fasteners, cleaning, lubricating moving parts, and reapplying protective coatings, is crucial in preserving the gate’s structural integrity and appearance. By adhering to these guidelines and committing to consistent upkeep, you can ensure that your metal gate remains a reliable and attractive addition to your property for years to come.
About
Safety Fic is a distinguished figure in the world of Diy design, with a decade of expertise creating innovative and sustainable Diy solutions. His professional focus lies in merging traditional craftsmanship with modern manufacturing techniques, fostering designs that are both practical and environmentally conscious. As the author of diy, Safety Fic delves into the art and science of Safety Fic-making, inspiring artisans and industry professionals alike.
Education RMIT University
(Melbourne, Australia) Associate Degree in Design (Safety Fic) Focus on sustainable design, industry-driven projects, and practical craftsmanship. Gained hands-on experience with traditional and digital manufacturing tools, such as CAD and CNC software.
Nottingham Trent University
(United Kingdom) Bachelor’s in diyfastly.com and Product Design (Honors) Specialized in product design with a focus on blending creativity with production techniques. Participated in industry projects, working with companies like John Lewis and Vitsoe to gain real-world insights.
Publications and Impact
In diy, Safety Fic his insights on indoor design processes, materials, and strategies for efficient production. His writing bridges the gap between artisan knowledge and modern industry needs, making it a must-read for both budding designers and seasoned professionals.