

Do you have multiple people in your home who need access to the Blink camera? It can be a daunting task to add every user manually without messing something up. Fortunately, there are steps that you can take—and we’re here to help walk you through them!
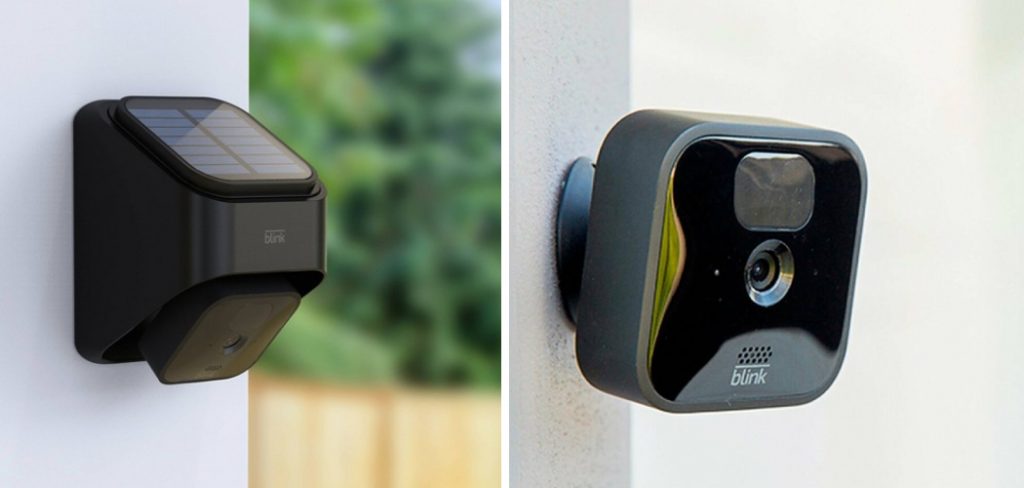
In this blog post, we’ll show you exactly how to add another user to blink so that all parties involved have seamless access and control of their Blink setup. By following our advice, adding users will quickly become a breeze! So if you’re looking for an easy way to share the power of blink with those around you, look no further than this intuitive guide.
Step-by-step Guidelines on How to Add Another User to Blink
Step 1: Open the Blink App
First things first: you’ll want to open up the Blink app on your phone or tablet. Make sure that you’re logged in as the primary user and have access to all of the camera settings. This is important because only the primary user can add new users to the Blink system. If you’re not sure how to do this, there are plenty of helpful tutorials online that can guide you through the process.
Step 2: Navigate to “Manage Account”
Once you have the Blink app open and are logged in as the primary user, navigate to the settings menu by clicking on the three bars in the upper left corner of your screen. From there, you should see an option for “Manage Account”. Click on this to proceed to the next step.
Step 3: Select “Add A User”
In the Manage Account menu, you’ll see a variety of options related to your Blink setup. To add another user, simply select “Add A User” and continue to the next page. You will need to have the email address of the new user in order to proceed. If you do not have their email address, you can also choose to send them an invitation link via text message.
Step 4: Enter New User’s Email
Once you’ve selected “Add A User”, you’ll be taken to a page where you can enter the email address of the new user. Simply type in their email and click “Next” to continue. If this user already has a Blink account, they will be added to your system and given access immediately. If they do not have an account, they will be prompted to create one before gaining access.

Step 5: Confirm New User’s Access
Once the email address has been entered and confirmed, you’ll receive a notification that the new user has been added successfully. You can now log out of the Blink app and let the new user log in with their own account information.
They will now have full access to control your Blink camera system. Make sure to communicate the login information and any necessary guidelines to the new user.
Following these simple steps, you can easily add multiple users to your Blink system without any hassle. Just make sure to keep track of who has access and communicate with all parties involved to ensure a smooth user experience. With this knowledge, you’ll be able to expand the reach of your Blink camera and give others the power to protect their home as well.
So go ahead and share the power of Blink with your loved ones! So, why wait? Add another user to your Blink camera system today and enjoy the added convenience and security that comes with it. Happy Blinking!
Additional Tips and Tricks to Add Another User to Blink
1. When adding another user to your Blink system, make sure that the person you are adding is someone you trust. They will have access to live video feeds and can control the cameras remotely.
2. If you are adding someone who is not tech-savvy, make sure to explain to them the basics of using Blink and how to access the live video feeds. This will help prevent any confusion or mistakes while using the system.
3. You can add multiple users to your Blink system, each with their own login credentials. This allows for better security as each user will have their own unique access to the system.
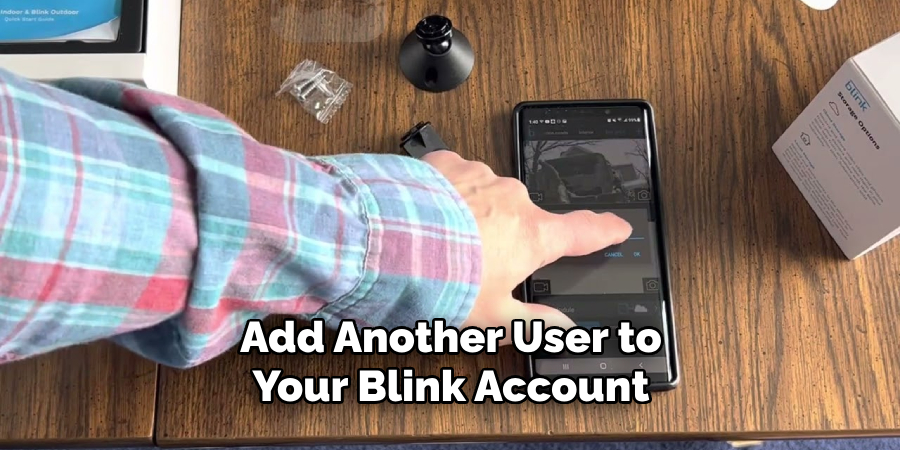
4. To add another user, go to the Blink app and click on the “Manage Account” tab. From there, select “Users” and then click on “Add a User”.
5. You will be asked to enter the email address of the person you want to add as a user. Make sure to double-check the email address to avoid any typos.
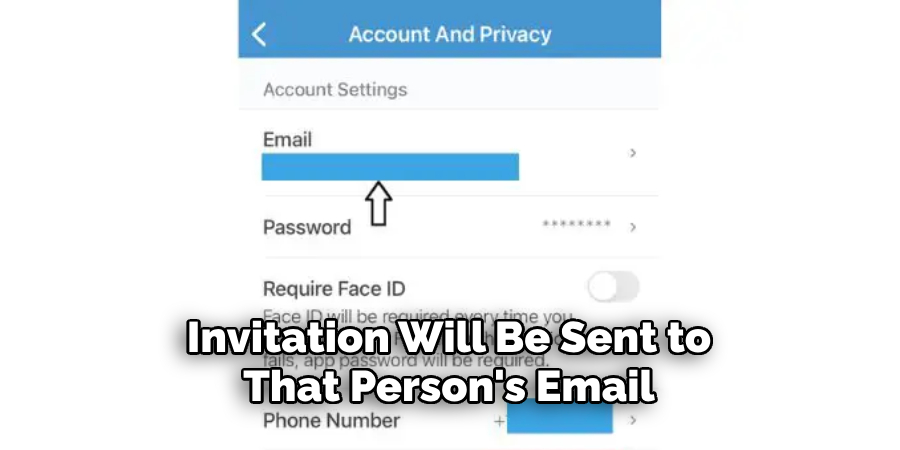
6. Once the email address is entered, click on “Send Invite” and an invitation will be sent to that person’s email. They will need to accept the invitation in order to become a user on your Blink system.
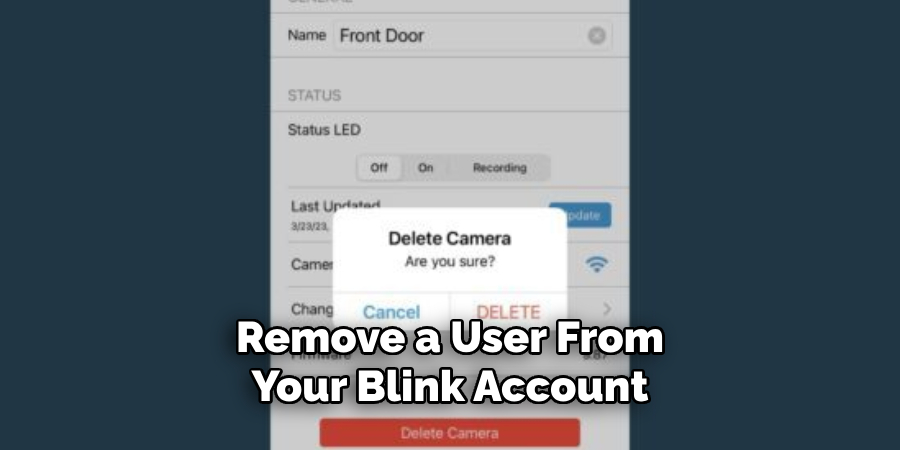
7. If you want to remove a user from your Blink system, simply go back to the “Users” tab and click on the user’s name. From there, select “Remove User” and confirm the action.
8. It is important to regularly review your list of users and remove any that no longer need access to your Blink system. This helps maintain the security of your system and prevents unauthorized access.
9. If you have multiple cameras set up in different locations, you can assign specific cameras to different users. This way, each user will only have access to the cameras that are relevant to them.
10. If you want to add another user but do not want them to have access to live video feeds or control of the cameras, you can give them “guest” access. This allows them to view recorded clips and receive notifications, but they will not be able to control the cameras in any way.
11. Lastly, it is important to educate all users on the importance of protecting their login credentials and keeping them confidential. This helps ensure that only authorized individuals have access to your Blink system.
Following these tips and tricks will help you successfully add another user to your Blink system and maintain the security of your home or business. So, be sure to keep them in mind when adding new users! Happy Blinking!
Things You Should Consider to Add Another User to Blink
1. Understanding Account Types:
Before adding a new user, it’s important to understand the different account types available on Blink. The primary account holder is considered the administrator and has full access to all features of the system. Secondary users have limited access and can only perform certain actions assigned by the administrator.
2. Choosing an Appropriate Account Type:
When adding a new user, it’s important to consider which account type they should have. If the user will need full control over the system, then they should be added as a secondary user. However, if the user will only need access to certain features or devices, then they can be added as a guest user.

3. Setting Up Permissions:
As the administrator, you have the ability to control what actions each user can perform on the system. This includes options such as arming/disarming the system, accessing live video feeds, and managing devices. It’s important to carefully consider which permissions to grant each user, as it directly impacts their level of access and control over the system.
4. Communicating with the New User:
Before adding a new user to Blink, it’s important to communicate with them about their role and responsibilities. This will help ensure that they understand their access and any expectations or rules set by the administrator. It’s also important to provide them with any necessary login information or instructions on how to access the system.
5. Adding the New User:
Once you have determined the appropriate account type and permissions for the new user, it’s time to add them to Blink. This can be done through the “Add a User” option in your account settings. Simply enter the user’s email address and select their account type, then click “Send Invitation”. The new user will receive an email with instructions on how to create their account and access the system.
Following these considerations will help ensure a smooth and efficient process when adding another user to Blink. It’s important to carefully consider the account type, permissions, and communication with the new user in order to maintain security and functionality within the system. So, it is always recommended to follow these steps while adding a new user to Blink.
Frequently Asked Questions
How Do I Add Another User to My Blink Account?
To add another user to your Blink account, you will first need to log into your account on the Blink website. Once logged in, go to the Account Settings page and click on the “Add Another User” button. You will then be prompted to enter the email address of the person you want to add. Once you have entered their email address, click on the “Send Invite” button.
Will The New User Have Access to All My Blink Cameras?
Yes, once the new user has accepted your invitation and created their own account, they will have access to all of the cameras associated with your Blink account. However, you can choose which specific cameras you want them to have access to by going to the Camera Settings page and selecting “Share Camera” next to the specific camera you want them to have access to.
Can I Set Restrictions for The New User’s Access?
Yes, you can set restrictions for the new user’s access by creating a sub-account for them. This will allow you to limit their access to certain cameras or features within your Blink account. To create a sub-account, go to the Account Settings page and click on “Manage Sub-Accounts”.
What If The New User Already Has Their Own Blink Account?
If the new user already has their own Blink account, they can simply accept your invitation and the cameras associated with your account will be added to their existing account. They will still have access to their own cameras and can switch between accounts via the Blink app or website.
Can I Add Multiple Users to My Blink Account?
Yes, you can add multiple users to your Blink account by following the same process of sending invitations. Each user will have their own unique login information and can access the cameras associated with their account. However, keep in mind that each additional user will count towards your Blink subscription plan and may result in additional fees.
How Do I Remove a User from My Blink Account?
To remove a user from your Blink account, go to the Account Settings page and click on “Manage Sub-Accounts”. From there, you can select the specific user you want to remove and click on “Delete Account”. You can also revoke a user’s access to your cameras by going to the Camera Settings page and clicking on “Revoke Access” next to their name.
Conclusion
Now you know how to add another user to blink and manage their access to your cameras. By following these steps, you can easily share your Blink account with friends or family members, allowing them to monitor and control your cameras as well.
Just remember to keep track of the number of users on your account to avoid any additional fees. Stay safe and secure with Blink! So, feel free to add more users and stay connected with your loved ones!
About
Safety Fic is a distinguished figure in the world of Diy design, with a decade of expertise creating innovative and sustainable Diy solutions. His professional focus lies in merging traditional craftsmanship with modern manufacturing techniques, fostering designs that are both practical and environmentally conscious. As the author of diy, Safety Fic delves into the art and science of Safety Fic-making, inspiring artisans and industry professionals alike.
Education RMIT University
(Melbourne, Australia) Associate Degree in Design (Safety Fic) Focus on sustainable design, industry-driven projects, and practical craftsmanship. Gained hands-on experience with traditional and digital manufacturing tools, such as CAD and CNC software.
Nottingham Trent University
(United Kingdom) Bachelor’s in diyfastly.com and Product Design (Honors) Specialized in product design with a focus on blending creativity with production techniques. Participated in industry projects, working with companies like John Lewis and Vitsoe to gain real-world insights.
Publications and Impact
In diy, Safety Fic his insights on indoor design processes, materials, and strategies for efficient production. His writing bridges the gap between artisan knowledge and modern industry needs, making it a must-read for both budding designers and seasoned professionals.