

Are you looking for a smart security solution that fits your budget and is easy to set up? Well, look no further than Blink Cameras! Not only are these cameras affordable, but they also offer simplicity when it comes to setup – plus, with the help of Homekit, you can add them directly into your home’s existing security structure.
In this blog post on how to add blink cameras to homekit, we’ll be breaking down how to easily add Blink Cameras into Homekit so you can start using all their amazing features at their fullest potential. So read on if you’re interested in upping your home’s security game!
Necessary Equipment
Before we dive into the process of adding Blink Cameras to Homekit, let’s make sure you have everything you need. Of course, you’ll need:
- A Blink Camera (or Multiple, if You’re Setting Up a Whole System)
- The Blink App Installed on Your Phone
- An Apple Device With Homekit Capability
- A Wifi Connection
Safety Measures
Before we begin, let’s talk about safety for a second. It’s important to turn off your camera’s power before attempting to connect it to Homekit. This not only ensures your safety but also protects the device from any potential damage.
So make sure you disconnect the camera from its power source before proceeding. If your camera is battery-powered, make sure to remove the batteries. But don’t worry, we’ll be sure to remind you of this step as we go through the setup process.
11 Step-by-step Guidelines on How to Add Blink Cameras to Homekit
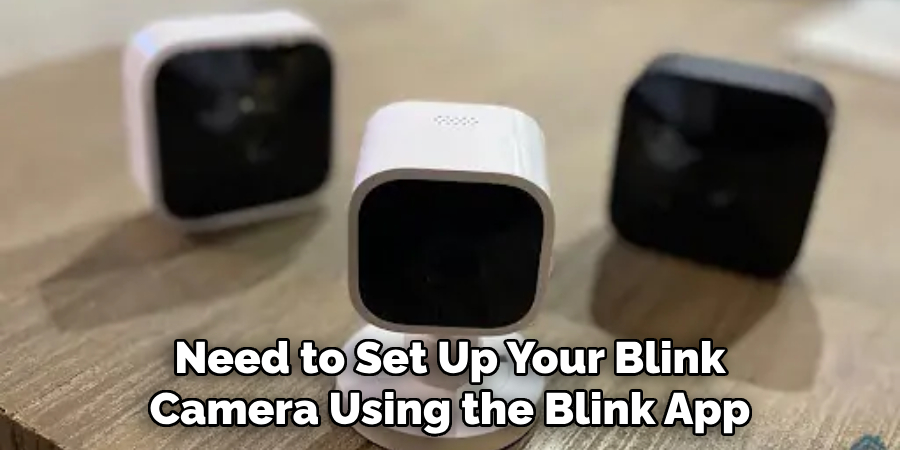
Step 1: Setting Up Your Blink Camera
First things first, you’ll need to set up your Blink Camera(s) using the Blink App. This includes connecting the camera(s) to your Wi-Fi network and naming them accordingly.
It’s a pretty straightforward process and the app will guide you through it. But if you do run into any issues, make sure you check out Blink’s support page or reach out to their customer service for assistance.
Step 2: Connecting Your Camera to Homekit
Once your camera is set up and connected to wifi, open the Apple Home App on your device. Tap on the “+” sign in the top right corner and then select “Add Accessory.” From there, follow the prompts to add your Blink Camera(s). It may take a few moments for the camera to appear, but once it does, select it and hit “Continue.”
Step 3: Scanning Your Camera’s Homekit Code
Next, you’ll be prompted to scan your Blink Camera’s Homekit code. This can be found on the back of your camera or in the packaging. Make sure to hold your device steady while scanning and keep the camera within range of your Wi-Fi network. Otherwise, you may encounter errors. But don’t worry, you can always manually enter the code if needed.
Step 4: Naming Your Camera
After successfully scanning the Homekit code, you will be asked to give your camera a name. This is where you can get creative and choose something that makes sense for where the camera is located or what it’s monitoring. For example, “Front Door” or “Living Room Window.” It’s important to choose a unique name for each camera if you have multiple.
Step 5: Assigning the Camera to a Room
Now, you can assign your camera to a specific room in your house. This will help you keep track of where each camera is located and make it easier to manage them through the Home app. Simply select the appropriate room from the dropdown menu or create a new one if needed. This step is optional, but highly recommended for organization purposes.
Step 6: Adding Your Camera to Your Homekit Network
Once you’ve named and assigned your camera, it will be added to your Homekit network. You can now view the live feed from your Blink Camera through the Home app or ask Siri to show you the footage on any compatible Apple device. It’s that easy! But we’re not done yet, there’s more you can do to enhance your Blink Camera experience on Homekit.
Step 7: Setting Up Automation and Notifications
With Homekit, you can set up automation for your Blink Cameras based on different triggers such as motion detection or time of day. You can also receive notifications directly to your Apple devices when the camera detects movement or sound. Just go into the “Automation” tab in the Home app and follow the prompts to set up these features.
Step 8: Adding Your Camera to Scenes
Another useful feature of Homekit is being able to control multiple smart devices at once through scenes. You can create a scene that turns on your Blink Cameras along with other smart home accessories (such as lights or door locks) when you leave the house, for example.
Just go to the “Scenes” tab in the Home app and select “Add Scene.” From there, you can choose which devices you want to include and what actions they should perform.
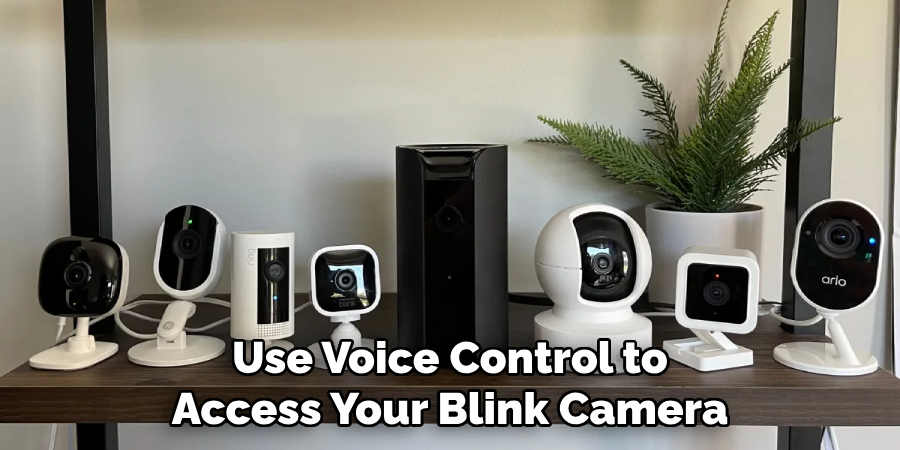
Step 9: Using Voice Control
If you have a compatible Apple device with Siri enabled, you can also use voice control to access your Blink Camera(s). Simply say “Hey Siri, show me [camera name]” and you’ll be able to see the live feed right on your device.
This is especially convenient if your hands are full or if you’re not near your phone. You can also use voice commands to turn your cameras on and off or switch between them if you have multiple.
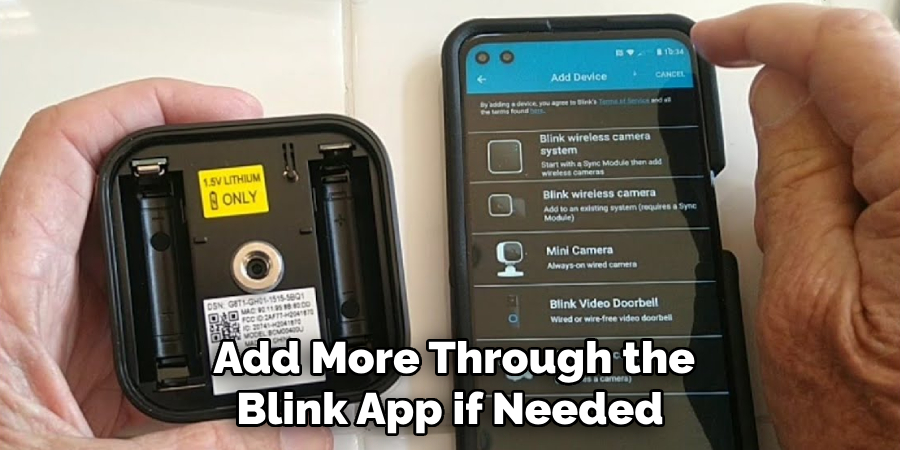
Step 10: Adding More Cameras
If you have more than one Blink Camera, you can add them to Homekit following the same process as above. Just make sure each camera has a unique name and is assigned to a different room for easier management.
It’s also worth noting that you can only add up to 10 cameras to Homekit. But don’t worry, you can always add more if needed through the Blink App.
Step 11: Troubleshooting Tips
While adding Blink Cameras to Homekit is usually a smooth process, there may be times when you encounter errors or issues. If this happens, make sure to check that your camera is connected to wifi and within range. You can also try restarting the device or unplugging it and plugging it back in. If all else fails, you can reach out to Blink’s customer support for further assistance.
Following these simple steps on how to add blink cameras to homekit, you can easily add Blink Cameras to your Homekit network and enhance your home’s security with ease. So why wait? Set up your cameras today and start enjoying the convenience and peace of mind that comes with being able to monitor your home from anywhere.
And don’t forget, there are plenty of other smart devices that work with Homekit, so consider adding more to fully utilize its capabilities! Happy securing!
Frequently Asked Questions
Q1: How Many Blink Cameras Can I Add to Homekit?
A: You can add up to 10 Blink Cameras to your Homekit network. But you can always add more through the Blink App if needed. It’s important to note that Homekit has a limit of 100 devices in total, so make sure to keep track of how many you have connected.
Q2: Can I Access My Blink Camera(s) Remotely?
A: Yes! With Homekit, you can access your cameras from anywhere as long as you have an internet connection. This means you can check in on your home while away or even when you’re at work.
Q3: Do All Blink Cameras Work with Homekit?
A: Currently, only the indoor and outdoor Blink Cameras (Blink Indoor, XT, and XT2) are compatible with Homekit. Other models such as the Mini and Mini Pro do not support it at this time.
Q4: Can I Add Blink Cameras to Multiple Homes on Homekit?
A: Yes, you can! If you have multiple homes set up on your Homekit network, you can add Blink Cameras to each one separately. This is great for those who have a vacation home or rental property they want to monitor.
Conclusion
Overall, setting up your home with a series of Blink Security Cameras and connecting them to HomeKit is a great way to ensure your home is always secure and monitored. Not only is it simple to set up and operate, but the reliable motion sensing detects when something unexpected happens and notifies you of the event. With secure video storage capabilities through an iTunes account, you can easily access your recorded footage should you ever need to review it.
Furthermore on how to add blink cameras to homekit, integrating this system with HomeKit provides additional layers of safety and security in any home environment — including remote access capabilities that make it easier than ever for homeowners to monitor their homes when they’re away.
If you’ve been considering ways to fortify your home’s security, adding HomeKit-connected Blink cameras might just be exactly what you’re looking for. Why not give it a try today?
About
Safety Fic is a distinguished figure in the world of Diy design, with a decade of expertise creating innovative and sustainable Diy solutions. His professional focus lies in merging traditional craftsmanship with modern manufacturing techniques, fostering designs that are both practical and environmentally conscious. As the author of diy, Safety Fic delves into the art and science of Safety Fic-making, inspiring artisans and industry professionals alike.
Education RMIT University
(Melbourne, Australia) Associate Degree in Design (Safety Fic) Focus on sustainable design, industry-driven projects, and practical craftsmanship. Gained hands-on experience with traditional and digital manufacturing tools, such as CAD and CNC software.
Nottingham Trent University
(United Kingdom) Bachelor’s in diyfastly.com and Product Design (Honors) Specialized in product design with a focus on blending creativity with production techniques. Participated in industry projects, working with companies like John Lewis and Vitsoe to gain real-world insights.
Publications and Impact
In diy, Safety Fic his insights on indoor design processes, materials, and strategies for efficient production. His writing bridges the gap between artisan knowledge and modern industry needs, making it a must-read for both budding designers and seasoned professionals.