

Blink systems have quickly become a popular choice to improve home security. The system is affordable, easy to install, and works efficiently. However, one thing that many homeowners want to add to their Blink system is a camera. Fortunately, it’s easy to integrate a camera into your Blink system, and in this blog post, we will show you how to add camera to blink system.
Can You Add a Camera to The Blink System?
Home security has become a top priority for many homeowners, and the Blink system has become a popular choice for its easy set-up and efficient features. But some may wonder, can you add a camera to the Blink system? The short answer is yes.
Blink offers a wide range of compatible cameras, including indoor and outdoor options, that can be easily integrated into your Blink system. With the ability to watch live footage and receive alerts, the addition of a Blink camera gives you even more control over your home’s security. So whether you want to keep an eye on your front porch or check on your pets while you’re away, adding a camera to your Blink system is worth considering.
Why Should You Add a Camera to The Blink System?
Are you looking to enhance the security of your home or office without breaking the bank? Then look no further than the Blink system. Adding a camera to the Blink system lets you keep a watchful eye on your property from anywhere in the world, thanks to the system’s mobile app. Instant motion alerts will notify you of any suspicious activity, and with two-way audio,
you can communicate with whoever is on your property in real time. Plus, with no monthly fees or contracts, the Blink system is a cost-effective choice for anyone looking to boost their security. So don’t wait any longer; add a camera to your Blink system today and enjoy peace of mind knowing that your property is always under surveillance.
How to Add Camera to Blink System and Increase Your Home Security
Step 1: Choose the Right Camera
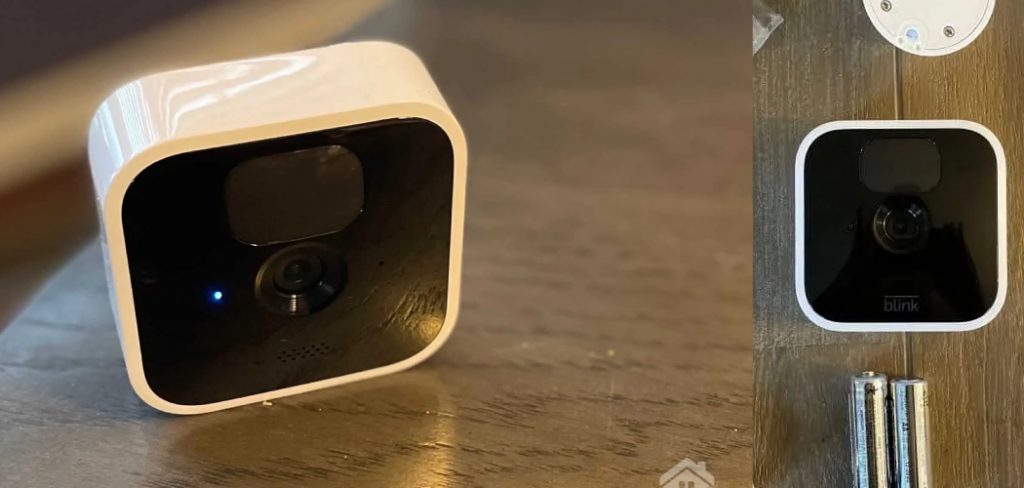
The first step to adding a camera to your Blink system is picking the right one for your needs. Blink has a line of cameras, but if you want to use a different one, ensure it’s compatible with Blink. You can choose from indoor, outdoor, and other types of cameras, depending on where you want to use them.
Step 2: Connect the Camera
Once you’ve picked your camera, it’s time to connect it to your Blink system. Open the Blink app and go to the “Settings” menu. Click “Add Camera” in the settings menu and follow the instructions. Ensure that the new camera is placed within range of your home Wi-Fi network for a stable connection.
Step 3: Configure the Camera
After successfully connecting the camera to the Blink system, it’s time to configure the settings. You can adjust the motion sensitivity, the camera’s field of view, and other settings according to your preferences. With the app, you can also access live footage of your camera anytime and anywhere.
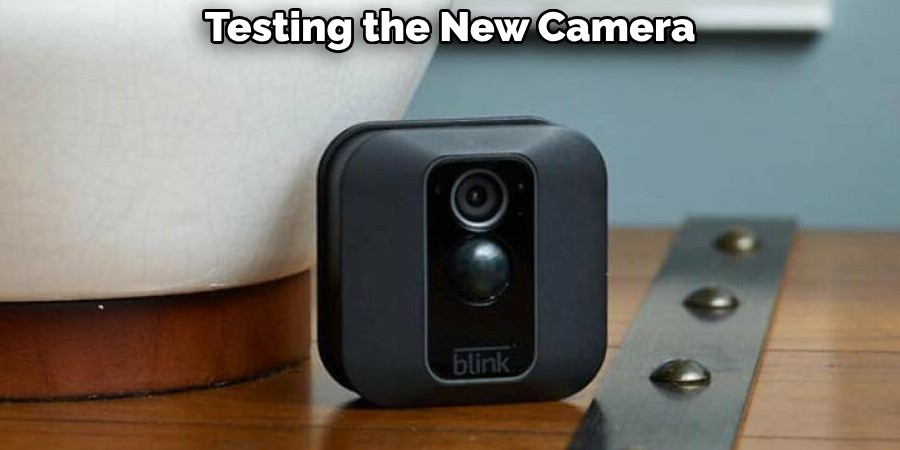
Step 4: Test the Camera
Testing the new camera once it’s set up and configured is essential. Put it in different positions and angles to ensure it covers the areas you intend to protect. Check the live feed to ensure it’s streaking correctly and that you can receive notifications when the camera detects movement or activity.
Step 5: Expand the System
Next, you can always expand your Blink system. Suppose your home security needs grow; you can add more cameras or other Blink devices such as a doorbell, weatherproof security camera, etc. With more Blink devices, you get a more comprehensive safety net. Adding new cameras follows the same process as described in steps 1-4.
Step 6: Utilize Advanced Features
Blink’s advanced features allow you to make the most out of your system. You can set up schedules for when your camera should be on and off, create motion zones, or enable two-way audio for communication. These features are accessible through the app, making it easy to customize your system according to your needs.
Step 7: Troubleshoot Any Issues
In case you encounter any issues while adding a camera or using the Blink system, there are various troubleshooting steps you can follow. These include resetting the camera, checking for firmware updates, and ensuring that all devices are connected to a stable Wi-Fi network. If the issue persists, you can contact Blink’s customer support for further assistance.
5 Considerations Things When You Need to Add Camera to Blink System
1. Compatibility
The first consideration when adding a camera to your Blink system is whether it is compatible with the existing system. Every Blink camera has its own unique features and capabilities, so it’s important to make sure that the new camera is compatible with your existing setup. Additionally, you should check to see if any additional hardware or software is required for the new camera to work properly.

2. Location
The second consideration when adding a camera to your Blink system is where you want to place it. Consider factors such as lighting, angle of view, and distance from other cameras when deciding on a location for your new camera. You also need to be aware of any potential obstructions that could block the camera’s view or interfere with its operation.
3. Power Source
The third consideration when adding a camera to your Blink system is how you will power it. Batteries power most Blink cameras, but some models require an AC adapter or other external power source in order to operate properly. Ensure you have the necessary power source before installing the new camera.
4. Network Connection
The fourth consideration when adding a camera to your Blink system is how it will be connected to your home network. If you already have an existing Wi-Fi network, then you can simply connect the new camera directly to it using an Ethernet cable or wireless connection. However, if you do not have an existing network, then you may need to purchase additional equipment for the new camera to connect properly.
5. Storage Capacity
The fifth and final consideration when adding a camera to your Blink system is how much storage capacity you need for storing recorded video footage from the new device. All Blink cameras come with their own internal storage capacity, but this may not be enough, depending on how much footage you plan on recording each day or week. Consider purchasing additional storage devices, such as an external hard drive or cloud service, to ensure your footage can be safely stored and accessed whenever needed.
Benefits of Add Camera to Blink System
Many homeowners turn to home security systems to protect their homes and families. One popular choice is the Blink System, which offers both indoor and outdoor cameras, motion detection, and remote monitoring.
However, many users have found that adding a camera to their Blink system can provide even more benefits. One of the most notable benefits is increased visibility – by adding another camera, users can get more property coverage and better monitor potential threats. Additionally, having an extra camera can also provide peace of mind, knowing that every corner of the home is being watched. Overall, the benefits of adding a camera to a Blink system are numerous and can greatly enhance the security of a home.
3 Common Mistakes People Make When Trying to Add Camera to Blink System
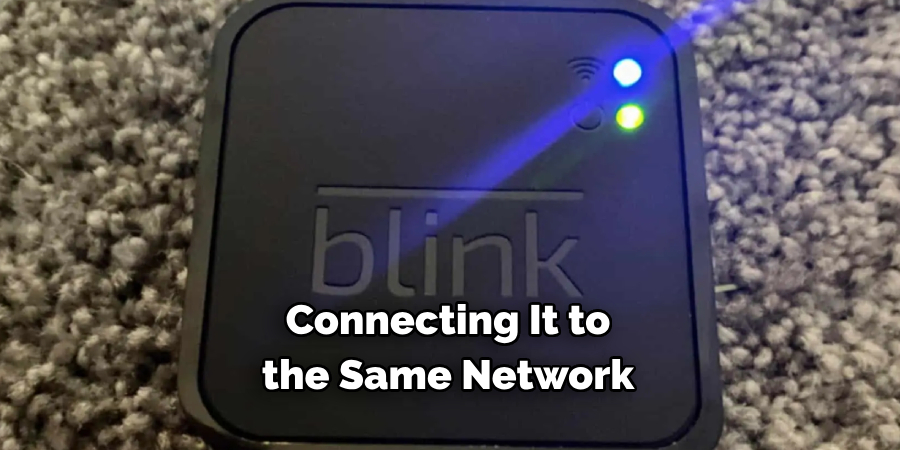
1. Not Connecting to the Same Network
One of the most common mistakes people make when trying to add a camera to their Blink system is not connecting it to the same network as the Blink system. For the camera to communicate with the Blink system, they must be connected to the same network. If they are not connected to the same network, then the camera will not be able to communicate with th
e Blink system and cannot streak video or audio.
2. Not Installing and Installing App
Another mistake people often make when trying to add a camera to their Blink system is forgetting to install and install the app on their mobile devices. The app is necessary for users to view live videos from their cameras and control them remotely. Users cannot access any of these features without installing and installing this app.
3. Not Setting Up Motion Detection
The final mistake people often make when trying to add a camera to their Blink system is forgetting to set up motion detection. Motion detection allows users to receive notifications whenever motion is detected by one of their cameras, allowing them to stay informed about what’s happening around their home or business, even when they’re away. Users won’t get these notifications without setting up motion detection and may miss important events while away from home or work.
Conclusion
Now you know how to add a camera to your Blink system. With a camera, you have an extra layer of security and peace of mind to access any time, anywhere. If you haven’t tried Blink yet, now is the time. With its affordability, easy installation, and now add-ons like cameras, Blink makes it easy for everyone to keep their homes safe and secure. Thanks for reading our post about how to add camera to blink system.
About
Safety Fic is a distinguished figure in the world of Diy design, with a decade of expertise creating innovative and sustainable Diy solutions. His professional focus lies in merging traditional craftsmanship with modern manufacturing techniques, fostering designs that are both practical and environmentally conscious. As the author of diy, Safety Fic delves into the art and science of Safety Fic-making, inspiring artisans and industry professionals alike.
Education RMIT University
(Melbourne, Australia) Associate Degree in Design (Safety Fic) Focus on sustainable design, industry-driven projects, and practical craftsmanship. Gained hands-on experience with traditional and digital manufacturing tools, such as CAD and CNC software.
Nottingham Trent University
(United Kingdom) Bachelor’s in diyfastly.com and Product Design (Honors) Specialized in product design with a focus on blending creativity with production techniques. Participated in industry projects, working with companies like John Lewis and Vitsoe to gain real-world insights.
Publications and Impact
In diy, Safety Fic his insights on indoor design processes, materials, and strategies for efficient production. His writing bridges the gap between artisan knowledge and modern industry needs, making it a must-read for both budding designers and seasoned professionals.