

Adding safety film to safety glass is a straightforward process that enhances the durability and protective qualities of glass surfaces. Safety film provides an additional layer of security by reducing the risk of shattering and holding broken glass fragments in place. This can be especially beneficial in homes, offices, or areas prone to accidents or severe weather.
By following a few key steps on How to add safety film to safety glass, you can effectively apply safety film to ensure your glass surfaces are safer and more reliable.
Why Add Safety Film to Safety Glass?
There are several reasons why adding safety film to safety glass is a smart decision. Firstly, it provides an added layer of protection against breakage and shattering. This can be especially beneficial in areas with high foot traffic or where accidents are more likely to occur.
Secondly, safety film can prevent injuries from broken glass fragments. In the event of an accident or severe weather, the film will hold the shattered glass pieces in place rather than allowing them to scatter and potentially harm people nearby.
Additionally, applying safety film to your windows can make them more secure against break-ins and theft. The strong adhesive used to attach the film makes it difficult for intruders to break through the glass, deterring potential burglars.
Lastly, safety film can also help protect against UV rays and improve energy efficiency. Some safety films have built-in UV protection, which can reduce the fading of furniture and fabrics inside your home or office. Additionally, the film acts as an insulator, keeping heat out during hot weather and trapping warmth inside during colder months.
8 Steps for Adding Safety Film to Safety Glass
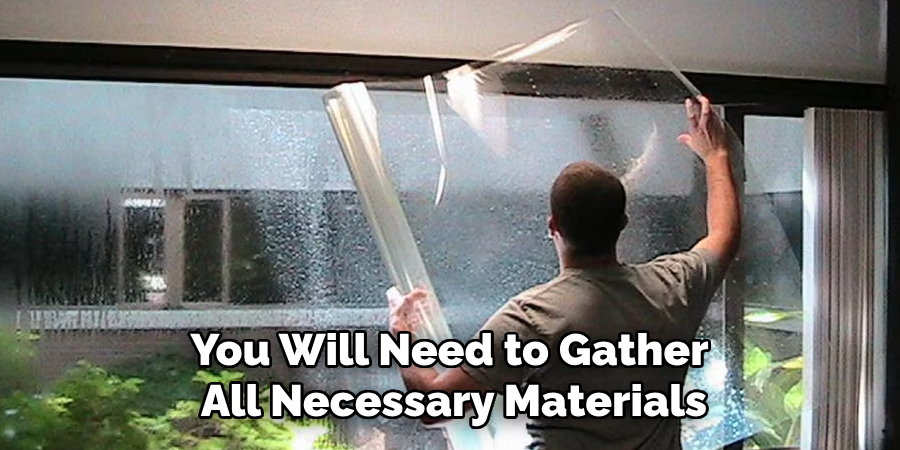
Step 1: Gather Materials
Before beginning the process of adding safety film to your safety glass, you will need to gather all necessary materials. These may include:
Safety Film:
Choose a high-quality safety film that is specifically designed for glass surfaces. Measure the size of your windows or glass surfaces to determine how much film you will need. It’s recommended that extra film be purchased in case of any mistakes or errors during the application process.
Cleaning Supplies:
Make sure to have a glass cleaner, lint-free cloth, and a razor blade on hand. These will be used to thoroughly clean the glass surface before applying the film.
Spray Bottle:
Fill a spray bottle with water and add a few drops of soap. This will be used later in the application process.
Step 2: Clean the Glass Surface
Properly cleaning the glass surface is a crucial step to ensure that the safety film adheres correctly. Begin by using a glass cleaner and a lint-free cloth to remove any dust, dirt, or smudges from the surface. Pay extra attention to the edges and corners, as these areas often collect debris. For stubborn residues, use a razor blade to gently scrape them away, being careful not to scratch the glass.
Once the surface is spotless, wipe it down with a clean, damp cloth to remove any remaining cleaner. Allow the glass to completely dry before proceeding to the next step. A clean and dry surface is essential for a smooth and effective application of the safety film.
Step 3: Measure and Cut the Film
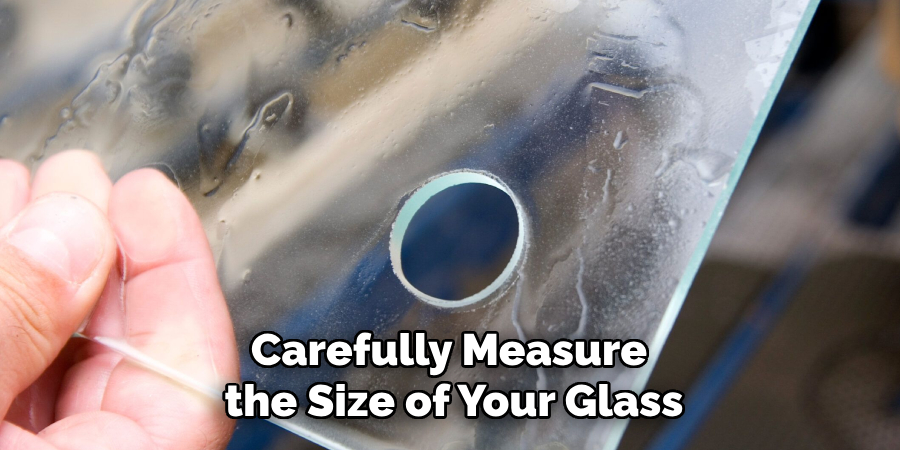
Carefully measure the size of your glass surface and add an extra inch to each side. This will allow for any minor mistakes during the application process. Lay the film on a flat, clean surface with the adhesive side facing up. Mark off the measurements of your glass surface on the film using a ruler and a pen.
Using scissors or a utility knife, carefully cut along the marked lines to create your safety film pieces. If you have multiple windows or glass surfaces to cover, label each piece with the corresponding area to avoid confusion during application.
Step 4: Prepare the Film for Application
Once you have your film pieces cut and labeled, it’s time to prepare them for application. Lay each piece on a flat surface with the adhesive side up and use a spray bottle filled with water and soap to lightly mist the surface. This will help prevent air bubbles from forming under the film.
The adhesive side of the film may also have a protective backing, which should be removed before application. Carefully peel away the backing, being cautious not to touch the adhesive surface.
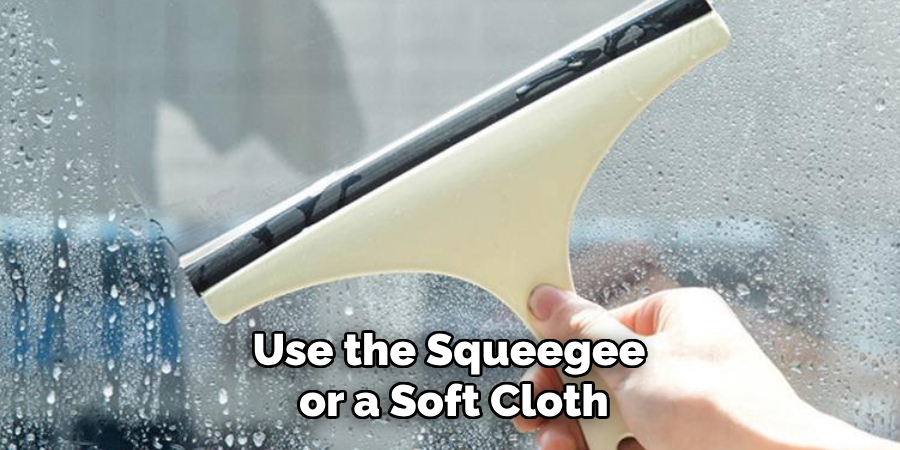
Step 5: Apply the Film
Carefully align the film with one edge of your glass surface and slowly begin pressing it into place. Use a squeegee or credit card wrapped in a soft cloth to smooth out any air bubbles as you go. Be sure to work from the center outward to ensure all air is pushed out from under the film.
Continue this process until the entire piece of film is attached to the glass. If you encounter any stubborn air bubbles, use a razor blade to carefully pop them and smooth out the film.
Step 6: Trim the Edges
Once the film has been fully applied and smoothed onto the glass surface, it’s time to trim the excess edges for a clean, polished look. Use a sharp utility knife or razor blade and carefully run it along the edge of the glass to cut away the extra film. Make sure to keep the blade at a slight angle and use slow, steady motions to avoid tearing or uneven cuts.
After trimming, inspect the edges to ensure the film lays flat and is properly secured. If needed, use the squeegee or a soft cloth to press down the edges and eliminate any tiny air pockets that might have formed during the trimming process. Properly trimmed edges will not only improve the appearance but also help the film adhere more effectively over time.
Step 7: Repeat the Process
If you have multiple windows or glass surfaces to cover, repeat the above steps for each one. Take your time and make sure to properly measure, cut, and apply the film for a secure and professional finish.
It’s also important to properly label each piece of film and keep them in order as you work through the process. This will help ensure that each window or glass surface receives the correct size and shape of the film.
Step 8: Allow Time to Dry
After completing all windows or glass surfaces, allow at least 24 hours for the safety film to fully dry and adhere to the glass surface. During this time, avoid touching or moving the film as it may cause air bubbles or wrinkles. Once dry, your newly added safety film will provide protection and peace of mind for years to come.
Following these steps on How to add safety film to safety glass and taking the necessary time and care in the application process will ensure that your safety film is properly applied and provides all of its intended benefits. Remember to regularly clean and maintain the film for optimal performance and longevity. Stay safe!
Additional Tips
- It’s best to apply safety film on a calm day with moderate temperatures. Extreme heat or cold can affect the effectiveness of the film’s adhesive.
- If you have a large glass surface to cover, consider enlisting the help of a friend or family member to make the application process easier and more efficient.
- For added protection and privacy, consider choosing a tinted safety film for your windows or glass surfaces.
- Safety film is not just for windows! It can also be applied to glass doors, shower doors, and other glass surfaces that may pose a safety concern.
- Always read and follow the manufacturer’s instructions before applying safety film to ensure proper installation.
- In case of any mistakes or errors during application, extra pieces of safety film can be purchased and applied to the affected areas.
- Don’t forget to regularly check and replace your safety film if it becomes damaged or worn out over time.
Frequently Asked Questions
Q1: Can Safety Film Be Applied on Any Type of Glass Surface?
A1: Safety film is most effective when applied on tempered or safety glass, but it can also be used on regular glass surfaces. However, the level of protection may vary. Be sure to check with the manufacturer’s instructions before applying safety film on non-tempered glass surfaces.
Q2: Does Safety Film Affect Visibility or Light Transmission?
A2: Most safety films are designed to be transparent and will not affect visibility or light transmission. However, tinted safety film options are available if you prefer a darker shade for your windows or glass surfaces.
Q3: How Long Will Safety Film Last?
A3: With proper installation and maintenance, the safety film can last for several years. However, extreme weather conditions or frequent cleaning may cause the film to wear out faster and require replacement sooner. Be sure to regularly inspect and maintain your safety film for optimal performance and longevity.
Q4: Can I Apply Safety Film Myself or Do I Need Professional Help?
A4: While it is possible to apply a safety film yourself, it requires careful preparation and precise application to ensure proper adhesion and effectiveness. It’s recommended to see professional help if you are unsure about the process or have a large glass surface to cover.
Conclusion
Applying safety film to safety glass is a straightforward and highly effective way to enhance the security and durability of your glass surfaces. By following the step-by-step guide on How to add safety film to safety glass outlined above, you can ensure a professional-quality application that offers protection against breakage, improved safety for your home or workspace, and even added privacy, depending on the type of film you choose.
Taking the time to prepare thoroughly and work carefully during installation will maximize the film’s effectiveness and longevity. Whether you’re safeguarding your windows, doors, or other glass features, this simple upgrade provides peace of mind and long-lasting benefits. Stay proactive, and enjoy a safer environment with properly installed safety film.